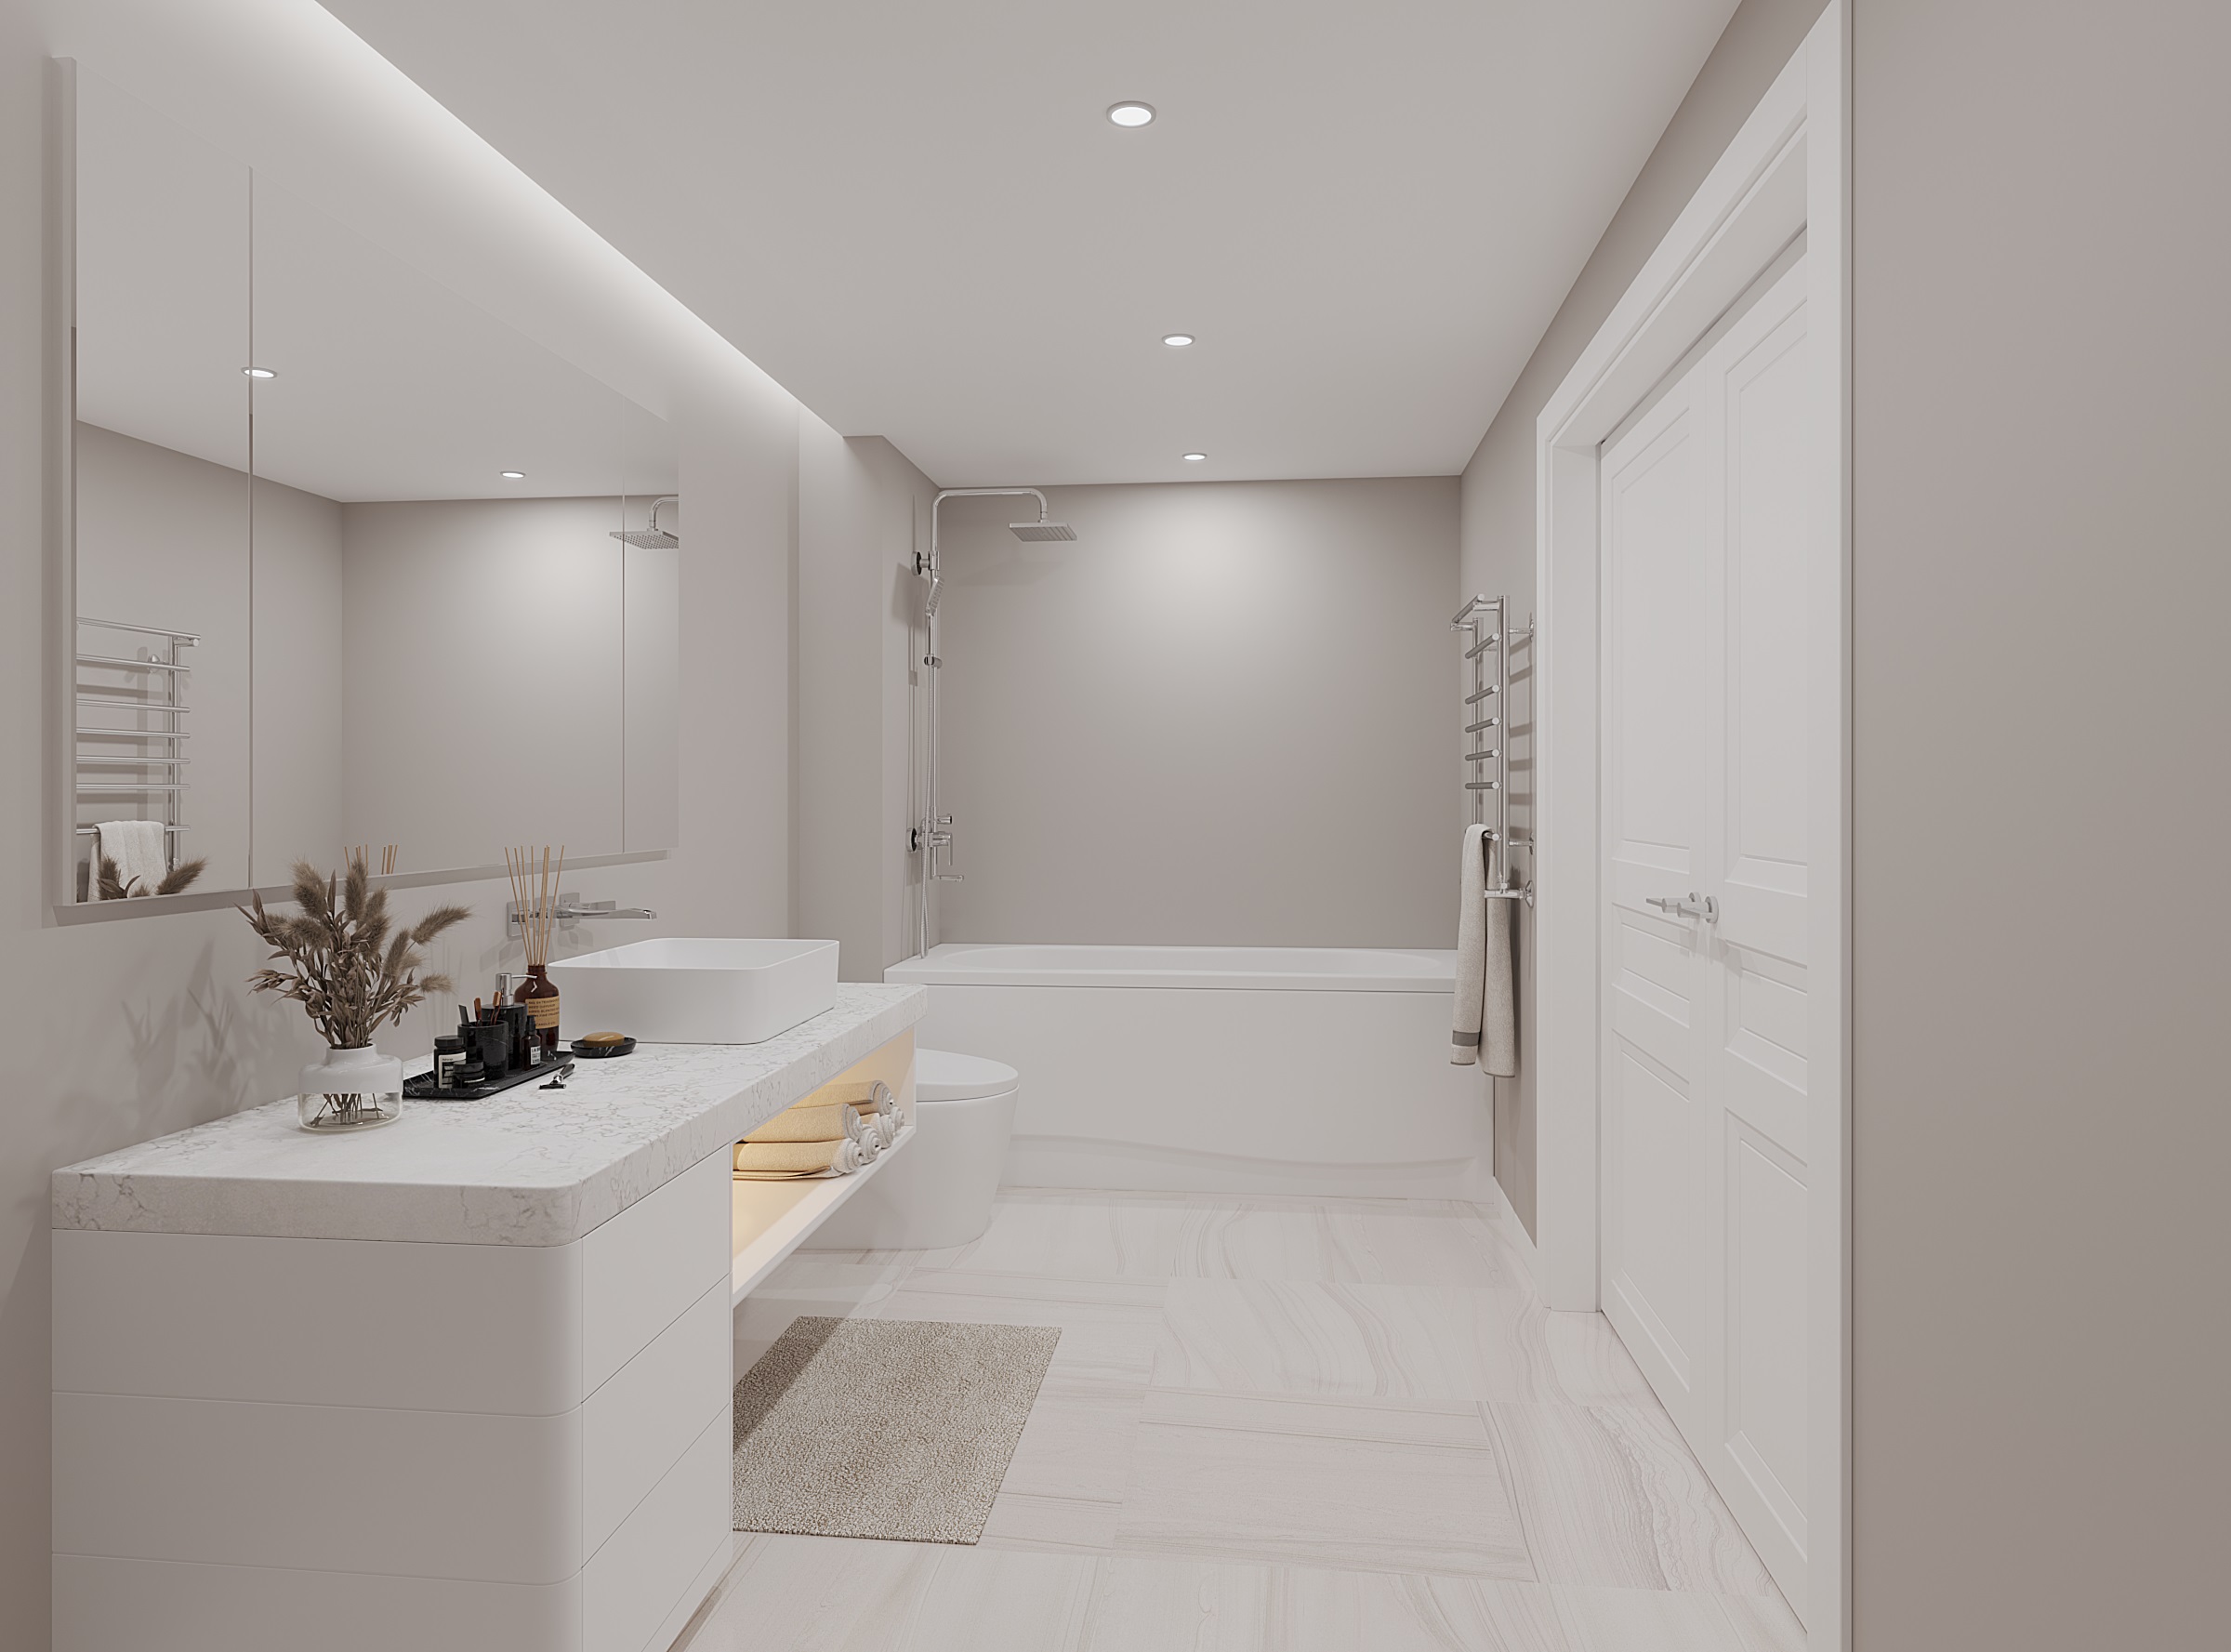
Bathrooms are notoriously one of the most expensive rooms to renovate. Those high costs are often associated with major updates that require plumbing, electrical, and other expertise.
However, if you are looking for ways to update your bathroom without the need for extensive renovations, consider replacing a bathroom vanity drawer fronts and doors. It can give the space a completely new look, without the cost.
You may be surprised to learn that it is quite straightforward to change a bathroom vanity door or drawer. The key is having the right tools and instructions. Keep reading for info on a DIY bathroom vanity makeover on a budget.
Measure for Replacements to Change a Bathroom Vanity
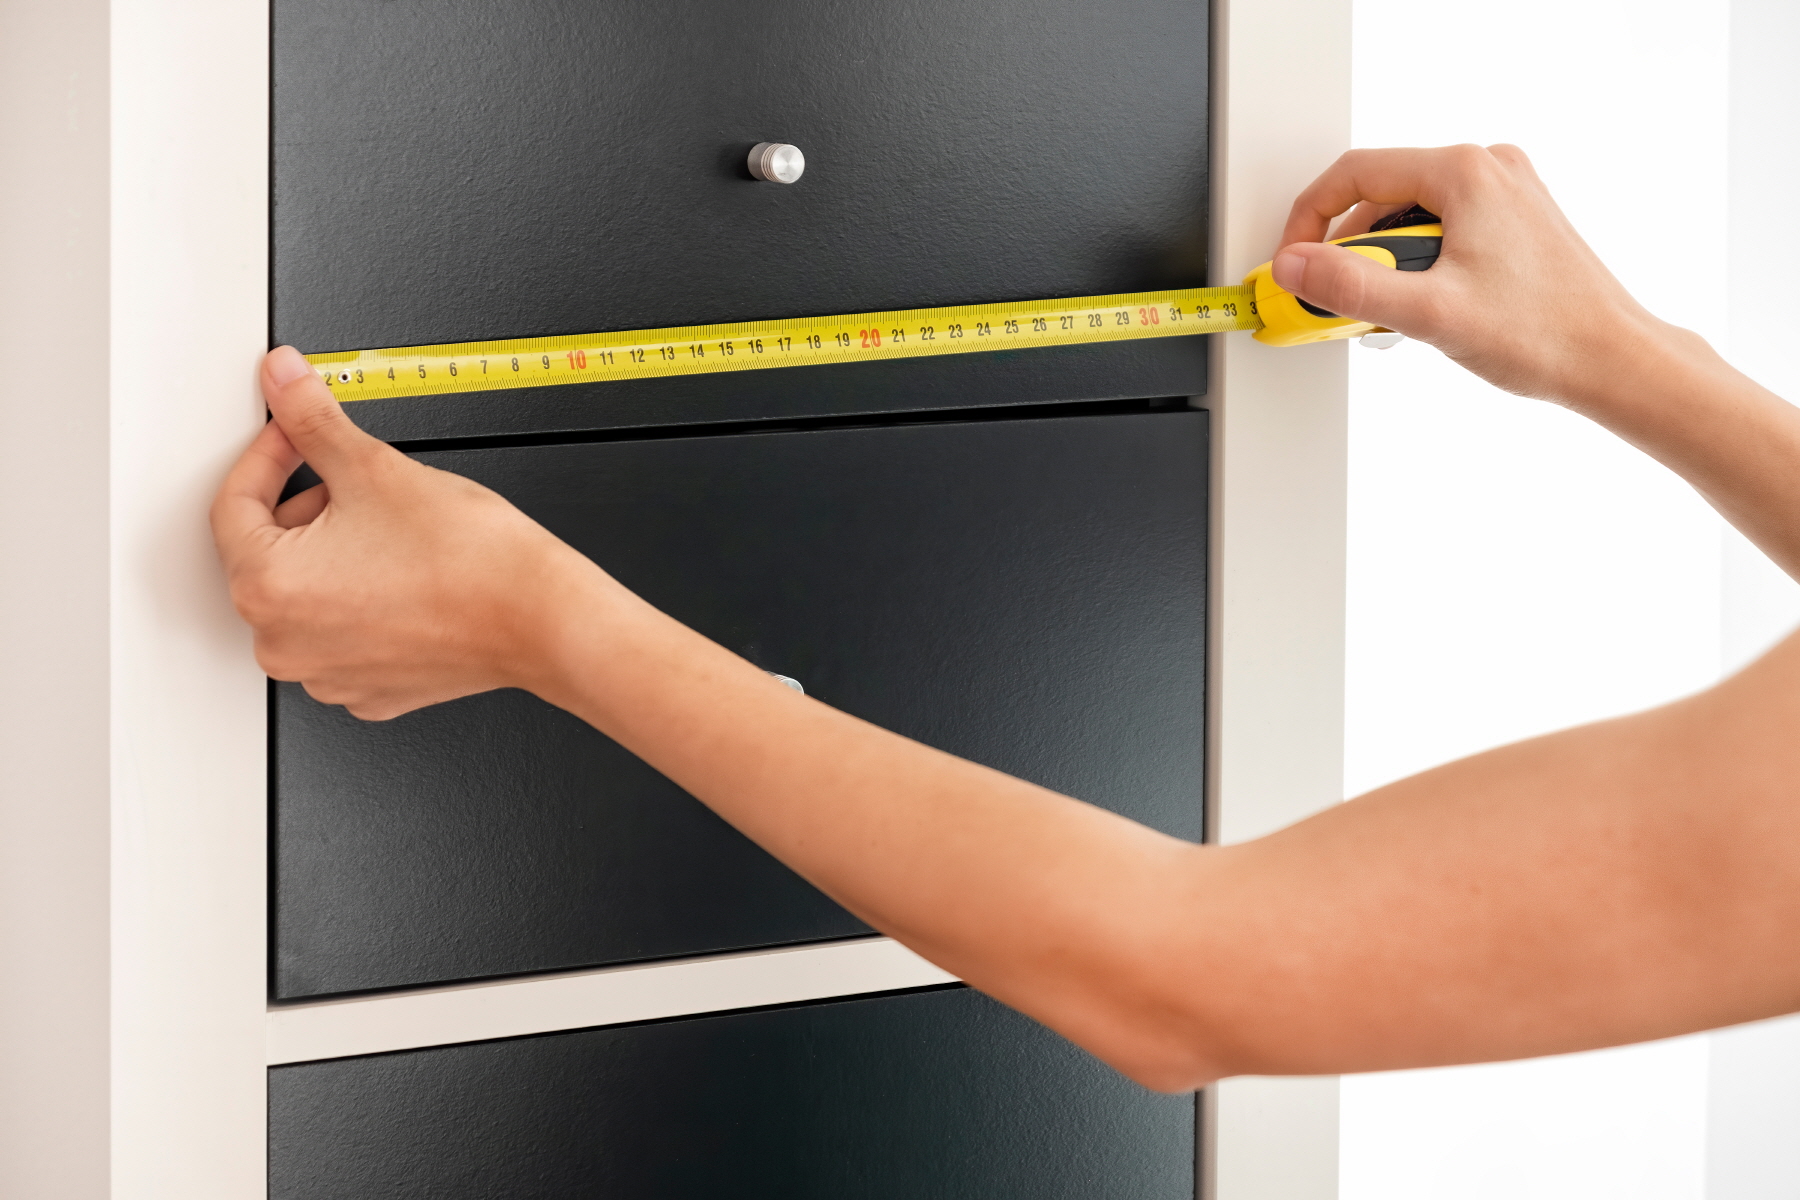
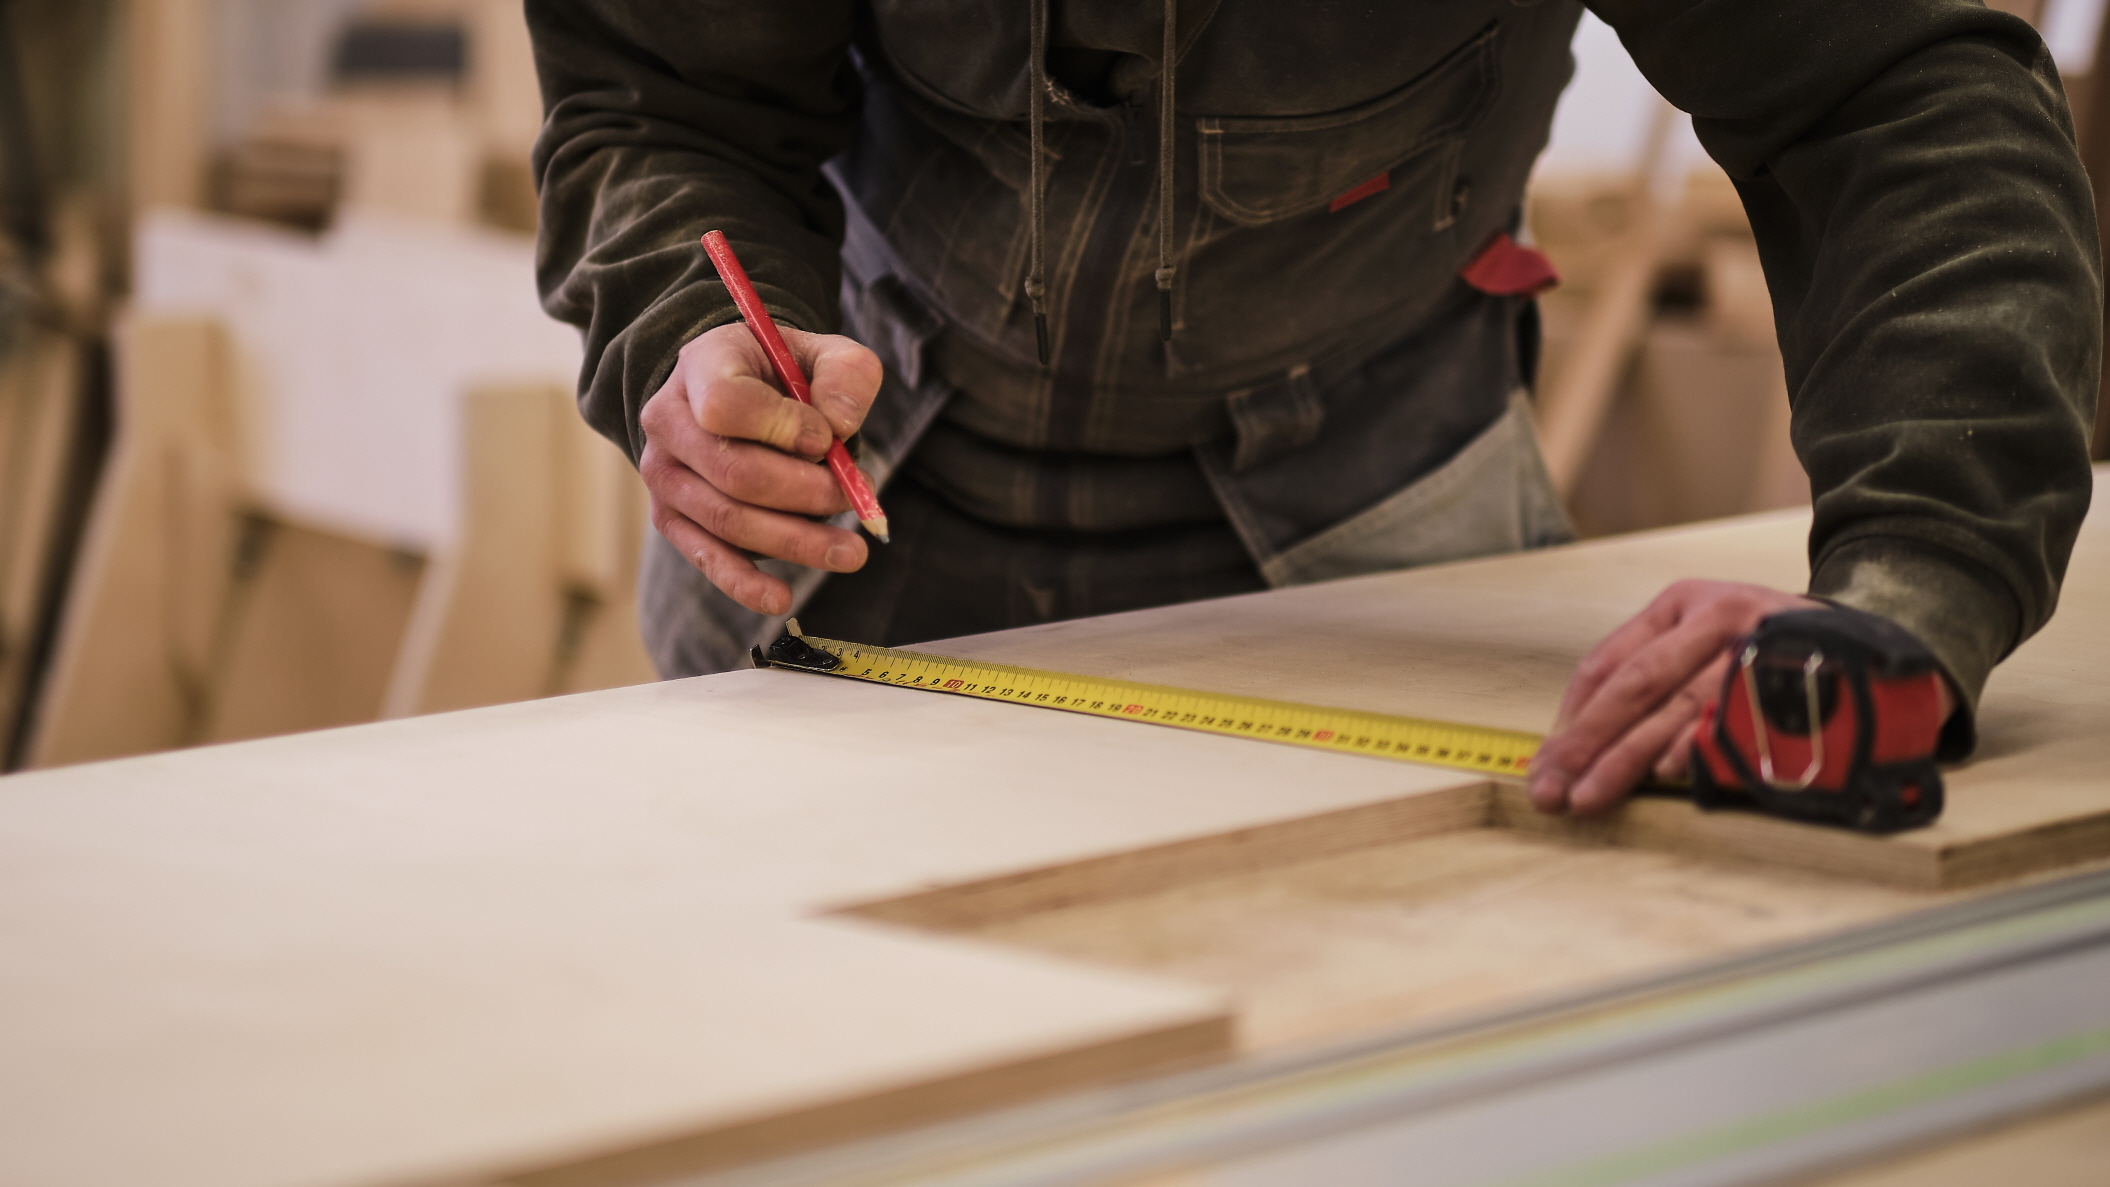
The first step to changing a bathroom vanity is to take some measurements of the drawers and doors. Gather a tape measure and something to write with.
Step 1: Measure the Existing Cabinet Door
If you are reusing the internal components of the drawers, you will only need to get measurements for the outward-facing part of the drawer. If not, you should measure all the dimensions of the drawer.
Using a tape measure, identify and write down the height and width of existing doors and drawer fronts. You also need to make note of hinge positions and any other hardware, such as knobs or handles.
Step 2: Replace the Drawer Fronts
Using a handheld or electric screwdriver, remove the cabinet doors from the hinges. Remove the hinges and place them to the side (if you plan to reuse them).
Remove the drawers from the bathroom sink and vanity top and identify the method used to construct it–specifically, how the front is attached. Most use screws from the inside of the drawer.
If this is the case, use a screwdriver to remove them. Note that some drawers will have brackets that hold them together using screws as well.
If the front is glued and/or nailed to the drawer structure, you will have to employ some additional techniques. If glued, slide a putty knife along the seam to loosen the adhesive. If the front is nailed, use a crowbar to gently pry the boards apart.
Use screws, glue, or nails to attach the drawer fronts to the drawer frames. If you are using nails, be sure to use smaller (around 18 gauge) “finish” nails.
Wood glue can make the attachment more solid. It also can help you better align the drawer fronts, even if you are using screws or nails to attach it.
Step 3: Clean the Surfaces
Take this opportunity to clean the surfaces of the vanity cabinet, especially those obscured by the old doors or drawers. No need to use any kind of detergent, although soap will not hurt. The goal is simply to remove any dust that could interfere with repainting.
If you are not replacing the door hinges (and they are still attached), consider removing them as well for a more thorough cleaning and repainting.
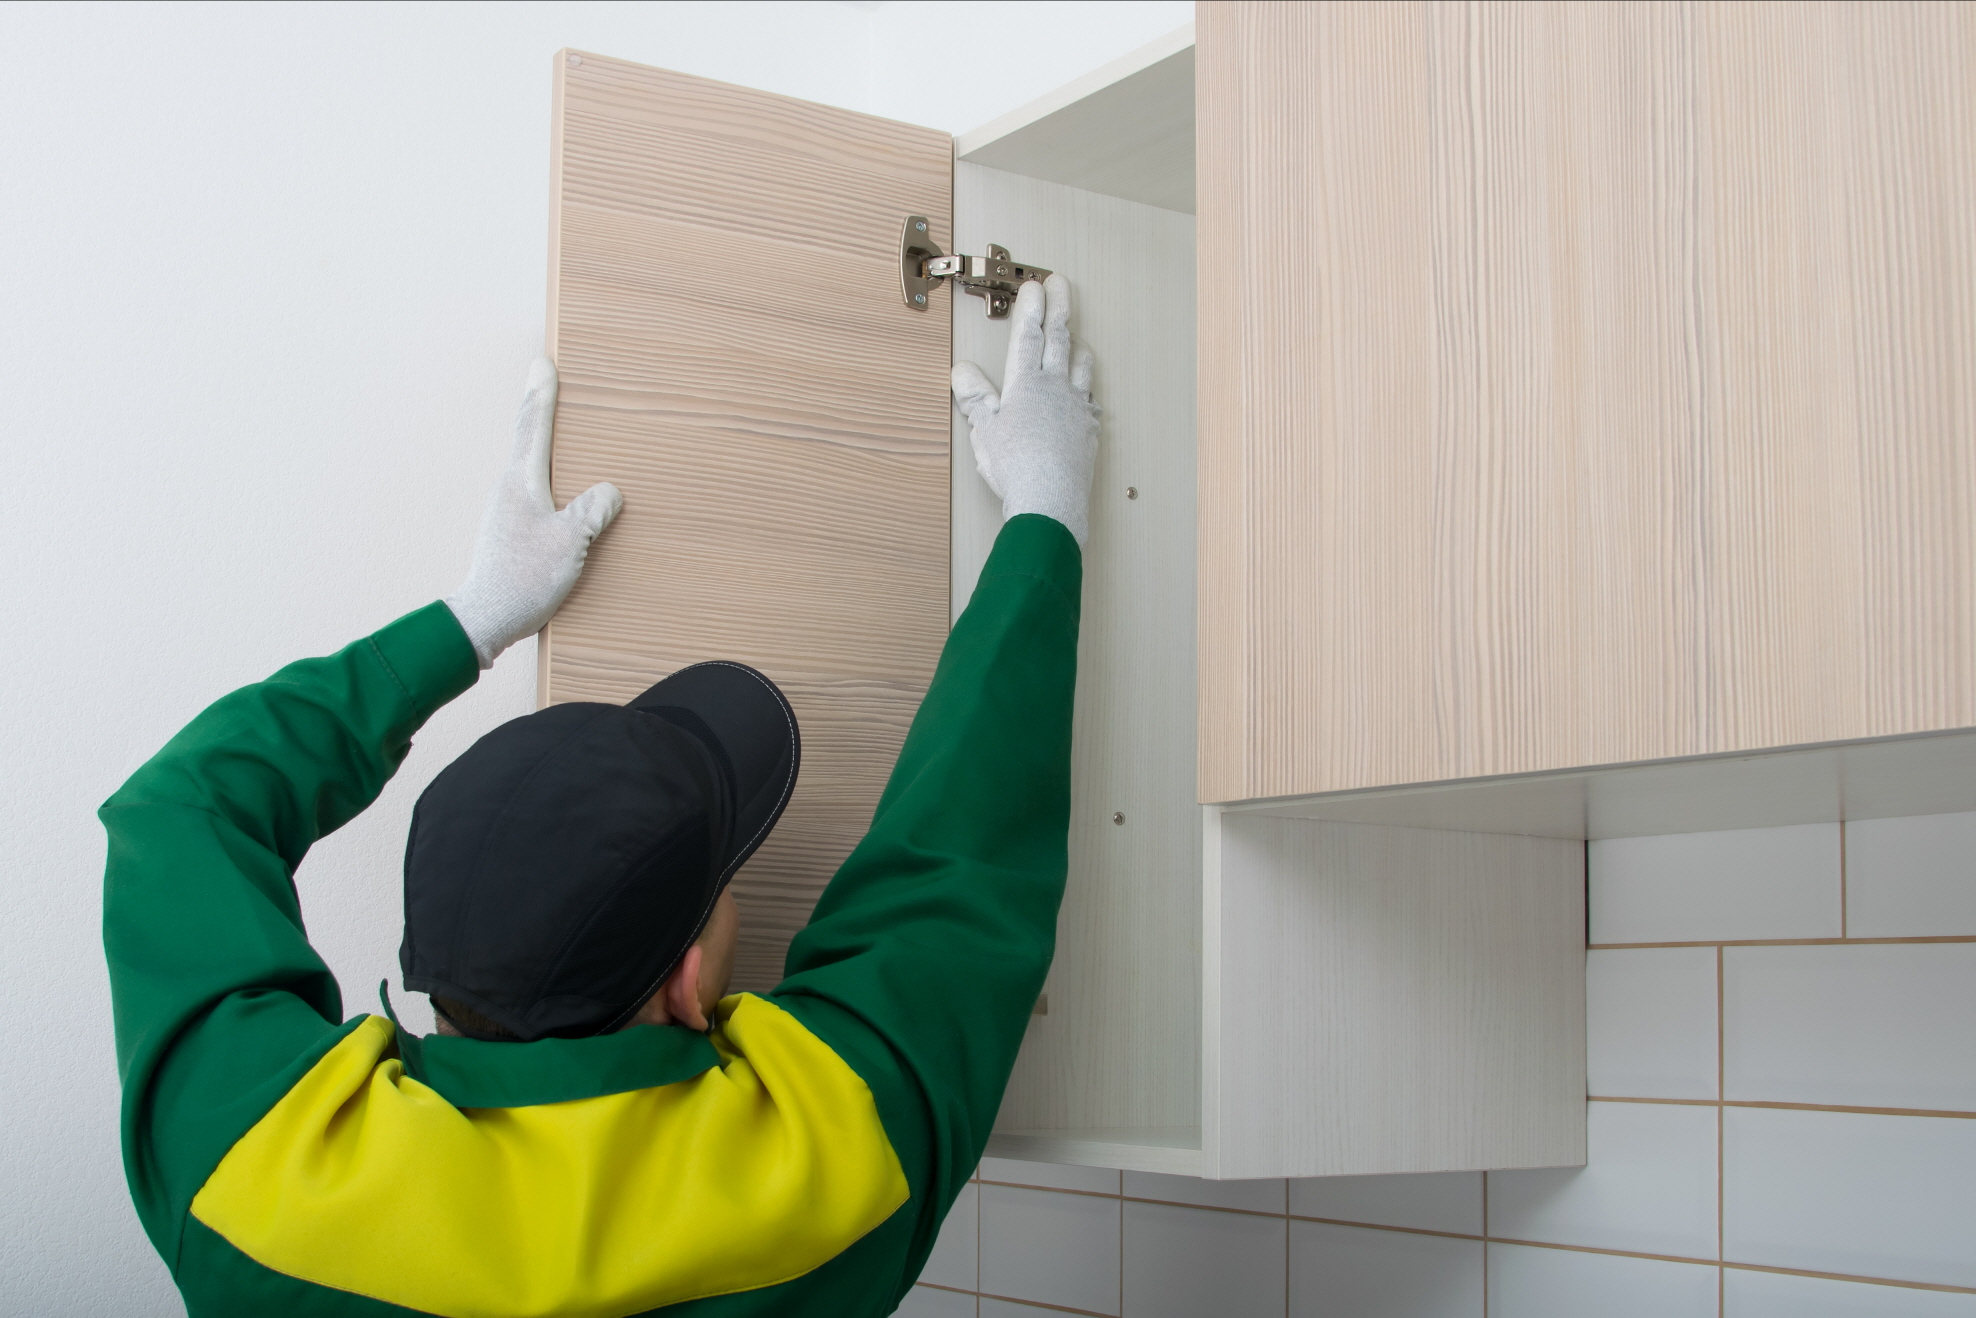
Step 4: Replace the Hinges
Next, replace the hinges for the doors. If you are leaving them in the same position, simply screw them back into the vanity.
If not, be sure to drill pilot holes, which will substantially limit the likelihood of splitting the wood whenever you attach the hinges with screws. To drill pilot holes, choose a drill bit that is slightly smaller than the screws you intend to use.
Make Drawer Fronts and Doors
If you are making new drawer fronts or doors, it is time to do so. This involves the use of power tools, so be sure to wear protective eyewear during the process.
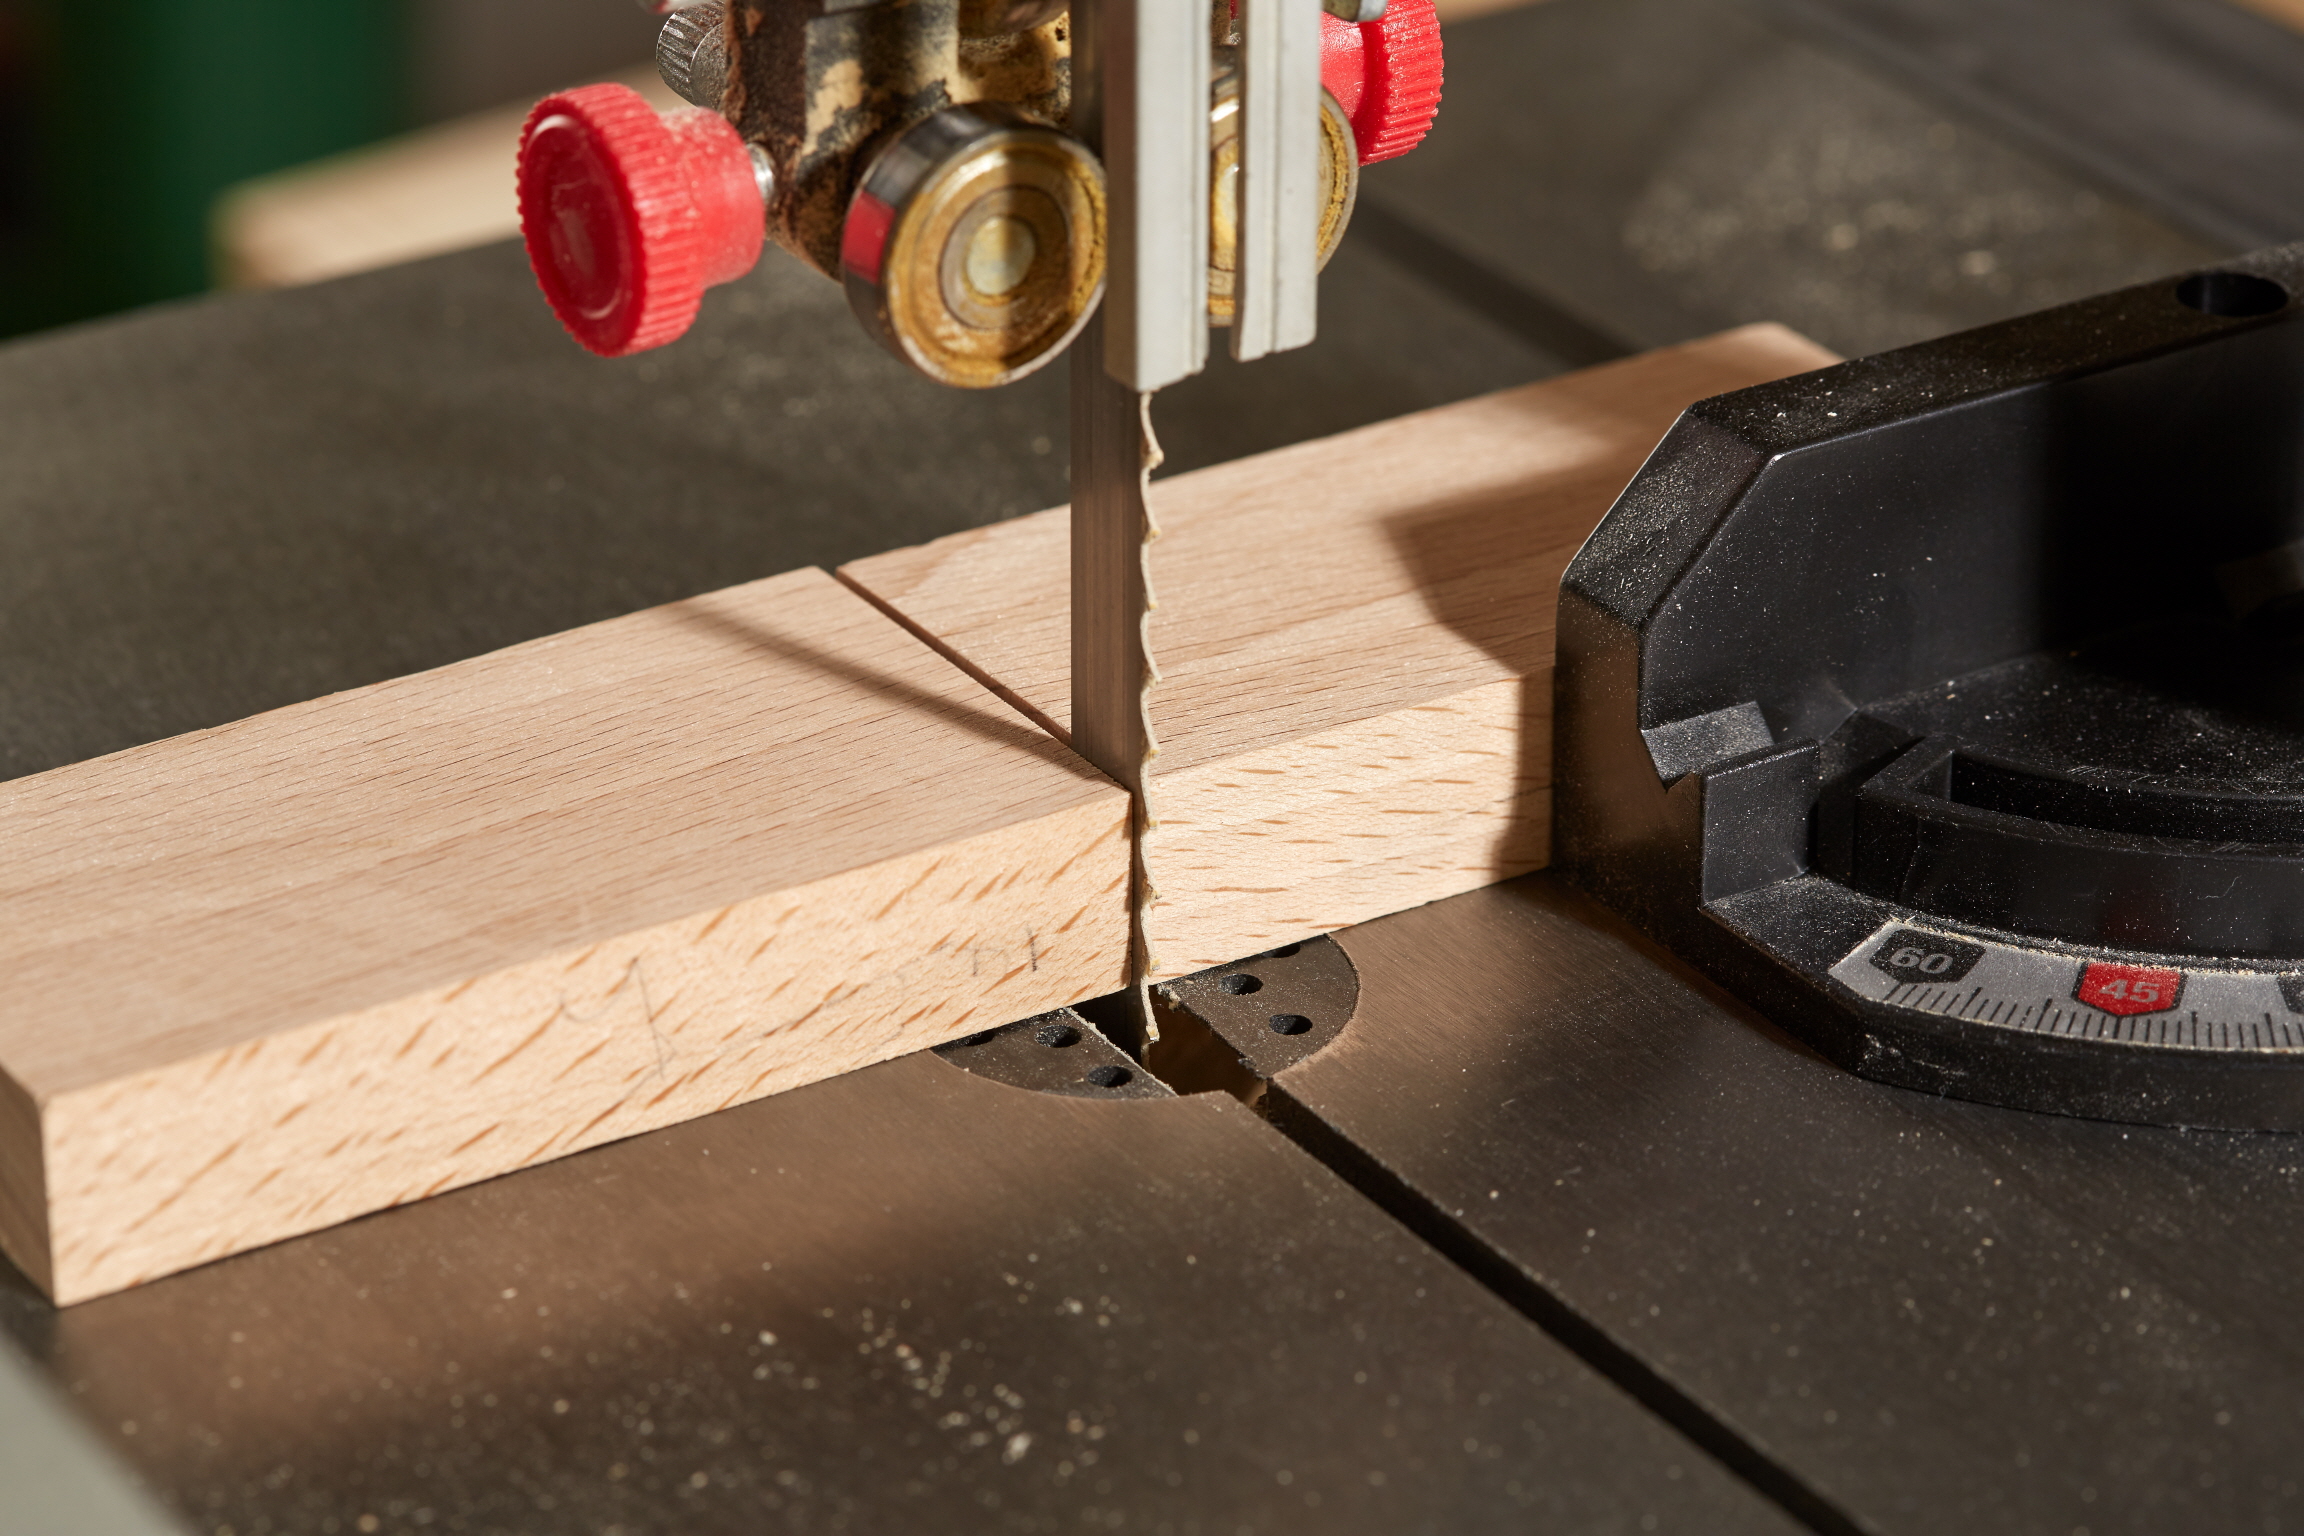
Step 1: Cut the MDF
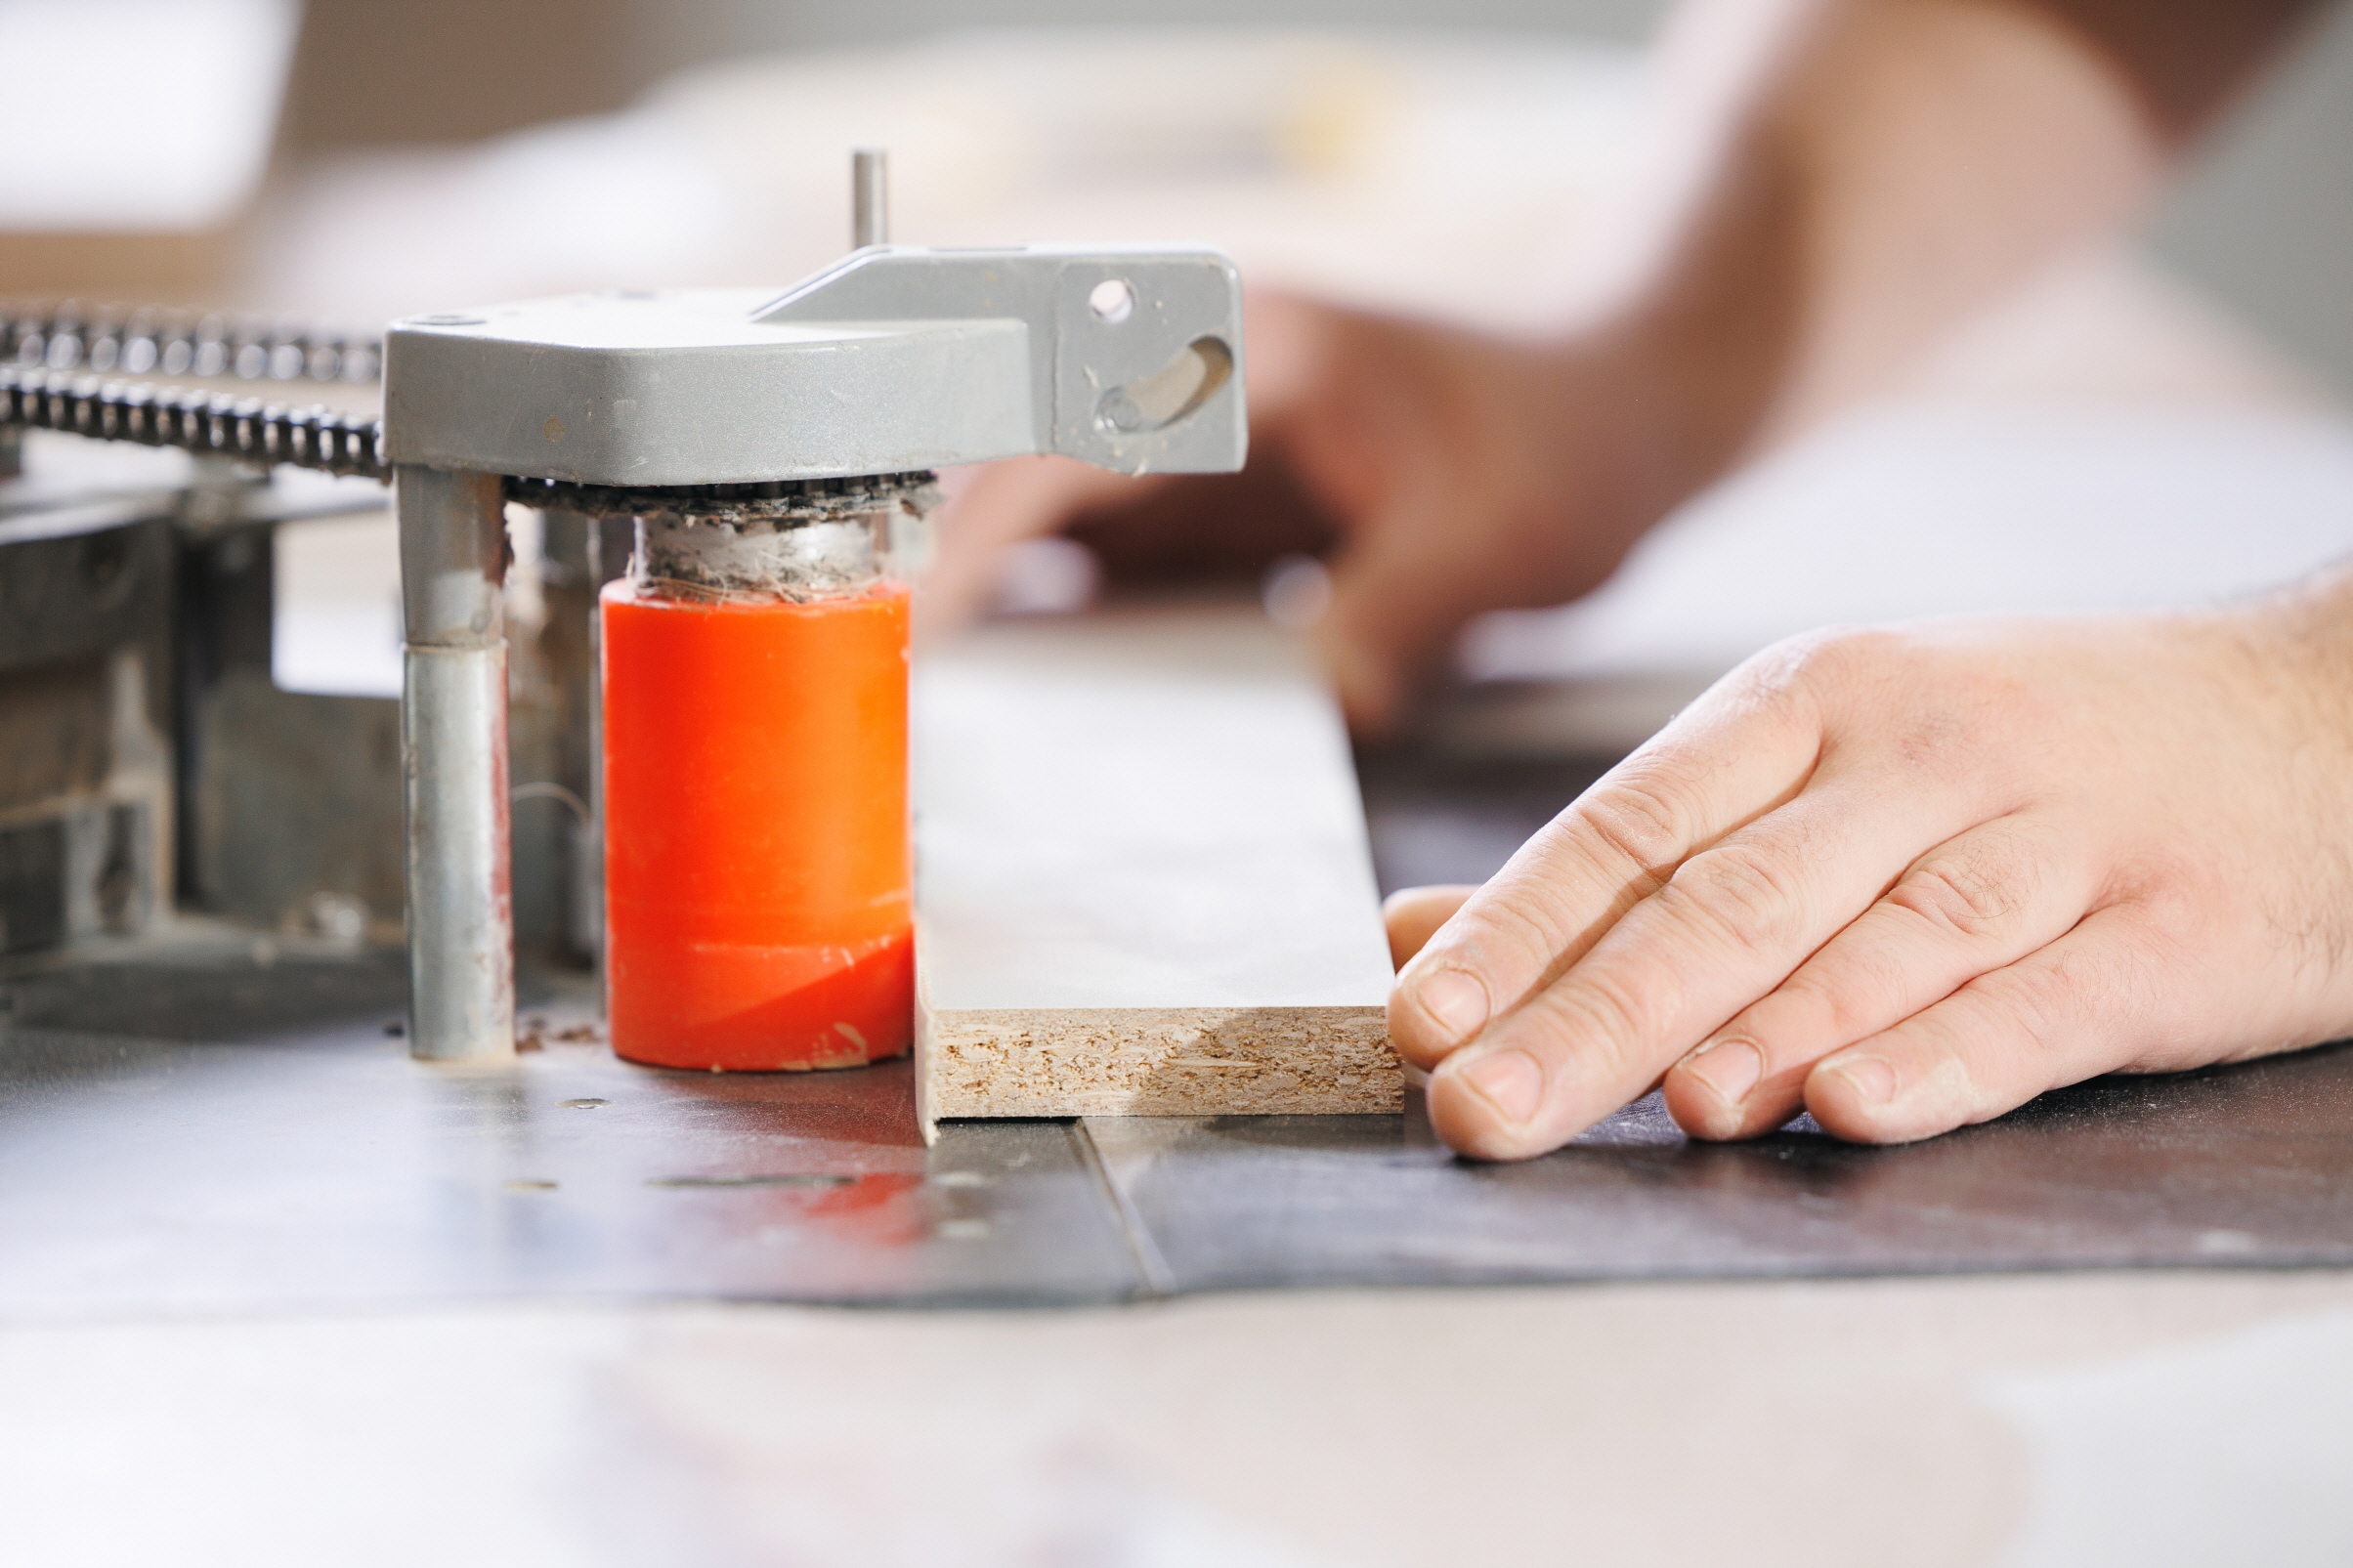
Using the measurements you took earlier and a pencil, draw the outline of the door on medium-density fiberboard (MDF). Use a circular saw or table saw to cut the MDF sheets to the exact dimensions of each drawer front. Ensure the cuts are straight and accurate.
At this point, you can choose to add decorative edges to the profile of the drawer fronts. This requires a router and a bit. Popular profile options include round-over and chamfer.
Step 2: Measure the New Cabinet Door
Next, measure and mark the lengths of the stiles (vertical frame pieces) on your wood stock. It is a good idea to cut the stiles a hair longer than the finished door height. This allows for final corrections and trimming, as well as sanding.
Step 3: Cut the Stiles
Use a circular saw or table saw to cut the stiles to the desired length and width. Stiles can be wider than the rails (horizontal frame pieces), which provides structural support.
If you want a decorative profile on the stiles, to match drawer fronts, use a router to cut along the edge. Do not rush, and make sure your passes are consistent to produce a uniform profile.
Next, decide what type of joinery you plan to use to connect the stiles to the rails. Common choices include mortise and tenon joints, or cope and stick joints.
Dry-fit the stiles and rails together to ensure the joints fit snugly. At this point, using chisels and sandpaper, make adjustments to ensure the best fit.
Once you have the fit like you want it, apply wood glue to the joints and clamp the stiles and rails together. By following these steps and using quality materials and tools, you can create a sturdy and visually appealing door with stiles that complement your home or project.
Step 4: Transfer the Hinge Location
Using a tape measure, mark where the new hinges will be located. Take the old hinges (or buy new ones) and use a pencil to mark where the screws will go on both the vanity and the door. Mark the edges of the hinges so that you can prepare to drill.
Step 5: Drill a Hole and Hinge Hole
With the help of a friend, position the doors where you want them to sit, then use a pencil to mark the hinge holes. Drill the pilot holes using an electric drill.
Step 6: Position the Hinges
Using a screwdriver and screws, reattach the hinges to the sides of the vanity. Use a level to ensure the door is hanging evenly.
Step 7: Sand the Door
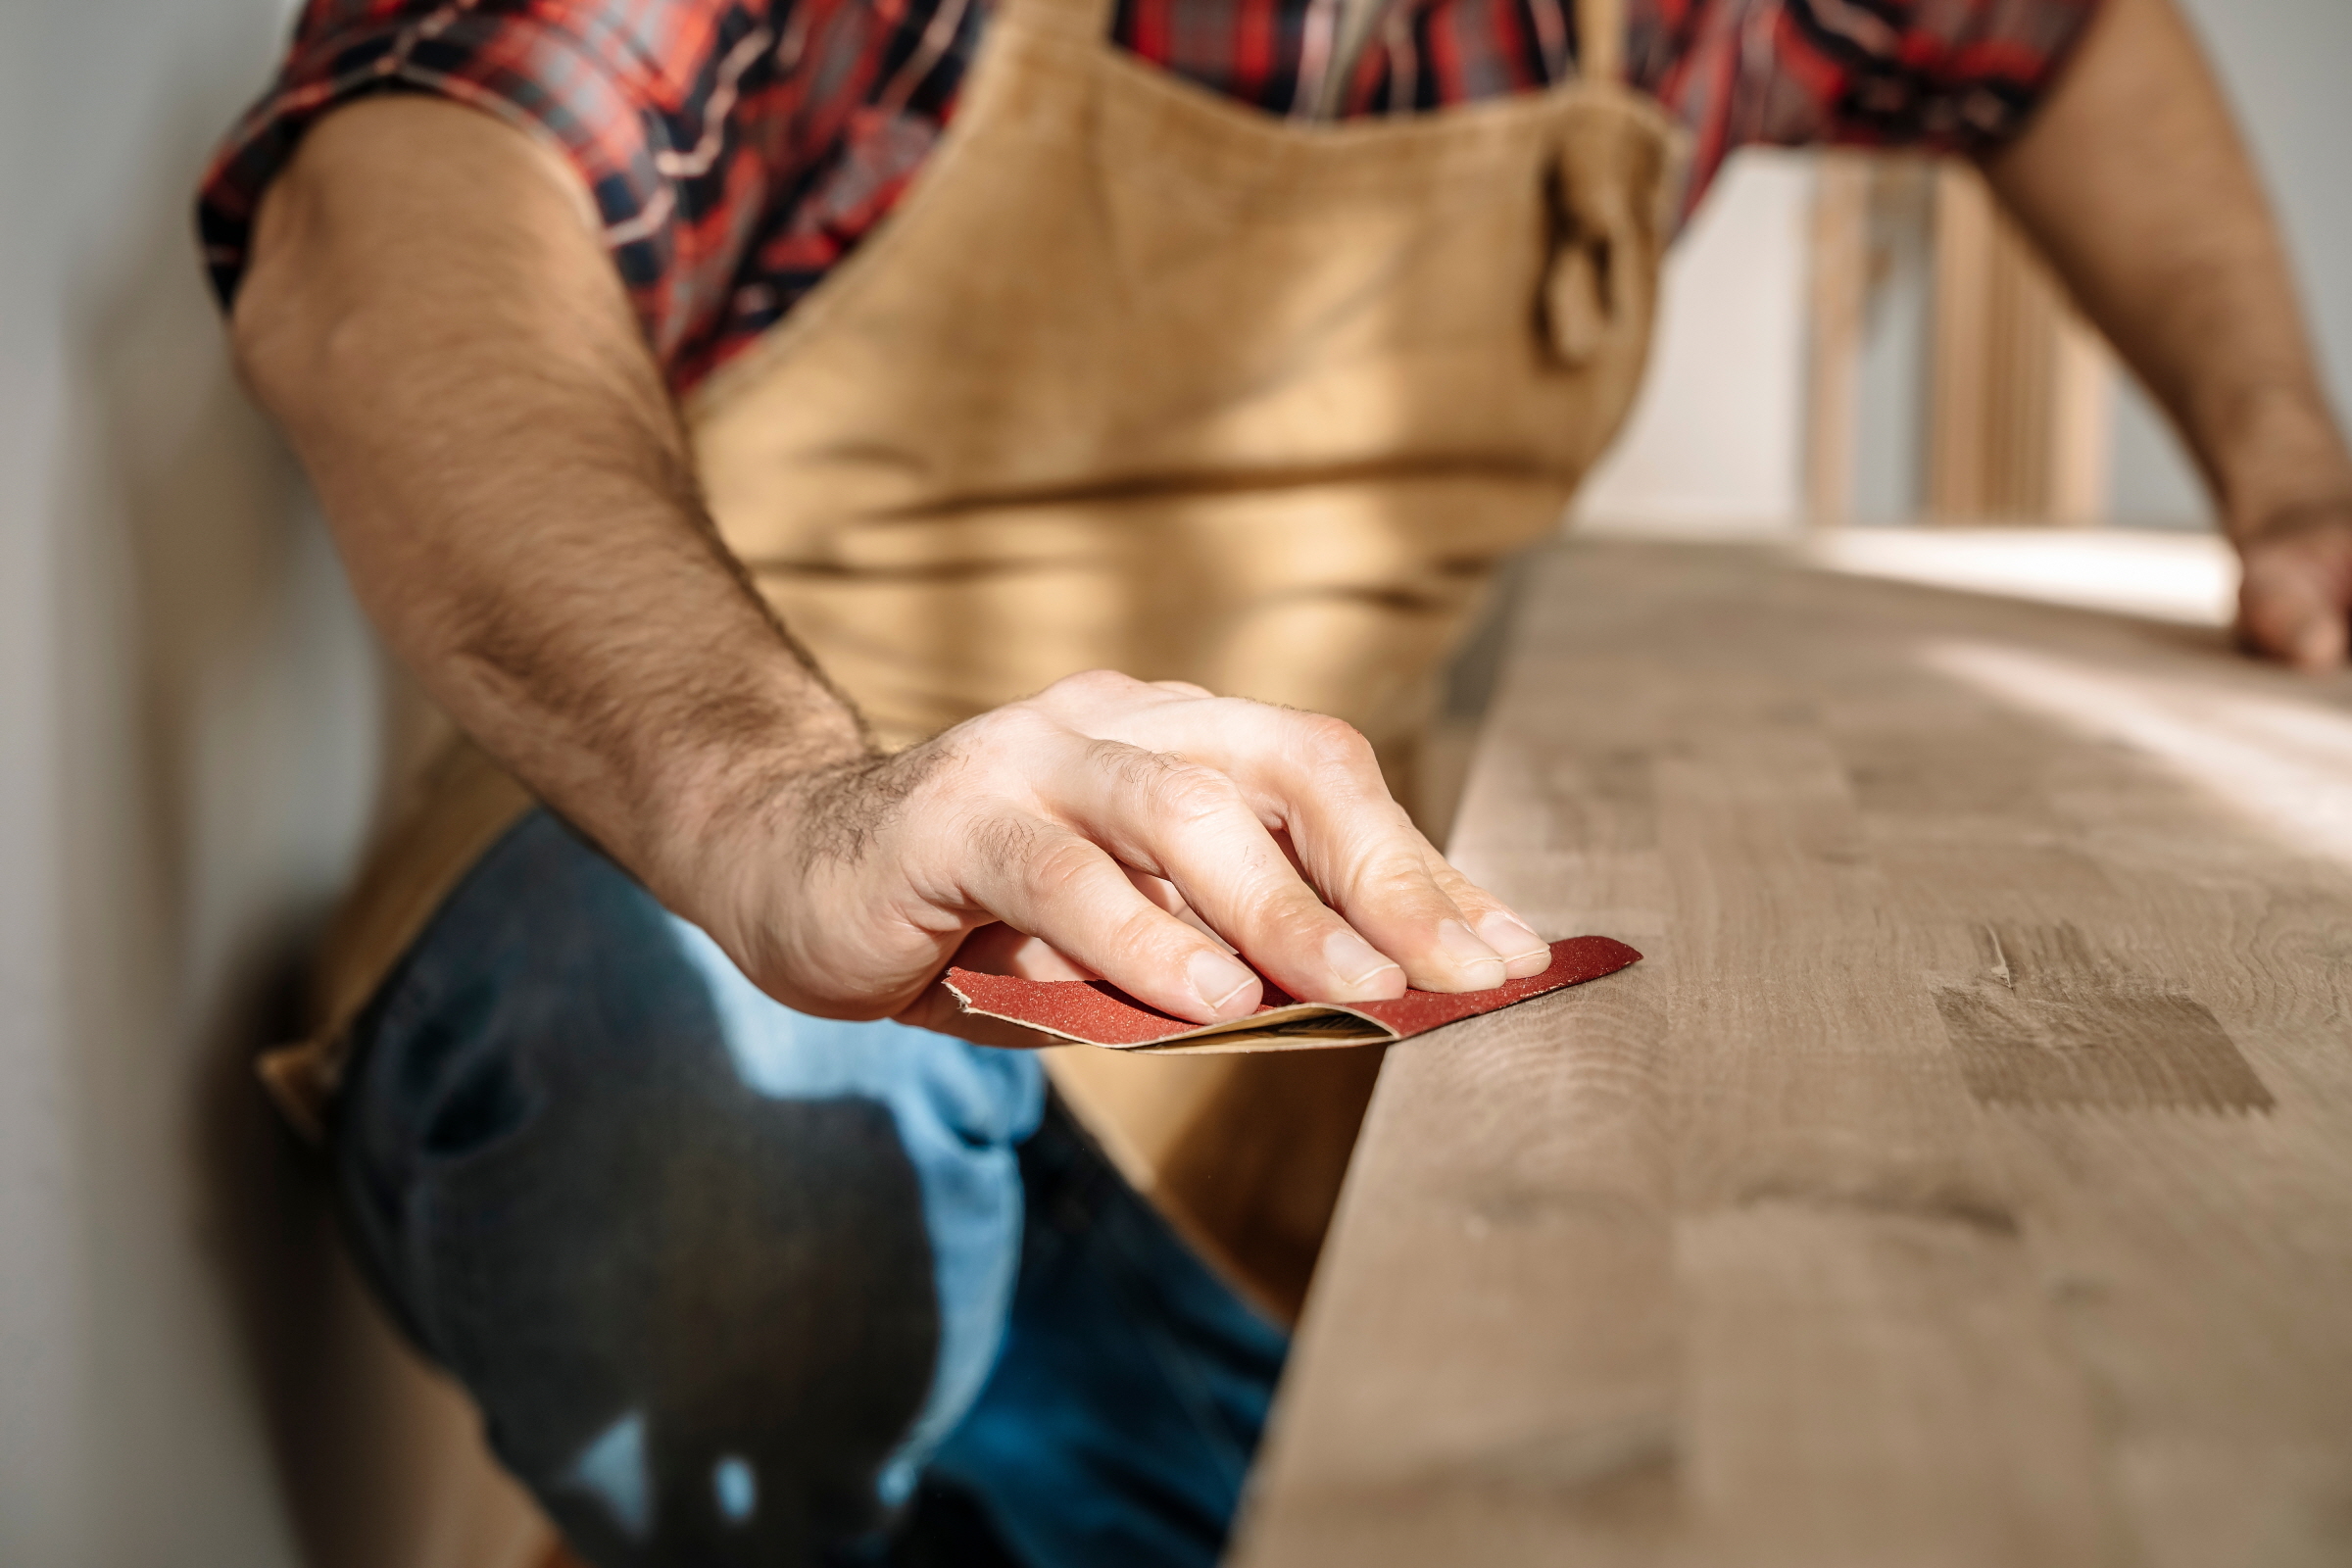
After all cutting and routing are completed, use sandpaper or a sanding block to smooth out the surfaces of the door. Pay particular attention to rough edges or any places cuts were made to ensure they are free of splintering.
Use medium- to fine-grit sandpaper (between 120 and 220 grit). This will smooth out the surface and help you identify any imperfections.
Install the Drawer Front and Doors
You are now ready to install your new drawer fronts and doors. Follow these steps to complete the project.
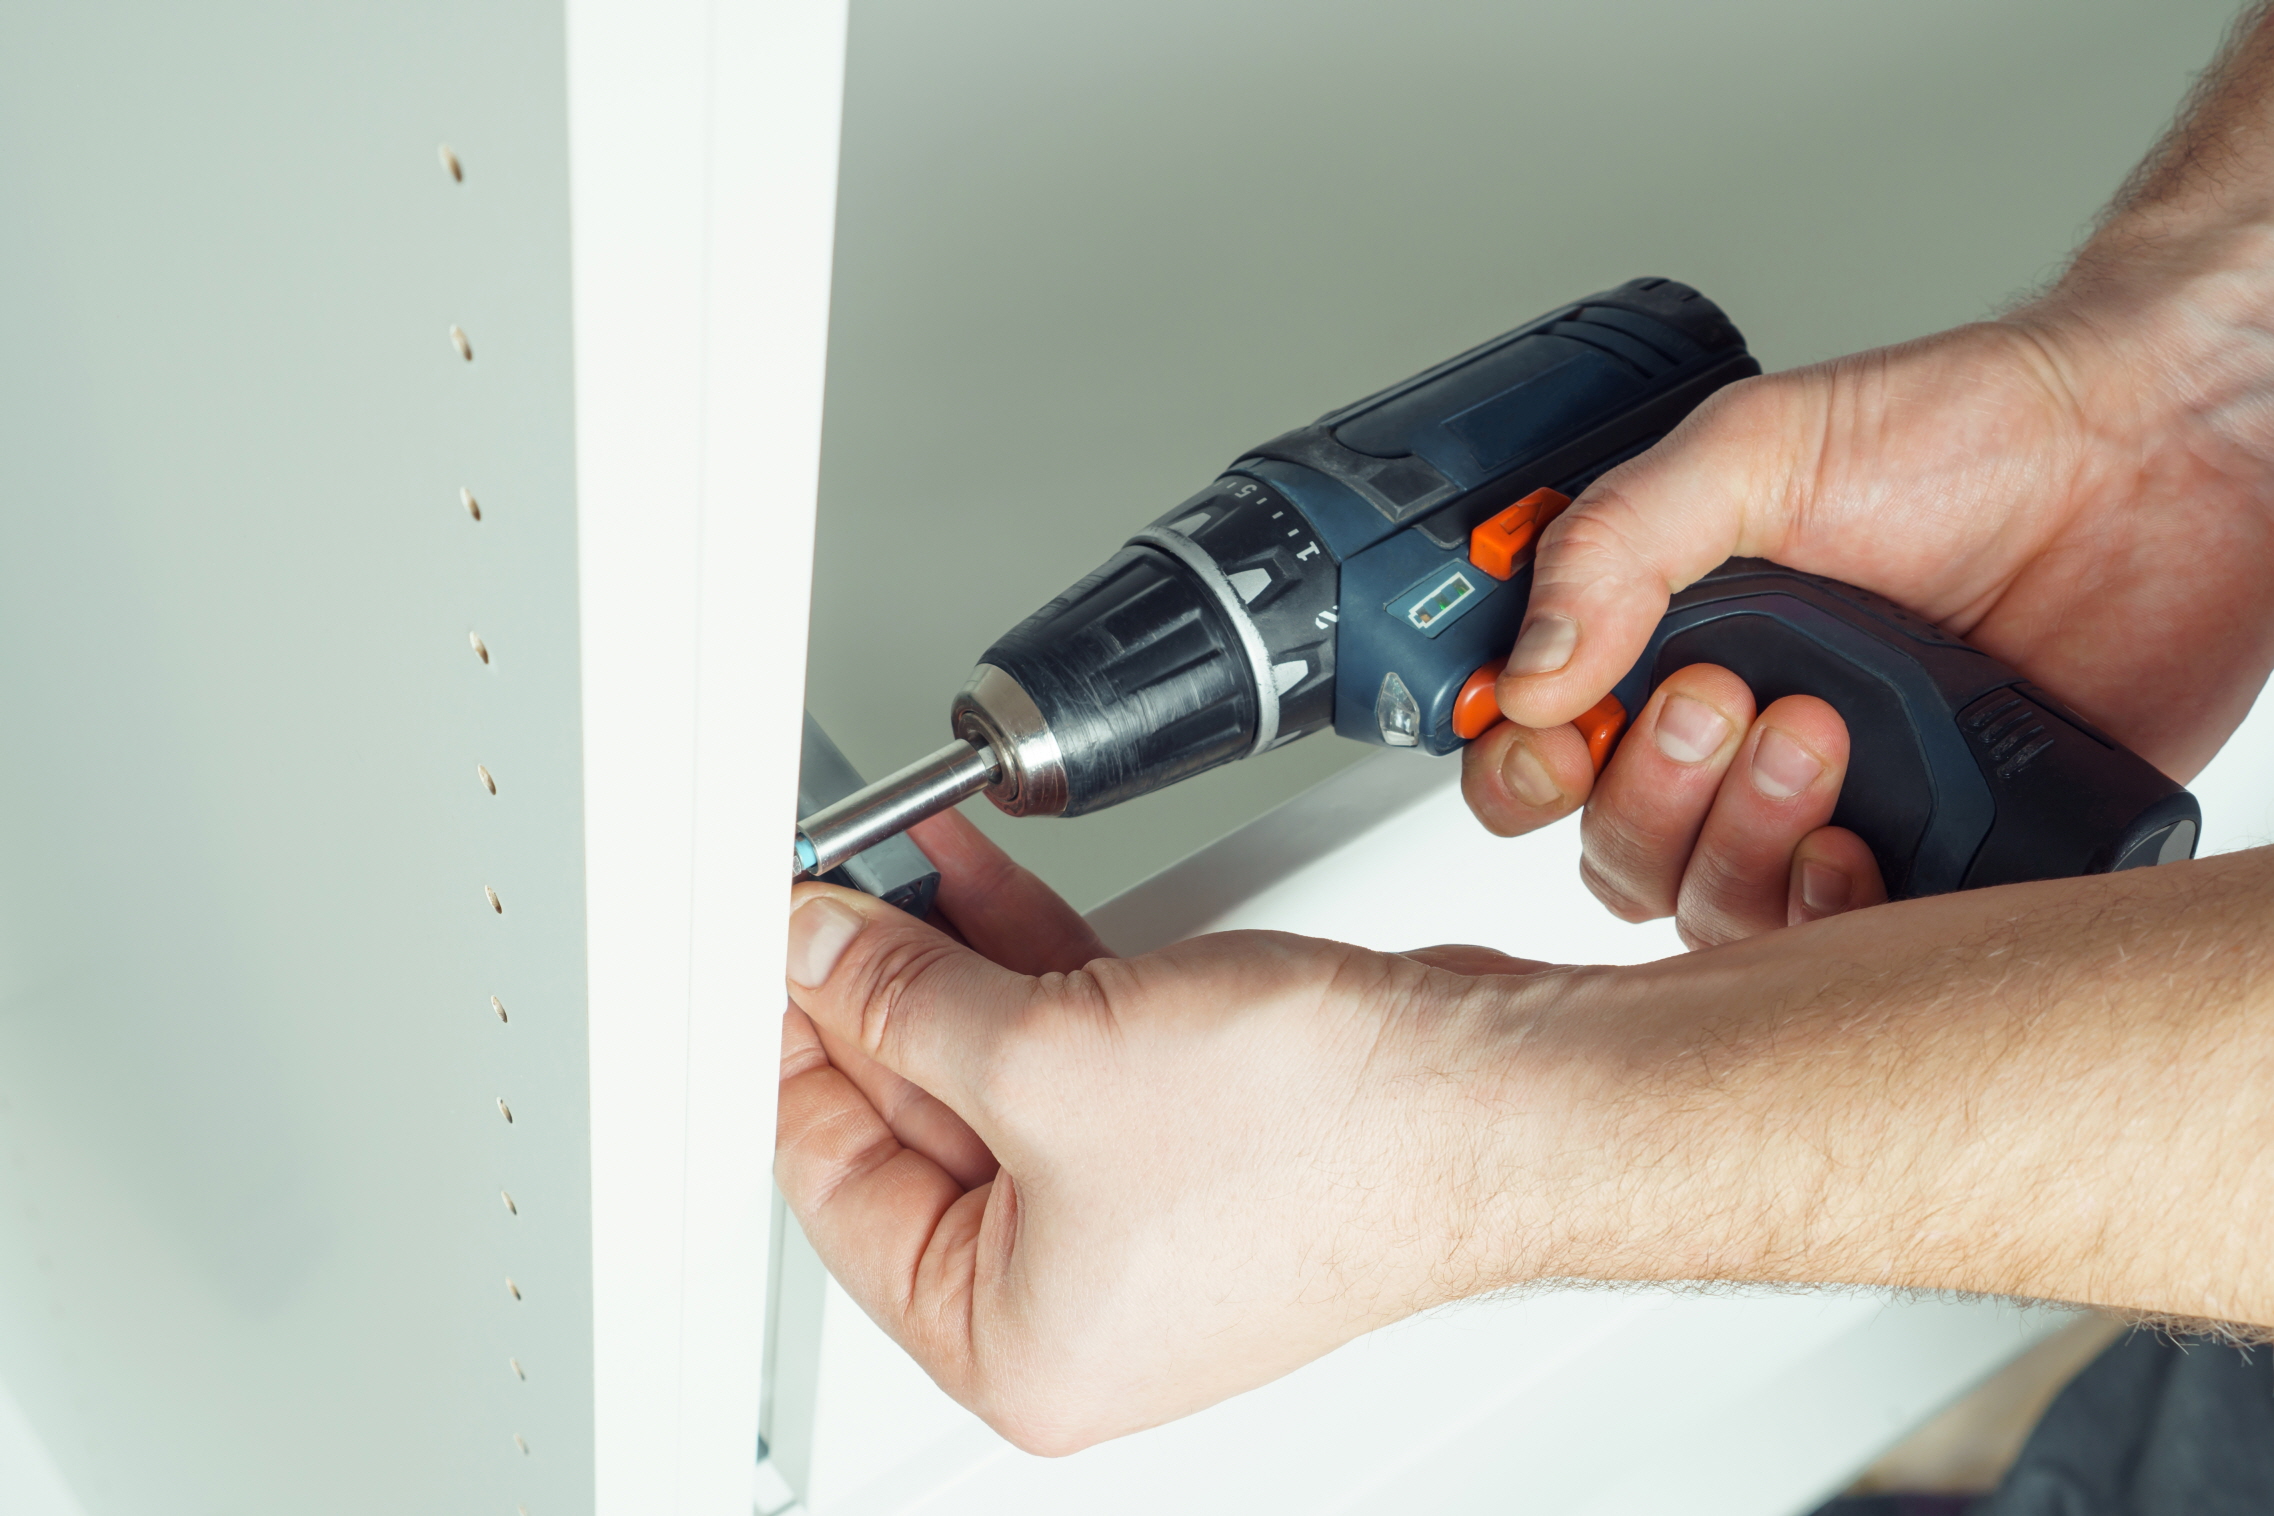
Step 1: Reinstall the Hinges
The next step is to reinstall the door hinges. If using the original holes, attachment to the vanity should be easy.
Step 2: Drill the Drawer Front
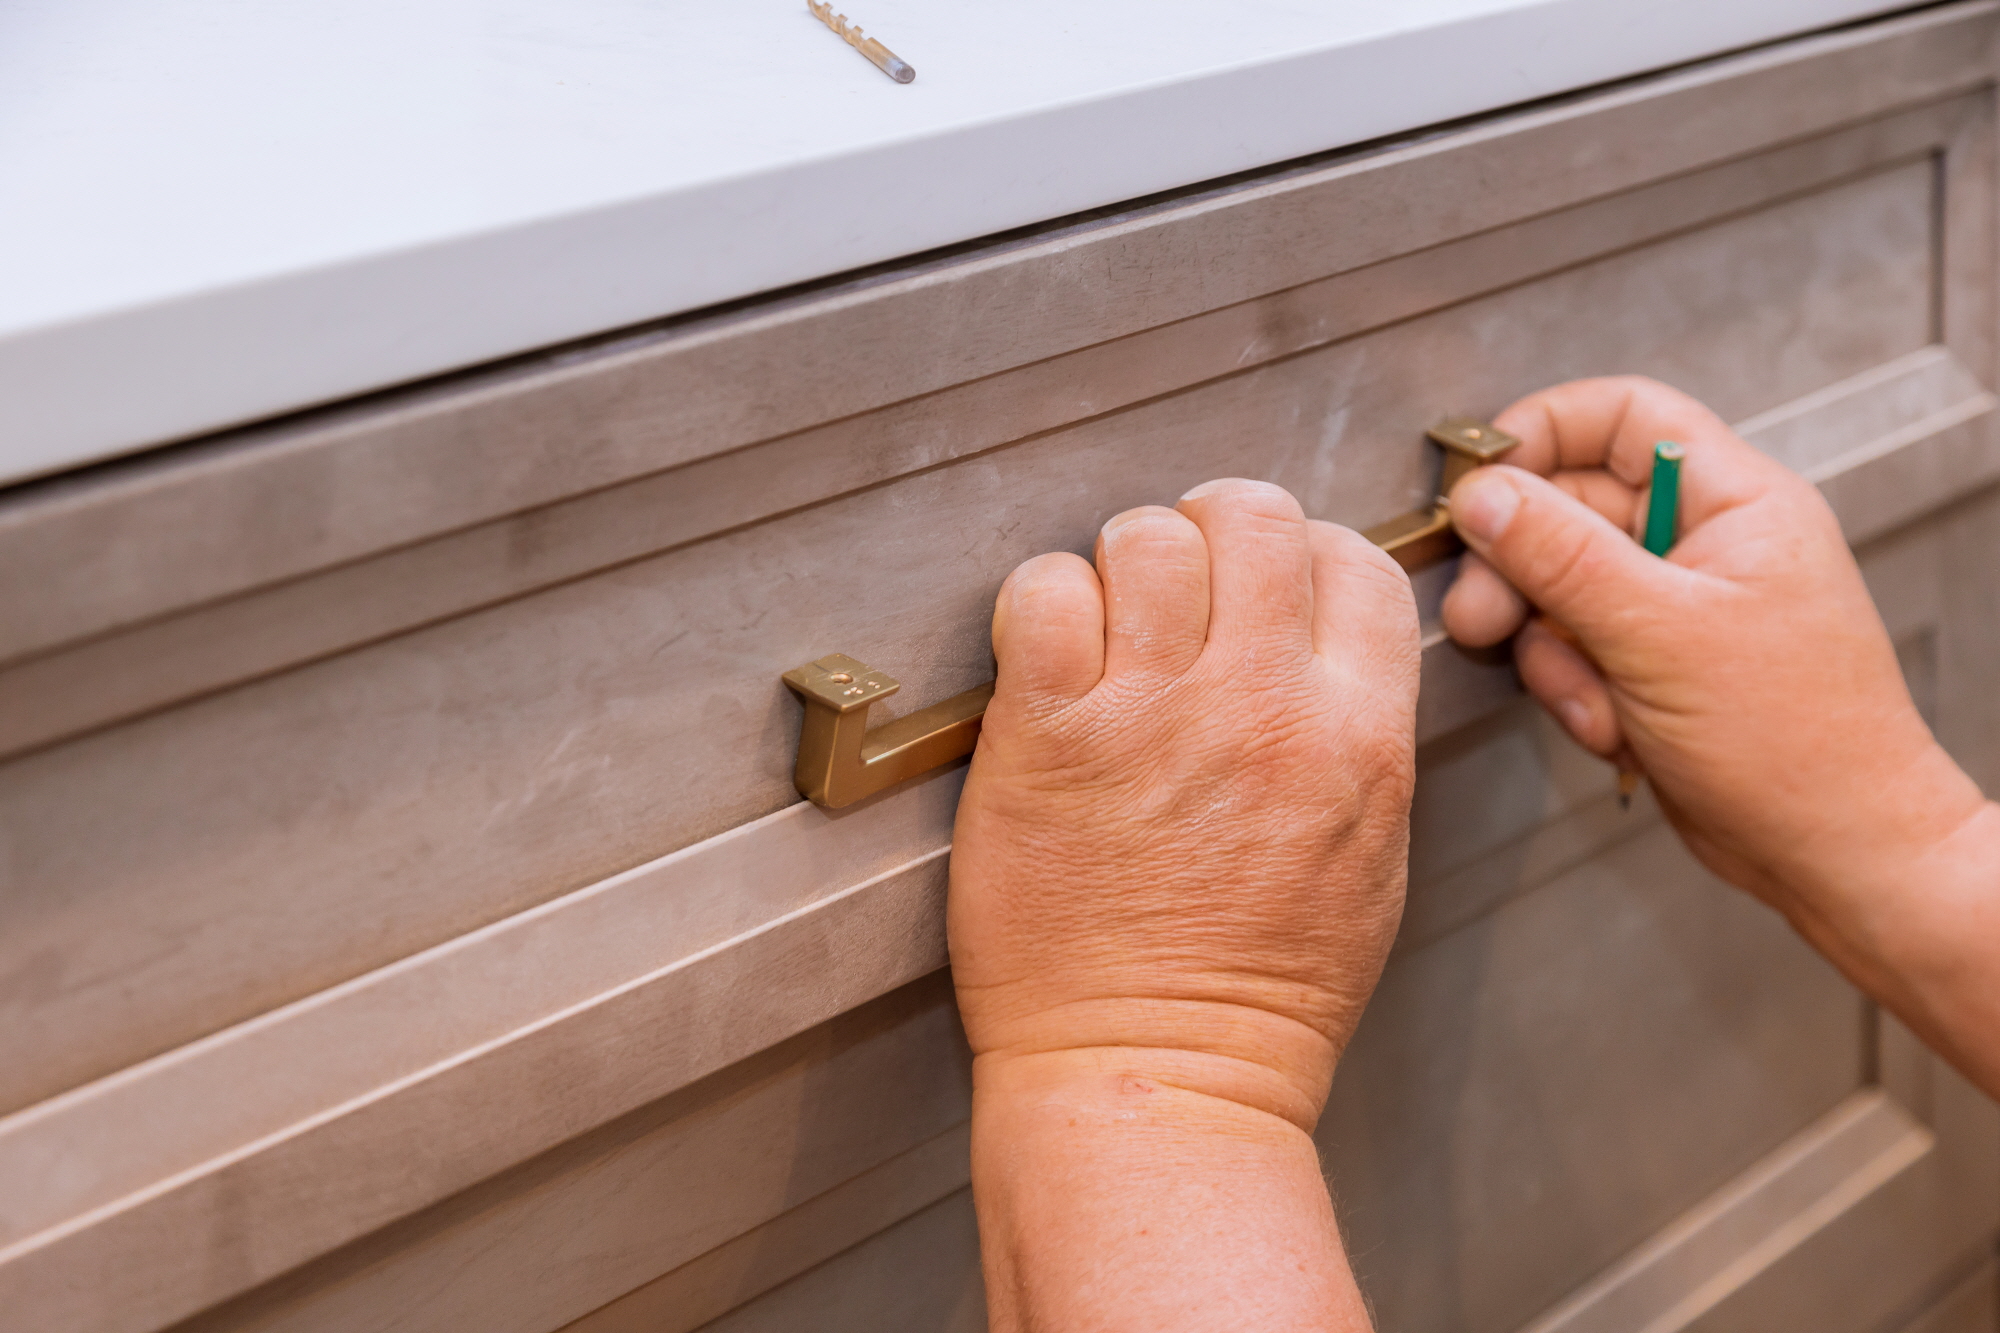
Measure and mark the placement of drawer handles. Ensure they are centered and aligned. Drill pilot holes in the appropriate positions.
Be certain not to drill all the way through the drawer. A drill press can be useful in this regard.
Step 3: Attach the Hardware
Next, attach handles to the drawer using screws. Do not apply too much downward pressure when doing so, but drill straight through the back of the door.
Step 4: Paint With New Color
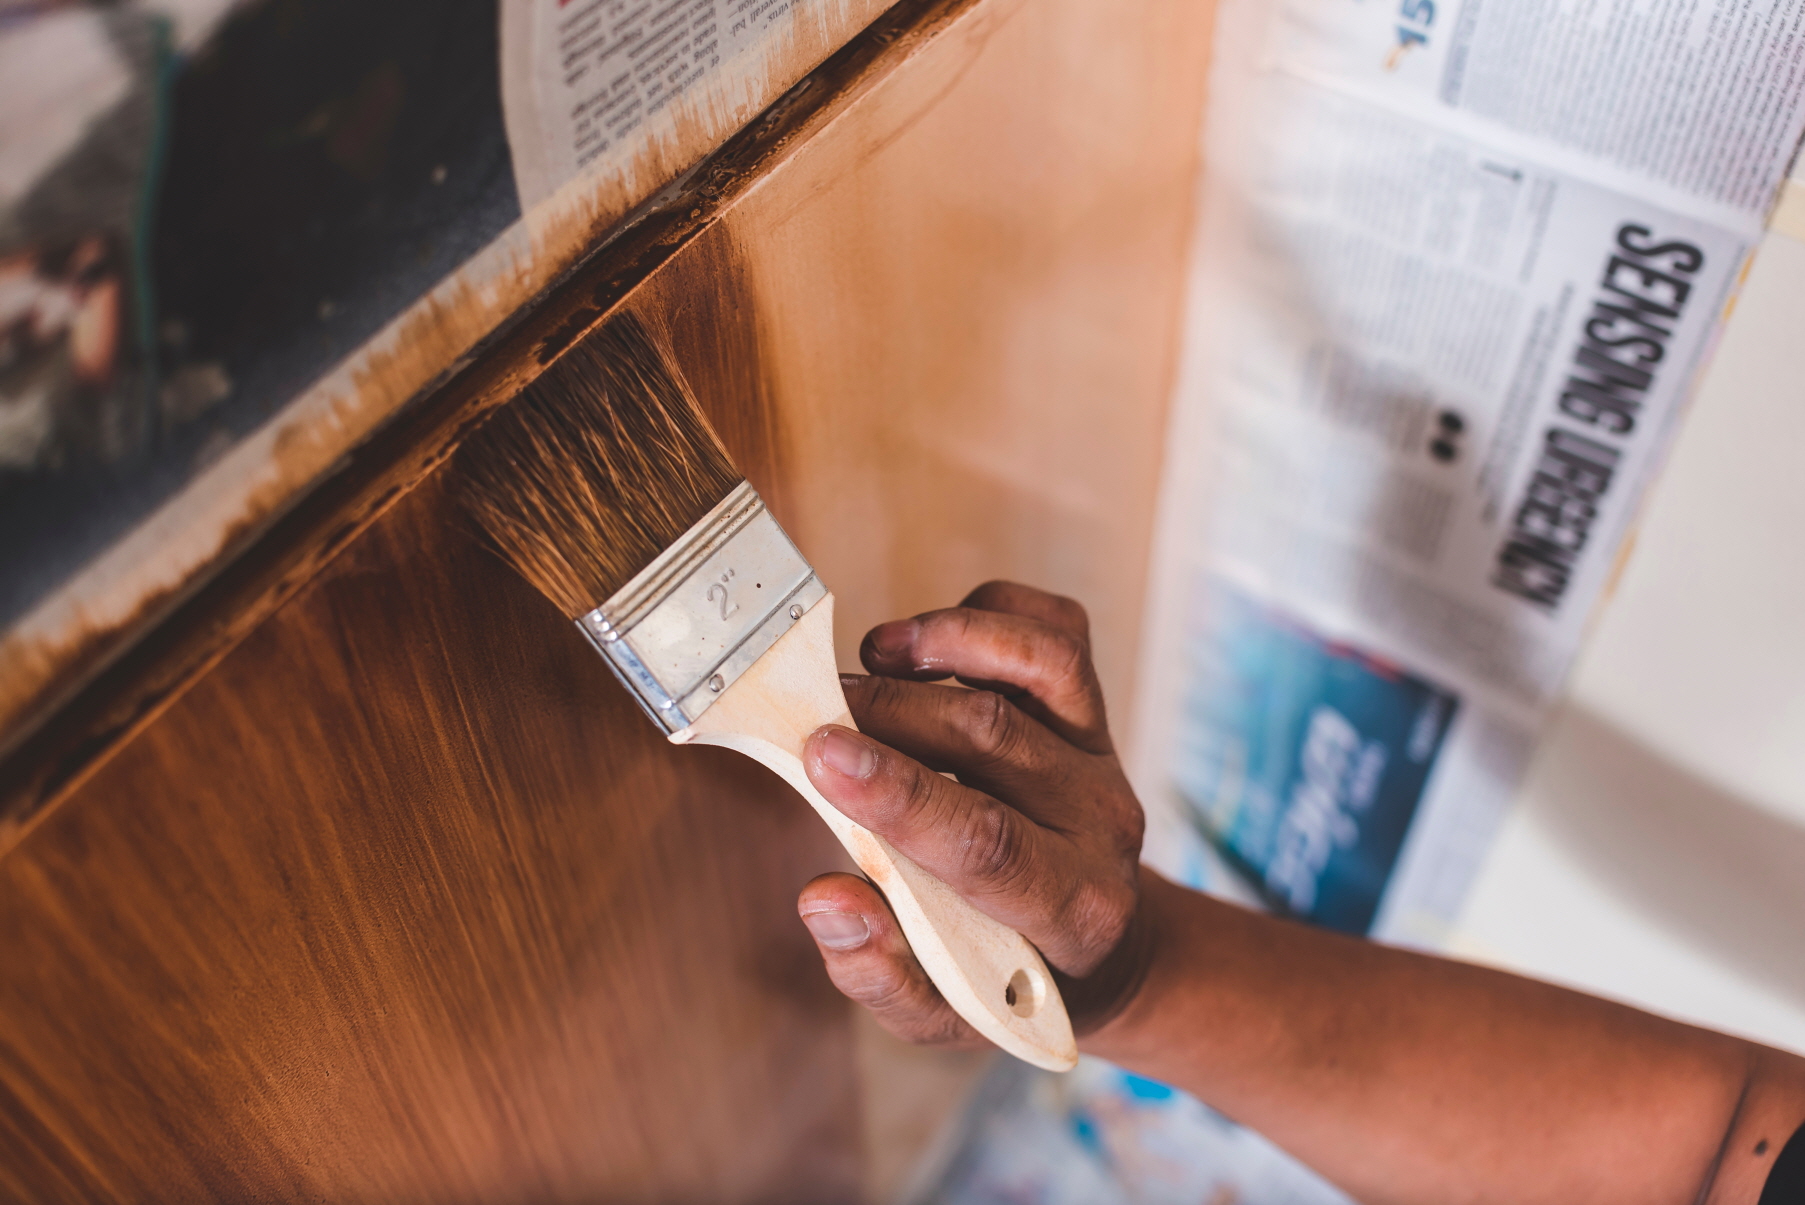
The final phase is to paint your new vanity doors and drawers. You need to prime MDF before painting it. This ensures that the surface is sealed and that the paint adheres well.
The type of primer you use on your new doors and drawer fronts depends on the type of wood they are made of. For new wood that is not stained, use a high-quality latex or oil-based primer.
This is important because wood is porous and absorbent, and a primer will help you achieve a more even finish when the paint goes on. If the wood is already painted (but you plan to repaint it), then use a stain-blocking primer.
Once the primer is dry, you can paint the MDF. Use a high-quality brush. Apply the first coat of paint and allow it to dry completely before applying another.
The best paint depends on your personal preferences. In general, oil, latex, and acrylic paints are ideal for furniture, while chalk paint can achieve a unique matte finish. Avoid spray paints, as they tend to glob up and run.
After it dries, sand very lightly with extra-fine sandpaper. This will remove any clumps of paint that have formed. Apply the final coat and allow them to dry once again.
Choose Your New Bathroom Vanity Door With LX Hausys
Now that you know the basic steps to change a bathroom vanity door and drawer fronts, you are ready to get started. With a little patience and attention to detail, you can complete a bathroom vanity DIY makeover.
We hope you found these bathroom vanity redo ideas helpful. Since 1947, LX Hausys has been sourcing the highest quality materials to enhance the value of living spaces. Our goal is to create aesthetically pleasing floors and surfaces through the use of energy-efficient and eco-conscious materials. Reach out to us today for assistance finding bathroom vanity replacement doors.