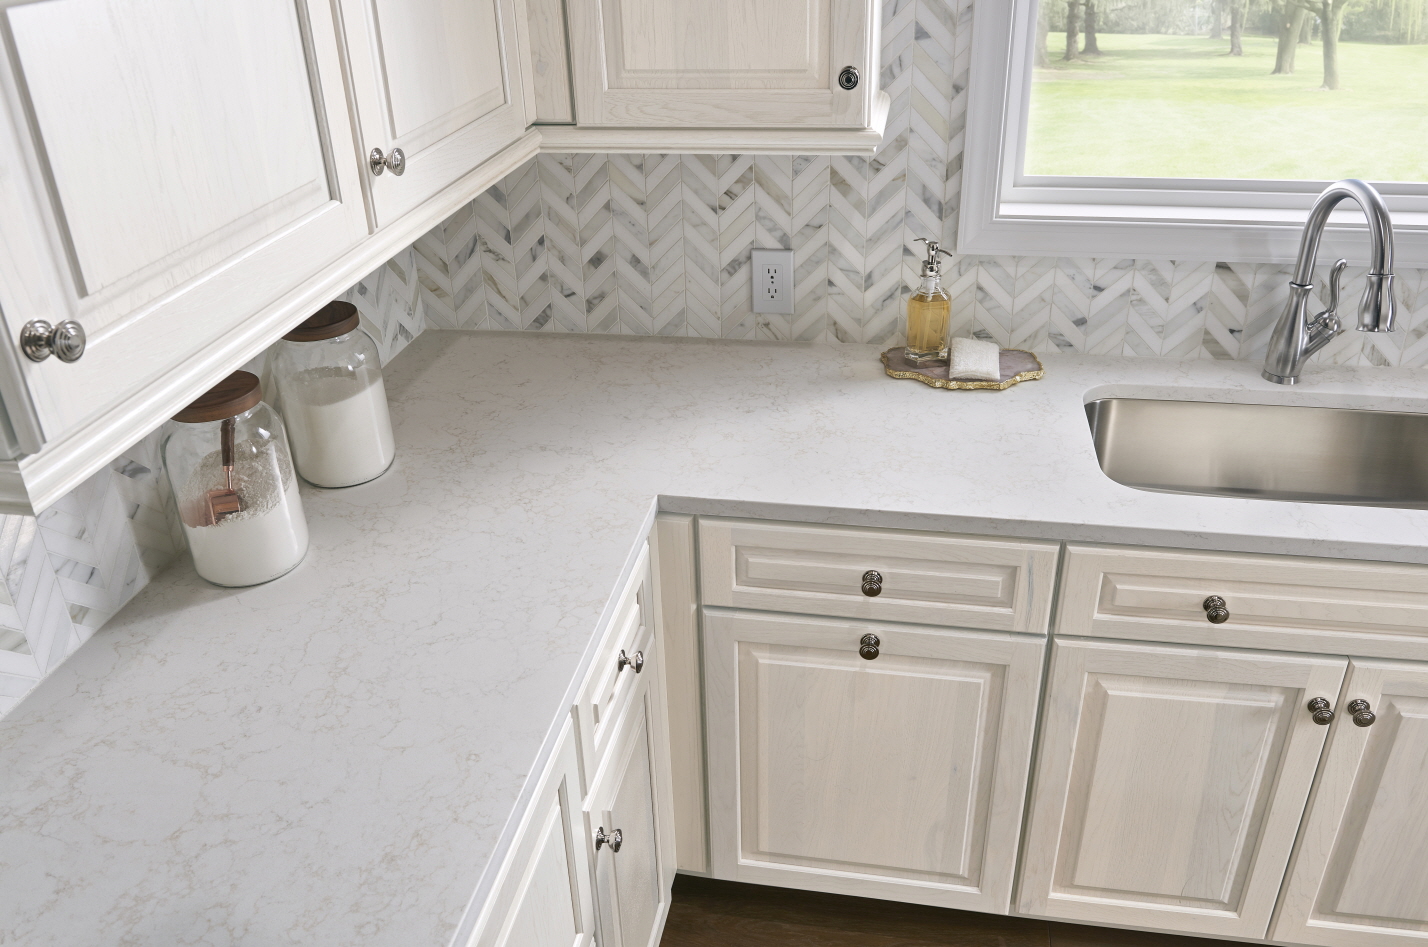
If you have white laminate cabinet doors in your kitchen, transforming them into something fresh and new is easier than you think. According to one study from 2023, 46% of American respondents said they’d choose the color white for their cabinets, which means 54% of homeowners prefer a different hue.
Painting white laminate cabinets is a great way to refresh and update your kitchen (or bathroom) without having to spend a lot of money.
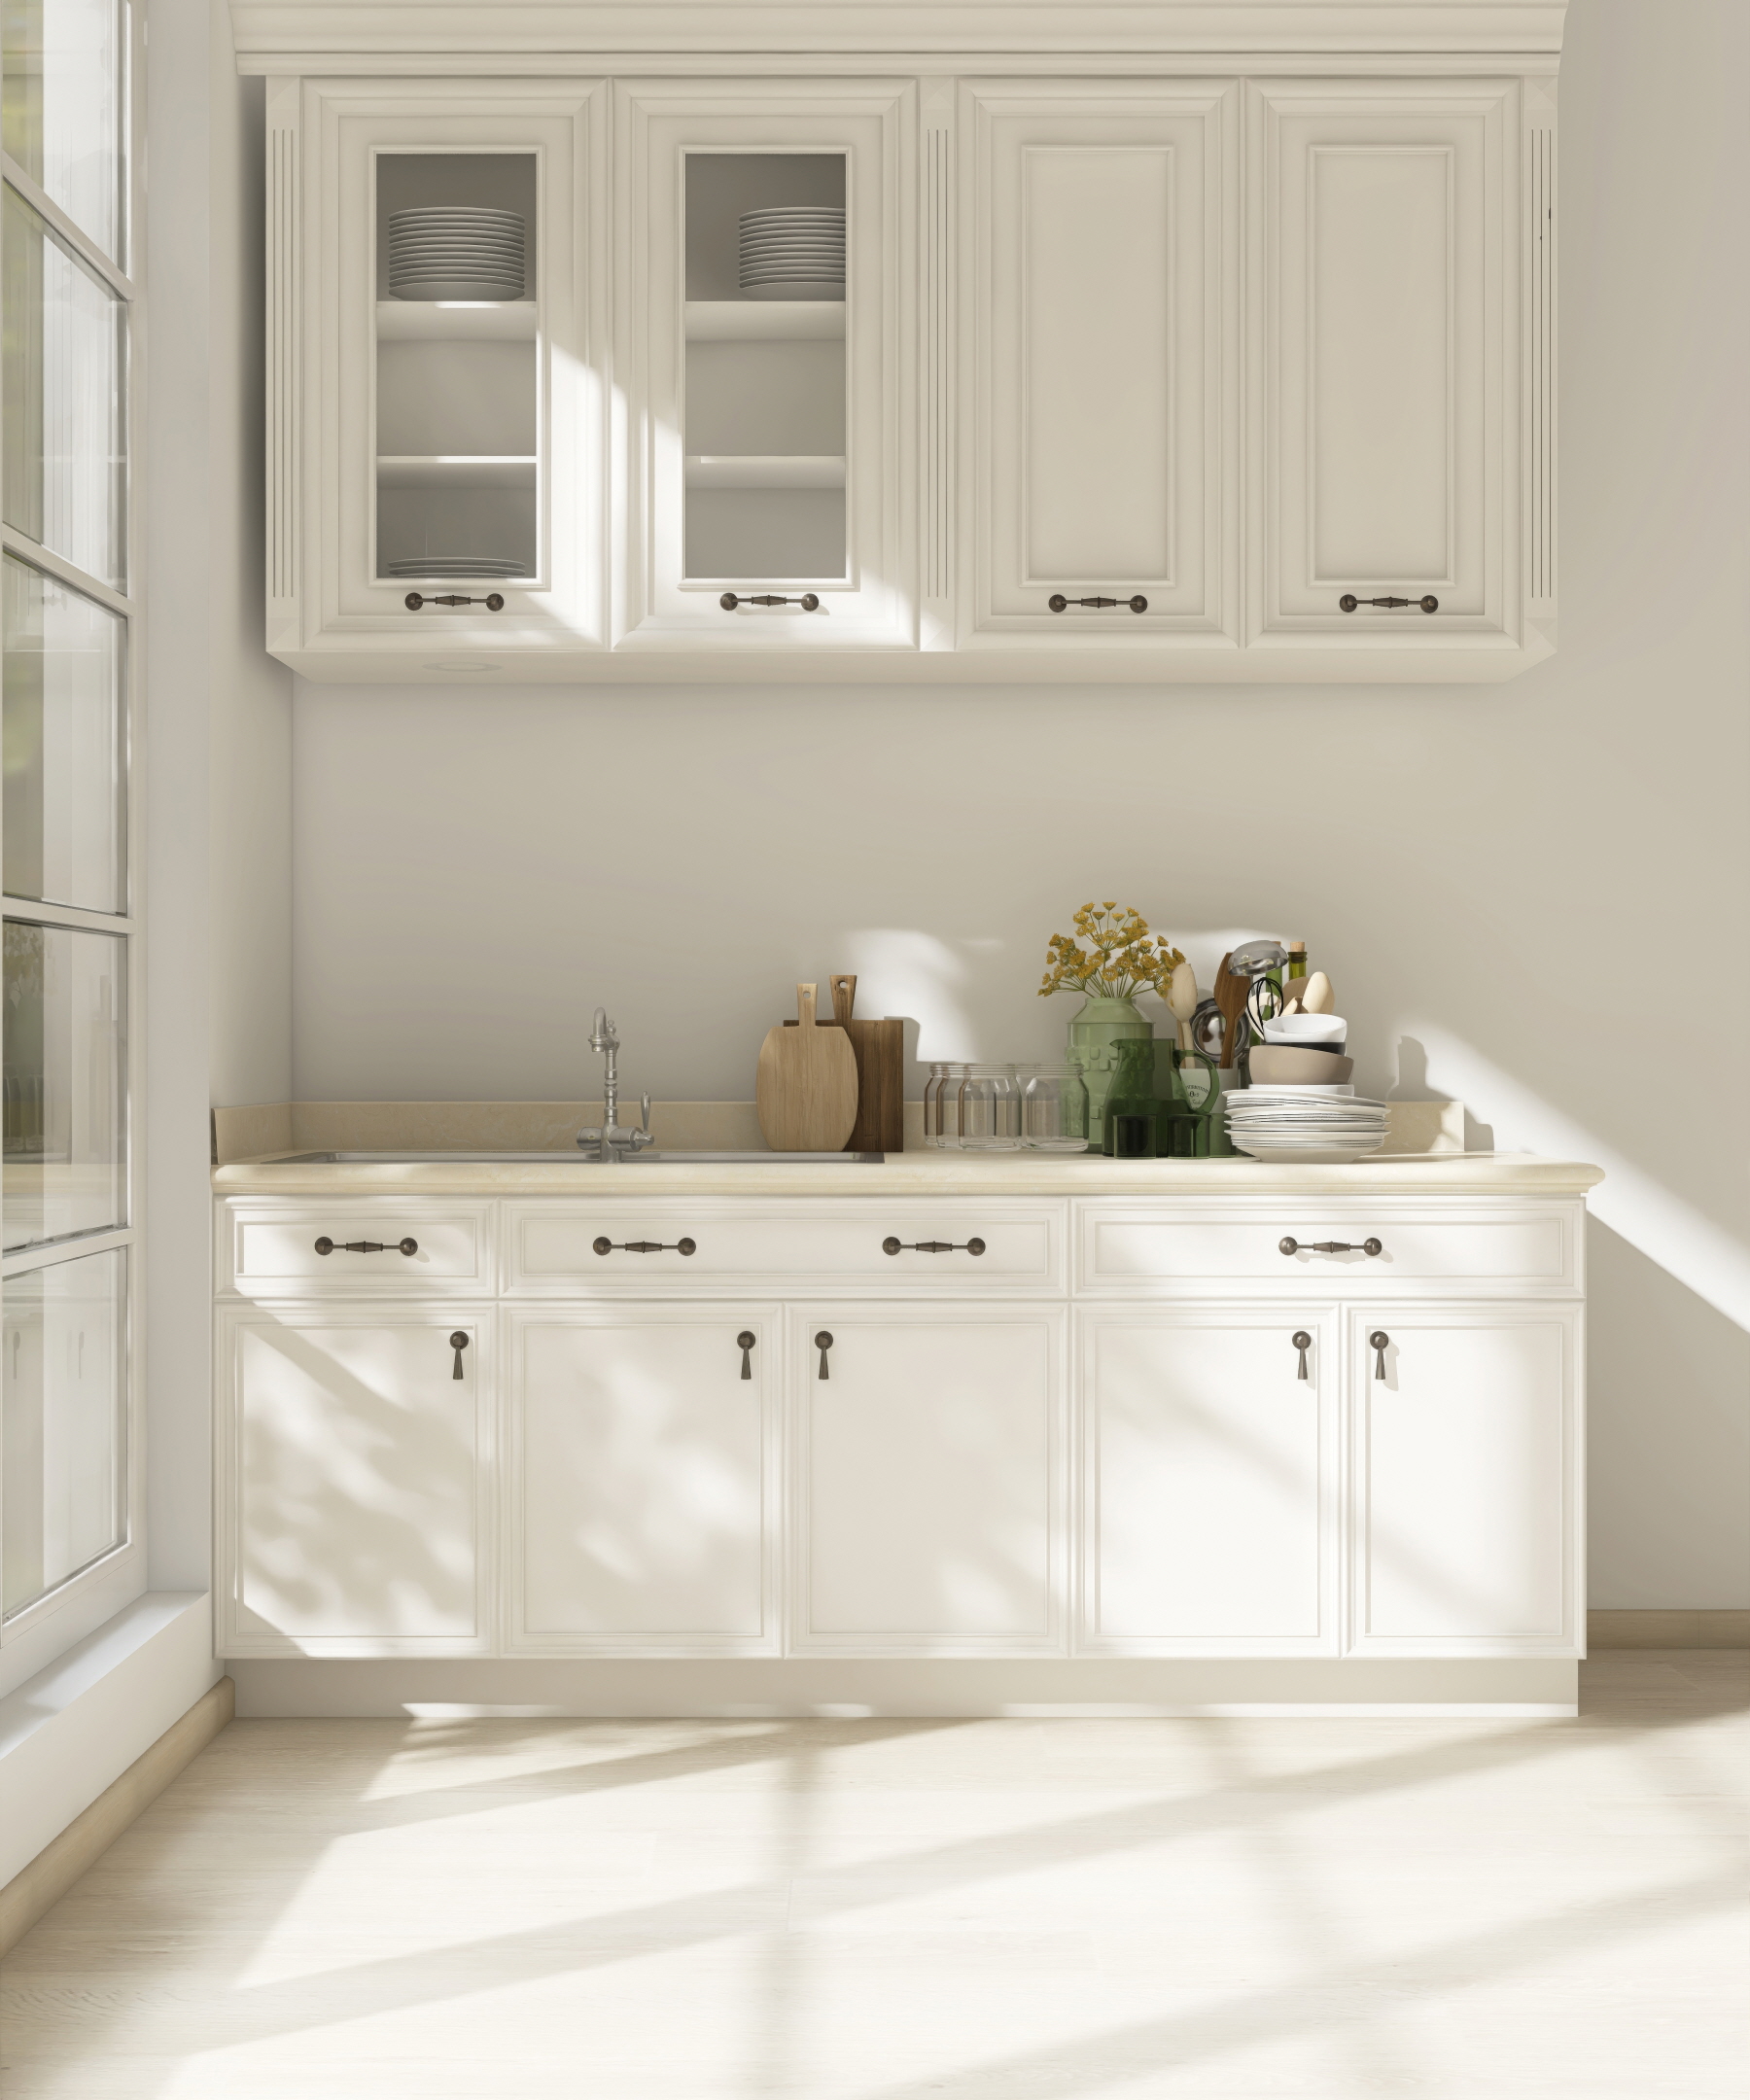
Although this process is straightforward, it does require careful preparation and the right materials to ensure you achieve a durable and attractive finish. Read on to learn how you can upgrade your replacement cabinet doors DIY.
Step-by-Step Instructions
If you’re planning to repaint your white laminate kitchen cabinets, follow these step-by-step instructions to ensure an easy process. Each step is essential to ensure that you’re doing everything in the best possible way for a stunning outcome on a budget.
Step 1: Remove Cabinets and Hardware
You’ll need to remove the cabinet hardware before you can take the cabinet doors off. Using a screwdriver, carefully remove each hinge, knob, handle, or pull from the doors.
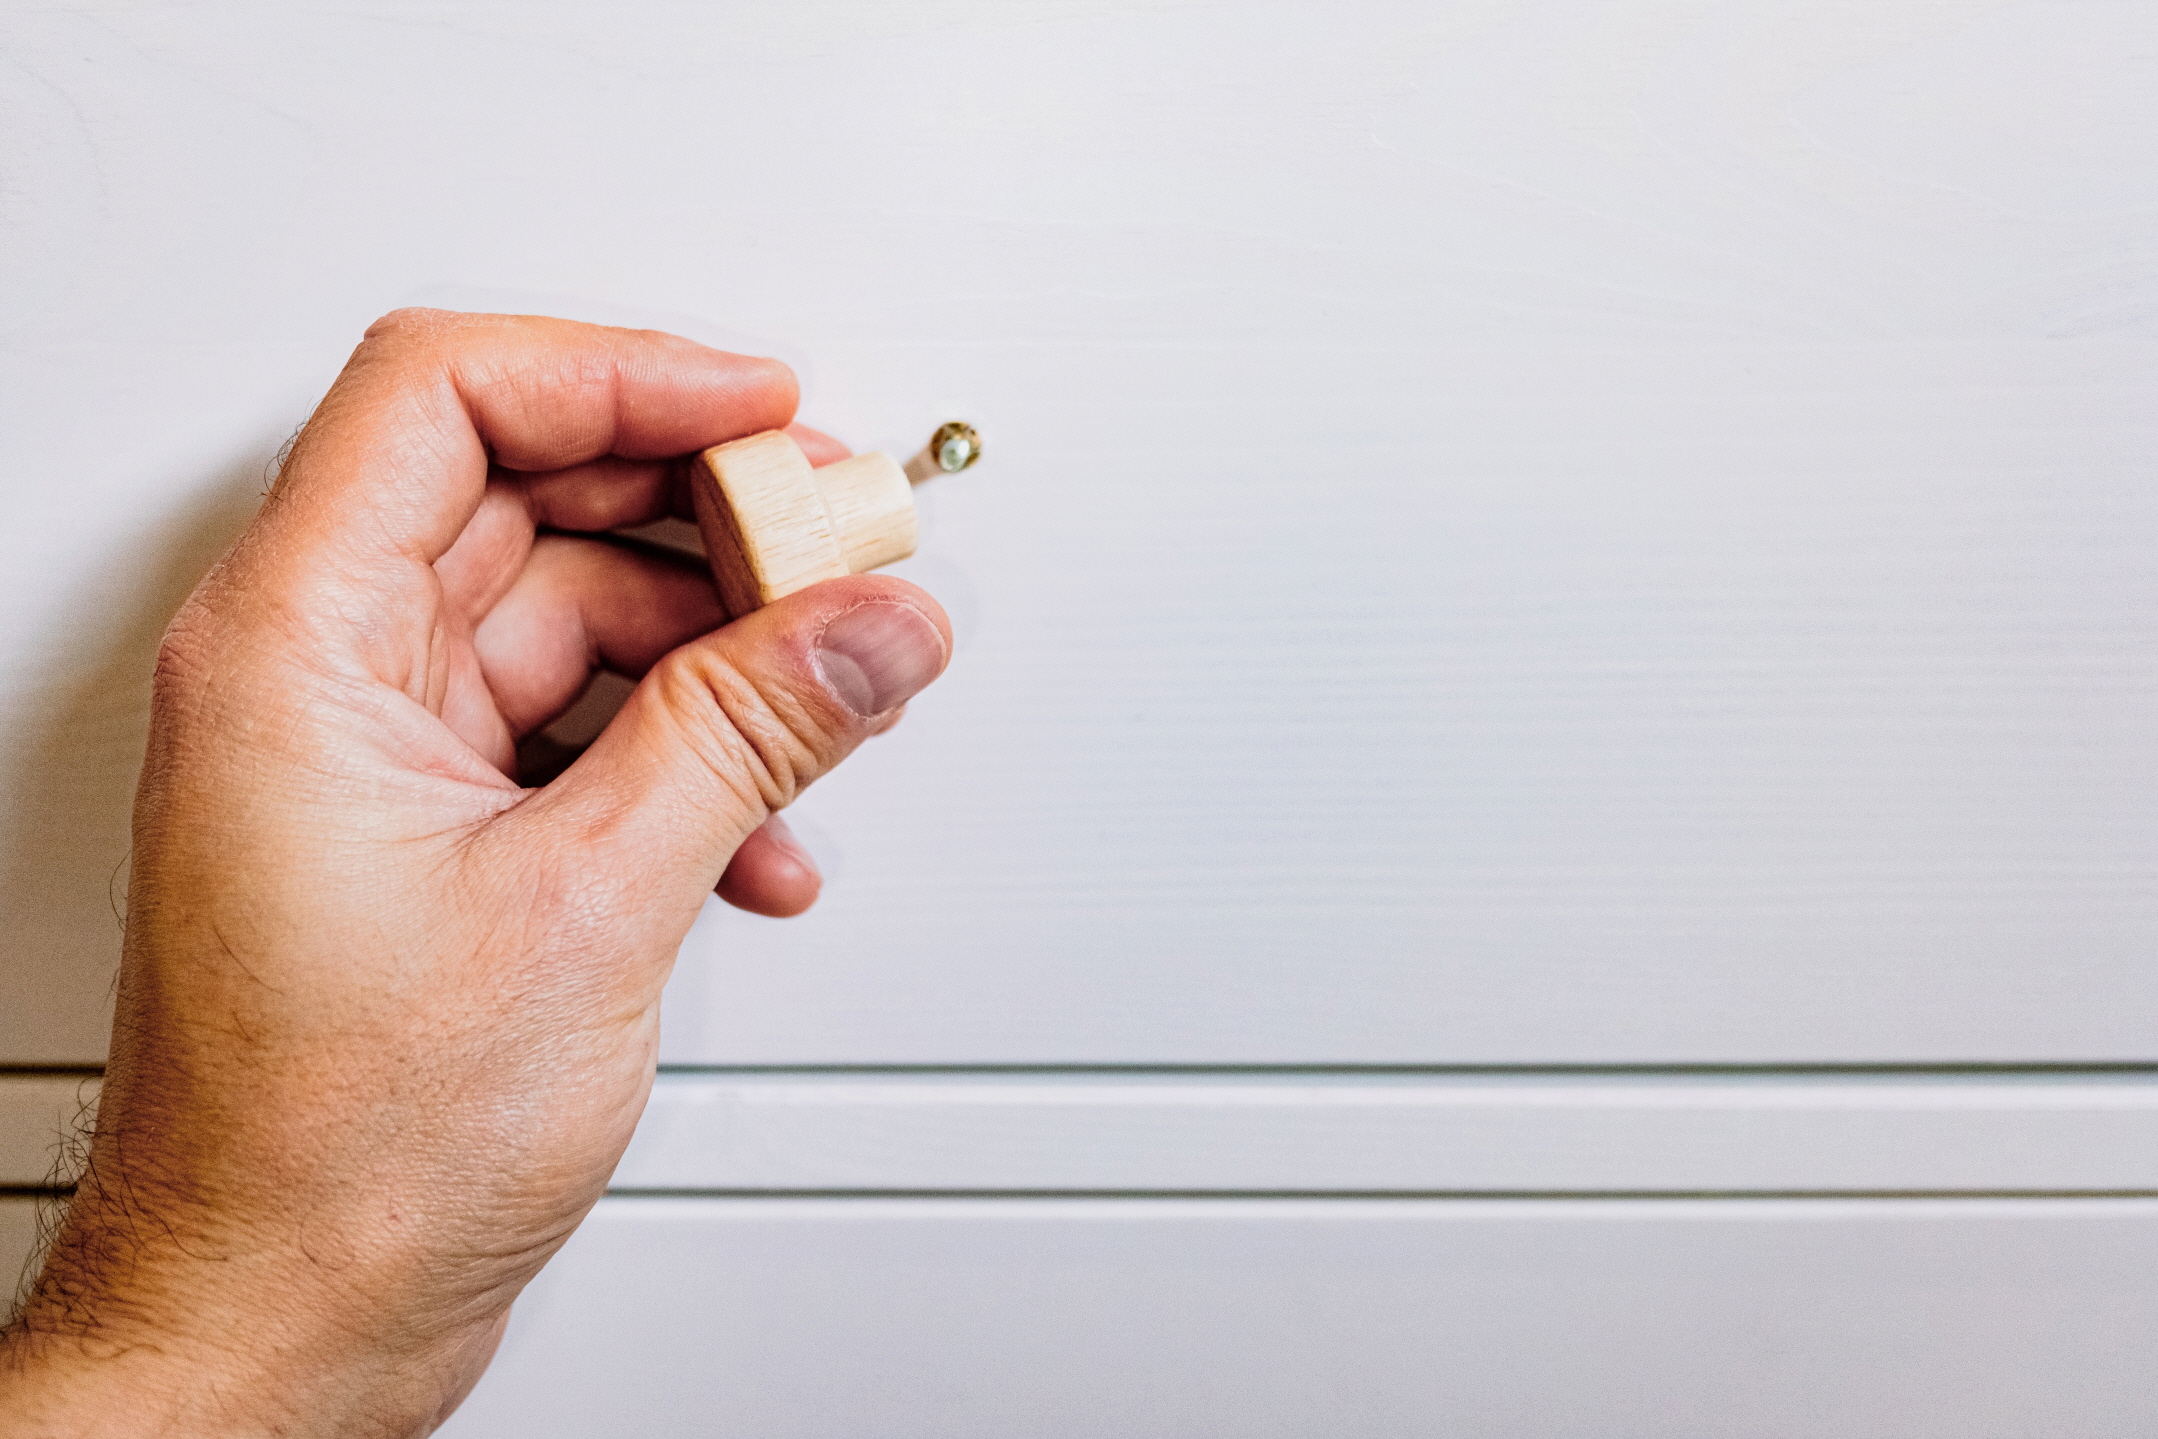
Place all of the small parts including screws inside a plastic bag, jar, or storage container and label them as you go. This way, you’ll know exactly what parts go back into place later when you reassemble everything, and you’ll know how to find them. Store the parts on a shelf in your kitchen pantry or inside a drawer for easy access later.
Once all of the hardware is removed, you can gently pull the cabinet door off. Mark the doors as you remove them so you know exactly where they go once the painting process is complete.
Step 2: Clean and Sand the Laminate Surface
Now that the doors are removed and all parts are labeled and put away, it’s time to clean and sand the laminate surface. This is also a great time to look for any signs of damage and make repairs. If you notice any cracking or warping, use a quality waterproof adhesive to reattach the laminate before you start sanding.
Remove grease, dirt, soot, and stain using a mixture of white vinegar and water or TSP (trisodium phosphate). Make sure you wear gloves for protection and follow the product label instructions to clean the cabinet doors safely. After this step, wipe the doors down using a soft cloth and some clean water, then let them dry before sanding them.
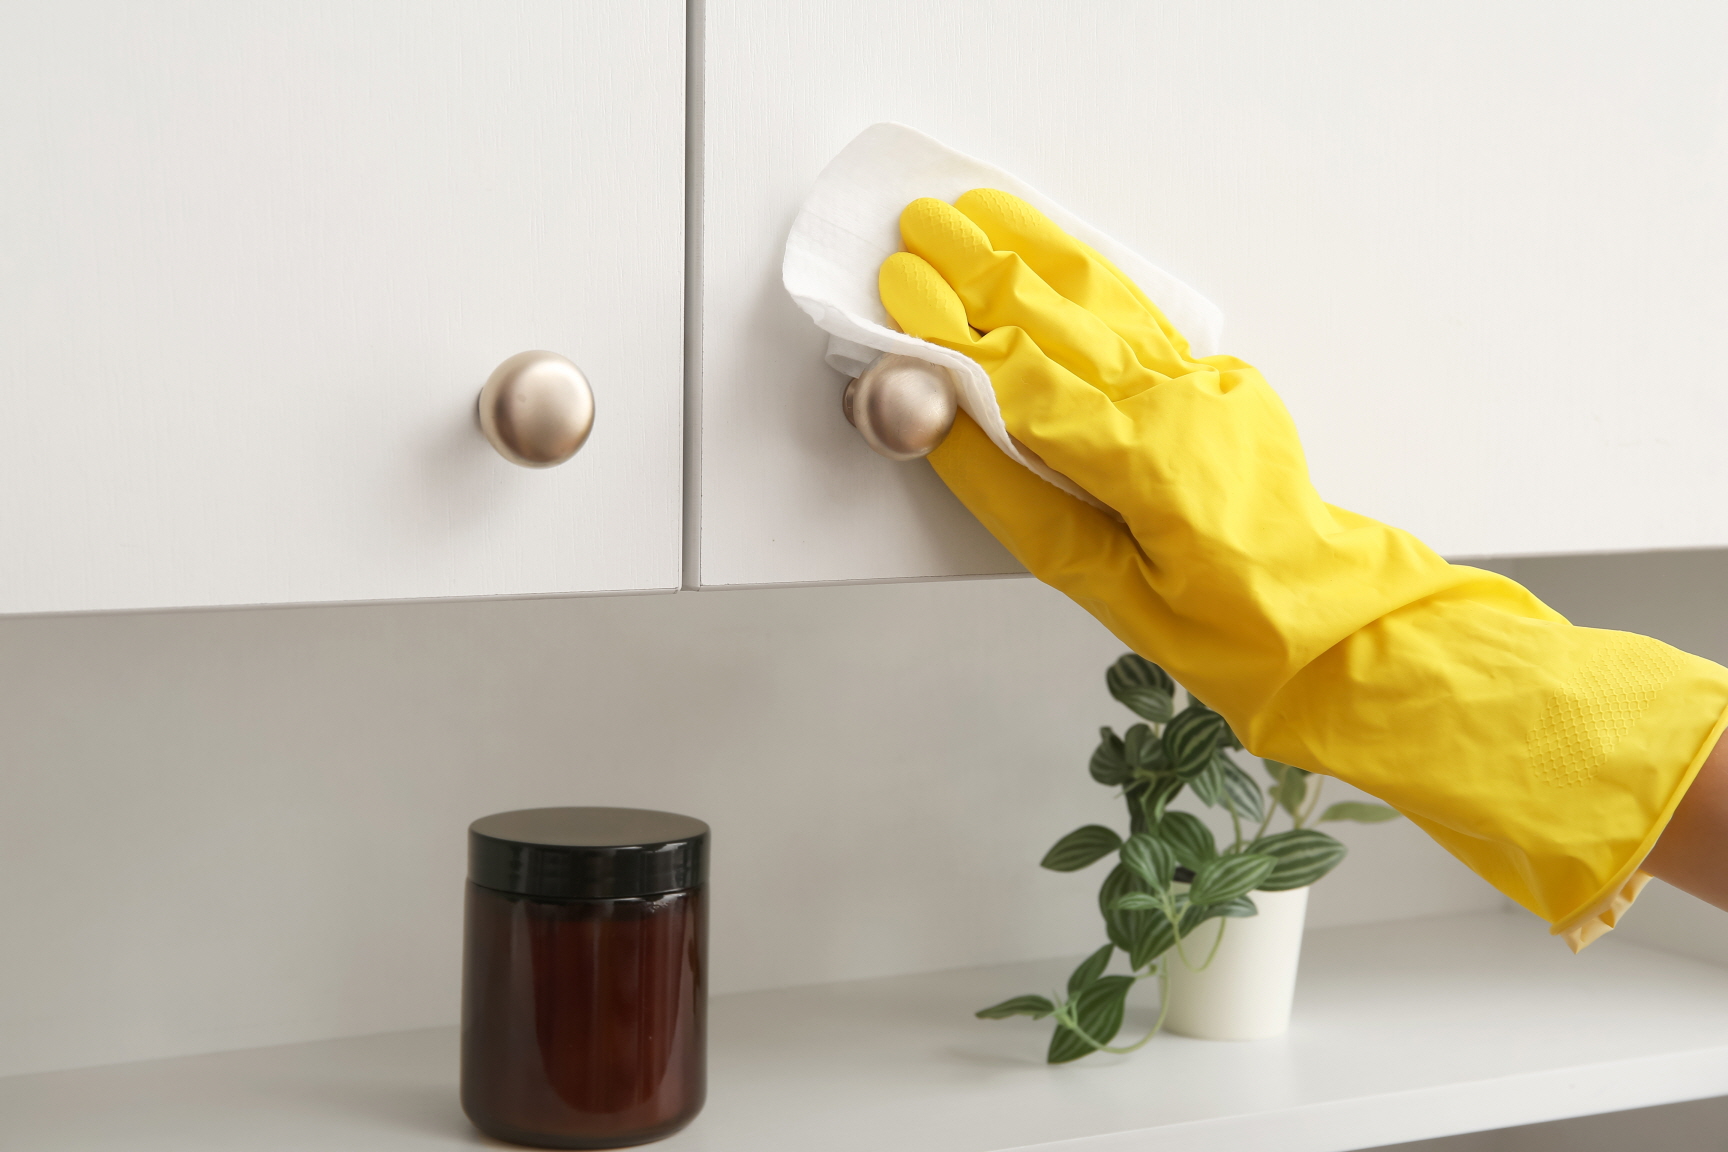
Sanding the laminate is an essential step because this material is too smooth for paint to adhere to the surface. Using 120-grit sandpaper, lightly sand the cabinet doors, making sure that you cover the entire area to create a rough surface. You can remove any leftover debris by wiping the cabinet doors off with a rag or using a vacuum cleaner.
Step 3: Prime the White Laminate Cabinets
Priming the cabinets is essential since it creates an optimum surface for the paint to adhere to. Use a high-quality primer and paintbrush to help keep stroke marks to a minimum.
Be sure to apply primer to all of the cabinet’s top, bottom, and side edges as you go. A roller will help you get a smooth, stroke-free finish on the front of the cabinets.
Step 4: Sand Between Coats
After the first layer of primer has completely dried, sand everything again. Make sure you use fine-grit sandpaper and a sanding block, using light, gentle strokes to ensure that you don’t accidentally remove the first layer of primer you just applied. When you’re finished, simply clean off any remaining dust with a dry, soft cloth.
Step 5: Paint the Cabinets
By now, you’ve likely already chosen your new cabinet color. Be sure to use paint that is specially formulated for kitchen cabinets with a tough, chip-resistant finish that’s easy to clean using mild soap. Paint with a satin finish will help to hide imperfections and give your kitchen a sleek, modern touch.
Ok, it’s finally time to paint those white laminate replacement cabinet doors in a shade you’ll love! Apply the paint using a roller wherever possible to prevent visible brush strokes.
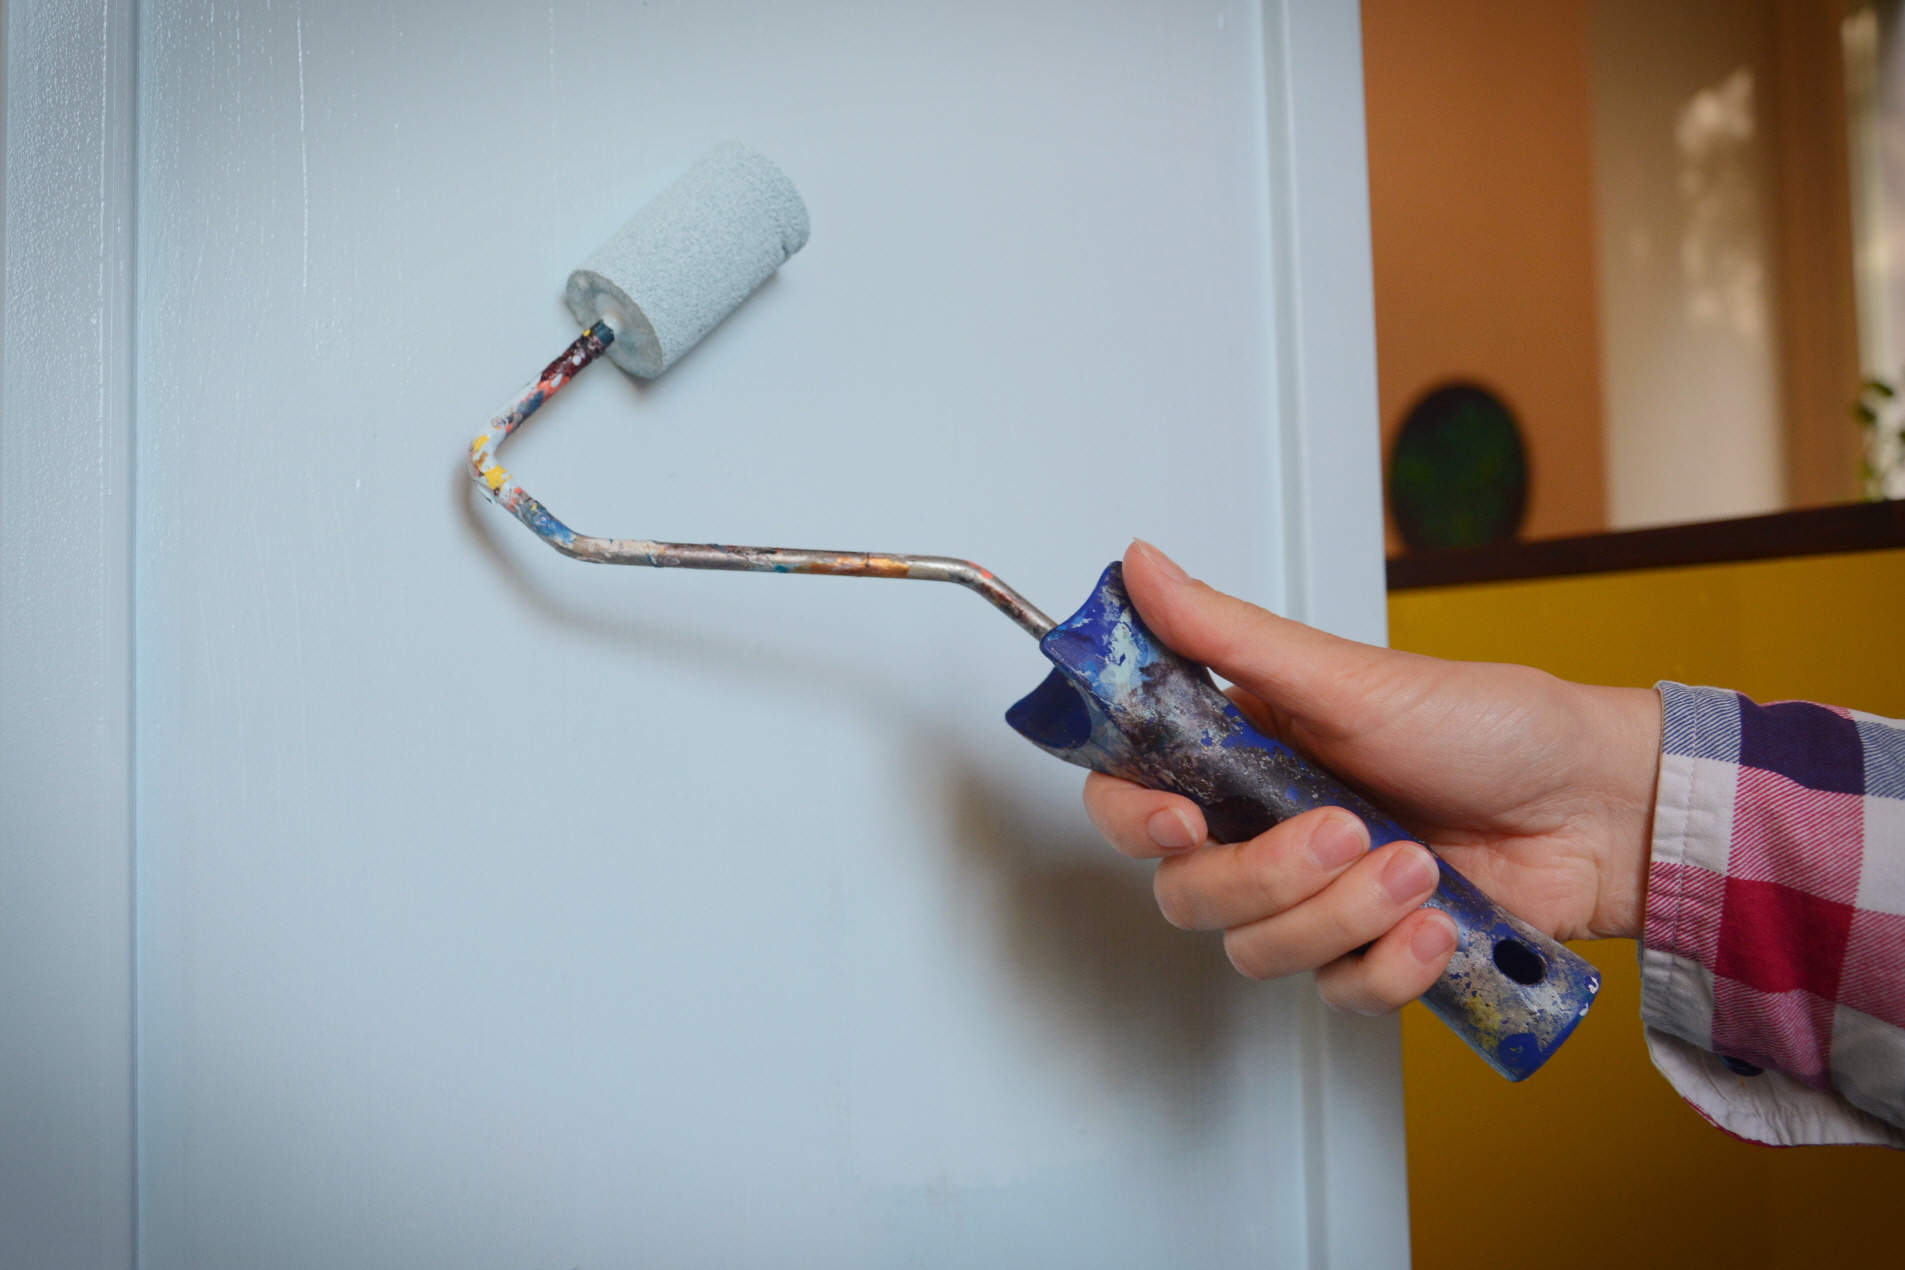
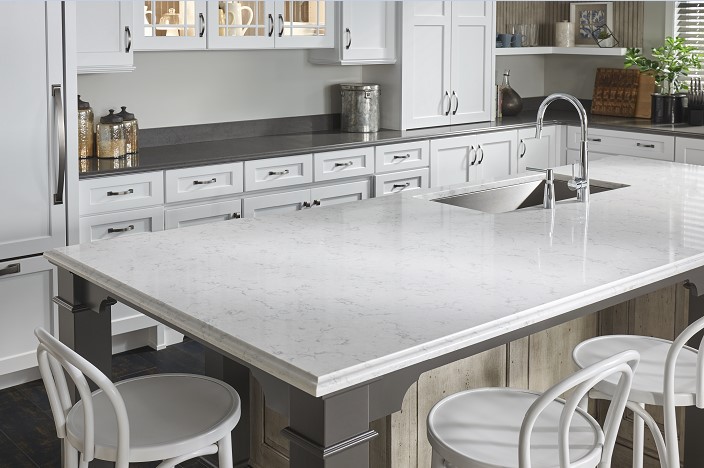
You may need to reapply a second coat of paint after the first one dries to get maximum coverage and an even appearance. Install our gorgeous VIATERA quartz surface countertops available in a variety of stunning colors for a beautiful finishing touch.
Step 6: Apply a Clear Top Coat (Optional)
Applying a clear coat to your newly painted laminate kitchen cabinets is completely optional. However, some people like to add this extra clear coat for another layer of protection.
The kitchen is a messy place where cabinets are vulnerable to food splatters and stains. On the other hand, if you have already applied high-quality paint designed for laminate surfaces, a clear coat isn’t necessarily a must.
Step 7: Allow the Paint to Cure
Make sure that you allow the paint to fully cure in between coats. Ideally, you should give each coat about 16 hours to fully cure before applying the next one. Once the final coat is cured for approximately 72 hours, you’re ready to re-install all of your freshly painted laminate cabinet doors and their corresponding hardware.
Step 8: Reinstall Cabinets and Hardware
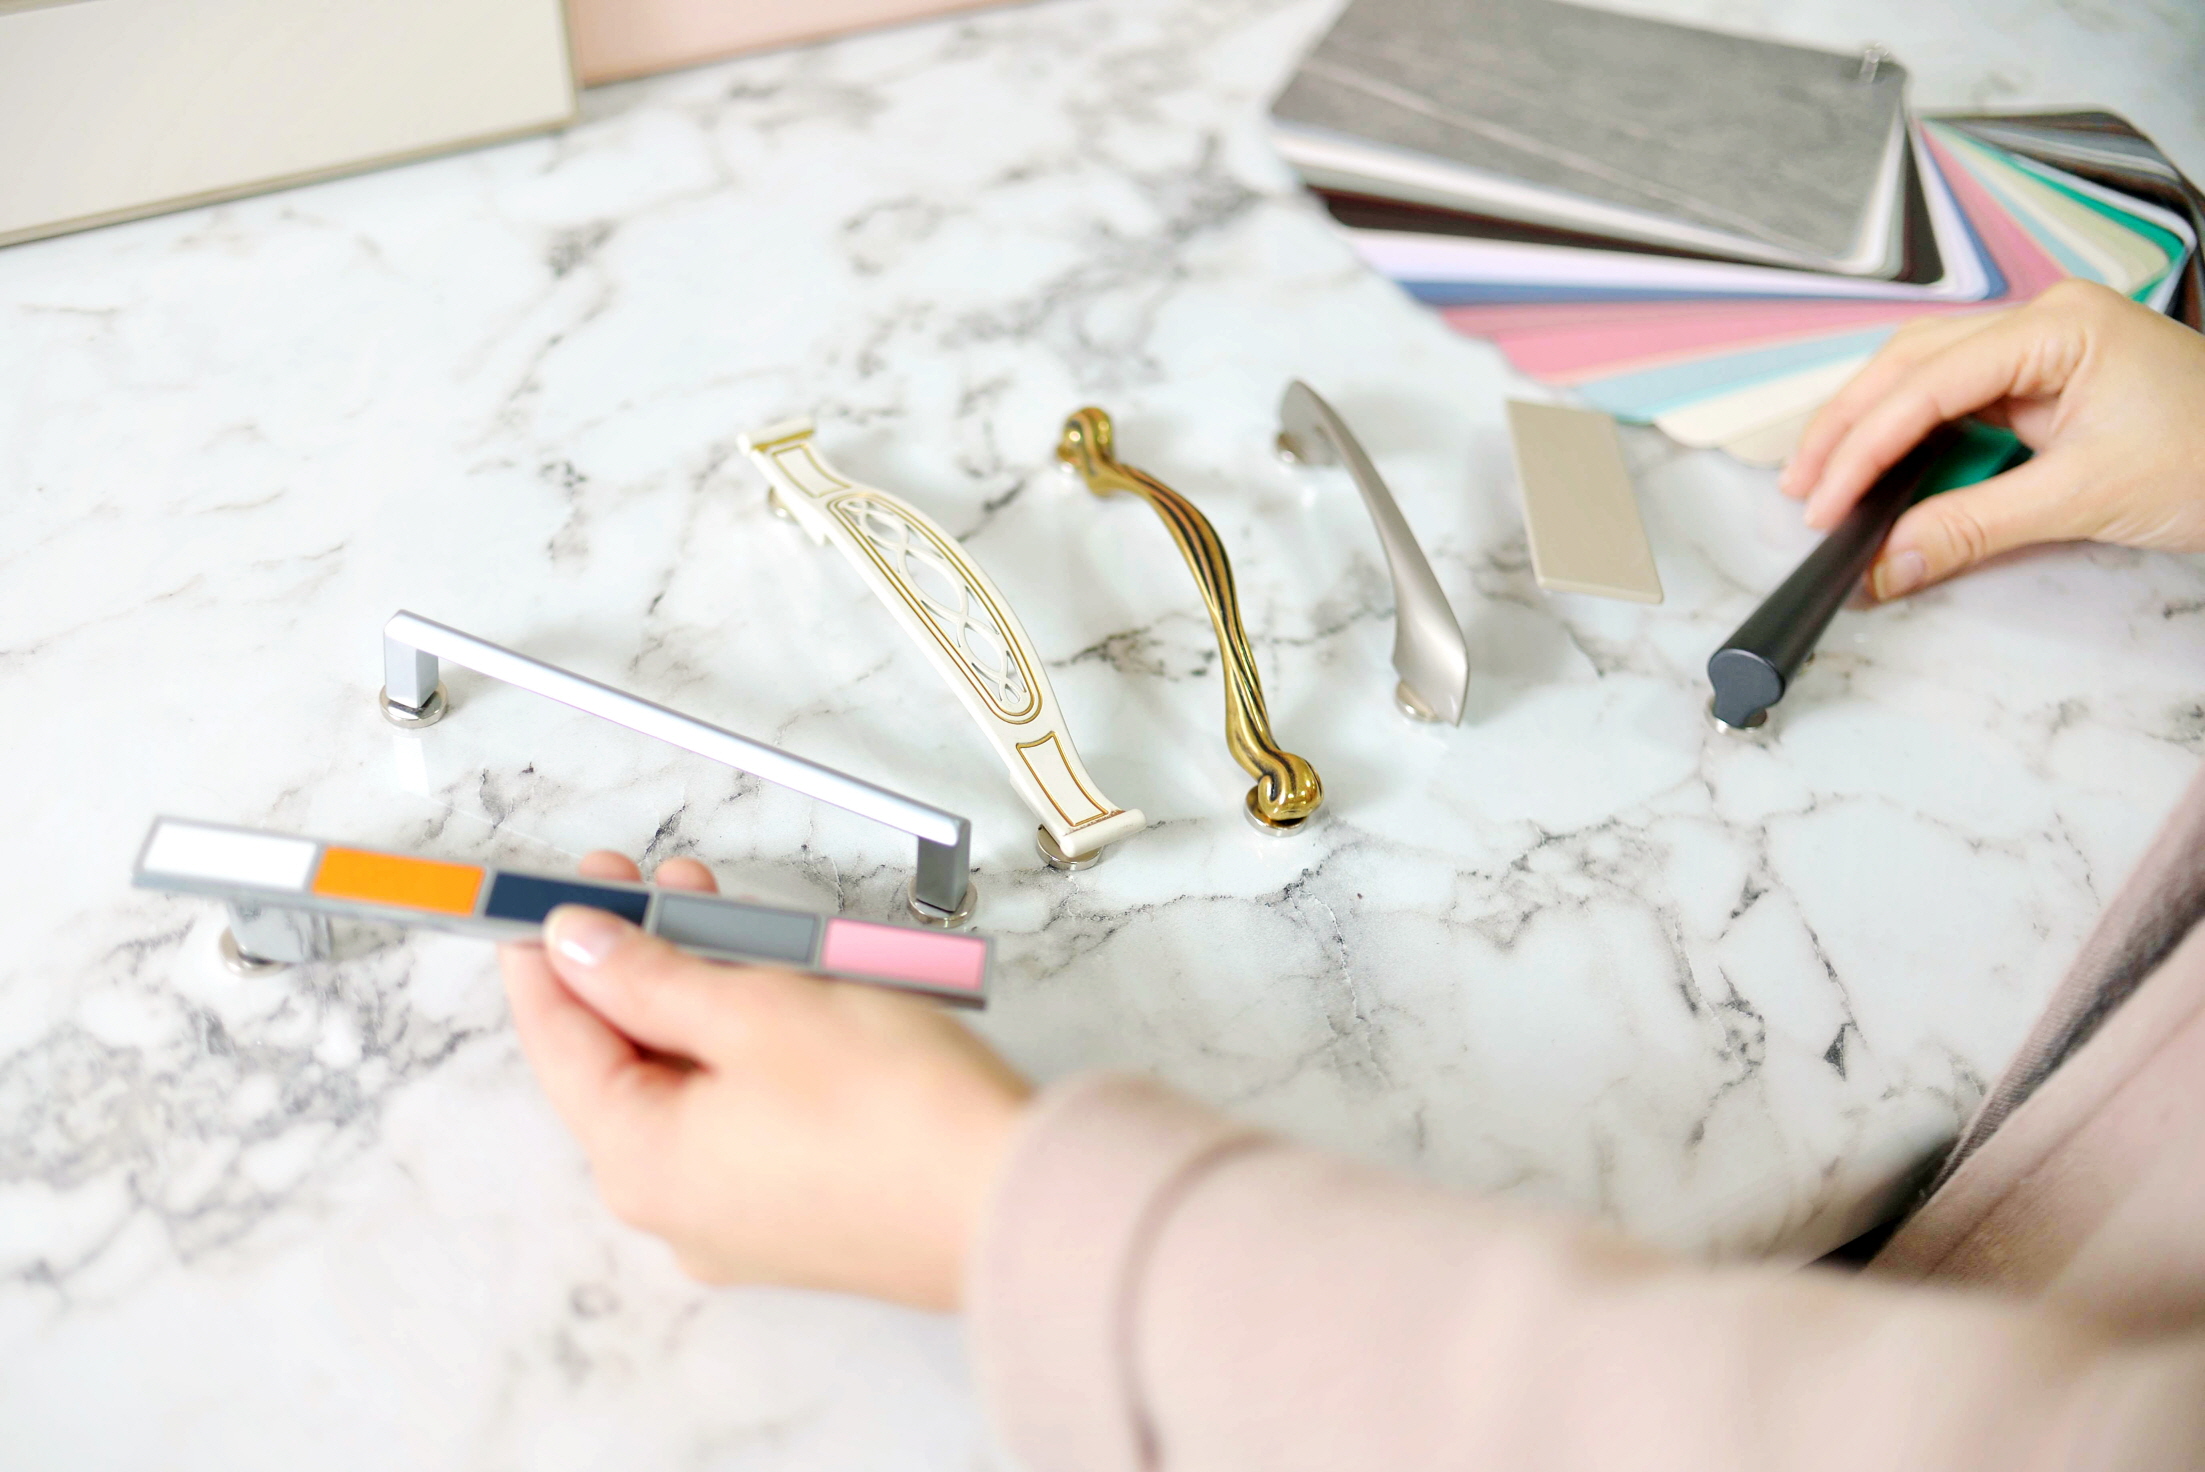
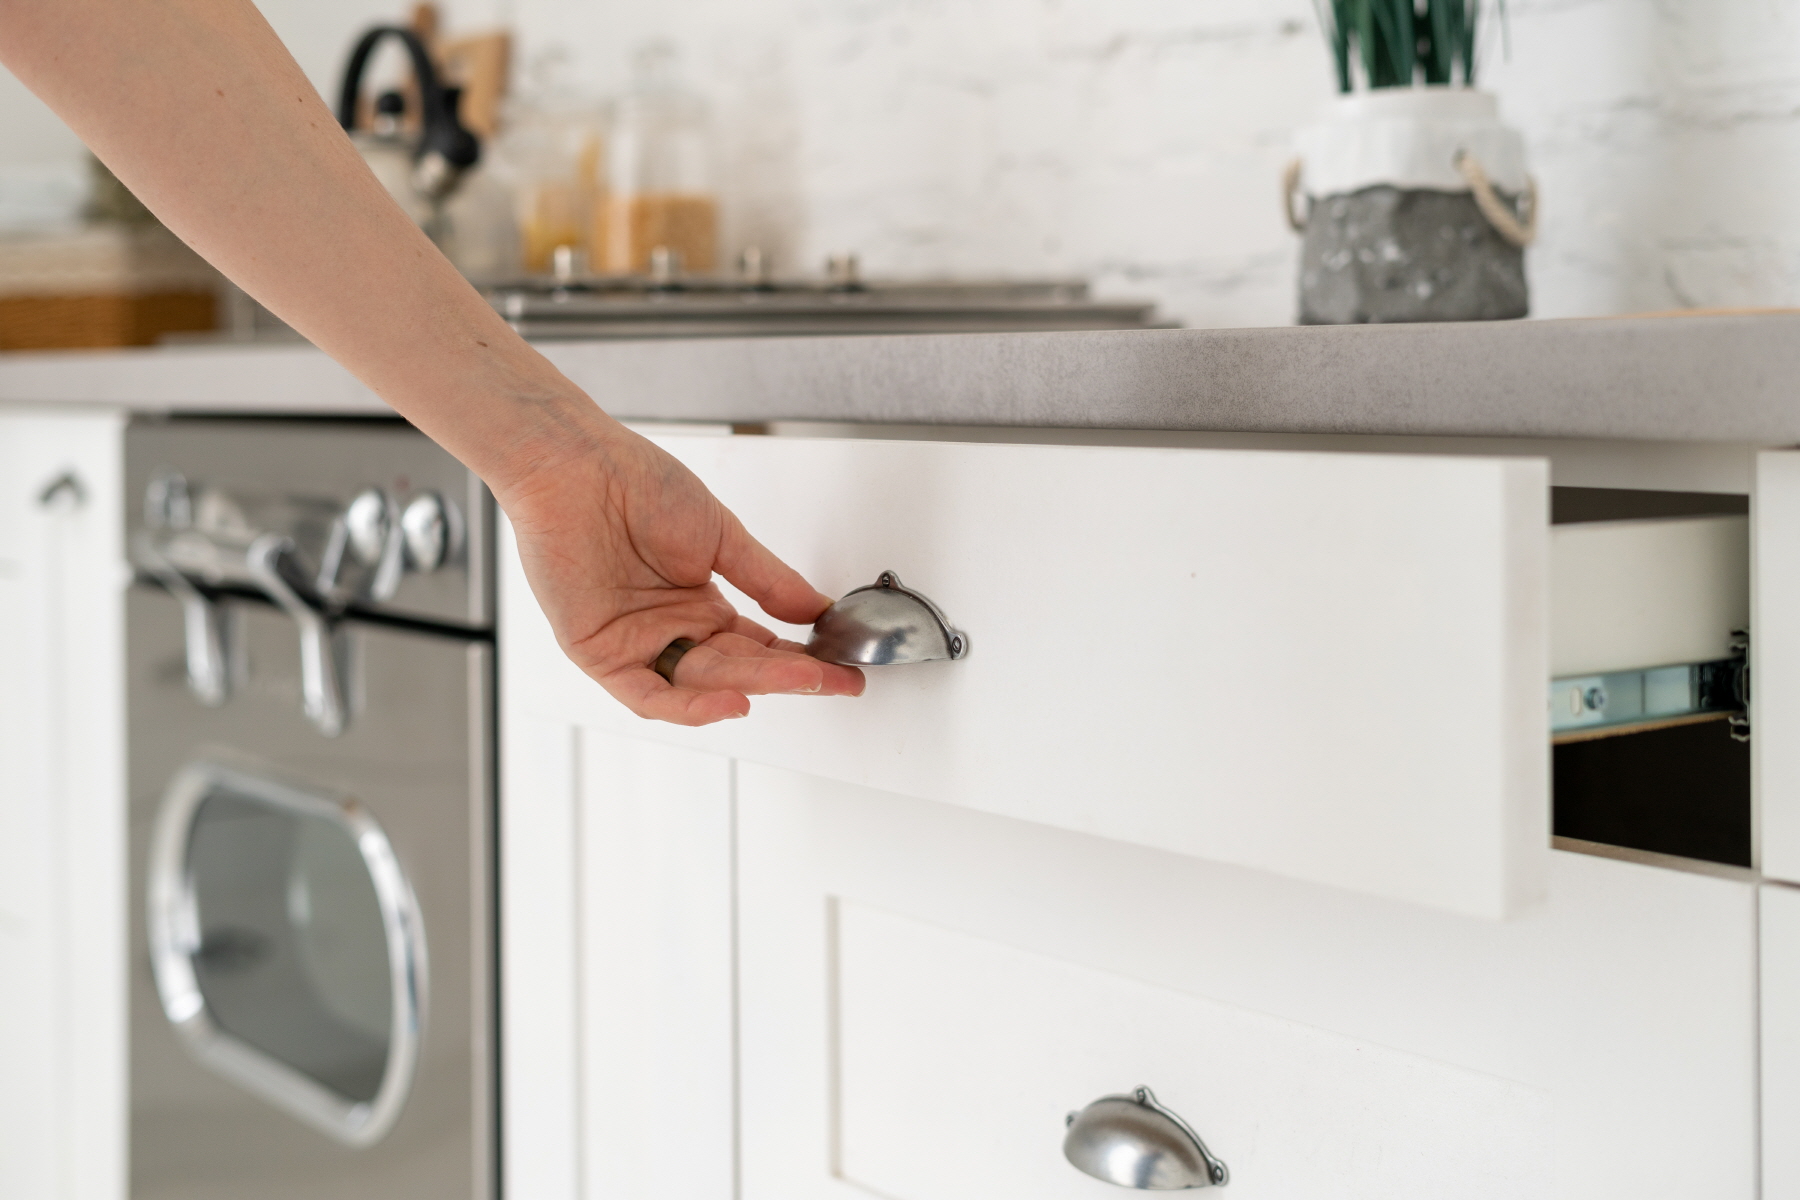
Locate all of the pieces and parts you removed previously and use them to re-attach the cabinets to the frame. Now is also a great time to change things up if you’ve found new door handles and other hardware you’d like to add. Check to ensure that all hardware is securely attached and that each door is level.
Additional Tips and Considerations
Here are some additional tips and things to consider to ensure a professional-looking finish. You’ll also learn about some common issues that might arise during your project and how to address them.

Filling the Grain
It’s important to fill the grain of your cabinet doors, especially if the laminate has a textured surface or a wood-grain finish. This step will help you achieve a smooth, even finish throughout.
Use a wood filler or a special laminate seam filler to smooth out any cracks or uneven areas. Once the product is applied and dried, gently sand it down using fine-grit sandpaper until it’s level with the rest of the cabinets. Complete this step before you prime and paint the cabinets.
Caulking Gaps on Replacement Cabinet Doors
If you notice any gaps between your laminate cabinets and the walls, caulking these gaps will help to fill this area in and provide a good seal. Gaps may appear due to your home slowly settling, poor initial installation of the cabinets, or because the cabinet doors have expanded and contracted over time due to humidity and moisture exposure.
Using a caulk gun, apply an even bead of caulk along all gaps. You can use colorless caulk or choose a caulk color that matches your walls or cabinets for a seamless finish.
Make sure the caulk fills in all areas with visible gaps, and use a sponge or your finger to push it into the gaps evenly. Allow the caulk to dry before you re-attach your laminate cabinets to the frame. Our TERACANTO porcelain surface makes a beautiful backsplash for your newly updated kitchen.
Choosing the Right Brush
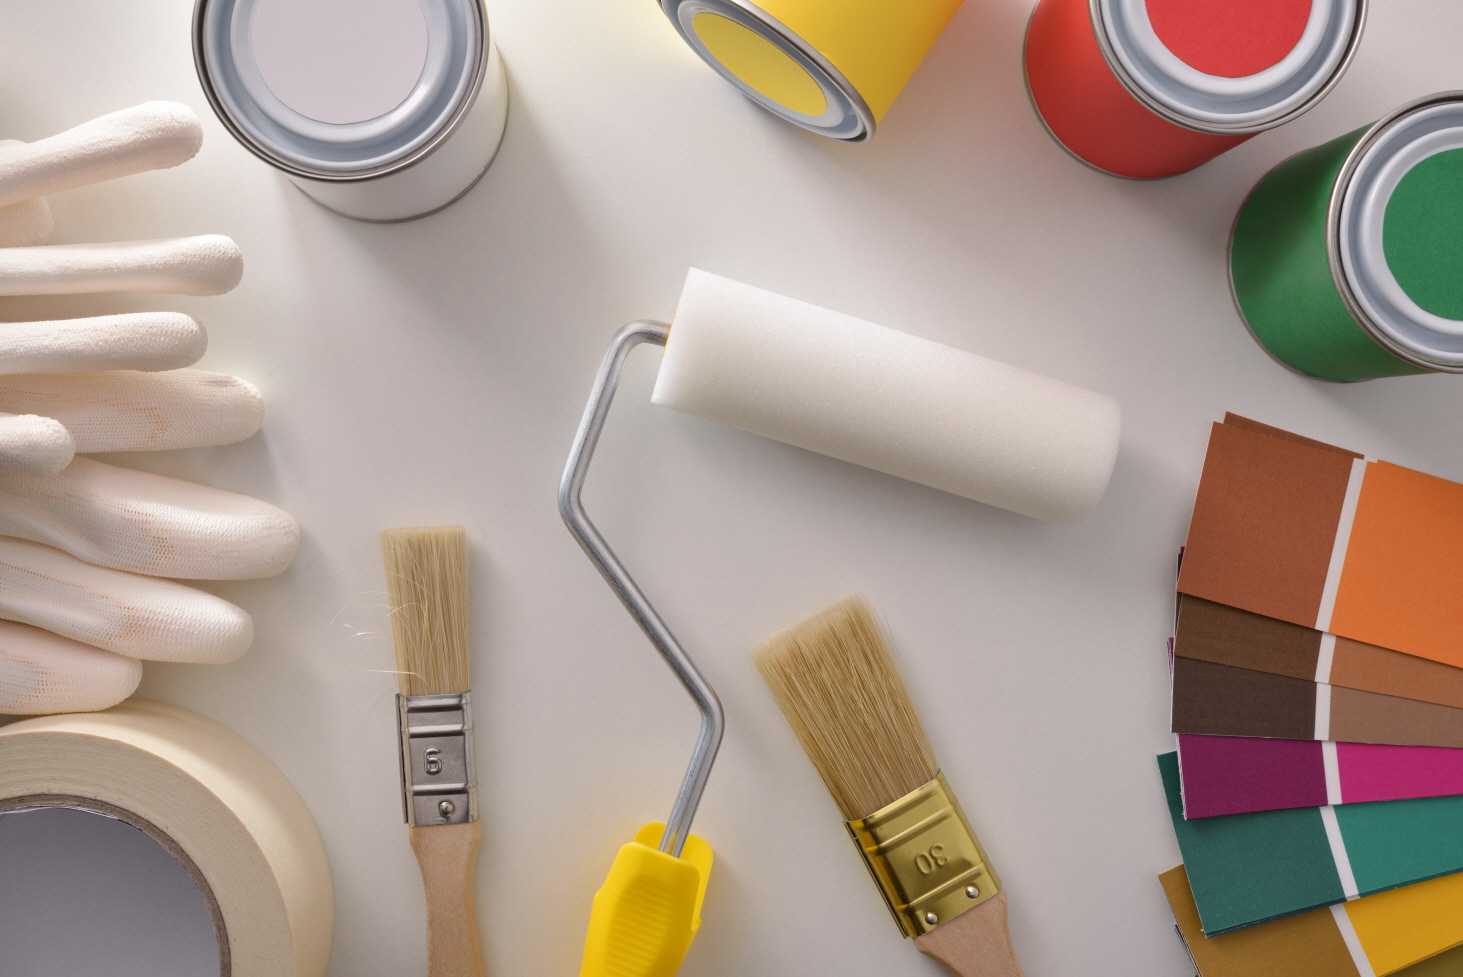
It’s important to choose the right brush when painting laminate kitchen cabinets. Make sure the paintbrush is narrow enough to reach into tight spots so you get even coverage.
Choose brushes made of soft or medium bristles to help prevent any brush marks. Paintbrushes made of synthetic bristles like nylon, polyester, or a combination of the two are best since they’re specially designed for cabinet paint. When covering larger areas, we highly recommend you use a roller instead of a brush to achieve an even, smooth finish.
Painting Order
Following the right painting order will help your project go more smoothly. After removing the cabinet doors and drawers, start by priming, sanding, and painting the upper and lower cabinet frames.
Use a roller to paint large areas like the side of your cabinets or kitchen island. After you’ve painted the frames and larger side areas, it’s time to paint the doors and drawers.
Apply one coat of paint to each door and drawer. This will allow each piece to dry and cure as you go, and it will reduce the amount of time you need to wait in between the next coat.
We recommend painting your kitchen cabinets outside or in a shed or garage to prevent the paint from dripping onto your floors. If you need to paint inside, use a large tarp or sheet to cover the floor.
Elevate Your Kitchen with a New Cabinet Color
It’s easy to paint your white laminate replacement cabinet doors using these step-by-step instructions. Remember to sand your doors and drawers, use a high-quality primer and paintbrushes, and purchase paint that’s specially formulated for cabinets to get a gorgeous finished product.
At LX Hausys, we provide eco-conscious and energy-efficient materials and products to help you create a future space with an aesthetically pleasing and human-friendly design. Contact us today to discuss your next project.
