
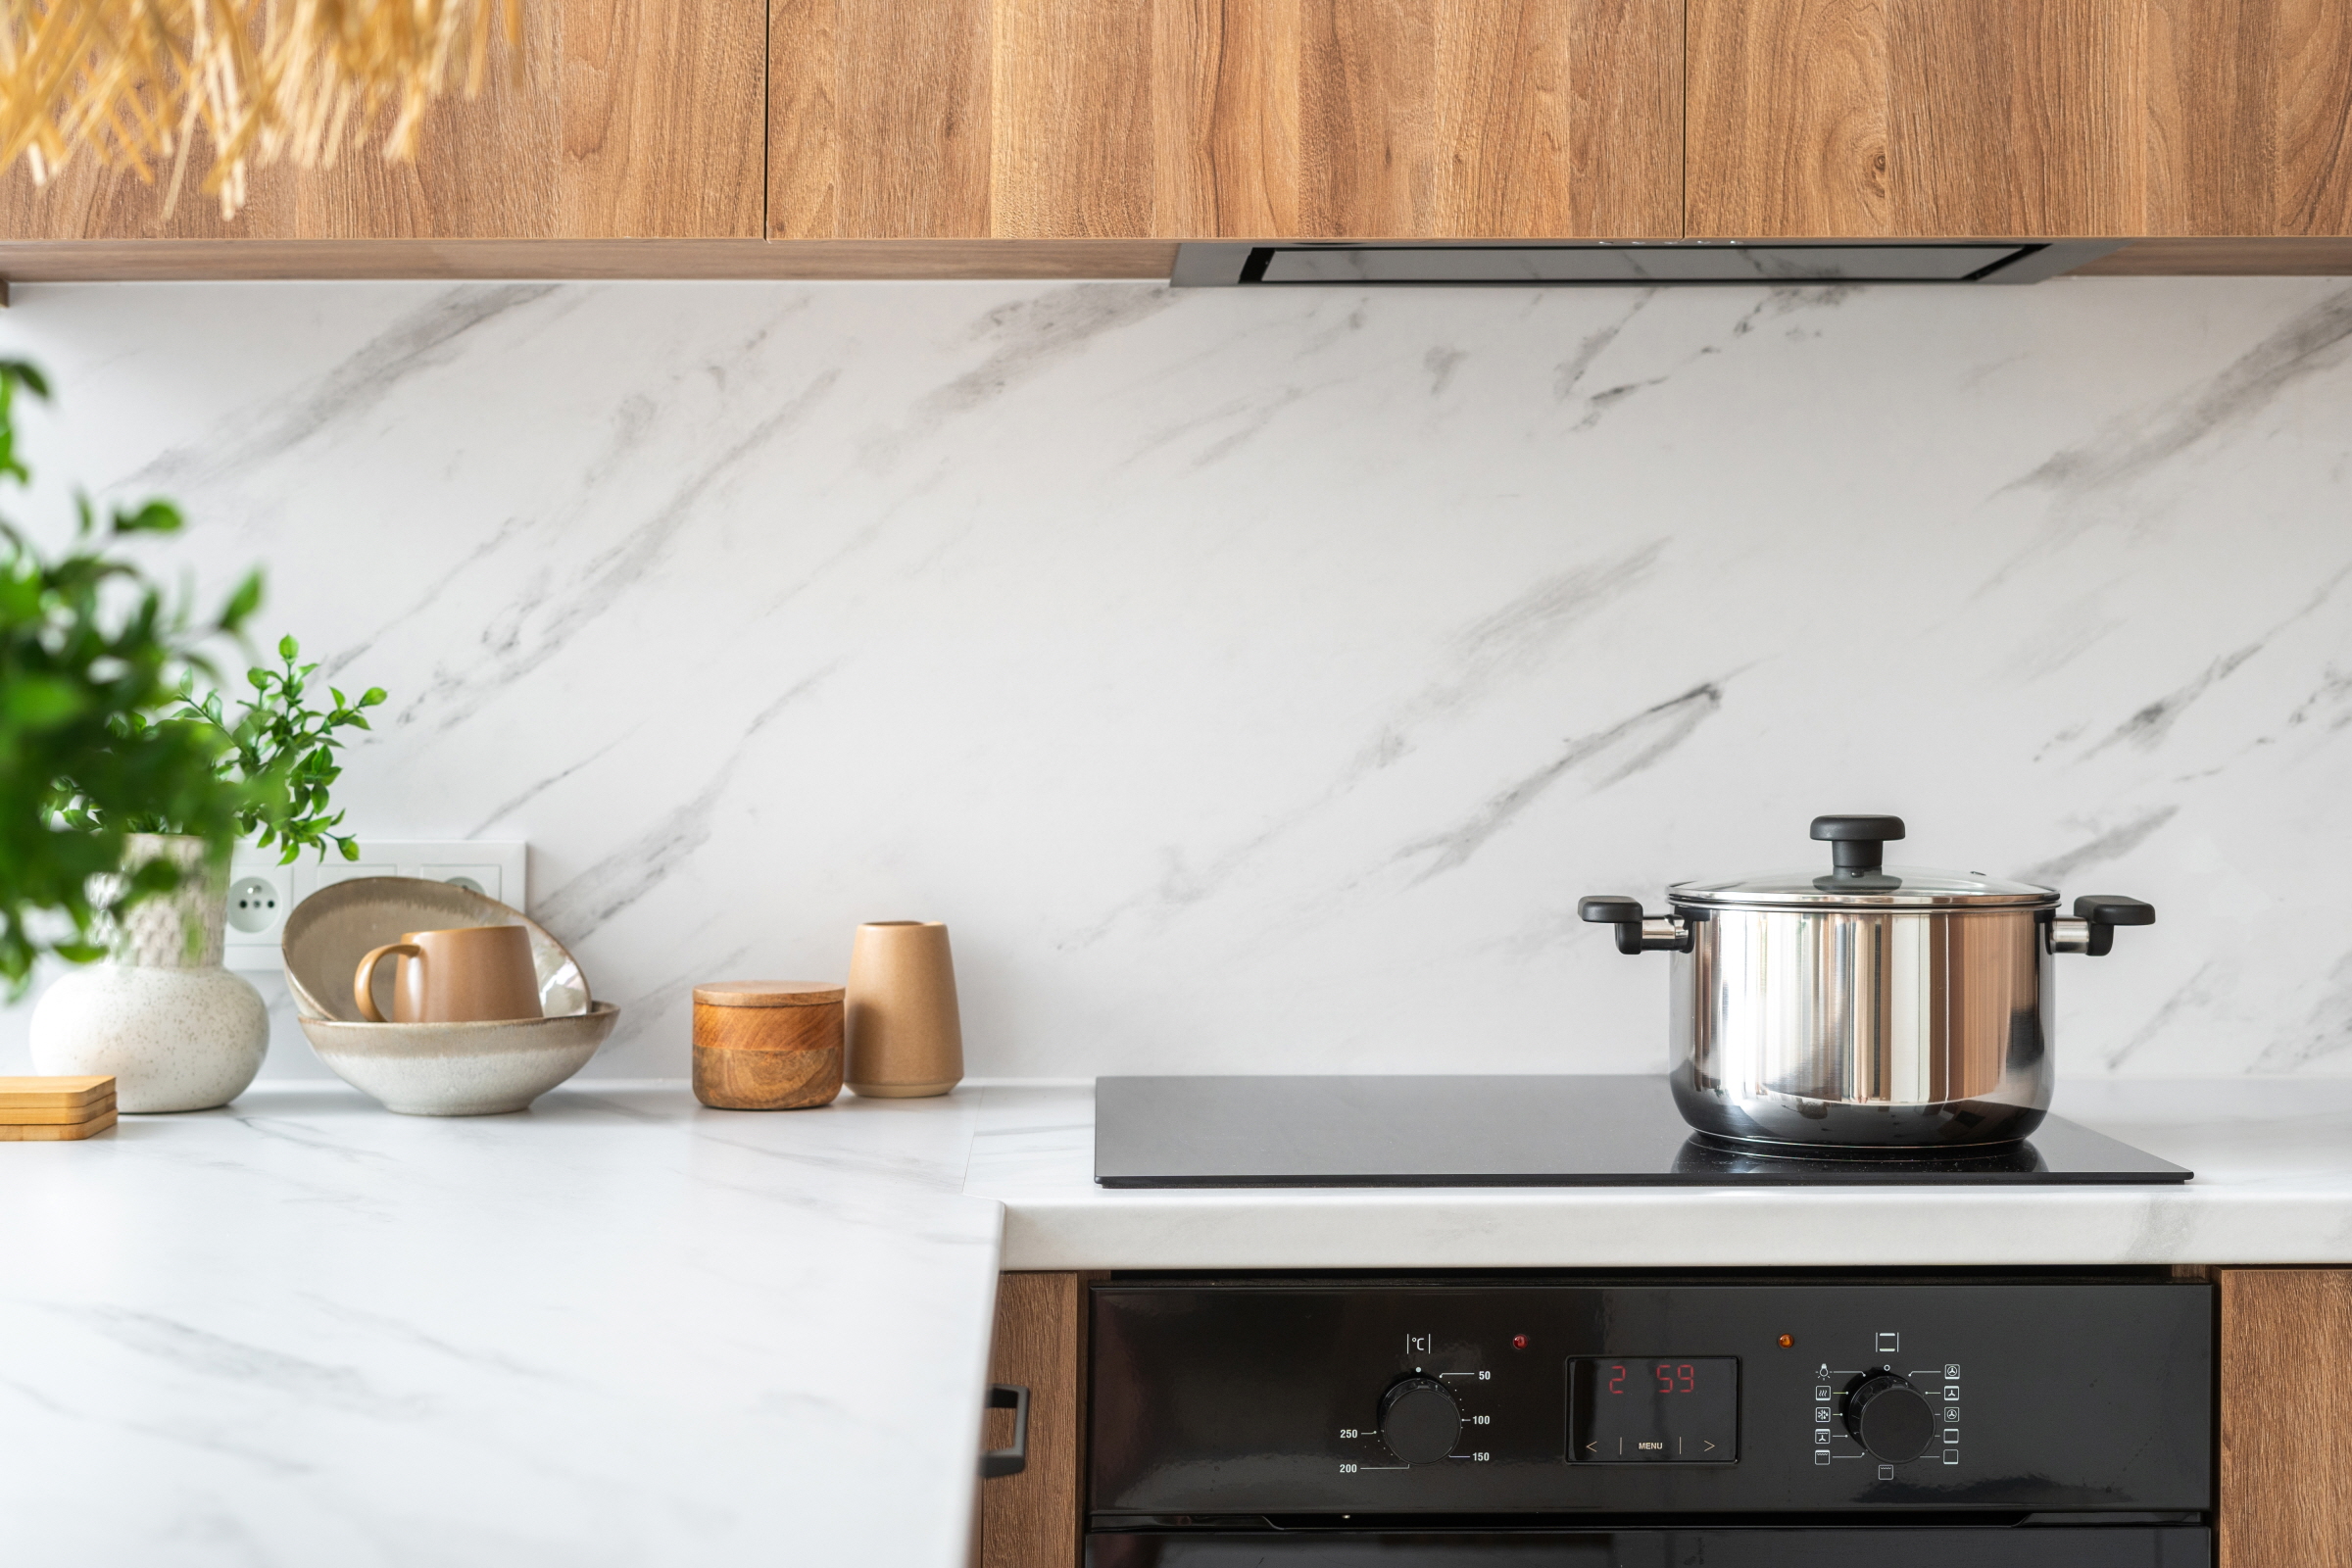
Adding a tile backsplash brings texture and color to any cooking space. This versatile and stylish addition makes it easy to breathe new life into your kitchen with endless options available.
If you’re wondering how to replace a backsplash tile, we have some helpful information to make the process a breeze.
Check out our kitchen tile backsplash guide including steps and handy tips for a beautiful, stress-free makeover.
Gather Necessary Tools
Every DIY kitchen backsplash project requires an assortment of important tools. Start by gathering these tools so you have everything you need all in one place for a successful renovation.

Some of the most important tools you need include:
- Tiles: Choose the tile for your backsplash and keep it handy
- Scraper tool, hammer, and chisel:These tools help you remove the old tile
- Dry tile cutter: Use a dry tile cutter to cut tile to the appropriate size
- Bucket: A bucket should be used to mix and apply mortar
- Mortar: Make sure you have the appropriate mortar for your tile
- Backer board: This underlayment protects the wall from moisture damage
- Trowel: This tool makes applying mortar easy
- Tile Spacers: Use spacers to create even spaces between each tile
- Grout:You’ll need grout to fill the lines between each tile
- Grout float: A grout float dispenses the grout between tile lines
- Sponge: Use a large sponge to gently wipe excess grout away
- Caulk: Apply caulk along the edge of the backsplash to prevent moisture from entering behind it
The type of trowel, mortar, and grout you use may depend on what type of tile you choose. For example, if you choose to install natural stone tile, it works best with a notched trowel that is 1/4-inch x 1/4-inch in size.
Select the Type of Backsplash
Choosing the type of tile for your new backsplash is one of the most important things to consider when learning how to replace a backsplash tile. There are many options available, so let’s go over the most popular backsplash tile types below.
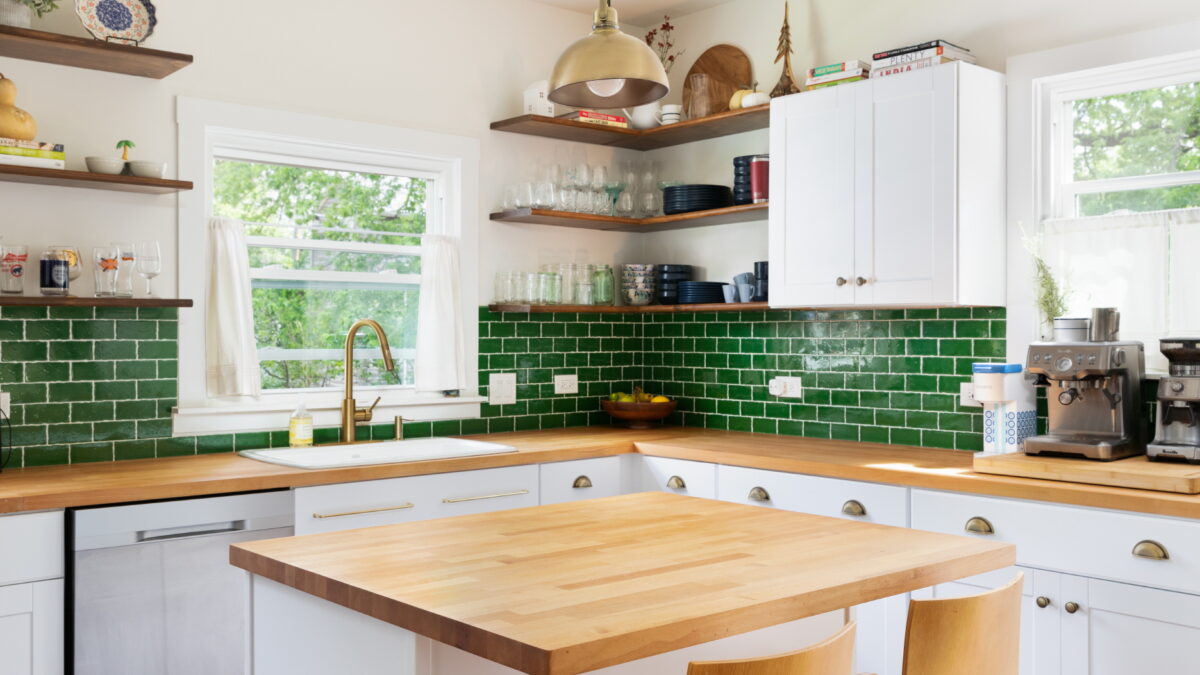
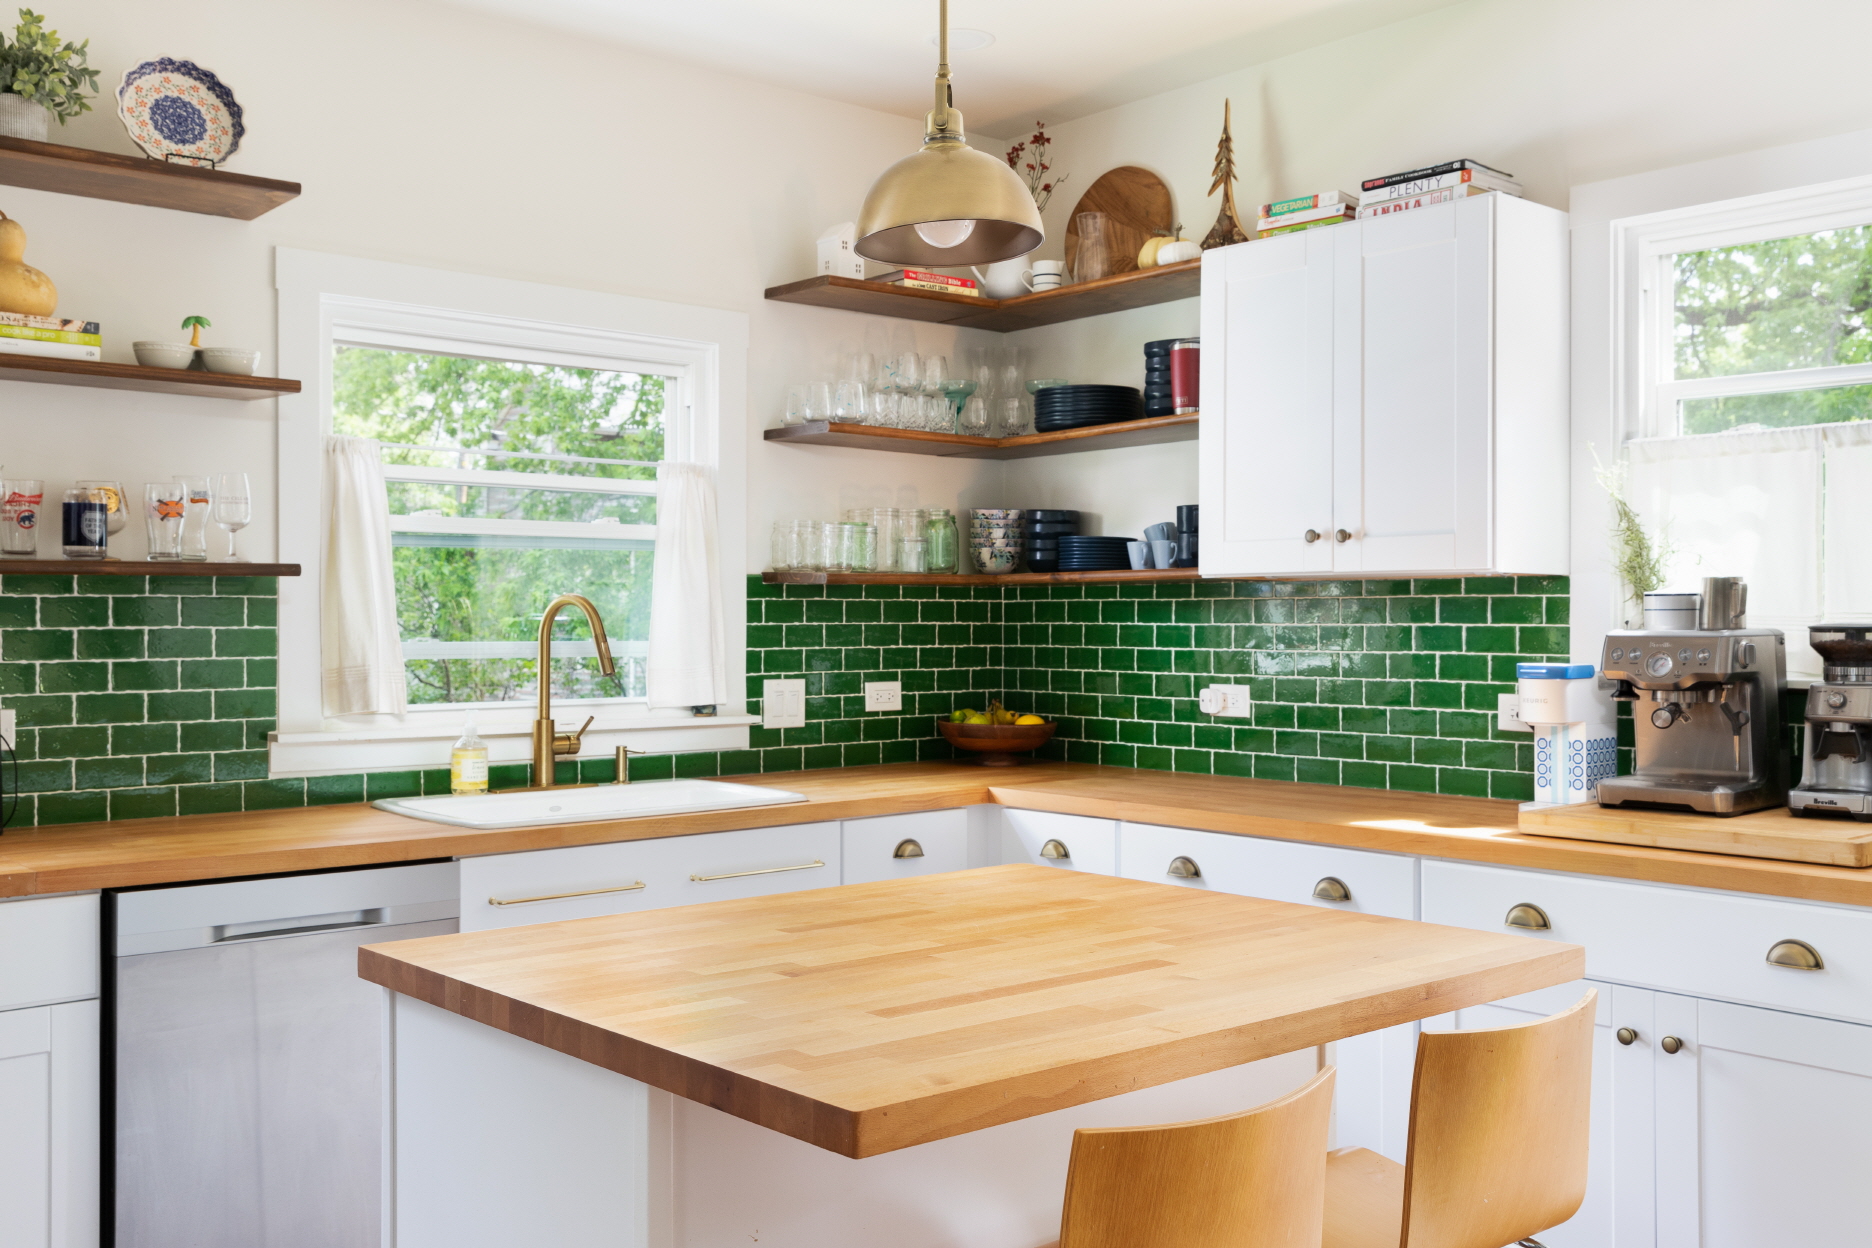
Ceramic Tile
Ceramic tile is one of the most popular choices for kitchen backsplashes. These tiles are made from clay that gets fired in a kiln at very high heat. Porcelain tiles are technically also ceramic, but they’re made of higher-grade clay and fired at even higher temperatures for more durability.
Ceramic tiles are quite durable, affordable, easy to clean, and come in a wide variety of colors, shapes, and sizes to give you more control of your backsplash design. However, they’re not very heat resistant and can be prone to chipping and cracking. If a ceramic tile breaks, it will need to be removed and replaced since repairs are very difficult to make.
Mosaic Tile
If you want a bold, dynamic look, mosaic tile is a great choice. This tile is typically small in size and consists of several colors to create a “mosaic,” or it could feature various small tiles that come together to form a single image.
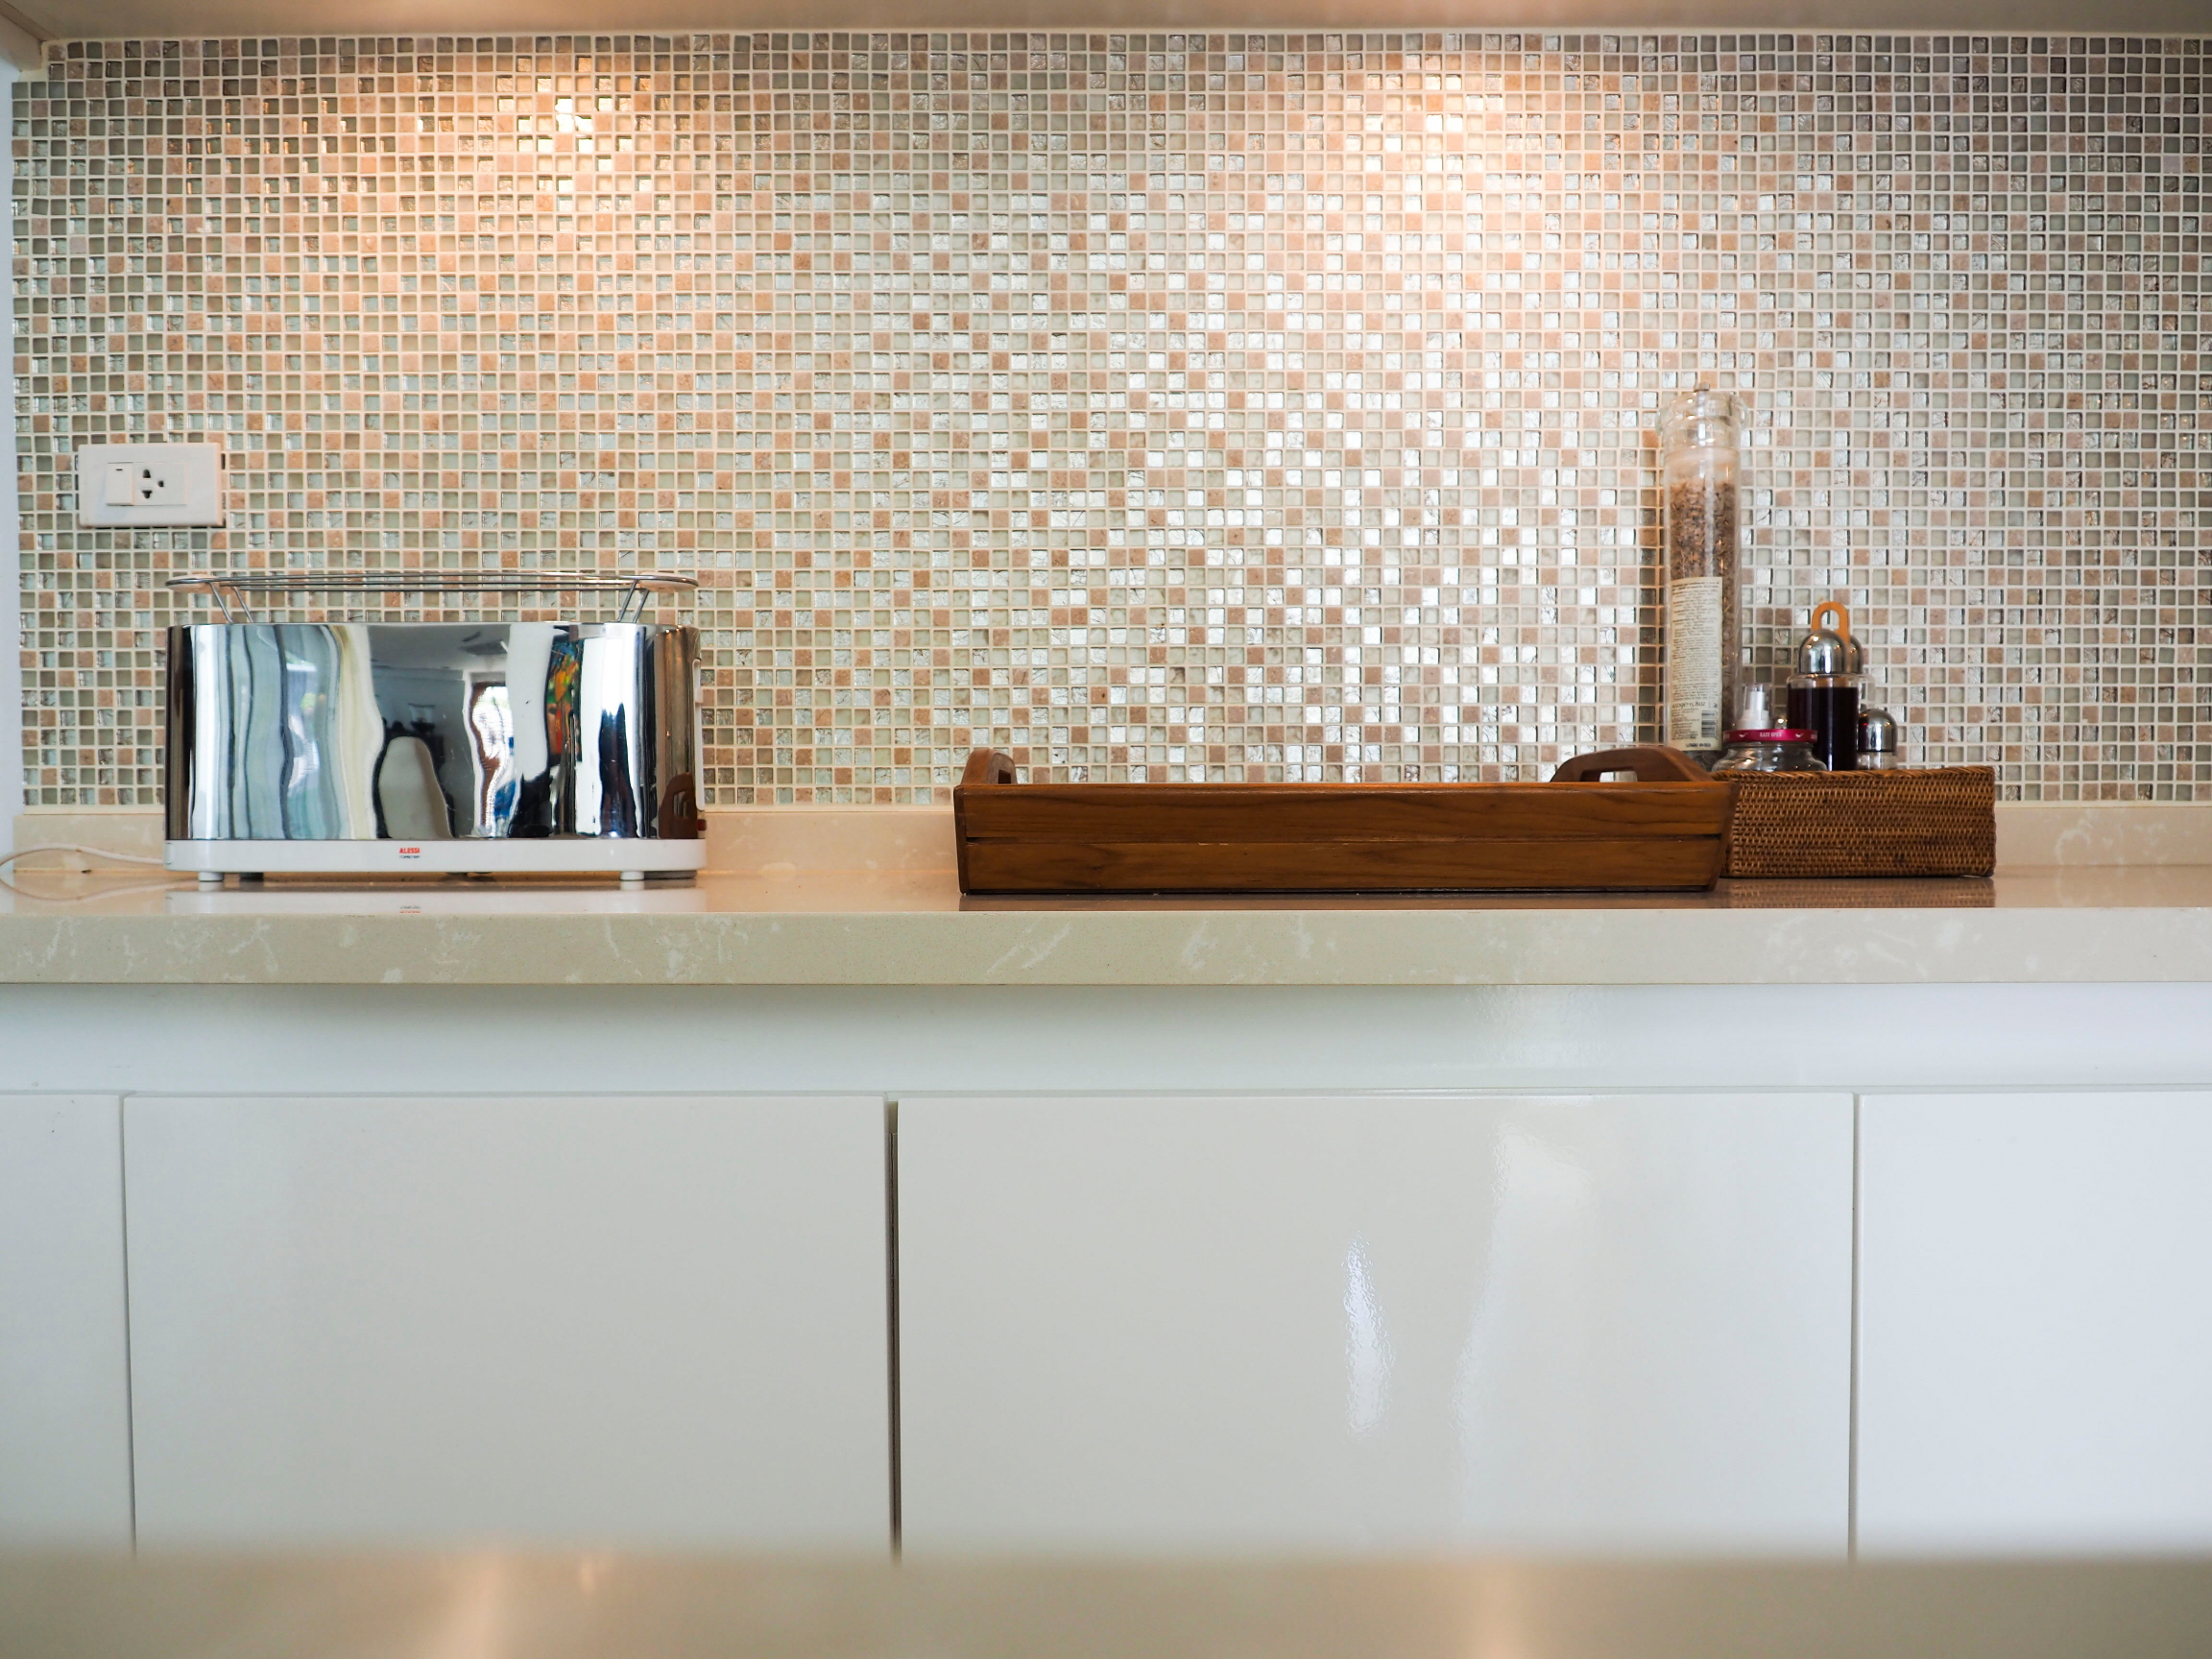
Some mosaic tile is made of glass, while others are made of ceramic or porcelain. Make sure you choose the material that works best for your needs to ensure durability and easy care. Some downsides to choosing mosaic tile include that it’s tougher to install due to multiple grout lines when installing individual tiles, and it may look too “busy” for some people.
Laminate Tile
Laminate is an excellent choice for a kitchen tile backsplash because it’s extremely stain and water-resistant. This material is also available in a large variety of textures, colors, and patterns.
One of the cons to choosing a laminate tile backsplash is that it tends to dent and discolor over time. If too much moisture gets behind or near the laminate tile, it might also peel off or come loose.
Wallpaper
A wallpaper backsplash is affordable and fairly easy to add to your kitchen. This material should be waterproof and easy to clean since you’ll need to wipe it down every so often.
Opting for wallpaper as a backsplash isn’t the best option in terms of longevity. You’ll also need to use a special adhesive or choose a peel-and-stick wallpaper to apply to the wall. While it’s much more affordable than many other backsplash materials, wallpaper can come off easily and might fade in direct sunlight.
Vinyl Tile
Vinyl tile is cost-effective and easy to install. It comes in a wide range of colors and designs, and the material is easy to remove and water-resistant on the surface.
However, vinyl tile as a backsplash isn’t the best choice in terms of very wet areas. It also doesn’t look like real tiles like other materials do, such as ceramic, glass, or stone.
Tile Stickers
Peel-and-stick tile or tile stickers are affordable and one of the easiest types of tile to install. This material comes in a ton of great designs and colors for a fun, easy DIY kitchen backsplash.
One con to using tile stickers is that they don’t usually stay put for long. They’re also a lot cheaper looking than real tiles, making them a visually unappealing choice for many homeowners.
Steps to Install a Kitchen Tile Backsplash
Now that you know more about the various types of kitchen tile backsplash materials, it’s time to discuss the installation process. Follow these tile backsplash replacement tips carefully to ensure a successful installation.
Step 1. Protecting Surrounding Areas
Before you remove your old backsplash and install a new one, you’ll need to protect the areas surrounding it. Start by taking everything off your counters, stove, and any other surfaces near the backsplash area.
Once everything is clear, cover your countertops and floors with a protective material like old sheets, some cardboard, or a tarp/dropcloth. This simple yet important step will help to keep dust, mortar, grout, and other debris from damaging the flooring, appliances, and countertops in your kitchen.
Turn off the power to any nearby appliances for safety. If there are any electrical outlets near the backsplash, remove the faceplates before you begin removal and installation.
Step 2. Removing the Old Backsplash
Using your scraper tool, scrape between the existing tiles to loosen them and remove old grout. You can also use a masonry hammer and a chisel to help tap the pieces loose. Make sure you wear safety glasses when removing tile to protect your eyes.
Once the old tile is gone, gently scrape any remaining mortar from the wall. Determine whether you plan to lay your new tile directly on the bare wall or if you’d rather add a backer board.
If you decide to add a backer board, this step should be completed next. Adding a backer board is recommended since it creates another layer of protection against moisture for the wall behind it.
Step 3. Applying Adhesive
Tile requires some form of adhesive for it to stick to the wall. For most tiles, you’ll need a powdered thin-set mortar. Fill your bucket with water per the amount listed on the manufacturer’s instructions, and add the mortar slowly as you mix it using a drill attachment.
Let the mortar sit for around five to 10 minutes, then mix it one more time without adding any additional water. Mortar should be applied as quickly as possible or else it may dry out. Most flex-type mortar dries within four hours or less.
If you’re installing a light-colored tile, use white mortar. Always ensure that the type of mortar you use will work with your specific type of tile. Start with a small section at a time to keep the mortar from drying out.
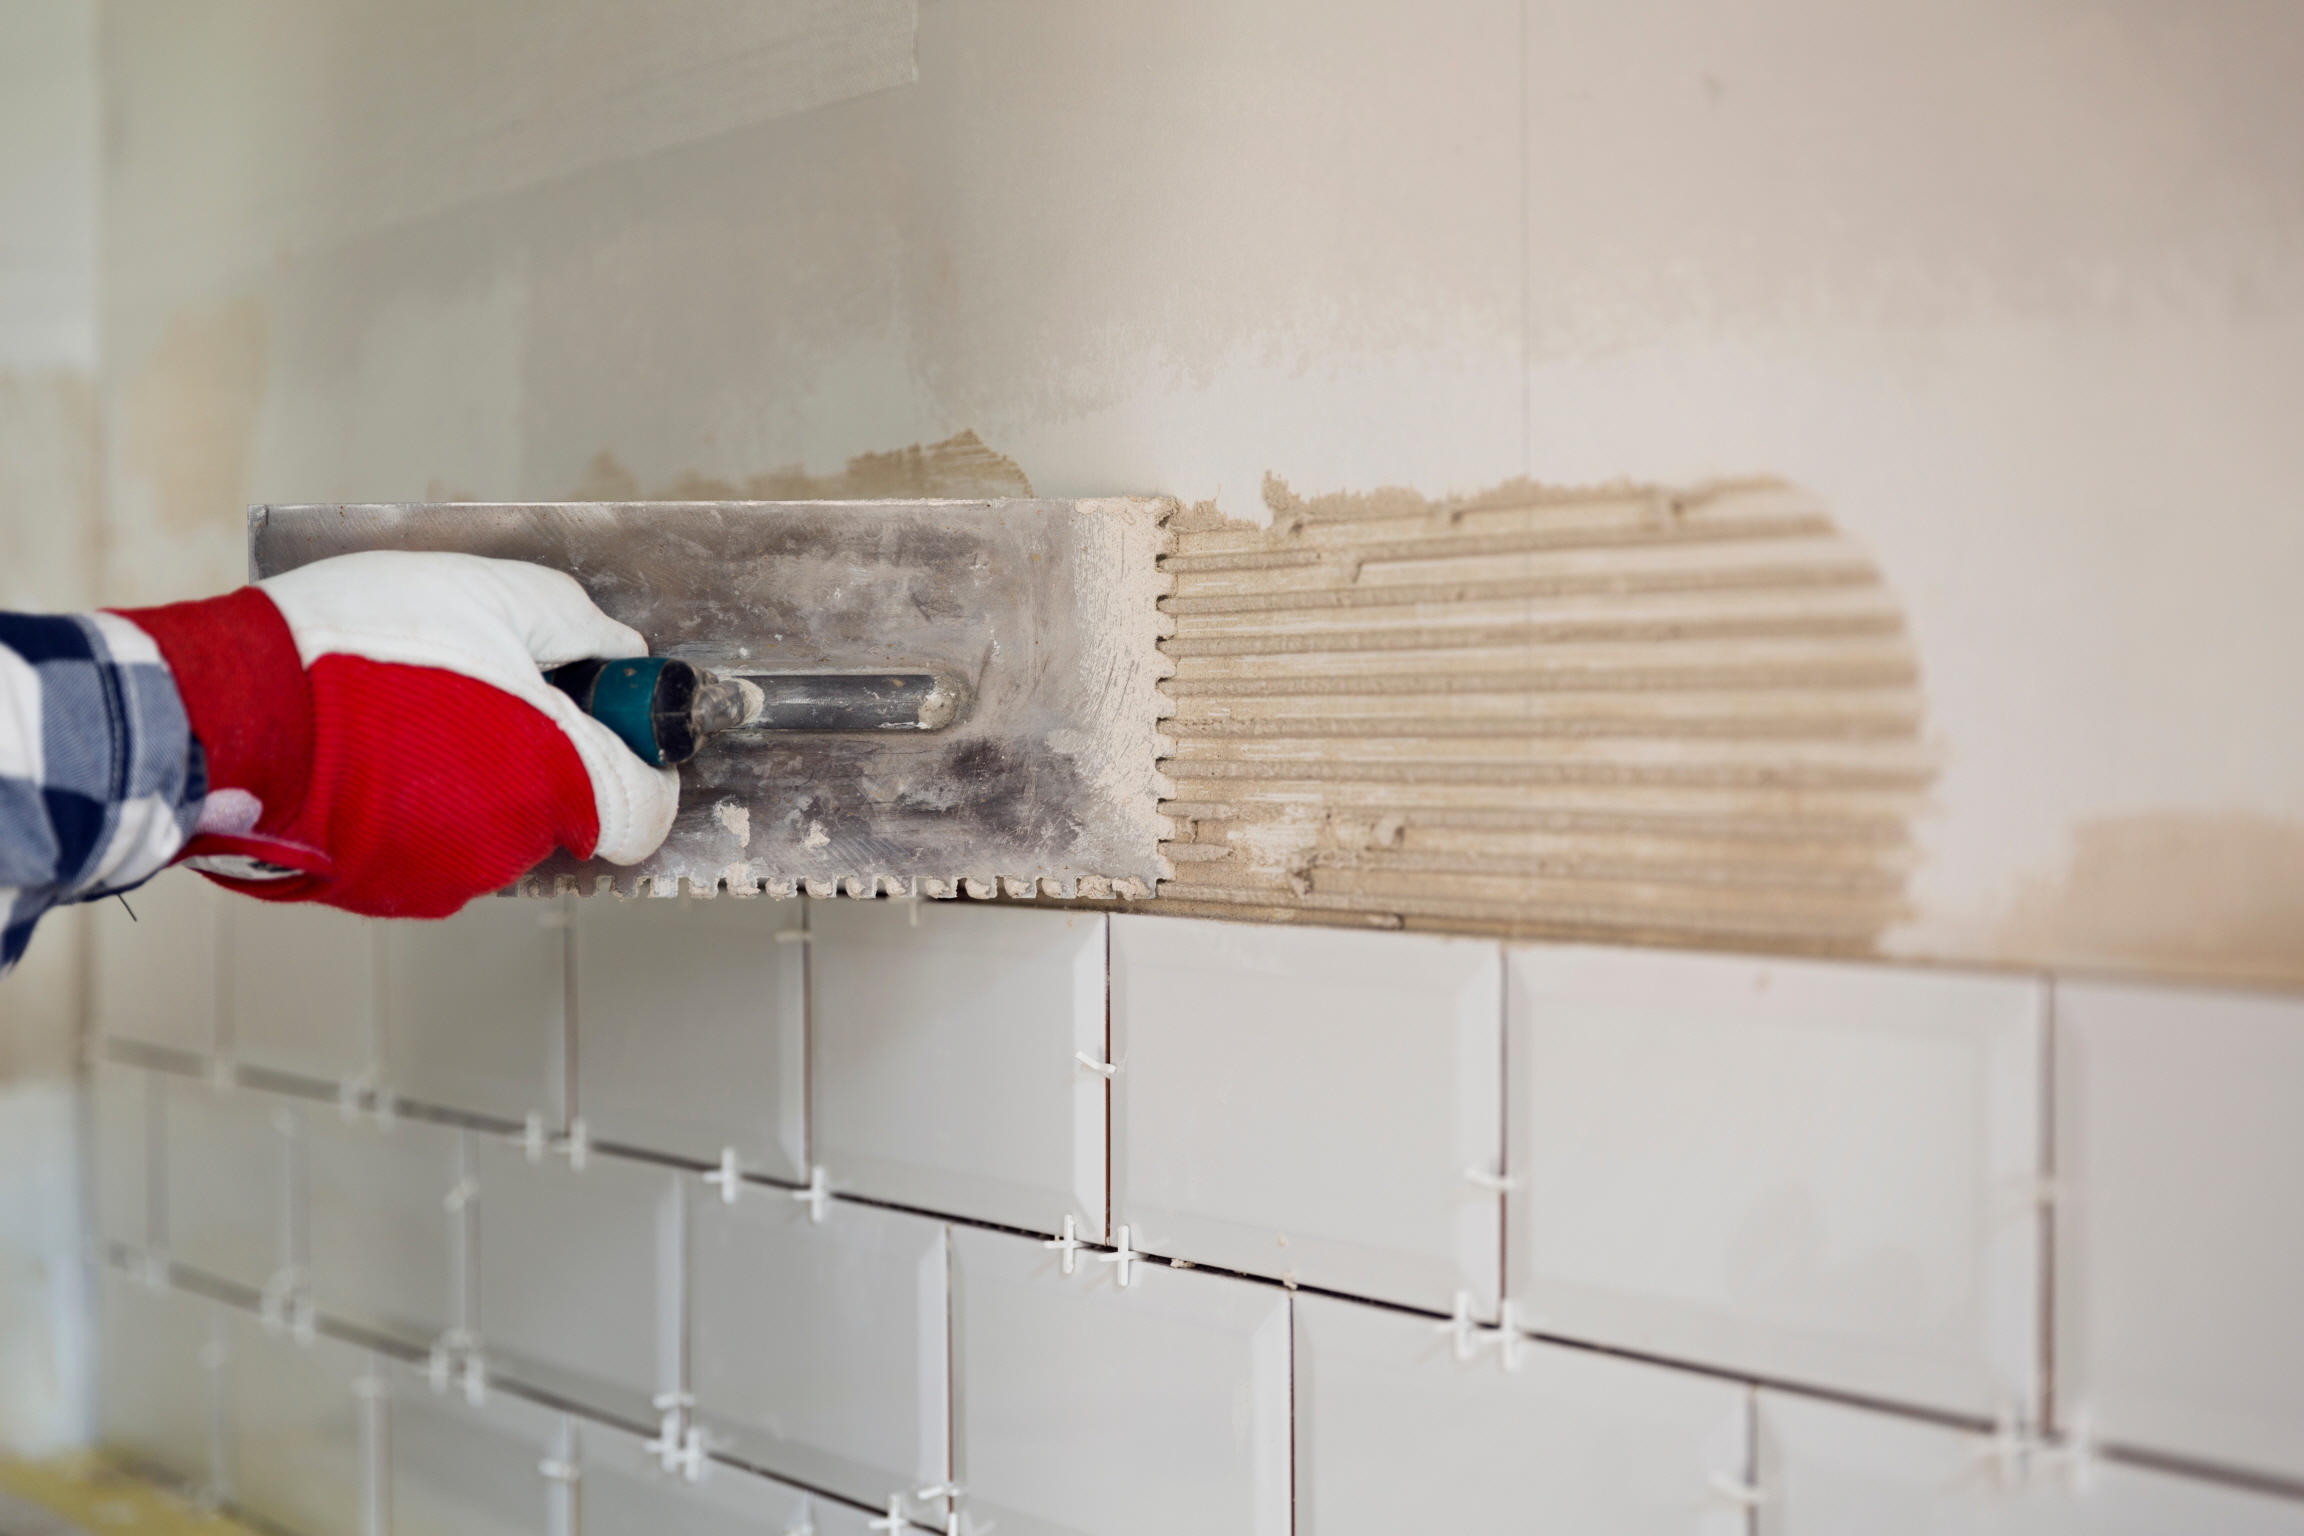
Use the flat side of your trowel to apply the mortar in a thin layer to the wall or backer board. Press the trowel at a 45-degree angle, then add some extra mortar using the notched edge of the trowel. Comb everything in one direction to ensure even distribution.
Step 4. Setting the Tiles
Place your tiles on the wall based on the pattern or design you’ve chosen, going one tile or one section at a time. Use tile spacers to keep individual tiles evenly spaced and lined up.
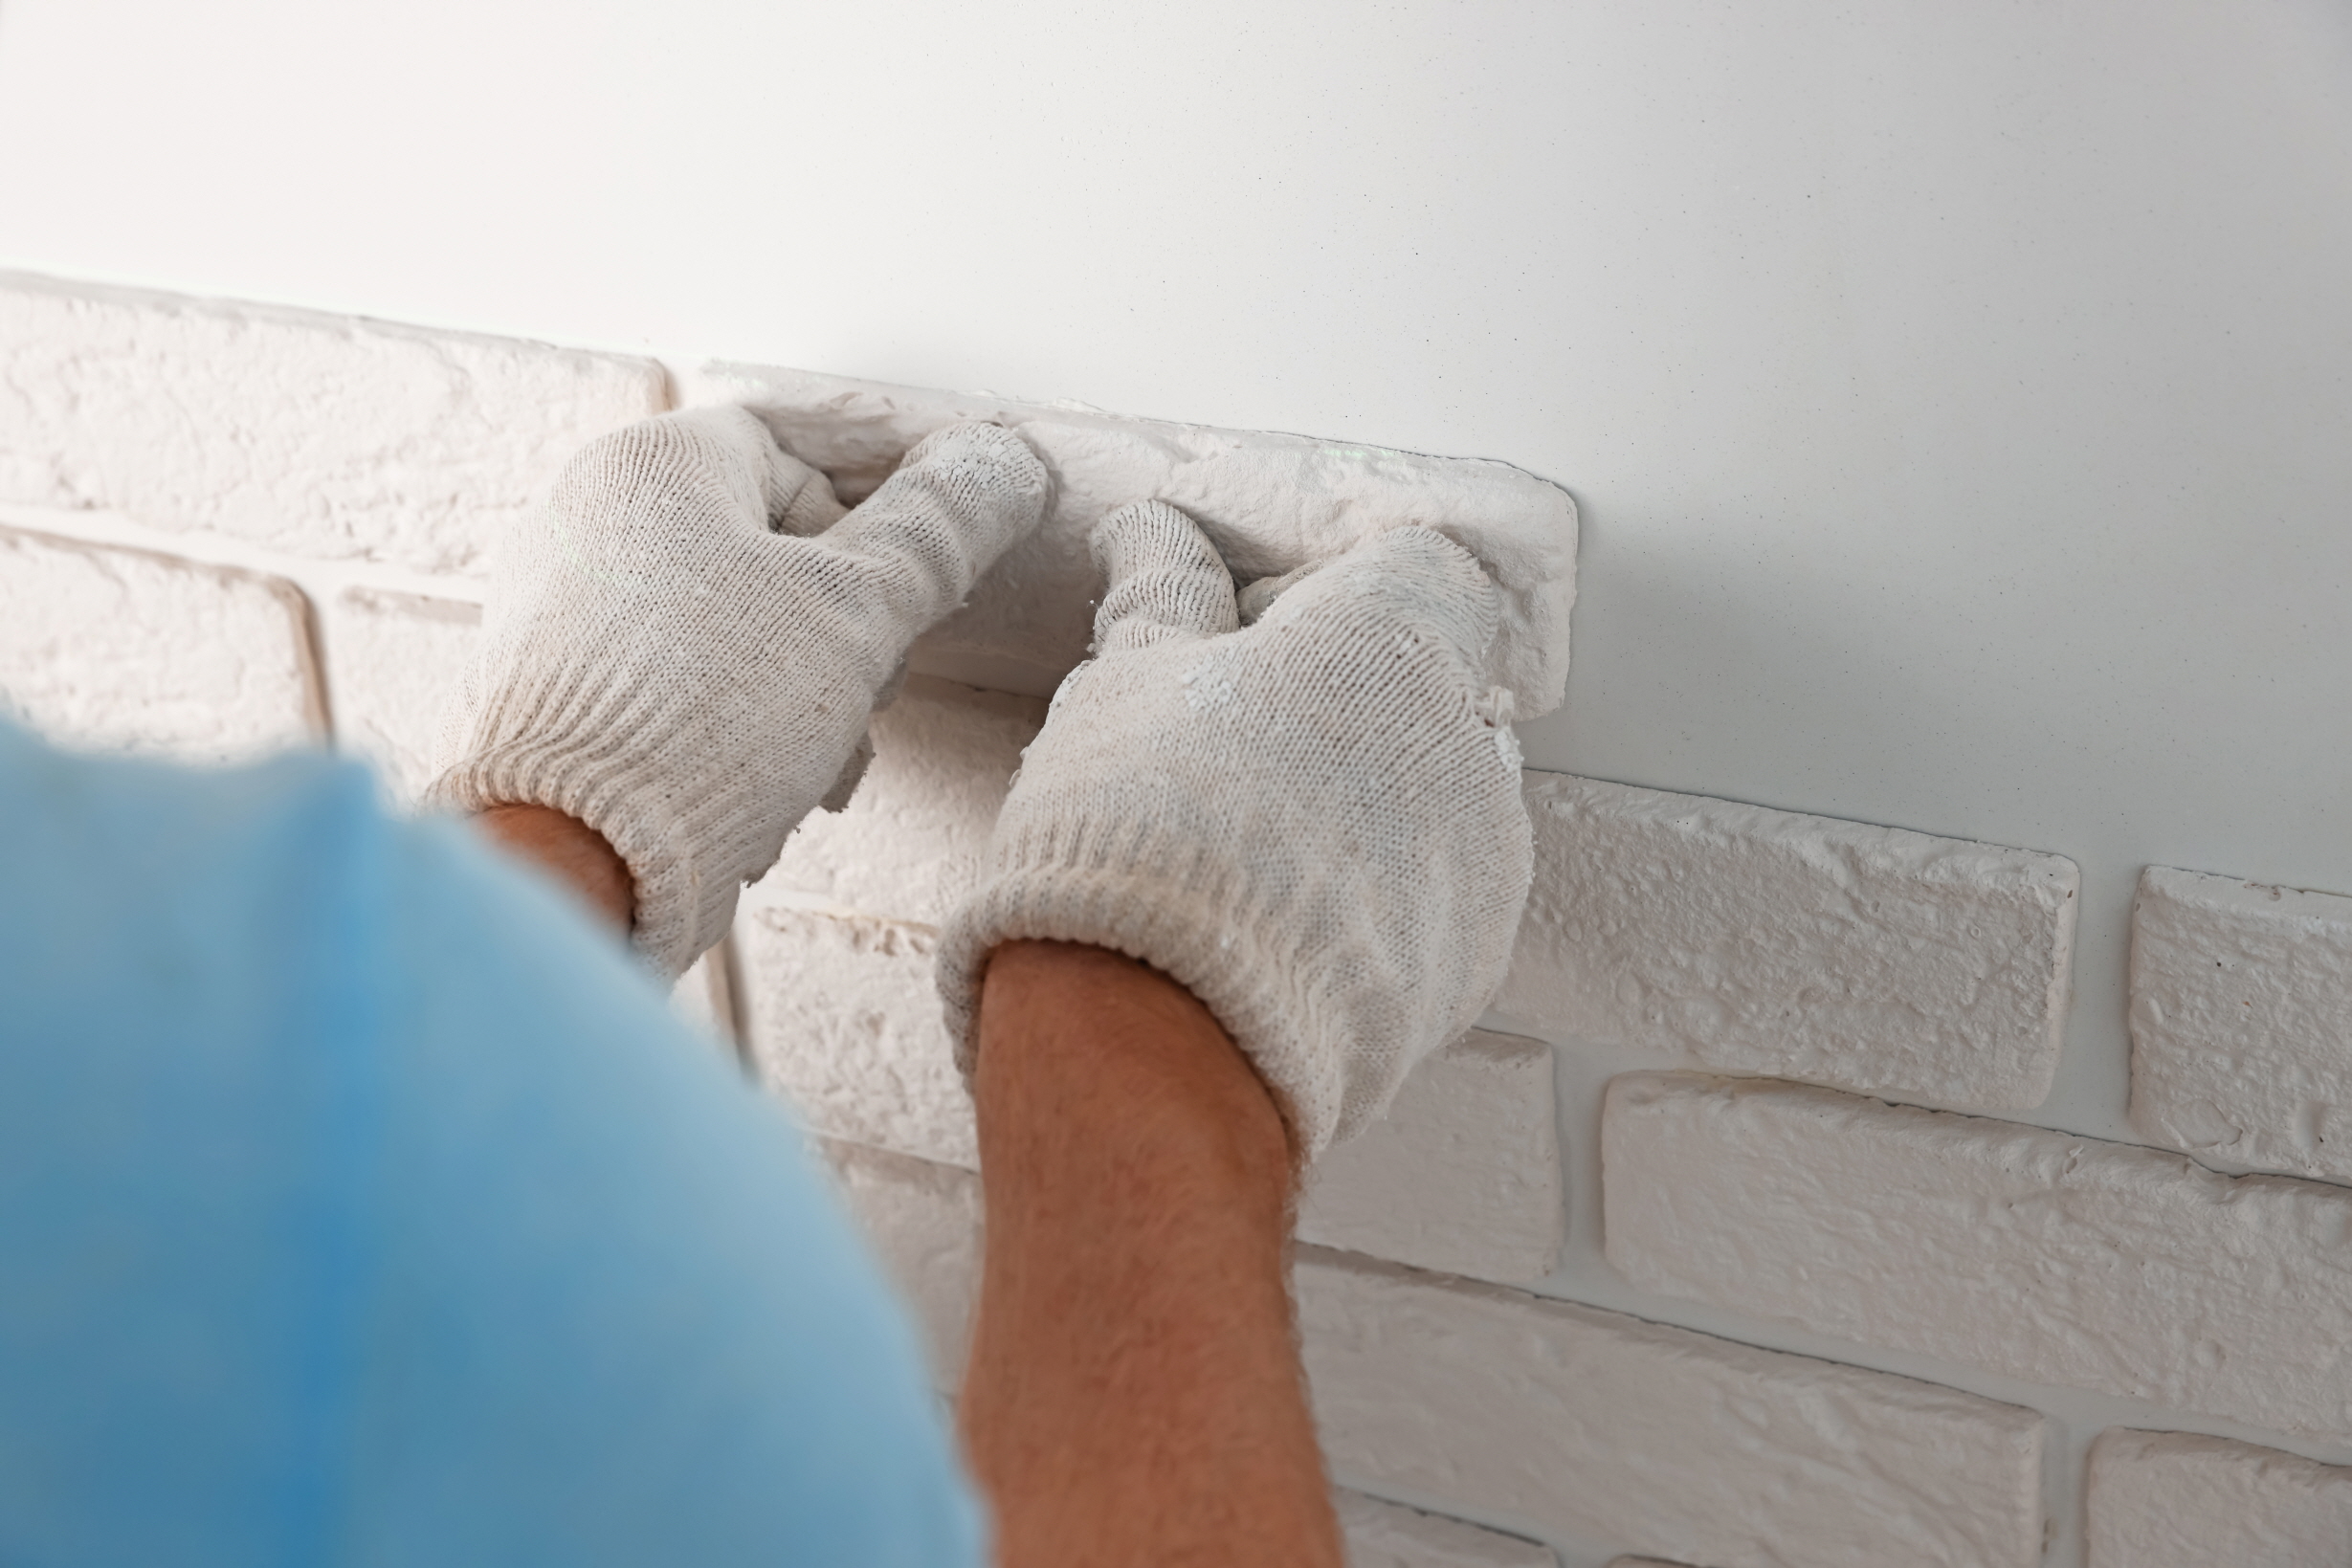
Gently rock the tile up and down to collapse the ridges and help the tile settle evenly. You can gently flatten each section using your grout float if you need to.
Once all of the tile and spaces (when applicable) are in place, let the mortar dry completely. In most cases, it takes around 24 hours for the mortar to dry fully.
Step 5. Cutting the Tiles
Some tiles may need to be cut to fit your backsplash’s shape and design. To cut specific tiles, set the tile into the cutter and adjust it to fit the appropriate size based on your measurements.
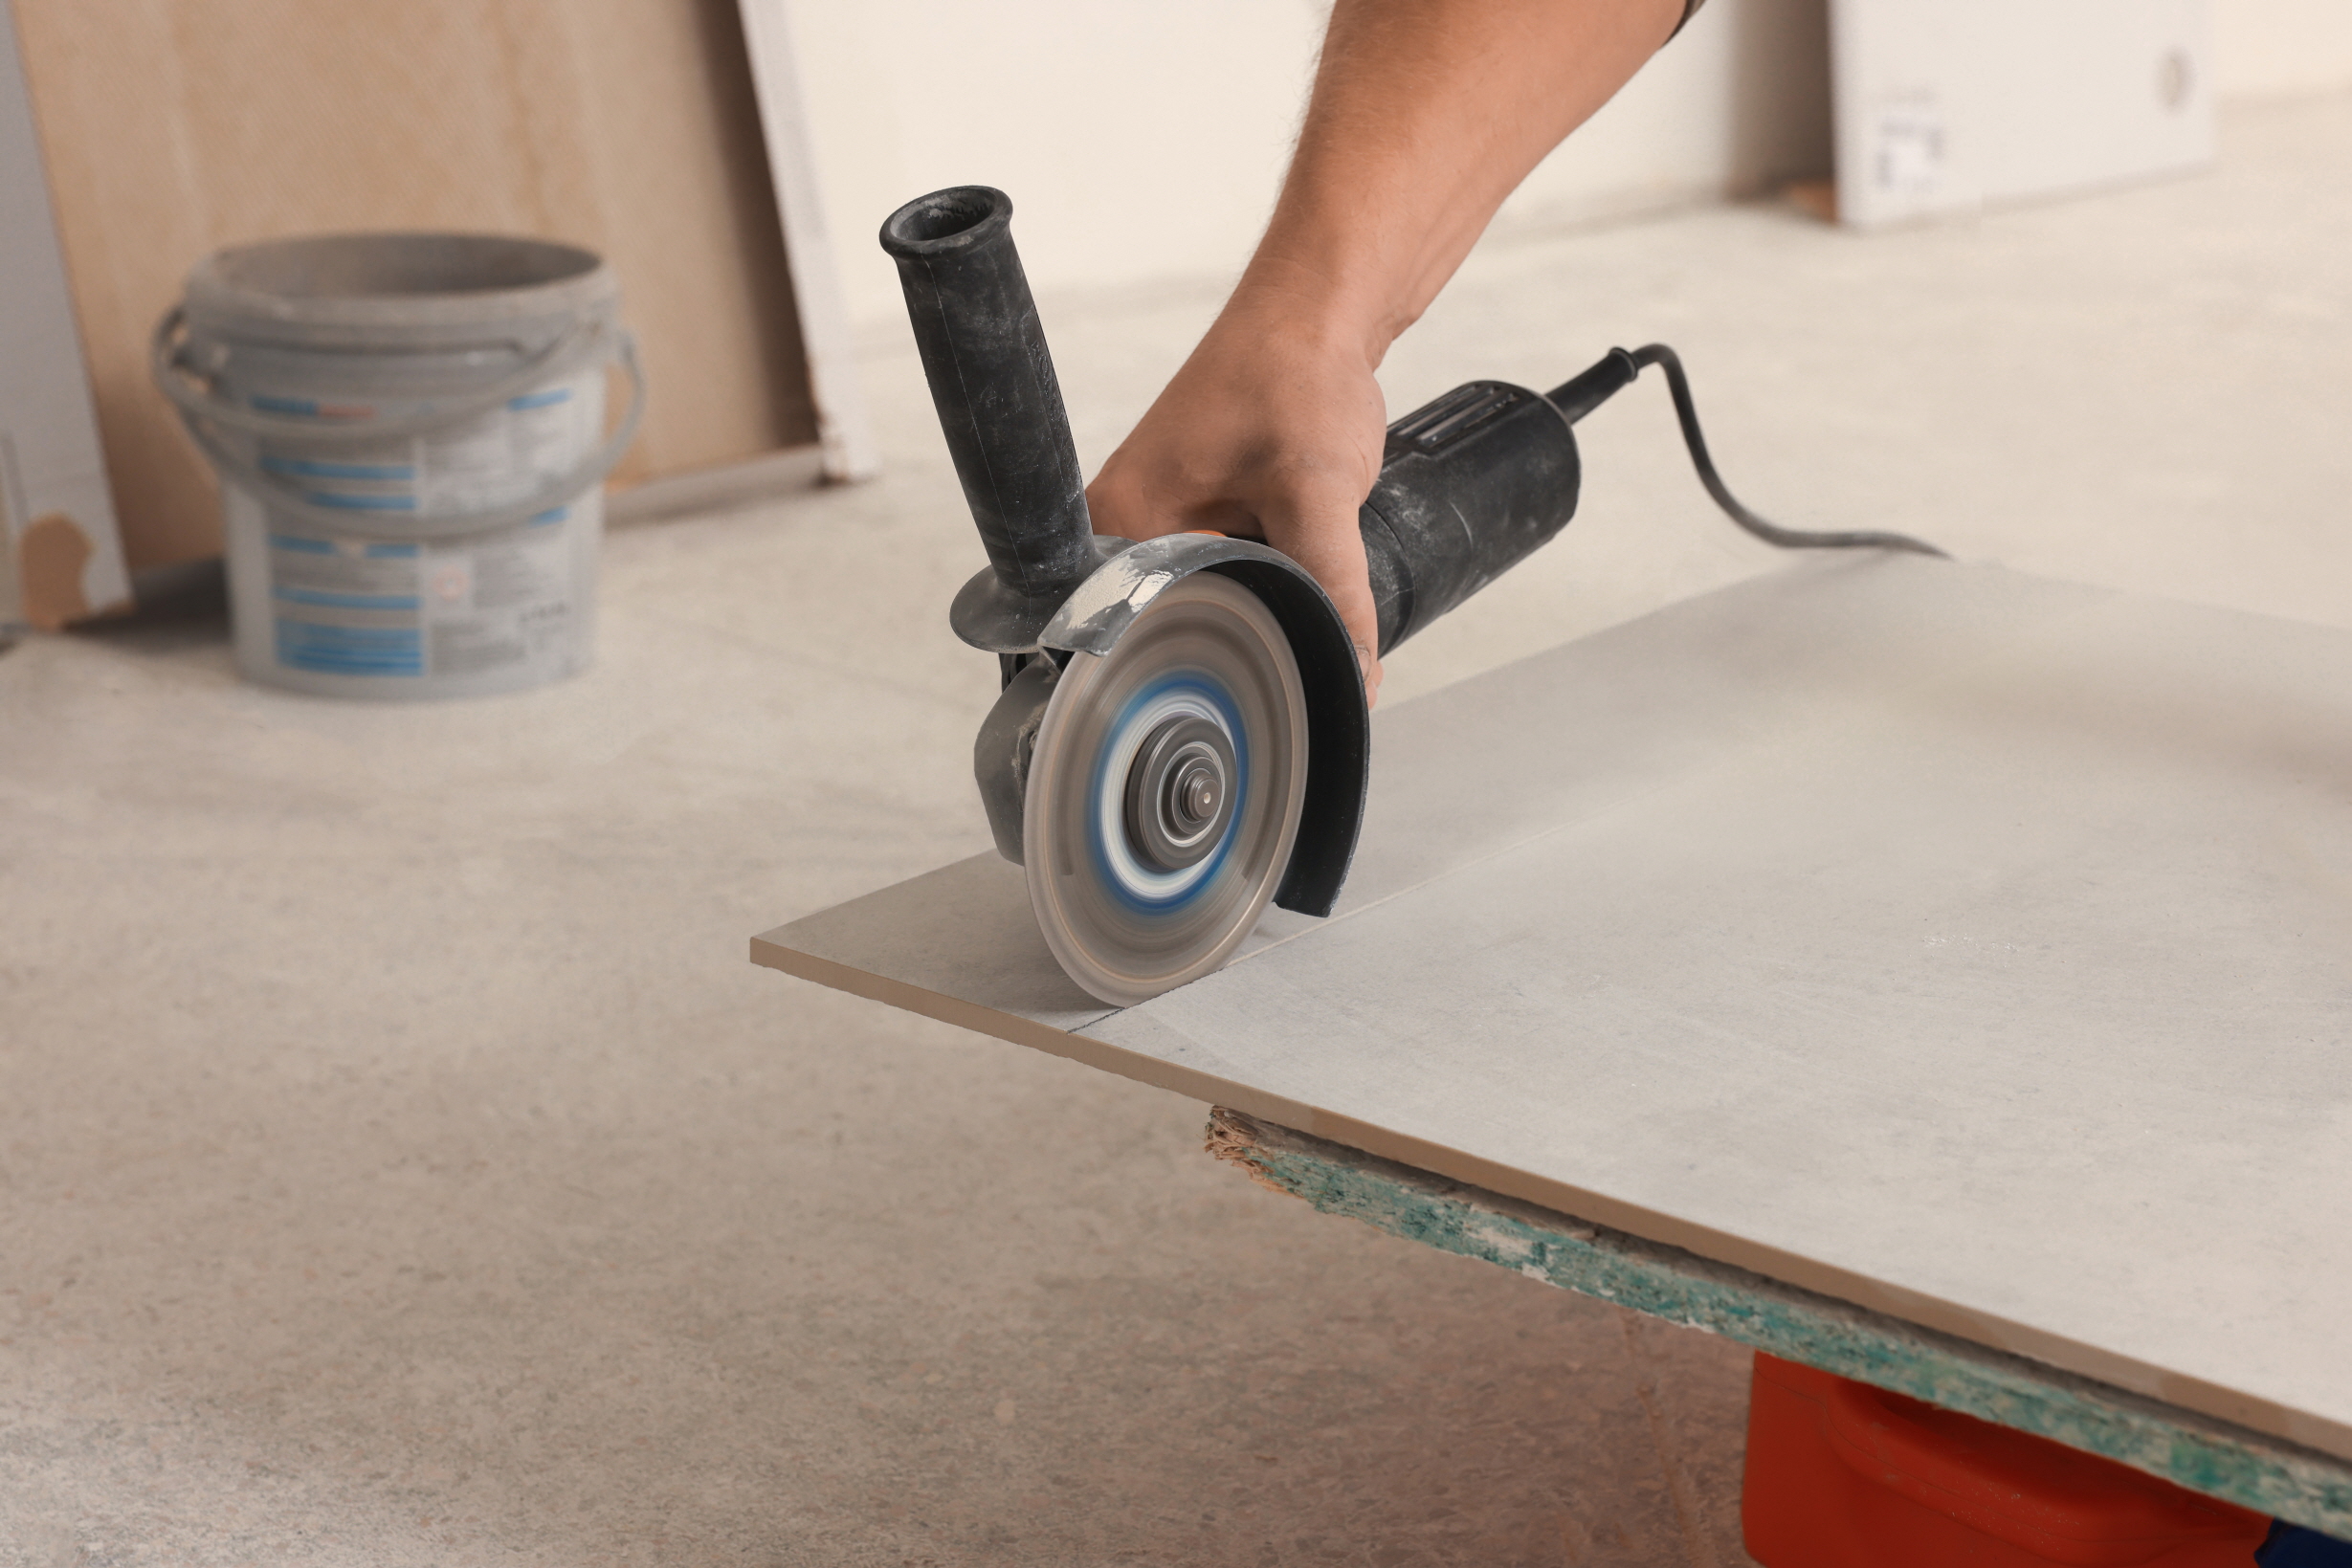
A dry tile cutter scores the tile first when you press the bar down, then it snaps it at the score line. Make sure the tiles you cut fit in their appropriate areas. You can always sand any rough edges using sandpaper to make it look more uniform.
Step 6. Finishing the Installation
Once your tile has been cut and applied to the wall using mortar (or directly applied if it’s wallpaper or peel-and-stick tile), it’s time to finish the installation. After the mortar is dried, use a poly-blend sanded grout for joints 1/8-inch or greater, and a poly-blend unanded grout for joints smaller than 1/8-inch.
Remove your tile spacers and wipe the tiles clean using a soft cloth and water. Then, apply the grout to the tiles after you mix it per the manufacturer’s instructions. Let the mixture stand for around five to 10 minutes before re-mixing it (without more water) and adding it to the grout lines.
Most poly-blend grout can be used up to two hours after mixing. Try to work in sections so each area is complete within about 30 minutes or less.
Use your grout float to apply the grout at a 45-degree angle, working diagonally. Remove excess grout using the float held at a 90-degree angle. You can also use a damp sponge dipped in clean water by wiping it in a gentle circular motion to remove excess grout from the front of your tiles.
Continue to rinse the tiles with the sponge several times until all the excess grout is gone. Repeat and remove the final haze of grout after around three hours. Apply a bead of caulk along the top of your backsplash, some grout sealer, and tile sealant for natural stone tiles once the grout is dry if desired.
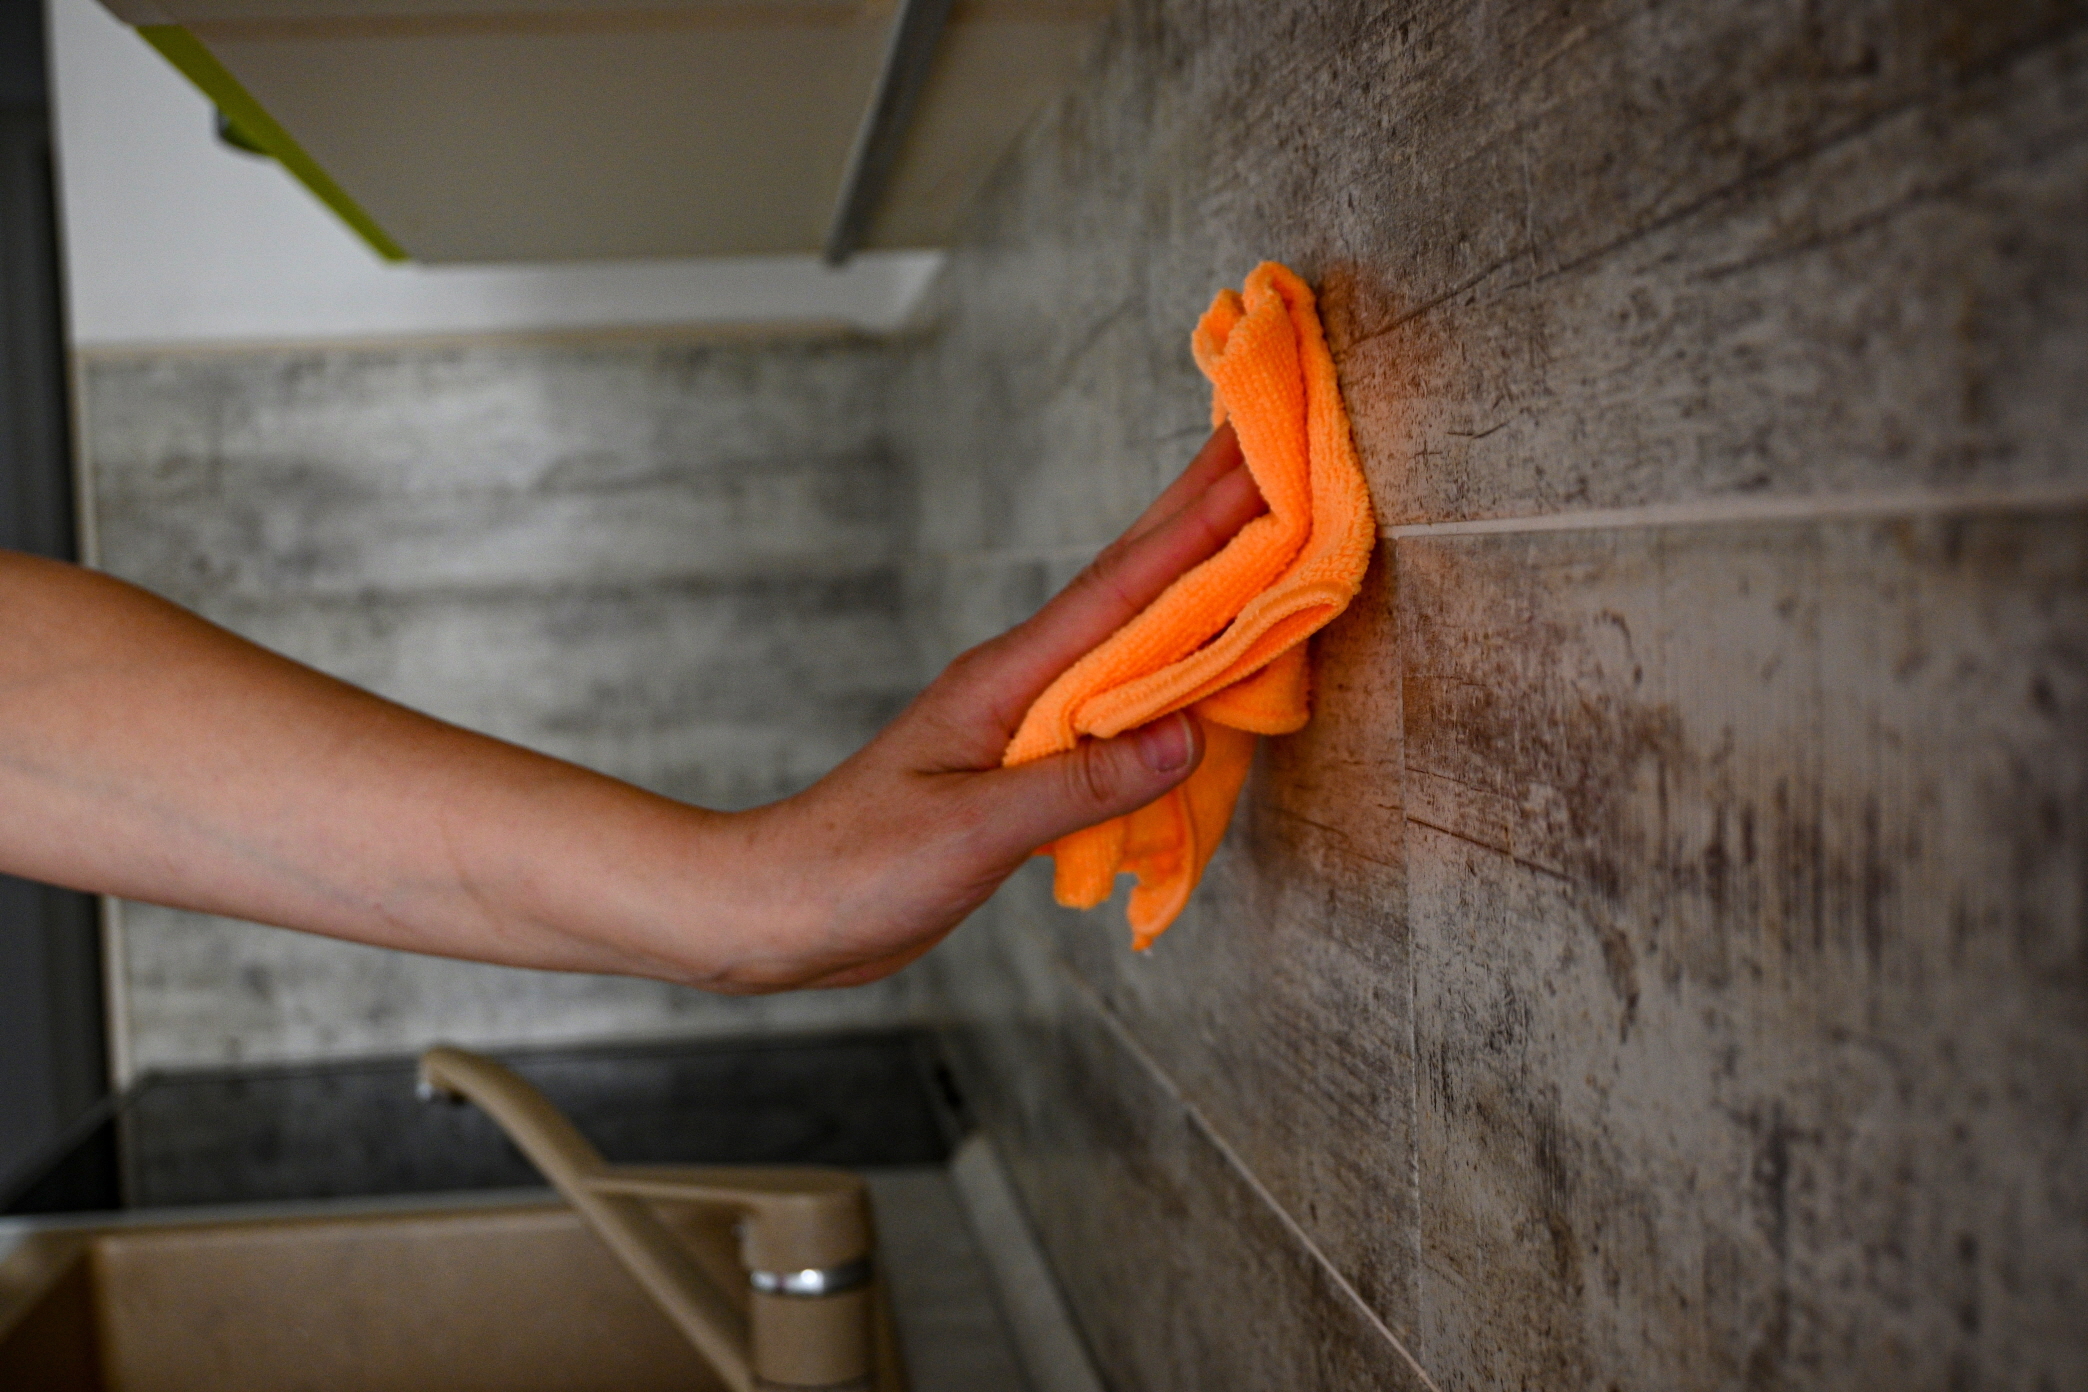
Maintain Your New Backsplash
Once your kitchen backsplash installation is complete, you’ll need to maintain it so it stays beautiful. Here are some tips to help you maintain your beautiful new backsplash so you enjoy it for years to come.
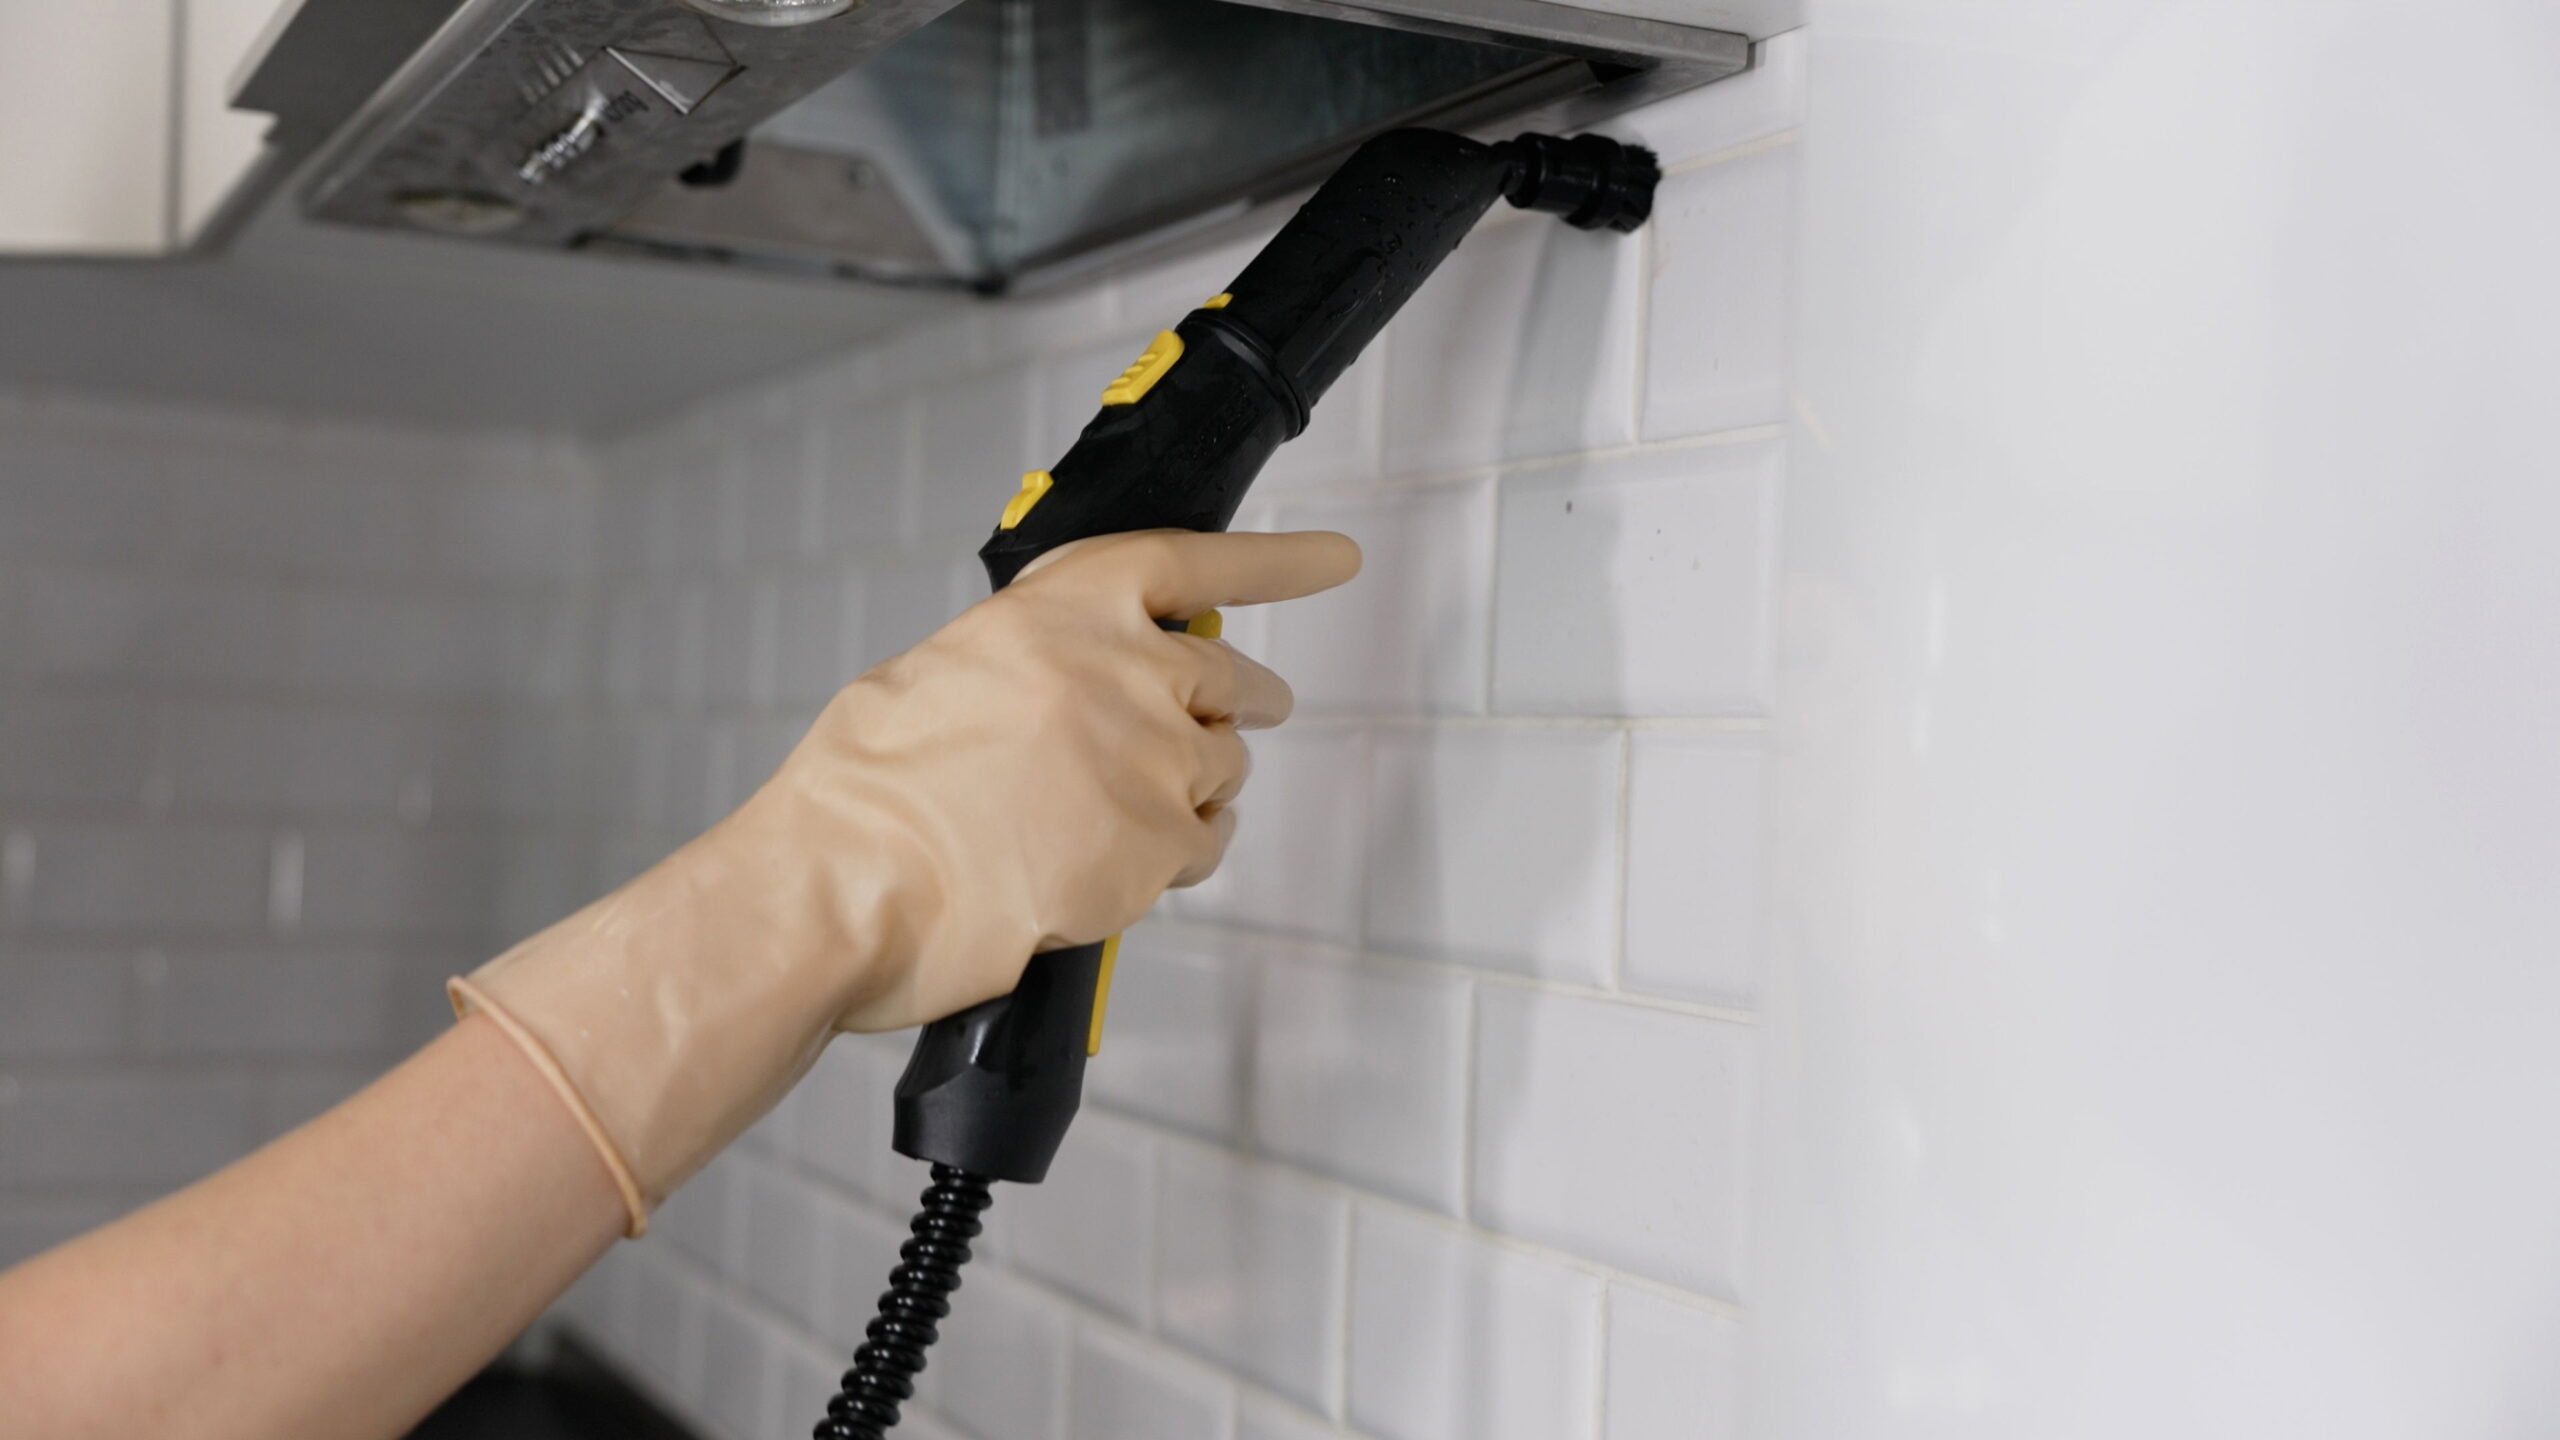
Keep your new tile backsplash clean by using mild soap and a soft cloth. Avoid abrasive cleaners, as they can scratch the surface of your tile and cause permanent damage. You can also use a paste of water and baking soda to remove stains from ceramic tiles.
If you installed glass or natural stone tile, apply a tile sealing product to protect your backsplash. This sealer may need to be re-applied every few years for good maintenance.
Gently wipe your tile kitchen backsplash after every time you cook to keep it clean. Deep clean the grout lines monthly and inspect them for damage. If there is cracked or missing grout, replace it with new grout and re-seal it.
Elevate Your Kitchen With a New Tile Backsplash
Once you know how to replace a backsplash tile, you’ll feel confident to tackle this DIY project. Remember to use high-quality tiles and follow directions carefully including the appropriate type of mortar, grout, and trowel for best results.
LX Hausys provides unparalleled guidance and support for your next renovation project. Our incredible team of seasoned professionals is ready to help you every step of the way, from the planning and budgeting stages to the final installation and finishing touches. If you’d like to learn more, contact us today!