

Are you considering giving your kitchen a much-needed refresh? Perhaps you’re seeking an easy project that can transform the look of your kitchen entirely. One effective option to consider is replacing your kitchen floor tiles.
Many homeowners opt to update their kitchen tiles when they want to rejuvenate their space. This choice is not just affordable, but it also presents an opportunity for a DIY project that can significantly alter the feel of the kitchen. In this article, we explore whether your kitchen tiles can be replaced and guide you through the replacement process step by step.

Can kitchen tiles be changed?
Kitchen tiles can certainly be removed and replaced to enhance the aesthetic of your space. However, the ease of this process largely depends on the installation method of your current tiles. If your kitchen cabinets or appliances were installed over your existing tiles, removing them becomes more challenging. Rather than simply lifting the tiles, you will first need to remove the cabinets and appliances. This additional step is necessary to access and remove all the tiles under and behind these fixtures.
Simple way to change kitchen tiles.
Before diving into your DIY endeavor, it’s crucial to ensure that you’re equipped with the appropriate safety gear to shield you from potential hazards. This includes donning safety goggles, earplugs, heavy-duty gloves, and a dust mask. With the necessary protective equipment on, you can confidently follow the steps outlined below to remove and replace your existing kitchen tile.

Step 1. Prepare the Space
Before you begin the tile removal process, it’s essential to prepare the space to safeguard the rest of the room from potential damage. Start by using the flat edge of a pry bar along with a hammer to carefully remove any moldings, trims, doors, and door frames. This initial step prevents them from being coated in dust. Next, employ a plastic sheet to seal off doorways or windows, effectively keeping the dust confined within the kitchen. Moreover, ensure that all kitchen appliances and features are covered to protect them from flying tile fragments during the work.
Step 2. Remove the Tile
After preparing the space, you’re ready to start the tile removal process. For many, a chisel may suffice to lift the tiles, though the specific tools required can vary based on your floor and tile type. In some instances, you might need a ceramic tile removal machine or another specialized tool. Generally, employing a chisel to pry up each tile is the goal. Tackling the first tile is often challenging, so it’s advisable to start with one that appears loose for easier chisel insertion. If you can’t find a loose tile, consider using a hammer or sledgehammer to lightly break one and create a starting point. Take care not to damage the subfloor in the process. With the first tile removed, you can leverage the created gap to remove the others. Once you’ve made significant progress, a floor scraper can be highly effective for lifting any remaining tiles with ease. The old tiles can then be discarded.
Step 3. Make the Floor Smooth Before Replacing the Tile
Once the tiles have been removed, the next crucial step is preparing the subfloor to ensure it is smooth and flat. This preparation is vital as it helps prevent future damage to your flooring. Begin by removing any leftover grout and adhesive that did not come up with the old tiles. While much of this can often be pulled off by hand, hardened adhesive will require the use of a chisel and hammer for removal. If there’s adhesive residue that stubbornly remains despite efforts with your hammer, chisel, and scraper, you may need to consider replacing the subfloor to achieve the best possible base for your new tiles.
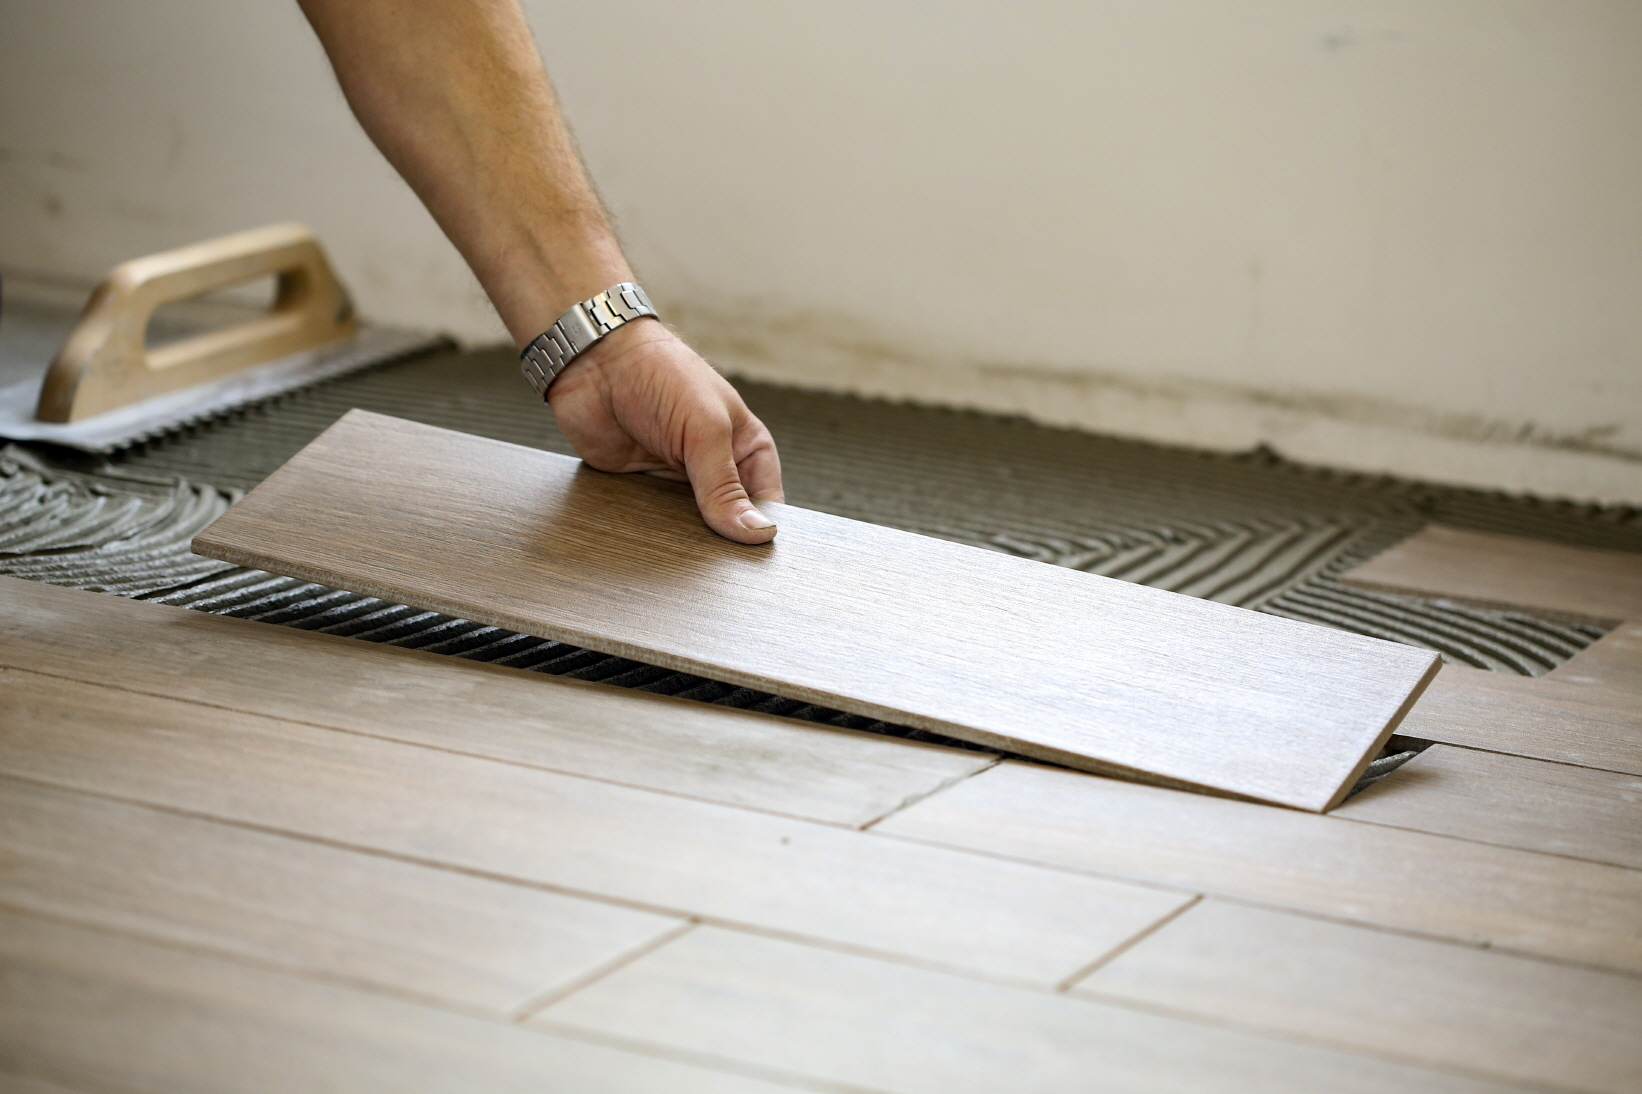
Step 4. Place New Tile
With the subfloor smooth and ready, it’s time to proceed with installing your new tiles. Begin the installation by applying thin-set to the floor with your trowel, paying close attention to eliminate any air pockets. Carefully place each tile onto the thin-set, slightly shifting it to ensure proper adhesion. A wooden mallet can be useful to gently tap each tile into place. Continue this process until the entire floor is covered. Should you encounter any mistakes, address them promptly; thin-set dries quickly, making corrections more challenging once it has set. After all the tiles have been laid down, proceed to fill the joints between each tile with grout, giving your flooring a completed look.
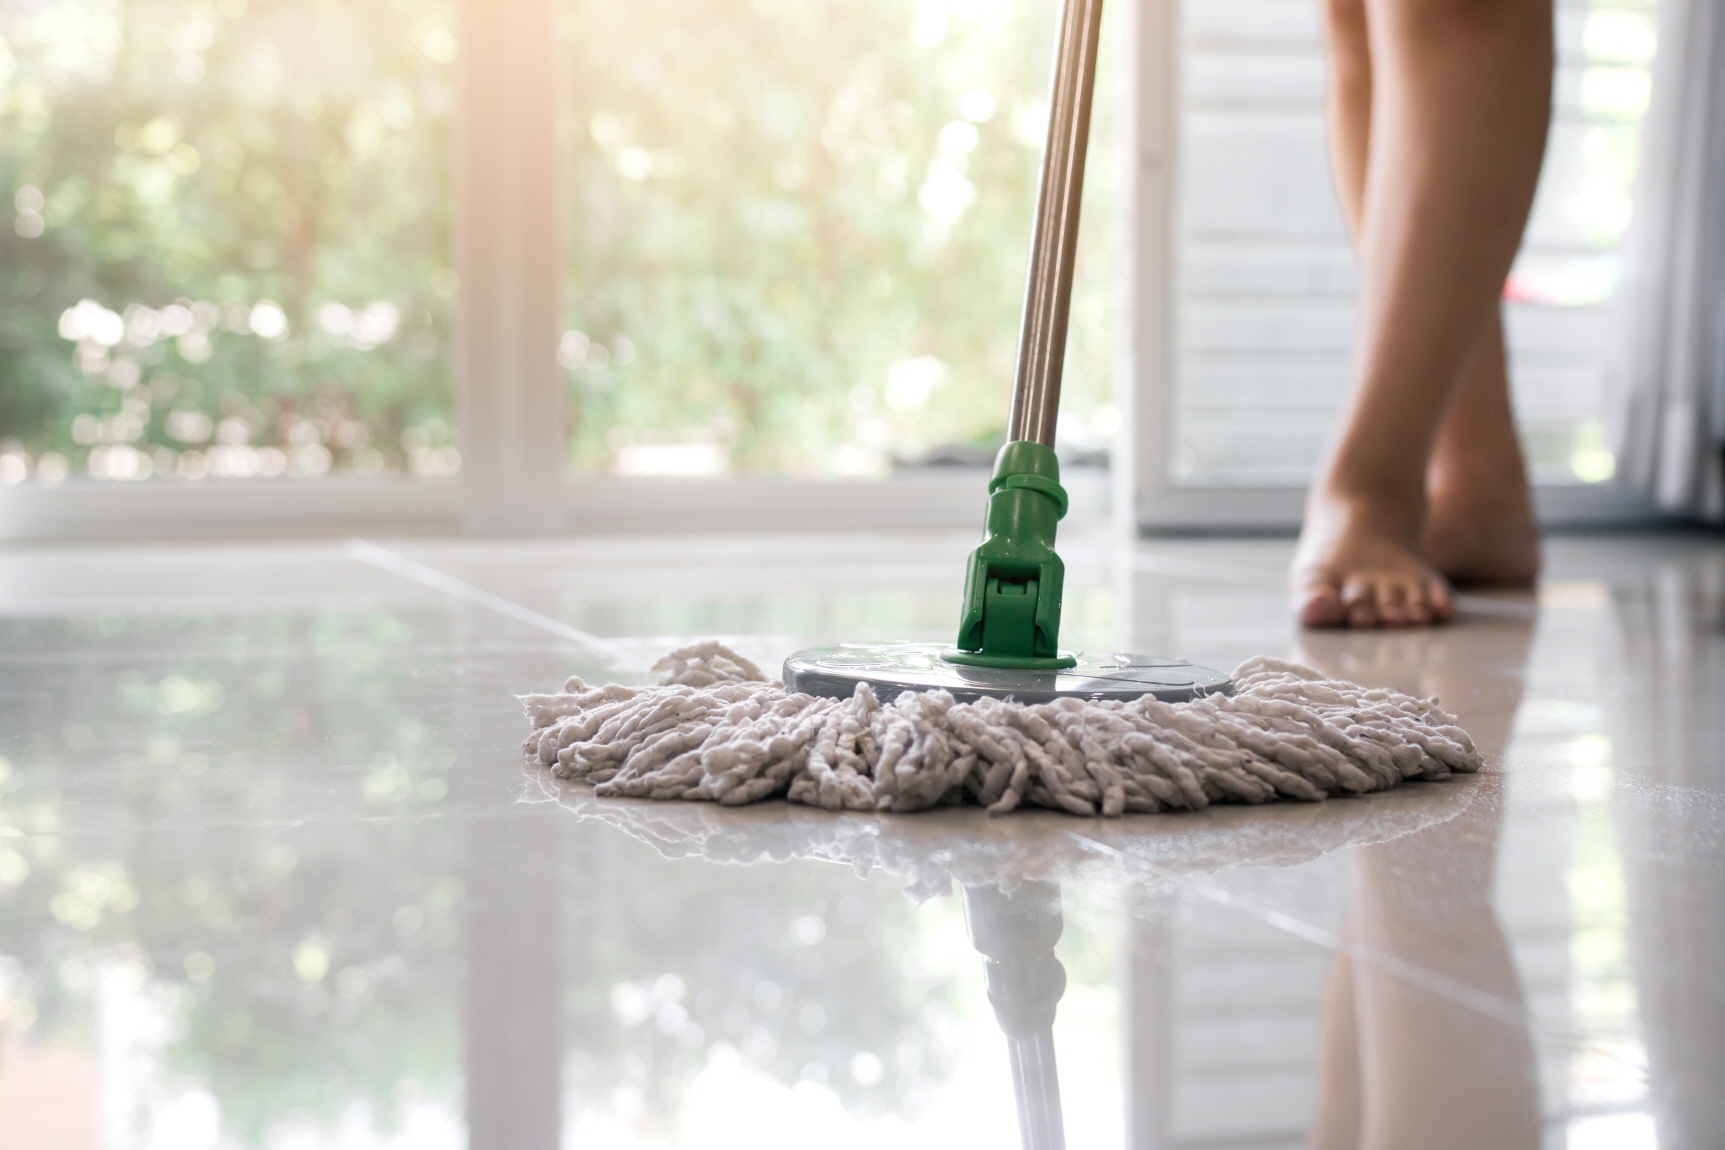
Step 5. Clean Up and Dry
Let the grout set for approximately an hour before proceeding to the next step. After this initial setting period, dampen a sponge in clean water and gently wipe down the grout lines using a circular motion to lift any excess grout off the tile surfaces. Once the grout has completely dried, go over the tiles to address the “grout haze” that often remains. A haze cleaner, available at most home improvement stores, can be an effective aid in this process. After the tiles are haze-free and the grout has dried thoroughly, apply a sealing agent. Use a brush to carefully apply the sealer along the grout lines, ensuring long-term protection. Finish with one final wipe of the tiles to leave your new flooring sparkling clean and you’re all set.
Contact Us
Are you considering the installation of LX Hausys’ TERACANTO Porcelain Surface tiles in your kitchen? Reach out to us today, and an experienced expert from our team will get in touch to address all your inquiries.