Are your kitchen or bathroom countertops looking old and outdated? Wishing for a replacement but hesitant due to budget constraints? You’re in luck! We’re going to explore several affordable methods to refresh your countertops, giving them the update they desperately need without straining your wallet. From innovative peel and stick vinyl contact paper to comprehensive refinishing kits, we’ll delve into four cost-effective options. Our goal is to provide you with solutions that not only enhance the aesthetic of your spaces but also address any initial questions you might have. Let’s embark on this journey to transform your countertops into the stylish surfaces you’ve always wanted.
Top 4 Countertop Transformation Methods
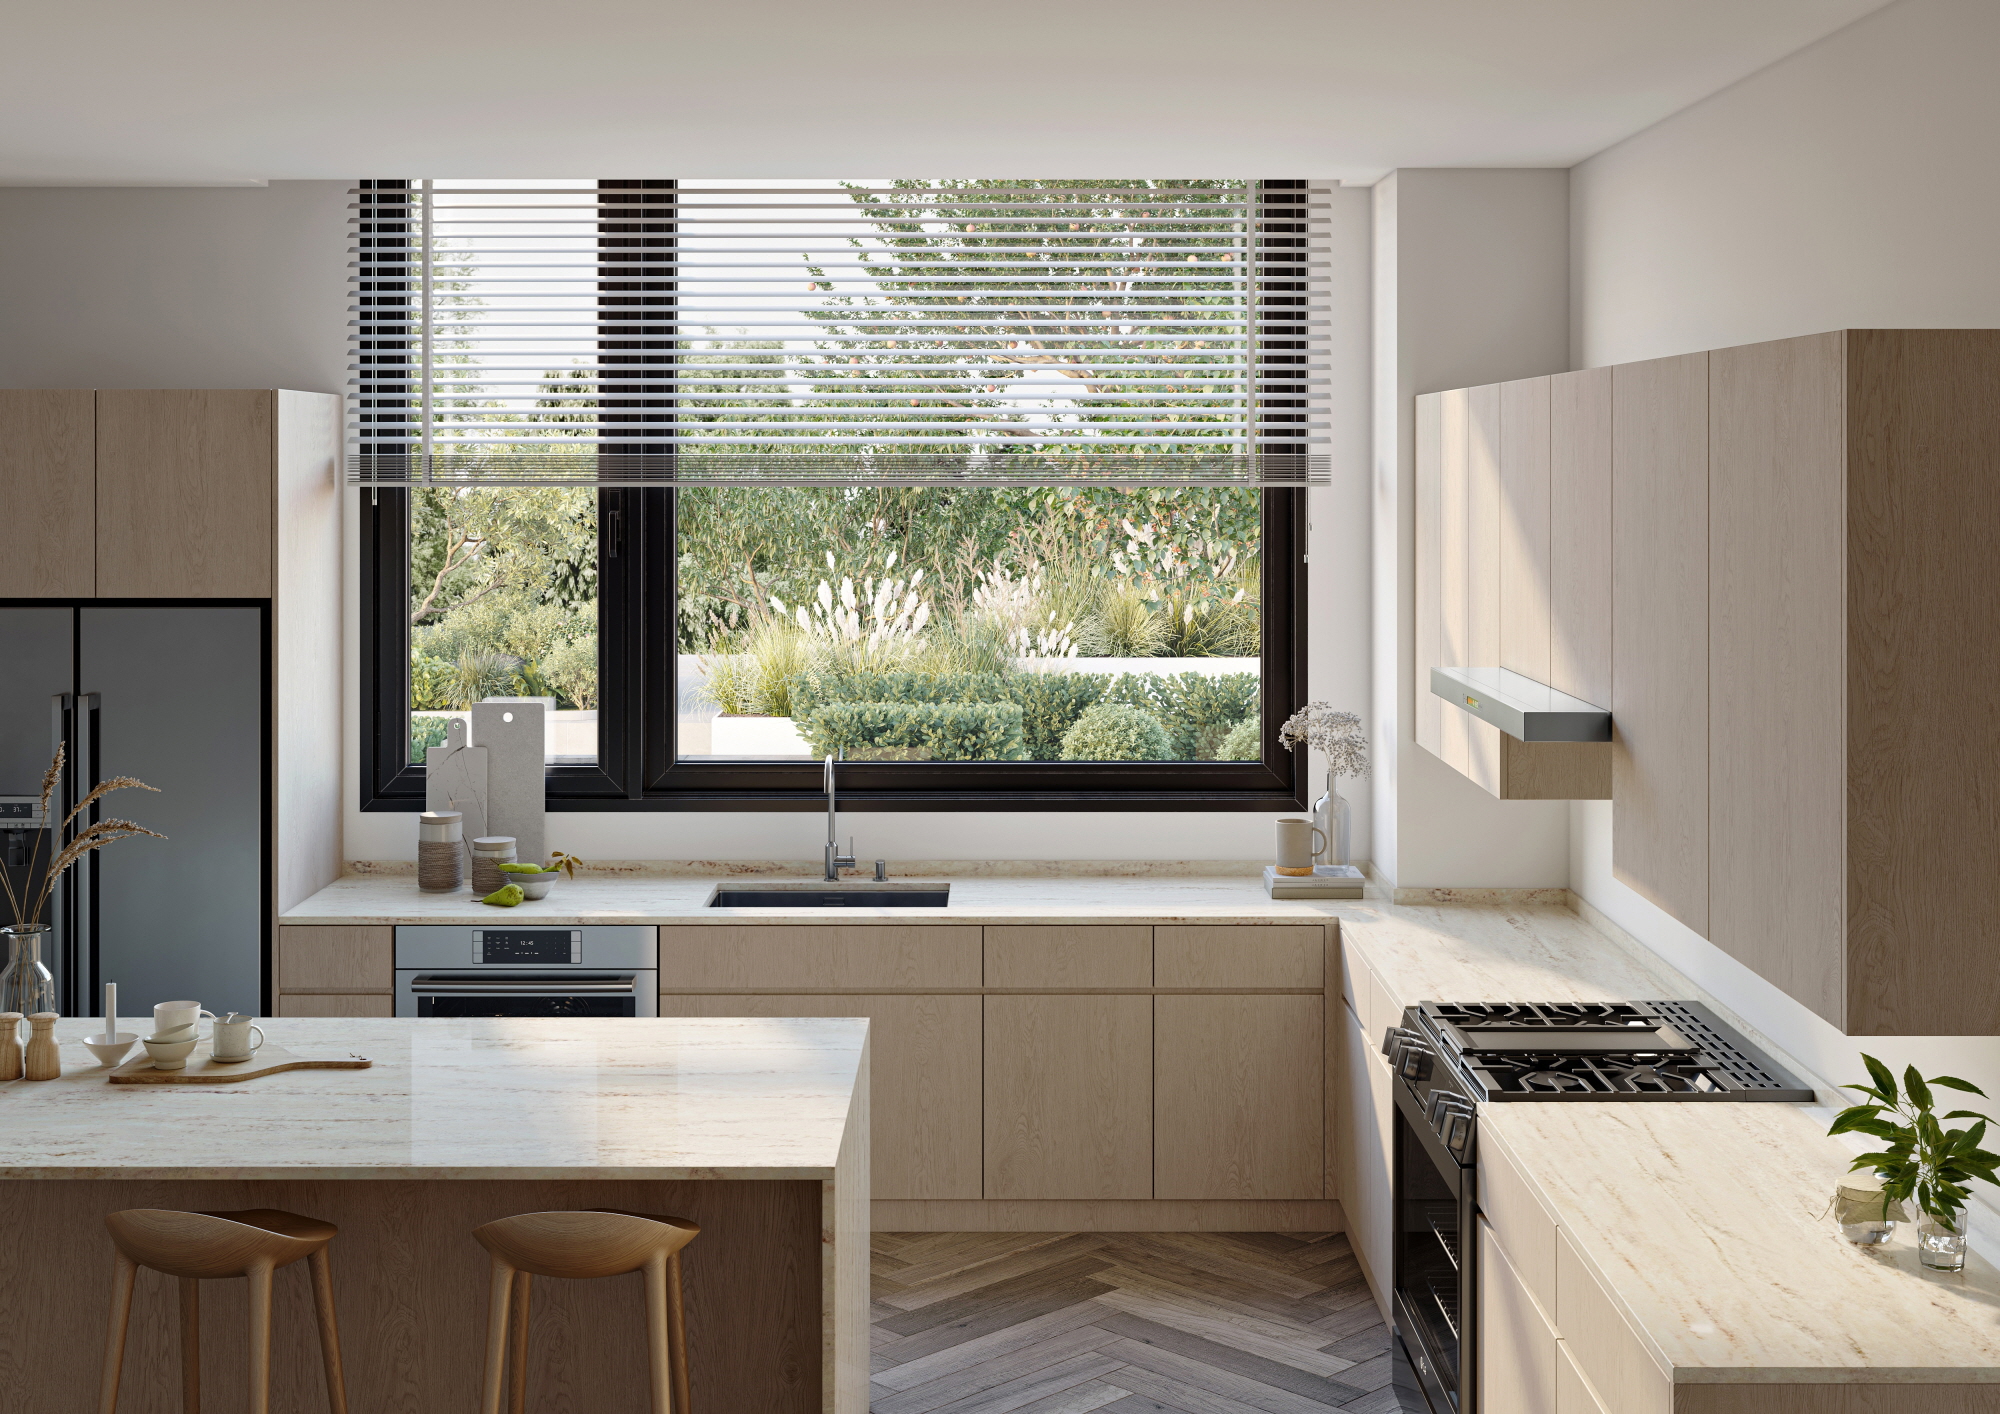
Peel and stick vinyl contact paper, countertop painting, tiling, and refinishing kits represent the spectrum of cost-effective solutions to revitalize your countertops with a fresh appearance. These methods can typically be undertaken as DIY projects, offering additional savings on installation costs. Our aim is to provide you with a comprehensive overview of each option: we’ll highlight their advantages and potential limitations, and guide you through the installation process step by step. This way, you can make an informed decision on the best approach that aligns with your specific needs and DIY proficiency. Let’s dive into each method to help you rejuvenate your countertops with confidence and ease.

#1. Peel & Stick Vinyl (Contact Paper)
Peel and stick vinyl contact paper, often referred to as interior or adhesive film, is essentially a large, thin sticker rolled out to revamp your existing countertops. It’s a favorite among homeowners because it can mimic the texture of the original surface, be it wood, metal, or any other material, and with the right care, it can look great for over a decade. One of the biggest advantages is the mess-free installation process—no odors, dust, or noise. This makes it an ideal choice for anyone new to DIY projects, combining affordability with ease of installation. In just a few hours, you can completely transform your countertops.
To begin the installation, the first step is to prepare the surface by ensuring it’s smooth and clean. A thorough wipe-down followed by a bit of putty to fill any gaps or cracks, and some light sanding to eliminate rough areas, will set the perfect foundation. Next, apply primer to corners, edges, and any other spots that might need extra adhesion to make sure the vinyl sticks securely. Before applying the film, it’s crucial to measure and cut it to the exact size. Trying to trim it post-application only complicates the process.
Now you’re ready to apply the film. Carefully peel the backing and position the film over the countertop. Starting from the top, use a squeegee in fan-shaped motions to smooth the film onto the surface, eliminating any air bubbles and ensuring firm adherence. With these steps complete, your countertop transformation is ready to be admired and enjoyed. This straightforward process promises a significant impact with minimal effort and expense, giving your space a fresh look in mere hours.

#2. Countertop Painting
Painting your old countertops offers an accessible DIY project that can breathe new life into your kitchen or bathroom. This approach stands out for its affordability and the vast customization options it offers. Regardless of your experience with painting, this method can accommodate all skill levels. For novice painters, spray painting emerges as a viable route.
It’s important to note that spray painting is best suited for countertops in low-traffic areas which receive little to no direct sunlight. This precaution is due to spray paint’s tendency to fade and wear in busier areas exposed to more light.
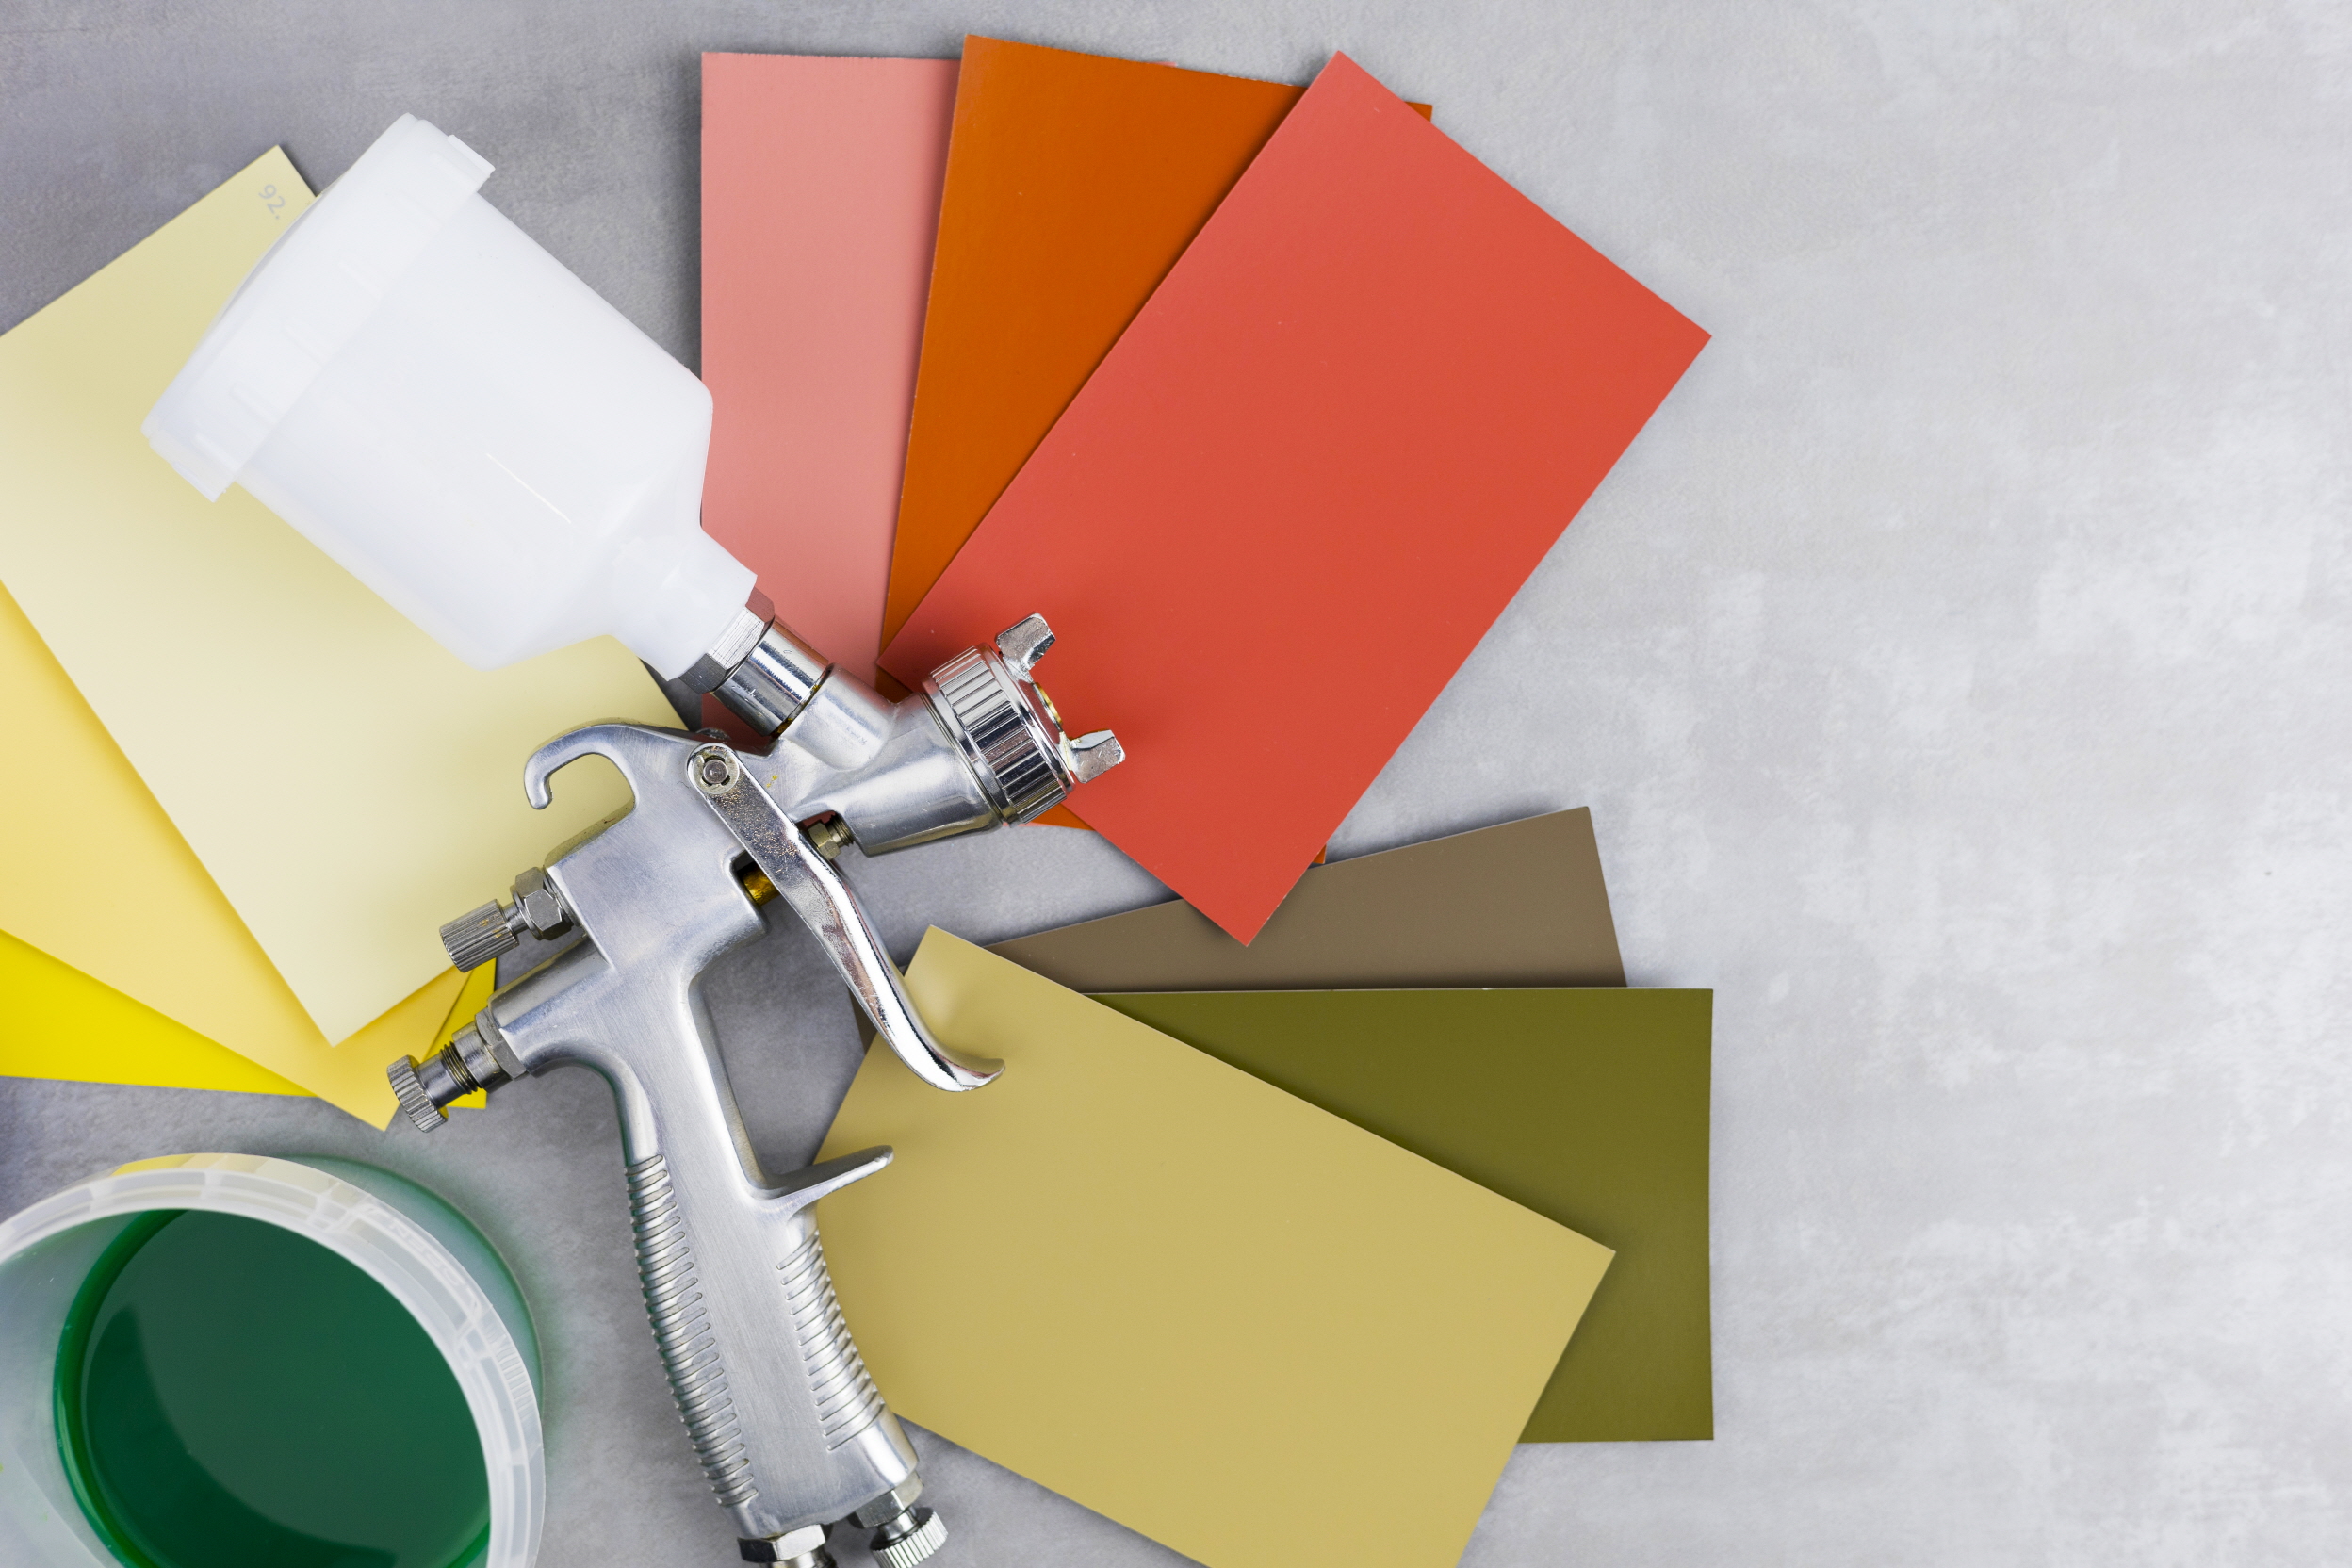
To embark on spray painting your countertops, begin with a thorough cleaning of the surface. The next step involves meticulously taping off the surrounding areas of your countertops. When in doubt, it’s wiser to err on the side of caution and tape more rather than risk accidental paint splatter. We also recommend covering your floors to shield them from potential paint drips. With your workspace prepped, you’re ready to apply the initial coat of paint. Allow it to dry completely before adding the second layer. This process should be repeated until you’ve applied a total of four layers of paint, culminating in a sleek, glossy finish. By following these steps, you can transform your countertops with a fresh, durable surface.
#3. Tiling
Tiling over your existing countertops is somewhat pricier than other options discussed here, but it offers an expansive array of design choices and delivers a beautiful finish. Porcelain tiles, such as LX Hausys’ TERACANTO, are highly durable and resistant to impact damage. Alternatively, you might consider ceramic tiles, though they are less resilient to impacts and might crack if objects are dropped on them. Among DIY projects, tiling is more complex and demands a greater level of expertise. If you are inexperienced with this type of project, hiring a professional is highly recommended.

To start the tiling process, first lay out the tiles on the countertop to ensure they fit properly. This is also the time to measure and cut the tiles to accommodate any built-in features of the countertop. If you aim to create an under-mount sink look, utilize sink corners and tile edging trim to achieve this effect.
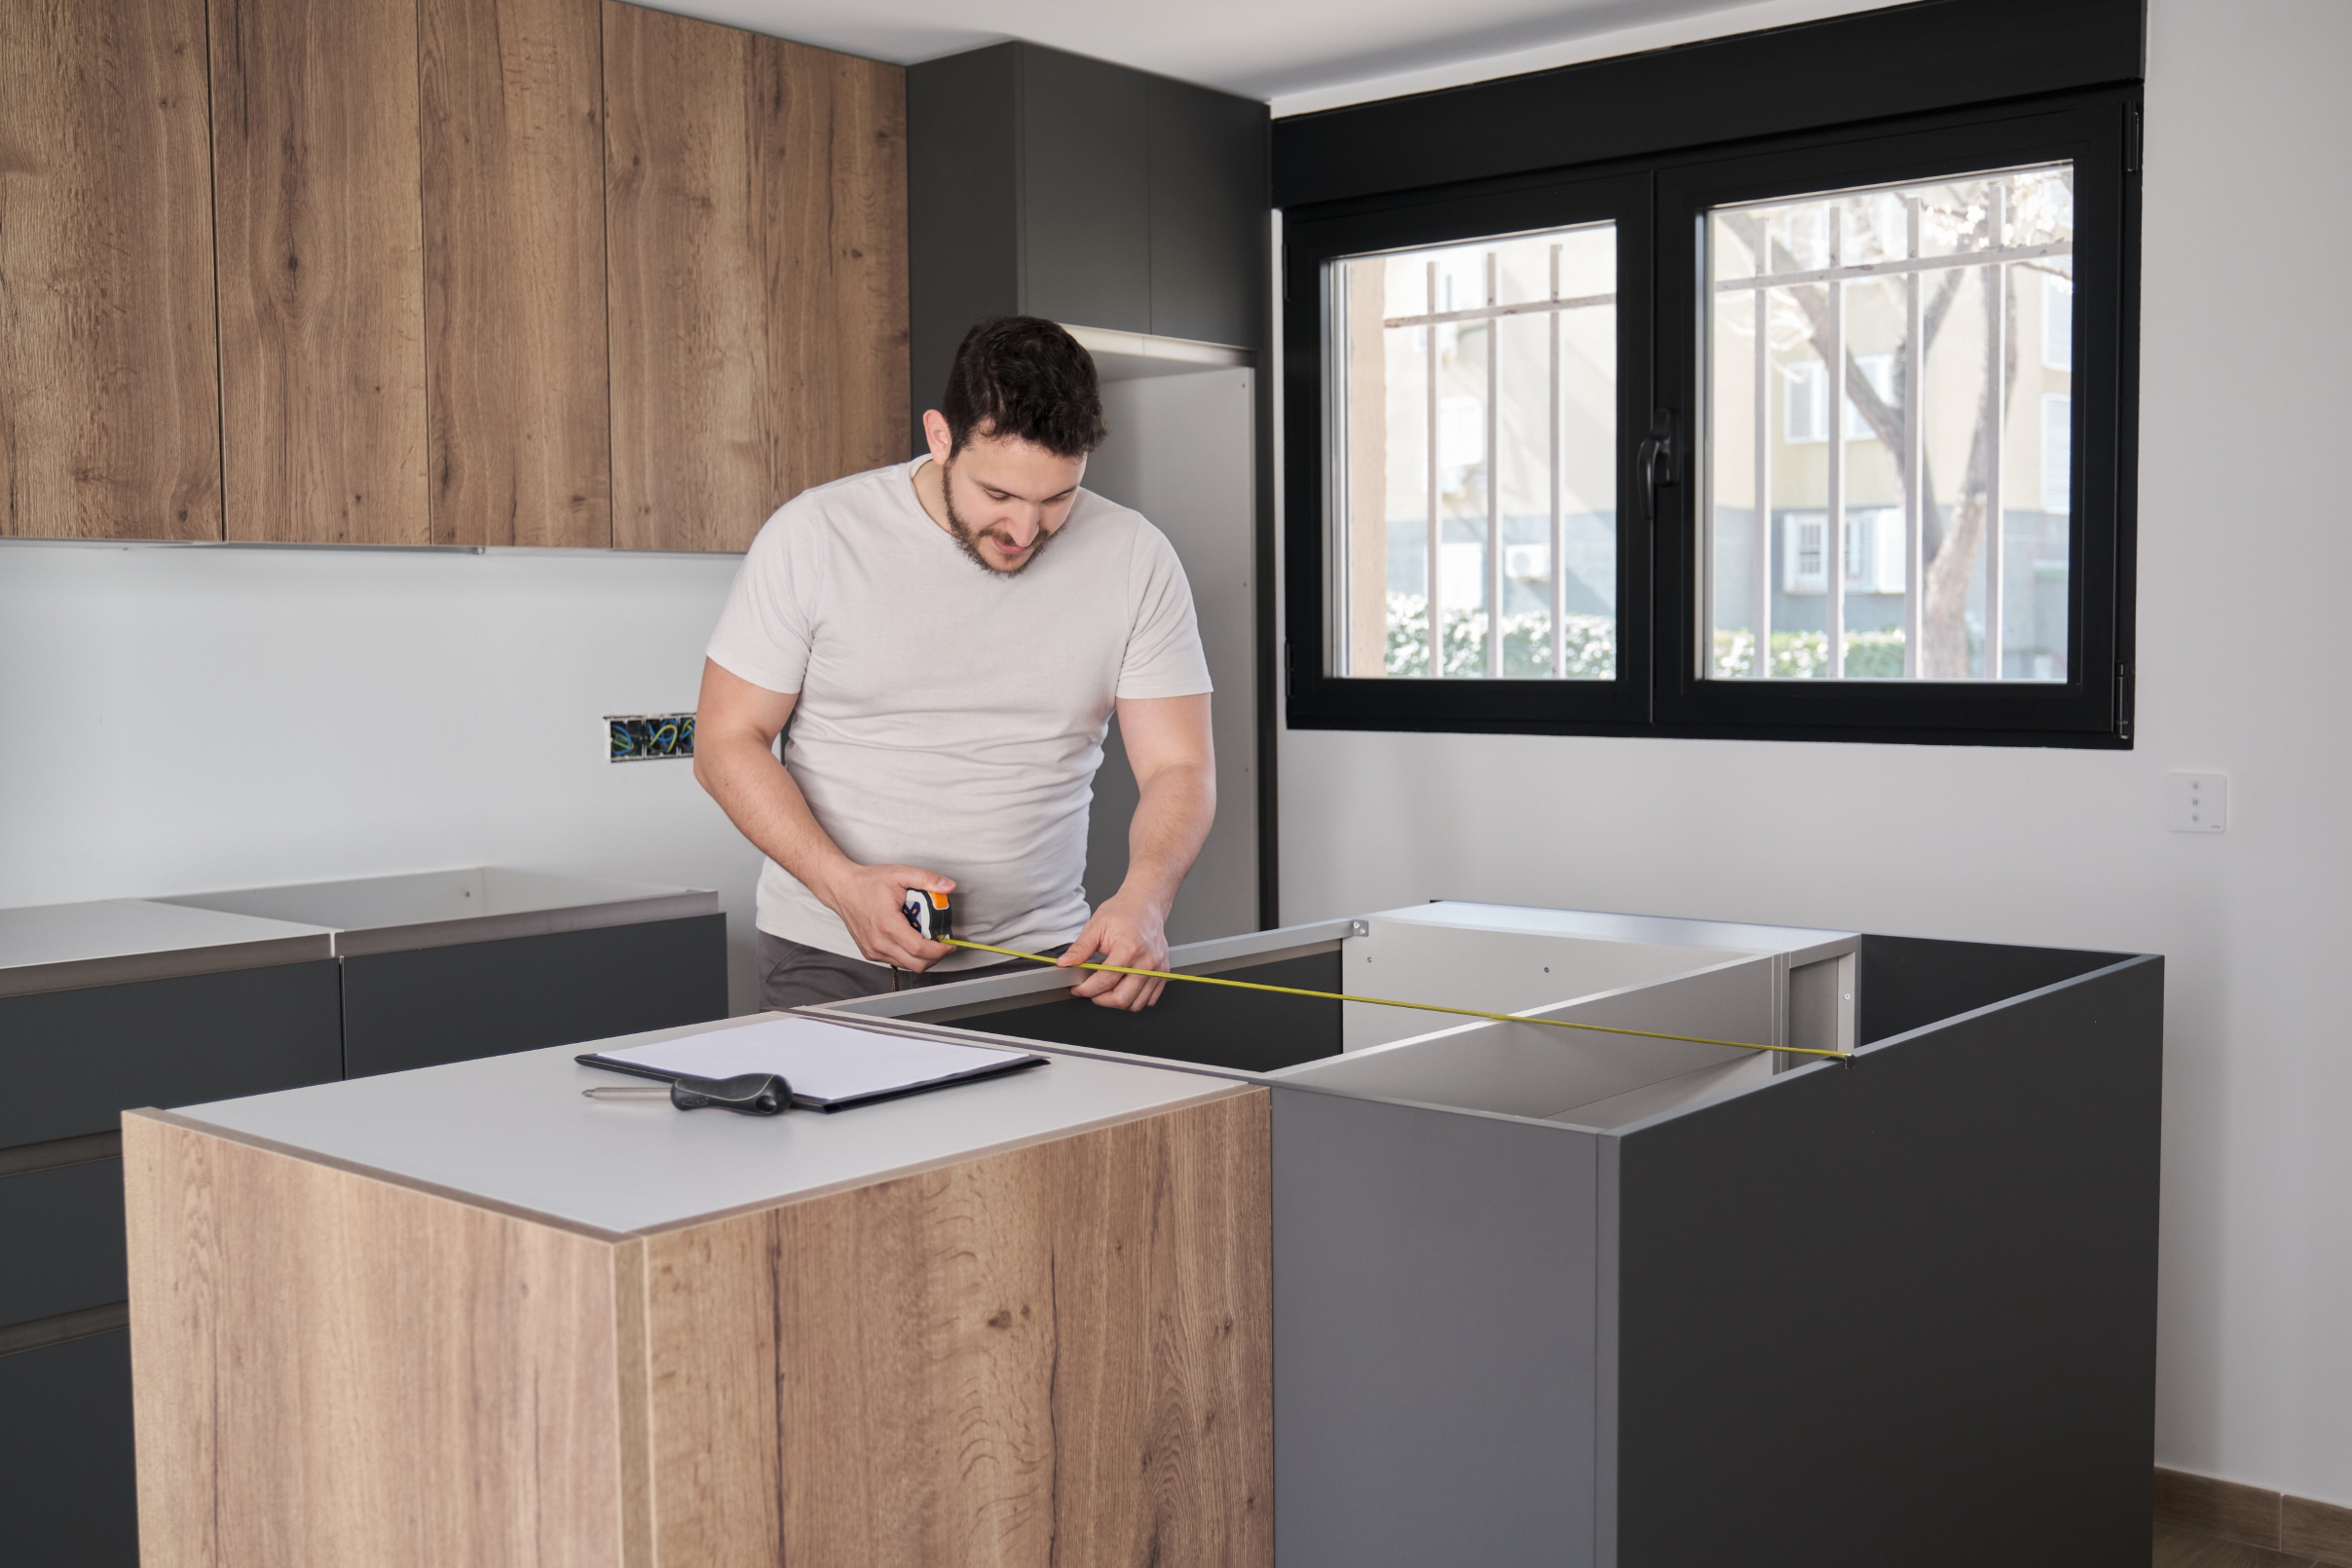
Once you’ve prepared the layout and made the necessary cuts, apply a layer of thin-set mortar across the entire surface using a trowel. Position your tiles within this mortar bed according to your chosen design. After placing all the tiles and ensuring they’re securely attached to the countertop, proceed by applying grout to fill the joints between the tiles. After the grout has dried, use a sponge to remove any excess, then seal the countertop to protect your work.
Following these steps, you will have a beautifully tiled new countertop, enhancing the aesthetics and functionality of your space.
#4 Refinishing Kits
For those proficient with a paintbrush, considering a refinishing kit or high-end countertop paint brands like Dream Stone, Rust-Oleum, Daich, or Giani may be the right path. These products offer surprising resilience, able to withstand the rigors of daily use in high-traffic areas thanks to their impact resistance and durability. While they come with a higher price tag and demand more time than the spray paint method, they excel in emulating a range of stone countertop finishes beautifully.
Opting for high-end paint entails a more comprehensive procedure but promises rewarding outcomes. The first step involves surface preparation, which includes sanding and applying a primer. Following this, a base coat of white paint is applied. The next phase involves adding veins to mimic the natural patterns found in marble, a technique that might require prior practice on alternative materials to master. Once satisfied with the veining effect, a whitewash is applied to soften the appearance of the veins. The final step is sealing the surface, which enhances the beauty of your work with a polished stone-like finish.
FAQ: Self-Installation Tips and Material Advice
In this section, we aim to address some of the frequent inquiries homeowners have regarding countertop updates without the need for full replacement.
How durable are DIY countertop solutions?
Durability among DIY countertop solutions can vary widely, depending largely on the method selected and the level of countertop usage. Peel and stick vinyl contact paper may hold up for a decade or more, offering a similar longevity to a high-quality paint solution. On the other hand, spray paint, though cost-effective, tends to have a shorter lifespan, especially in areas subjected to heavy use or prolonged exposure to sunlight.
What is the cheapest way to redo kitchen countertops?
For the budget-conscious, the most affordable route for revamping kitchen countertops typically involves peel and stick vinyl contact paper or spray paint. These methods boast lower material costs and the ease of self-installation. However, it’s worth noting that the most inexpensive options may not offer the same level of durability and longevity as more costly alternatives.
How long will a peel and stick countertop last?
With proper care, peel and stick vinyl countertops can remain in good condition for over ten years, offering a durable and long-lasting surface option for those looking to update their kitchen on a budget.

