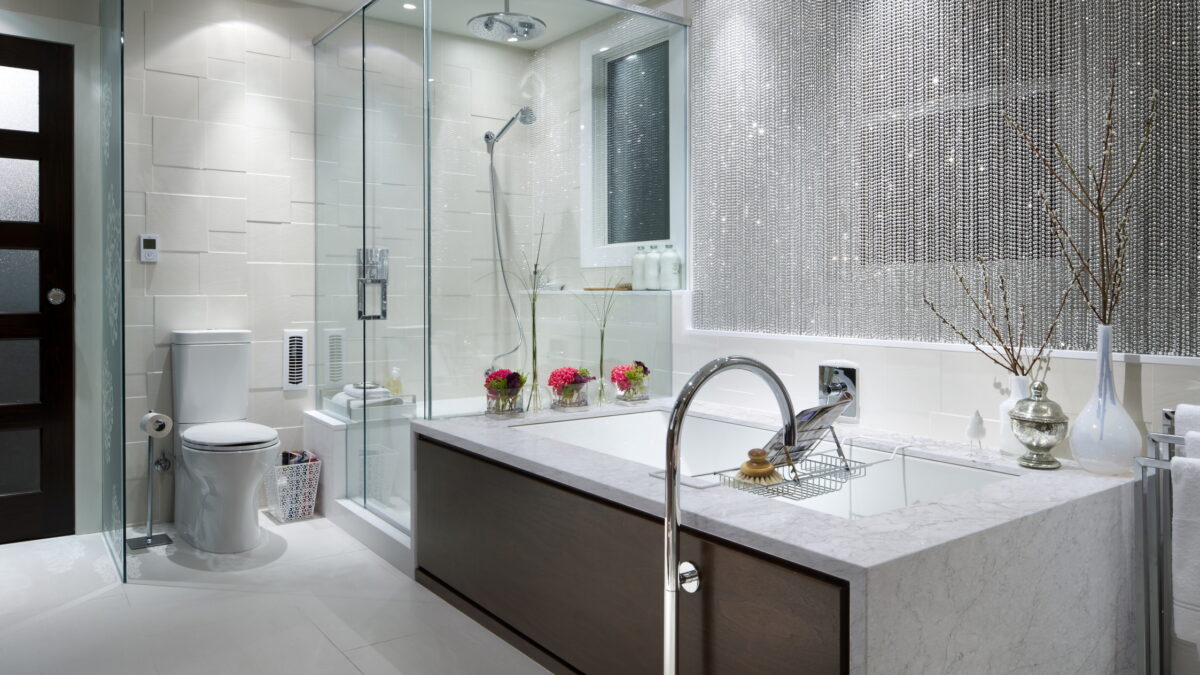
Renovating your bathroom can significantly enhance both its appearance and functionality. Among the most impactful upgrades is the conversion of a conventional bathtub into a modern walk-in shower. Such a renovation not only brings your bathroom up to date but also improves accessibility and convenience for users of all ages and mobility levels. In this blog post, we will walk you through the detailed steps needed to transform your bathtub into an elegant walk-in shower. We’ll dive into planning and design considerations, as well as the nitty-gritty of the renovation process, equipping you with all the information necessary for a smooth and rewarding bathroom makeover. Whether your goal is to create a luxurious spa-like oasis or to simply boost the utility of your space, our practical advice and insights will empower you to confidently embark on this project. Prepare to convert your dated tub into a chic walk-in shower that not only enhances your daily routine but may also increase your home’s value.
Can I Replace My Tub With a Walk-In Shower?
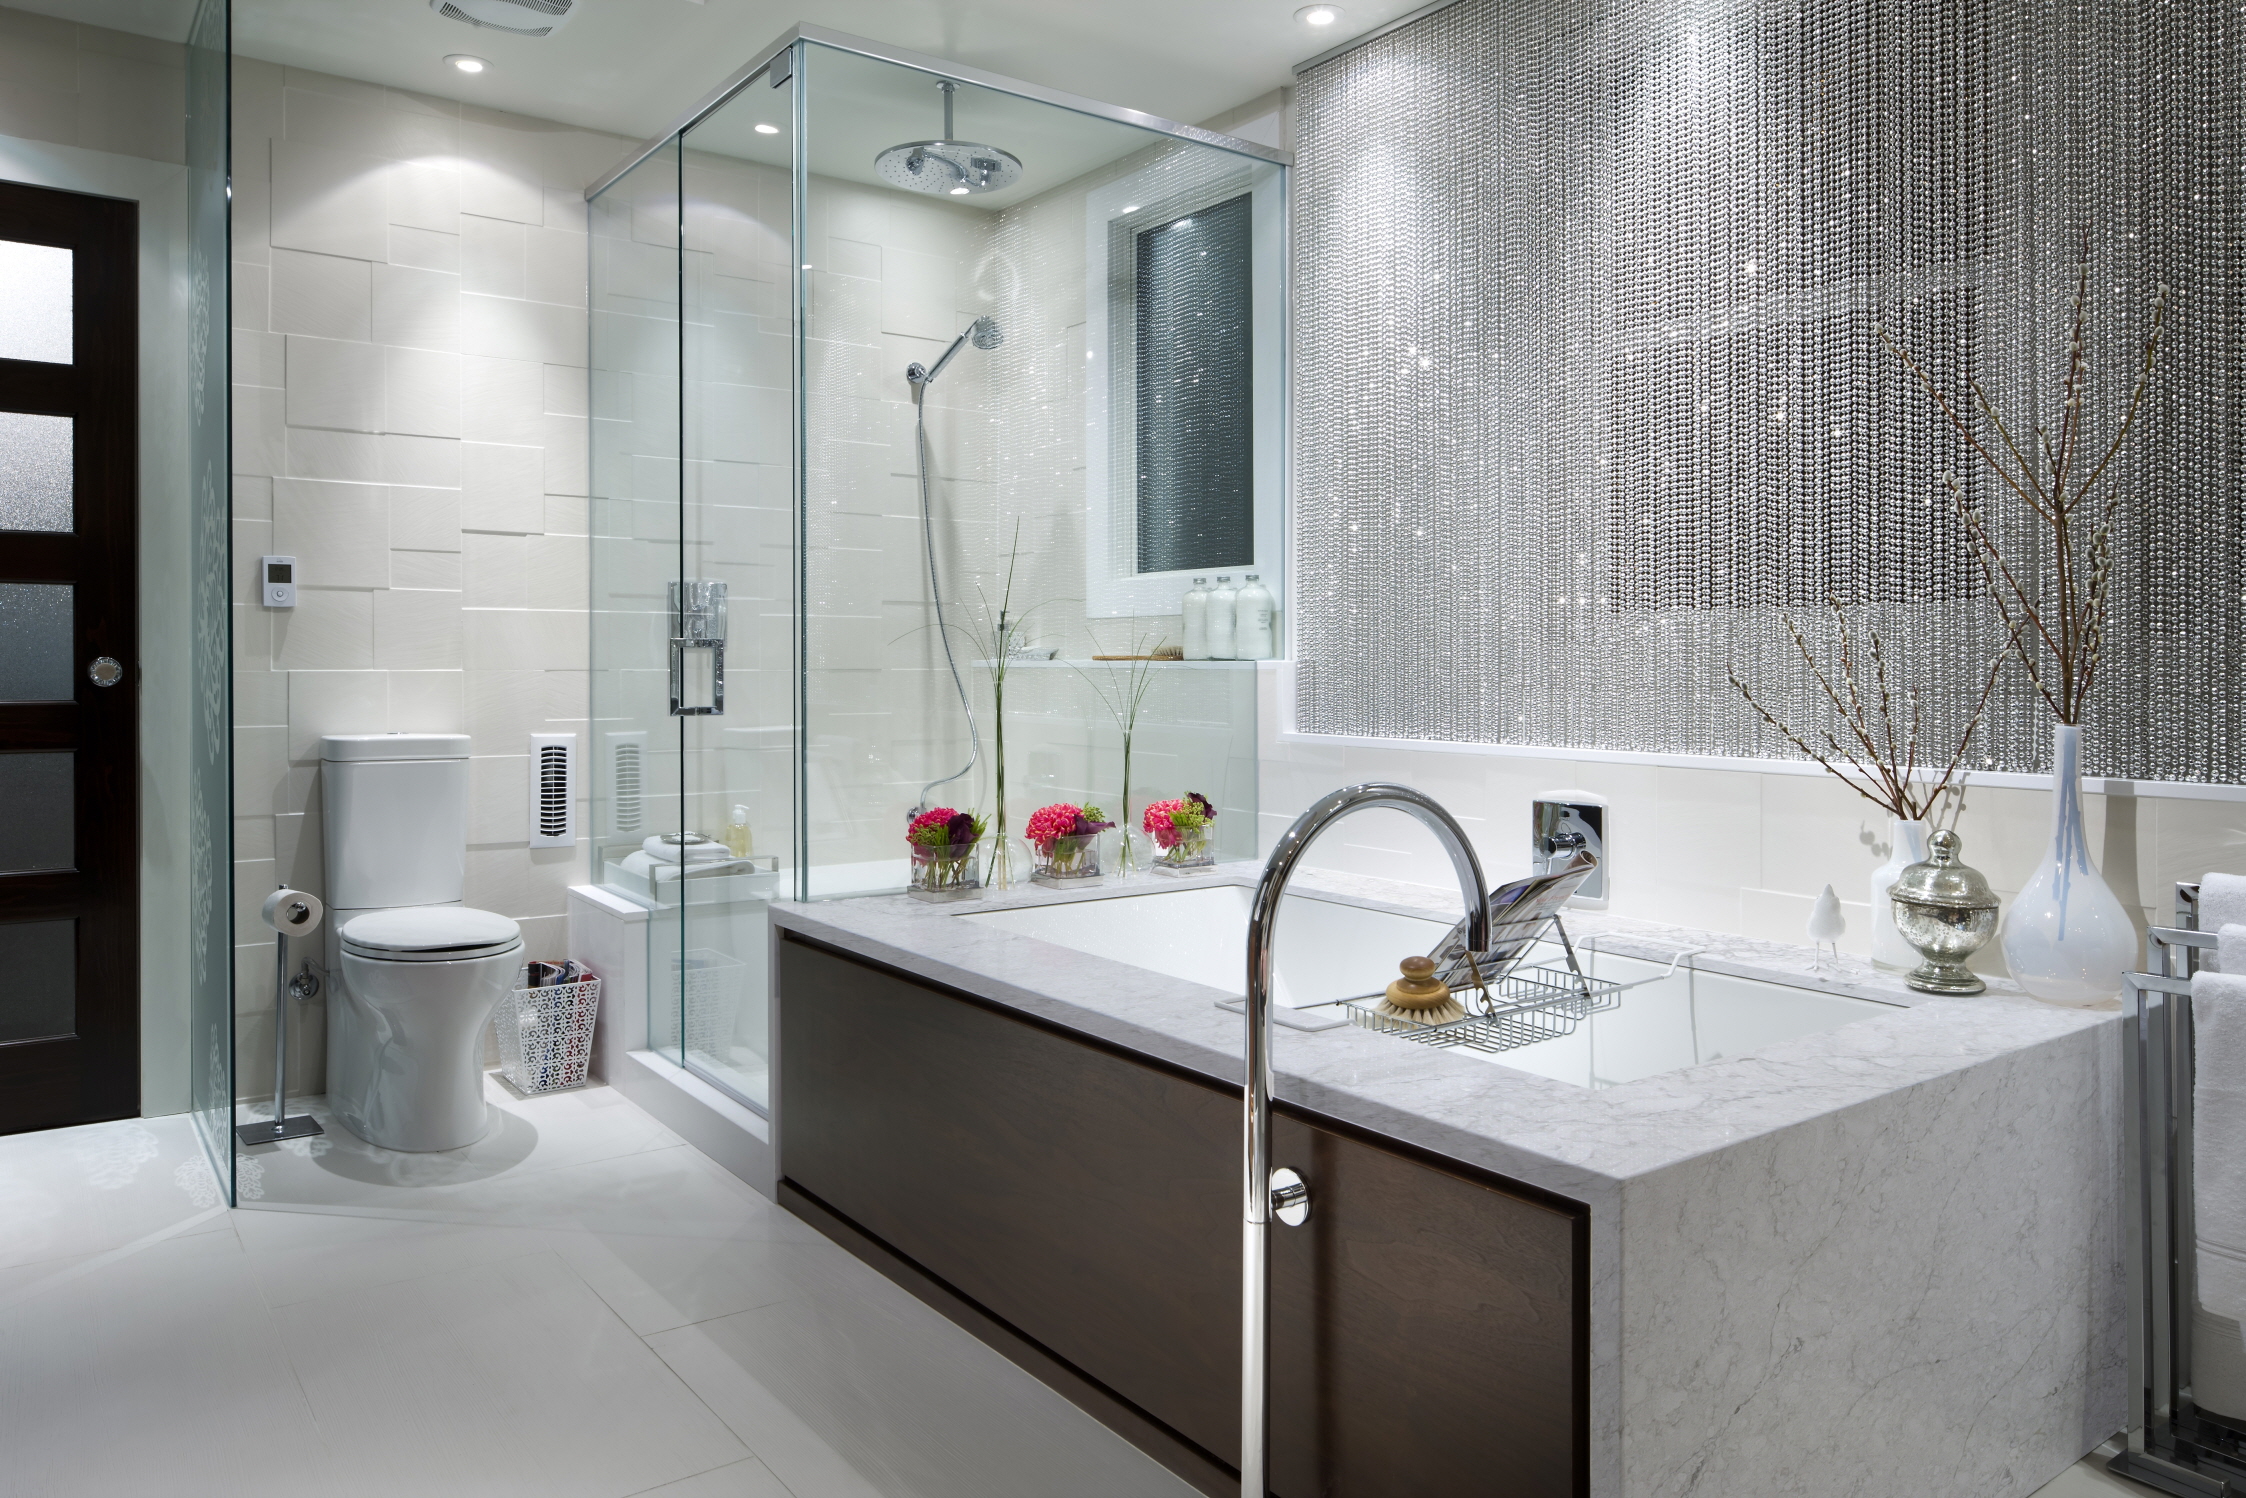
Certainly! Switching out your tub for a walk-in shower is not only feasible but has also become a popular trend in home renovations. This upgrade appeals to a wide range of lifestyles, including families looking for more accessible bathing solutions and homeowners aiming for a contemporary, spacious aesthetic.
Cost of Converting a Bathtub to a Walk-In Shower
The expense of transforming a bathtub into a walk-in shower can widely fluctuate, influenced by factors such as the bathroom’s dimensions, the materials selected, and the project’s overall complexity. Homeowners might anticipate spending anywhere from $1,500 to $7,000 for a basic conversion. Projects utilizing prefabricated shower kits generally fall at the more affordable end of the spectrum, whereas opting for custom designs with premium materials and detailed tiling can elevate the cost. Moreover, labor expenses are a significant consideration, particularly if the renovation necessitates plumbing modifications or additional structural alterations. It’s prudent to gather several estimates from trusted contractors to attain a precise figure for your renovation. Although the initial expenditure may appear steep, this investment can boost your home’s value and enhance your quality of life, making it a beneficial prospect.
DIY vs. Professional Tub-to-Shower Conversion
Choosing between tackling a tub-to-shower conversion as a DIY project or hiring professionals boils down to assessing your abilities, budget constraints, and availability. Opting for a DIY approach might offer savings of $1,000 or more in terms of labor expenses. However, this route demands a solid grasp of plumbing and construction, not to mention it carries the risk of expensive errors and potentially elongates the duration of the project. Conversely, although more costly, engaging professionals ensures a higher quality, efficient, and regulation-compliant result. With their specialized knowledge, capability to manage complex tasks, and often accompanying warranties, the added expense can be justified and appealing for many homeowners. By balancing your skills and the importance of achieving a polished finish, you can determine the most suitable route for your renovation.
Essential Tips for Converting a Bathtub Into a Shower
For a successful transformation of a bathtub into a shower, meticulous planning is crucial. Begin by examining your current plumbing setup to identify if it requires any alterations. Remember, undertaking DIY plumbing can void many home insurance policies, so it might be safer to leave this task to professionals. Select materials that are both durable and resistant to water, such as tiles or fiberglass, to guarantee longevity and simplify maintenance. Safety is paramount—choose a non-slip floor for your new shower to reduce the risk of accidents. Effective waterproofing is vital to protect against leaks and the ensuing water damage, so it’s worth investing in top-tier waterproofing membranes and application methods.

Incorporating built-in storage solutions, like recessed niches or shelves, can help maintain a tidy and convenient shower space. Good lighting and ventilation are imperative to fend off mold and mildew. If there’s any doubt about your capabilities in DIY, consulting professionals can help you sidestep expensive errors and ensure the project is concluded with a professional touch.
How to Convert a Tub to a Walk-In Shower
Let’s take a step-by-step journey through the process of converting your bathtub into a walk-in shower. By following these seven straightforward steps, you can construct the shower you’ve always envisioned.
1. Gather Your Tools and Materials
To convert a tub into a walk-in shower smoothly and efficiently, having the right assortment of tools and materials is critical. You’ll need a reciprocating saw to cut out the old tub, a drill with various bits for installing fixtures, a level to guarantee that surfaces are flat and even, and a trowel for spreading mortar. Additional essentials include a utility knife, pliers, and screwdrivers for miscellaneous tasks.
For materials, you’ll require cement backer board to line the shower walls, a waterproofing membrane to block leaks, and a sturdy shower pan or base. Tiles, grout, and adhesive will be necessary to cover the walls and floor aesthetically. Don’t forget the plumbing components: a new showerhead, valve, and drain assembly are crucial for functionality.
Your safety is paramount, so ensure you’re equipped with gloves, goggles, and a dust mask to protect against injuries and inhalation of harmful substances. It might also be practical to rent a dumpster for disposing of your old tub and the resulting renovation rubble. By having these tools and materials ready from the start, you can anticipate a smoother, more streamlined conversion process.

2. Plan the Shower Outline and Determine Placement
Once you have all the necessary tools and materials ready, the next step is to meticulously plan the layout of your new walk-in shower. Start by evaluating the current layout of your bathroom to identify the most suitable location for the shower. Take plumbing access, drainage, and the general flow of the space into consideration. It’s crucial to measure the area thoroughly to ensure the new shower not only fits seamlessly but also offers sufficient space for comfortable movement.
For a standard-sized walk-in shower, you’ll require at least 30” x 30” of floor space and a clearance of 80” in height. Additionally, there should be a minimum of 15” of space between the side of the toilet and the shower stall or 21” between the front of the toilet and the shower stall. Don’t forget to account for the space needed for a door if you decide to install one. Proper planning and accurate measurements are key to creating a functional and visually pleasing walk-in shower.
3. Choose Your Walk-In Shower Design
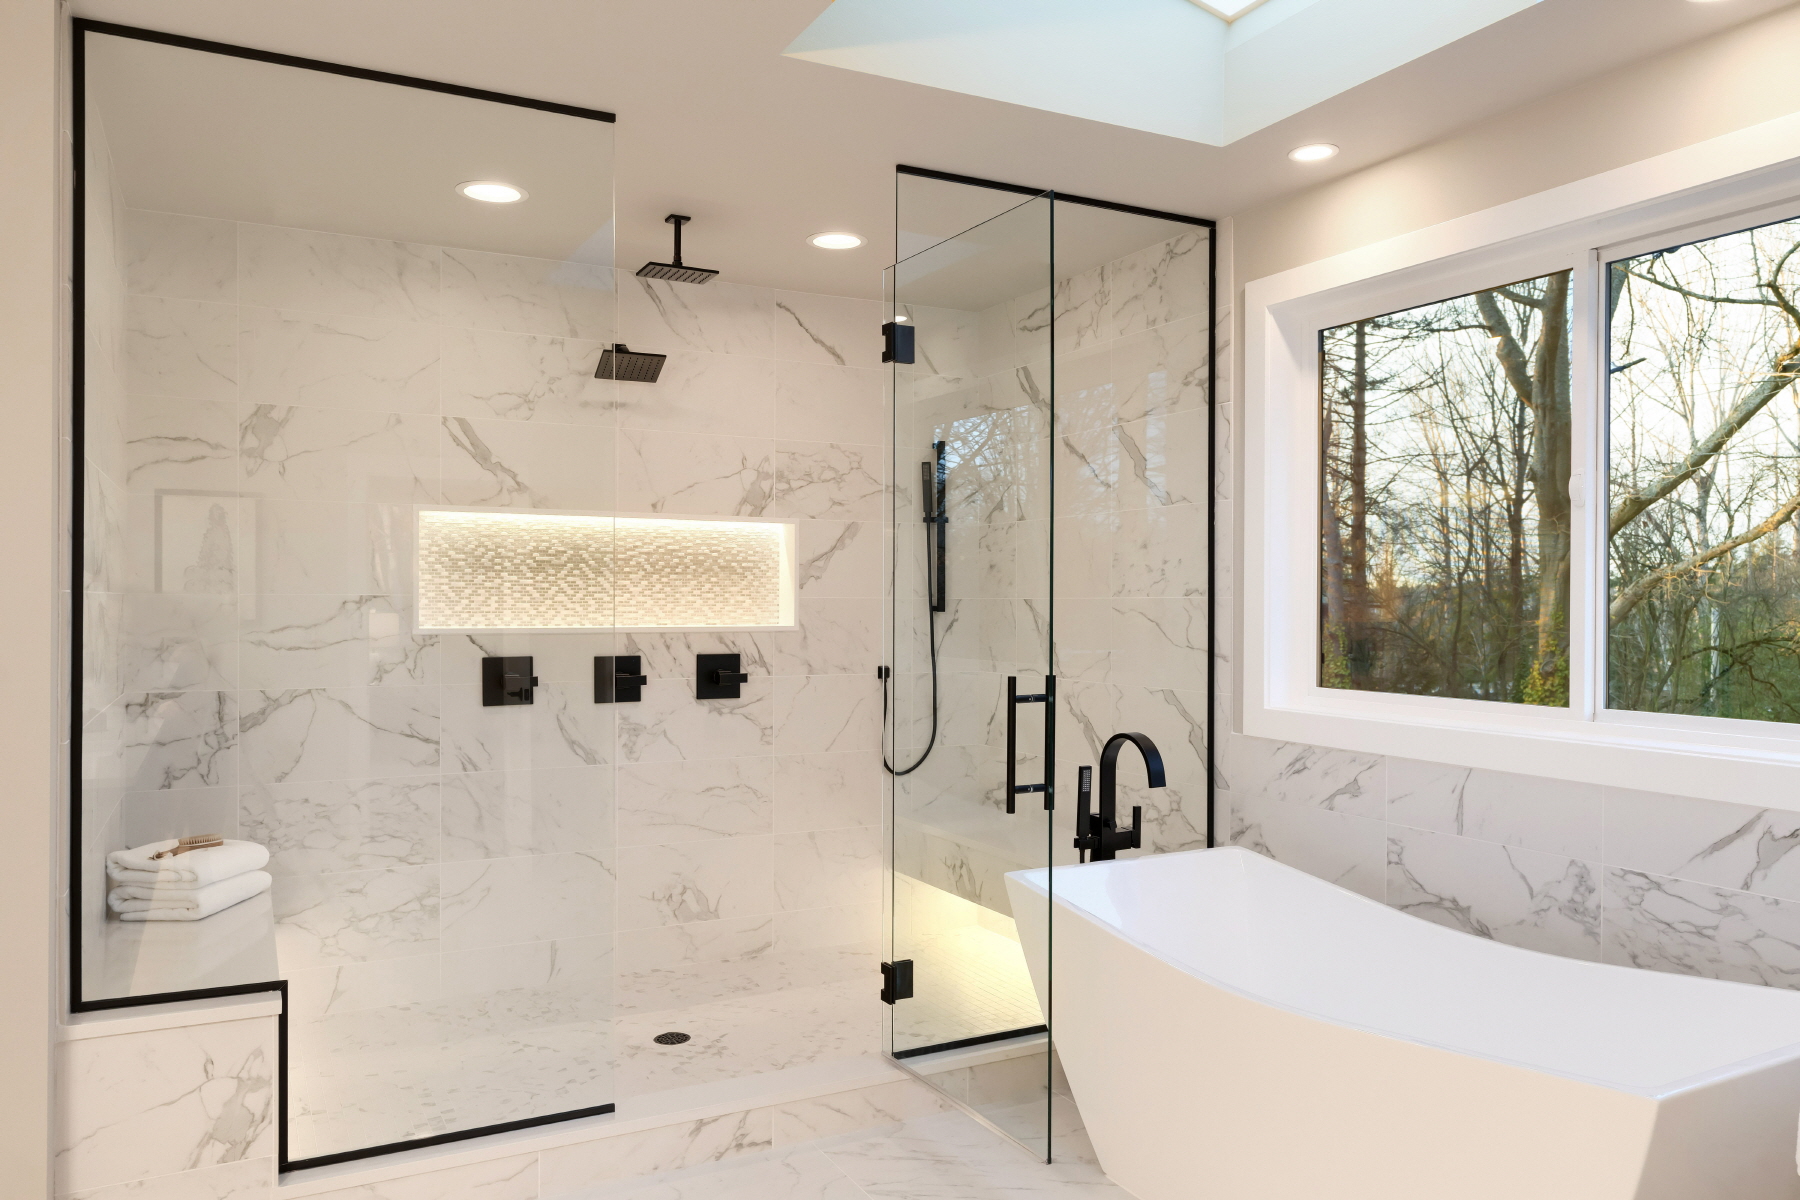
Selecting the design for your walk-in shower is an exhilarating opportunity to affect the look and feel of your bathroom profoundly. Begin by pondering the overall aesthetic of your bathroom and how the new shower will augment it. Do you envision a sleek, modern vibe, or is a classic and elegant ambiance more to your taste?
Material choice is paramount — prioritize durable and water-resistant materials such as ceramic tiles, natural stone, or sleek acrylic panels that can withstand the rigors of daily use. The type of enclosure is another important consideration; frameless glass doors can impart a chic, uncluttered look, while half walls may offer extra privacy without compromising on style.
Functional features such as benches for seating, and shelving or niches for storage, can greatly enhance the shower’s convenience factor. Your selection of fixtures, including showerheads and taps, should not only resonate with your preferred aesthetic but should also fulfill your performance expectations.
Lighting plays a significant role too; a blend of natural and artificial light sources can transform your shower into a sanctuary of relaxation and invigoration. By meticulously curating each design aspect, you’ll be able to create a walk-in shower that is both trendy and functional, adding a touch of luxury to your daily routine.
4. Obtain Necessary Permits and Turn Off Water Supply
Before embarking on your tub-to-walk-in shower conversion, acquiring the appropriate permits is a fundamental step to guarantee compliance with local building standards and regulations. It’s imperative to reach out to your local building authority to identify what permits you’ll need, particularly for plumbing, electrical, and structural modifications.
The permitting process generally involves the submission of detailed blueprints and payment of pertinent fees. With permits in hand, the next vital action is to shut off the water supply to your home to prevent any unintended leaks or flooding during the remodeling process. The main water shutoff valve is typically situated in the basement, crawl space, or utility room of a house. Make sure this valve is fully turned off.
Further safeguard your work by draining residual water from the plumbing system—open all faucets and give the toilets a flush. Taking these initial measures is essential to sidestep potential legal pitfalls and protect against water damage, paving the way for a seamless transition from tub to walk-in shower.
5. Remove Tiles, Wall Sections, and Disconnect Plumbing Fixtures
The process of converting a tub to a walk-in shower involves several critical steps, including tile removal, demolition of wall sections, and detaching plumbing fixtures. To protect your flooring during this intensive work, start by laying down plywood or a similarly sturdy protective layer.
Begin the demolition phase by targeting the tiles around the bathtub. Using a chisel and hammer, gently pry the tiles away, taking care not to damage the underlying wall structure. After tile removal, proceed to saw through and dismantle the sections of the wall encompassing the tub, while safeguarding any nearby surfaces from harm.
Next, shift your focus to the plumbing by detaching the bathtub’s spout, faucet, and drain. Employing a pipe wrench or adjustable pliers, carefully loosen these connections. It’s wise to have buckets or towels on hand to catch any lingering water that escapes the pipes. As you work on the plumbing, proceed with caution to prevent any damage to the pipes or the surrounding area. Keep plumber’s sealant or tape within reach should you need to address leaks or make minor adjustments.
Executing these initial steps with attention and care is crucial for laying down a solid foundation for your new walk-in shower installation.
6. Take Out Your Bathtub and Assess Subflooring
After the removal of tiles and wall sections, the next step is the careful extraction of the bathtub. Begin this phase by unscrewing or prying out any fasteners that anchor the tub to the walls, and use a utility knife to slice through the caulk sealing the tub to the floor. This stage involves detaching the tub from its installation brackets and maneuvering it out of its position. Given the bulky nature and weight of the tub, you might need extra hands for this task. Once free, dispose of the old bathtub accordingly.
With the bathtub out of the way, turn your attention to inspecting the subfloor for potential damage or issues. Look for any telltale signs of water damage, including rot or mold, which would require immediate attention before moving forward. It’s essential that the subfloor is both level and stable to provide a reliable base for the new shower.
Should you encounter any damage, it’s critical to address these issues promptly with suitable repair materials. Doing so not only prevents future complications but also ensures a safe and durable installation of your walk-in shower. Diligently examining and repairing the subfloor as needed lays the groundwork for a successful and enduring walk-in shower setup.
7. Install Your Walk-In Shower and Clean Up
Initiate the transformation by waterproofing the subfloor with a reliable membrane, creating an impermeable barrier against potential leaks. Following this, position and secure your shower base or pan, taking special care to verify its levelness for optimal drainage.
Moving on, erect the shower walls or enclosure, ensuring a precise fit over the base. It’s crucial to seal all joining points meticulously to achieve a watertight seal.
Next, incorporate your chosen plumbing fixtures, such as the showerhead, valve, and controls. Connect these fixtures seamlessly with the existing plumbing infrastructure.
After the installation is complete, embark on a thorough cleanup to eliminate any lingering construction residue, dust, or surplus adhesive, providing your new walk-in shower with a polished finish.
Finalize the process by conducting a meticulous inspection for any leaks or complications, addressing any issues immediately. An effective cleanup is more than just aesthetic; it facilitates the readiness of your bathroom for immediate enjoyment.
What to Do After Your Tub-to-Shower Conversion
Following the conversion from a bathtub to a walk-in shower, several key actions are necessary to guarantee the functionality and readiness of your new space. Begin with an exhaustive evaluation of the shower by activating the water through all the fixtures to detect any leaks while ensuring the water flow and temperature control are operating correctly. Examine all seals and grout to confirm they are without damage and properly applied.
If needed, reapply any trim or final details to enhance the aesthetics of your new walk-in shower. Additionally, take a moment to assess the bathroom’s overall condition, paying special attention to the efficiency of ventilation or lighting systems, which are crucial for mitigating moisture and maintaining a comfortable environment.
Addressing these final considerations not only maximizes your enjoyment of the revamped bathroom but also contributes to the durability and satisfaction of your upgrade.
