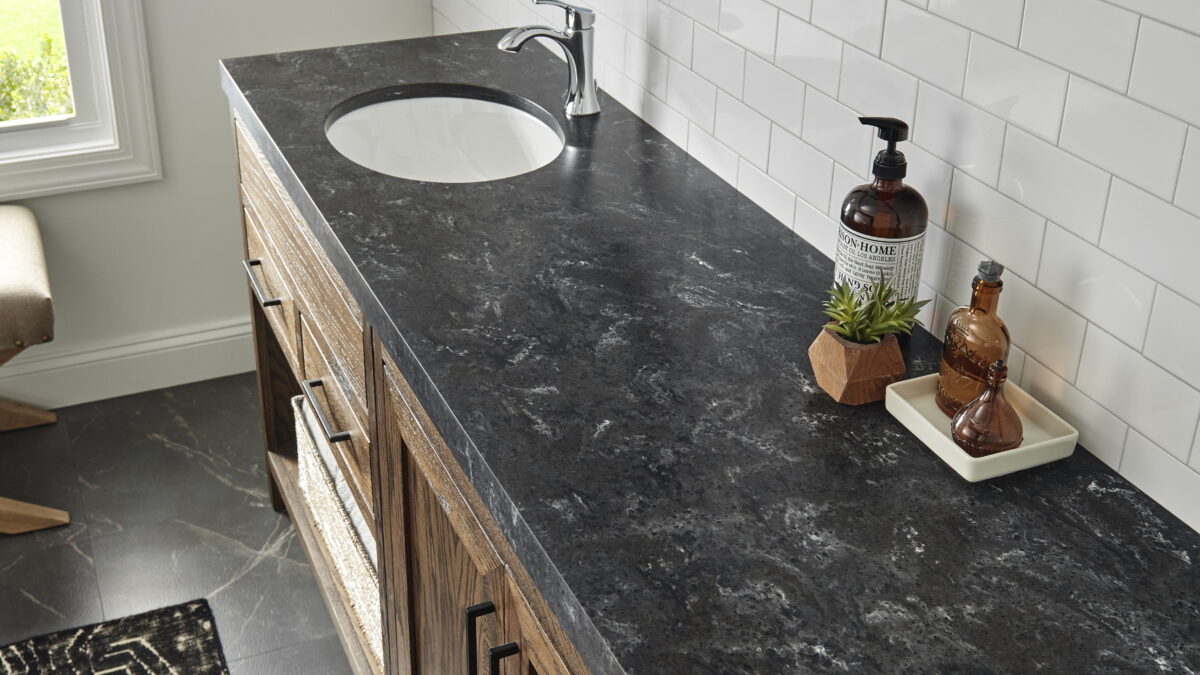
Changing a bathroom sink might seem daunting, but with the correct tools and a bit of know-how, it’s entirely manageable as a DIY project, which can save you both time and money. Upgrading your bathroom sink does more than just boost the aesthetic appeal of your space; it enhances functionality, adds value to your home, and allows for customization to suit your needs and preferences, making your bathroom more personalized and efficient. Moreover, it provides an opportunity to modernize the look of your bathroom with new styles and features.
Our comprehensive step-by-step guide is designed to take you through the entire process of replacing a bathroom sink, from the initial preparation to the final installation and testing. We cover all the necessary steps to ensure you achieve professional results, regardless of whether you’re installing a top-mount sink that sits on the countertop or an undermount sink situated below it. With this guide, you will have everything you need for a smooth and successful sink replacement.
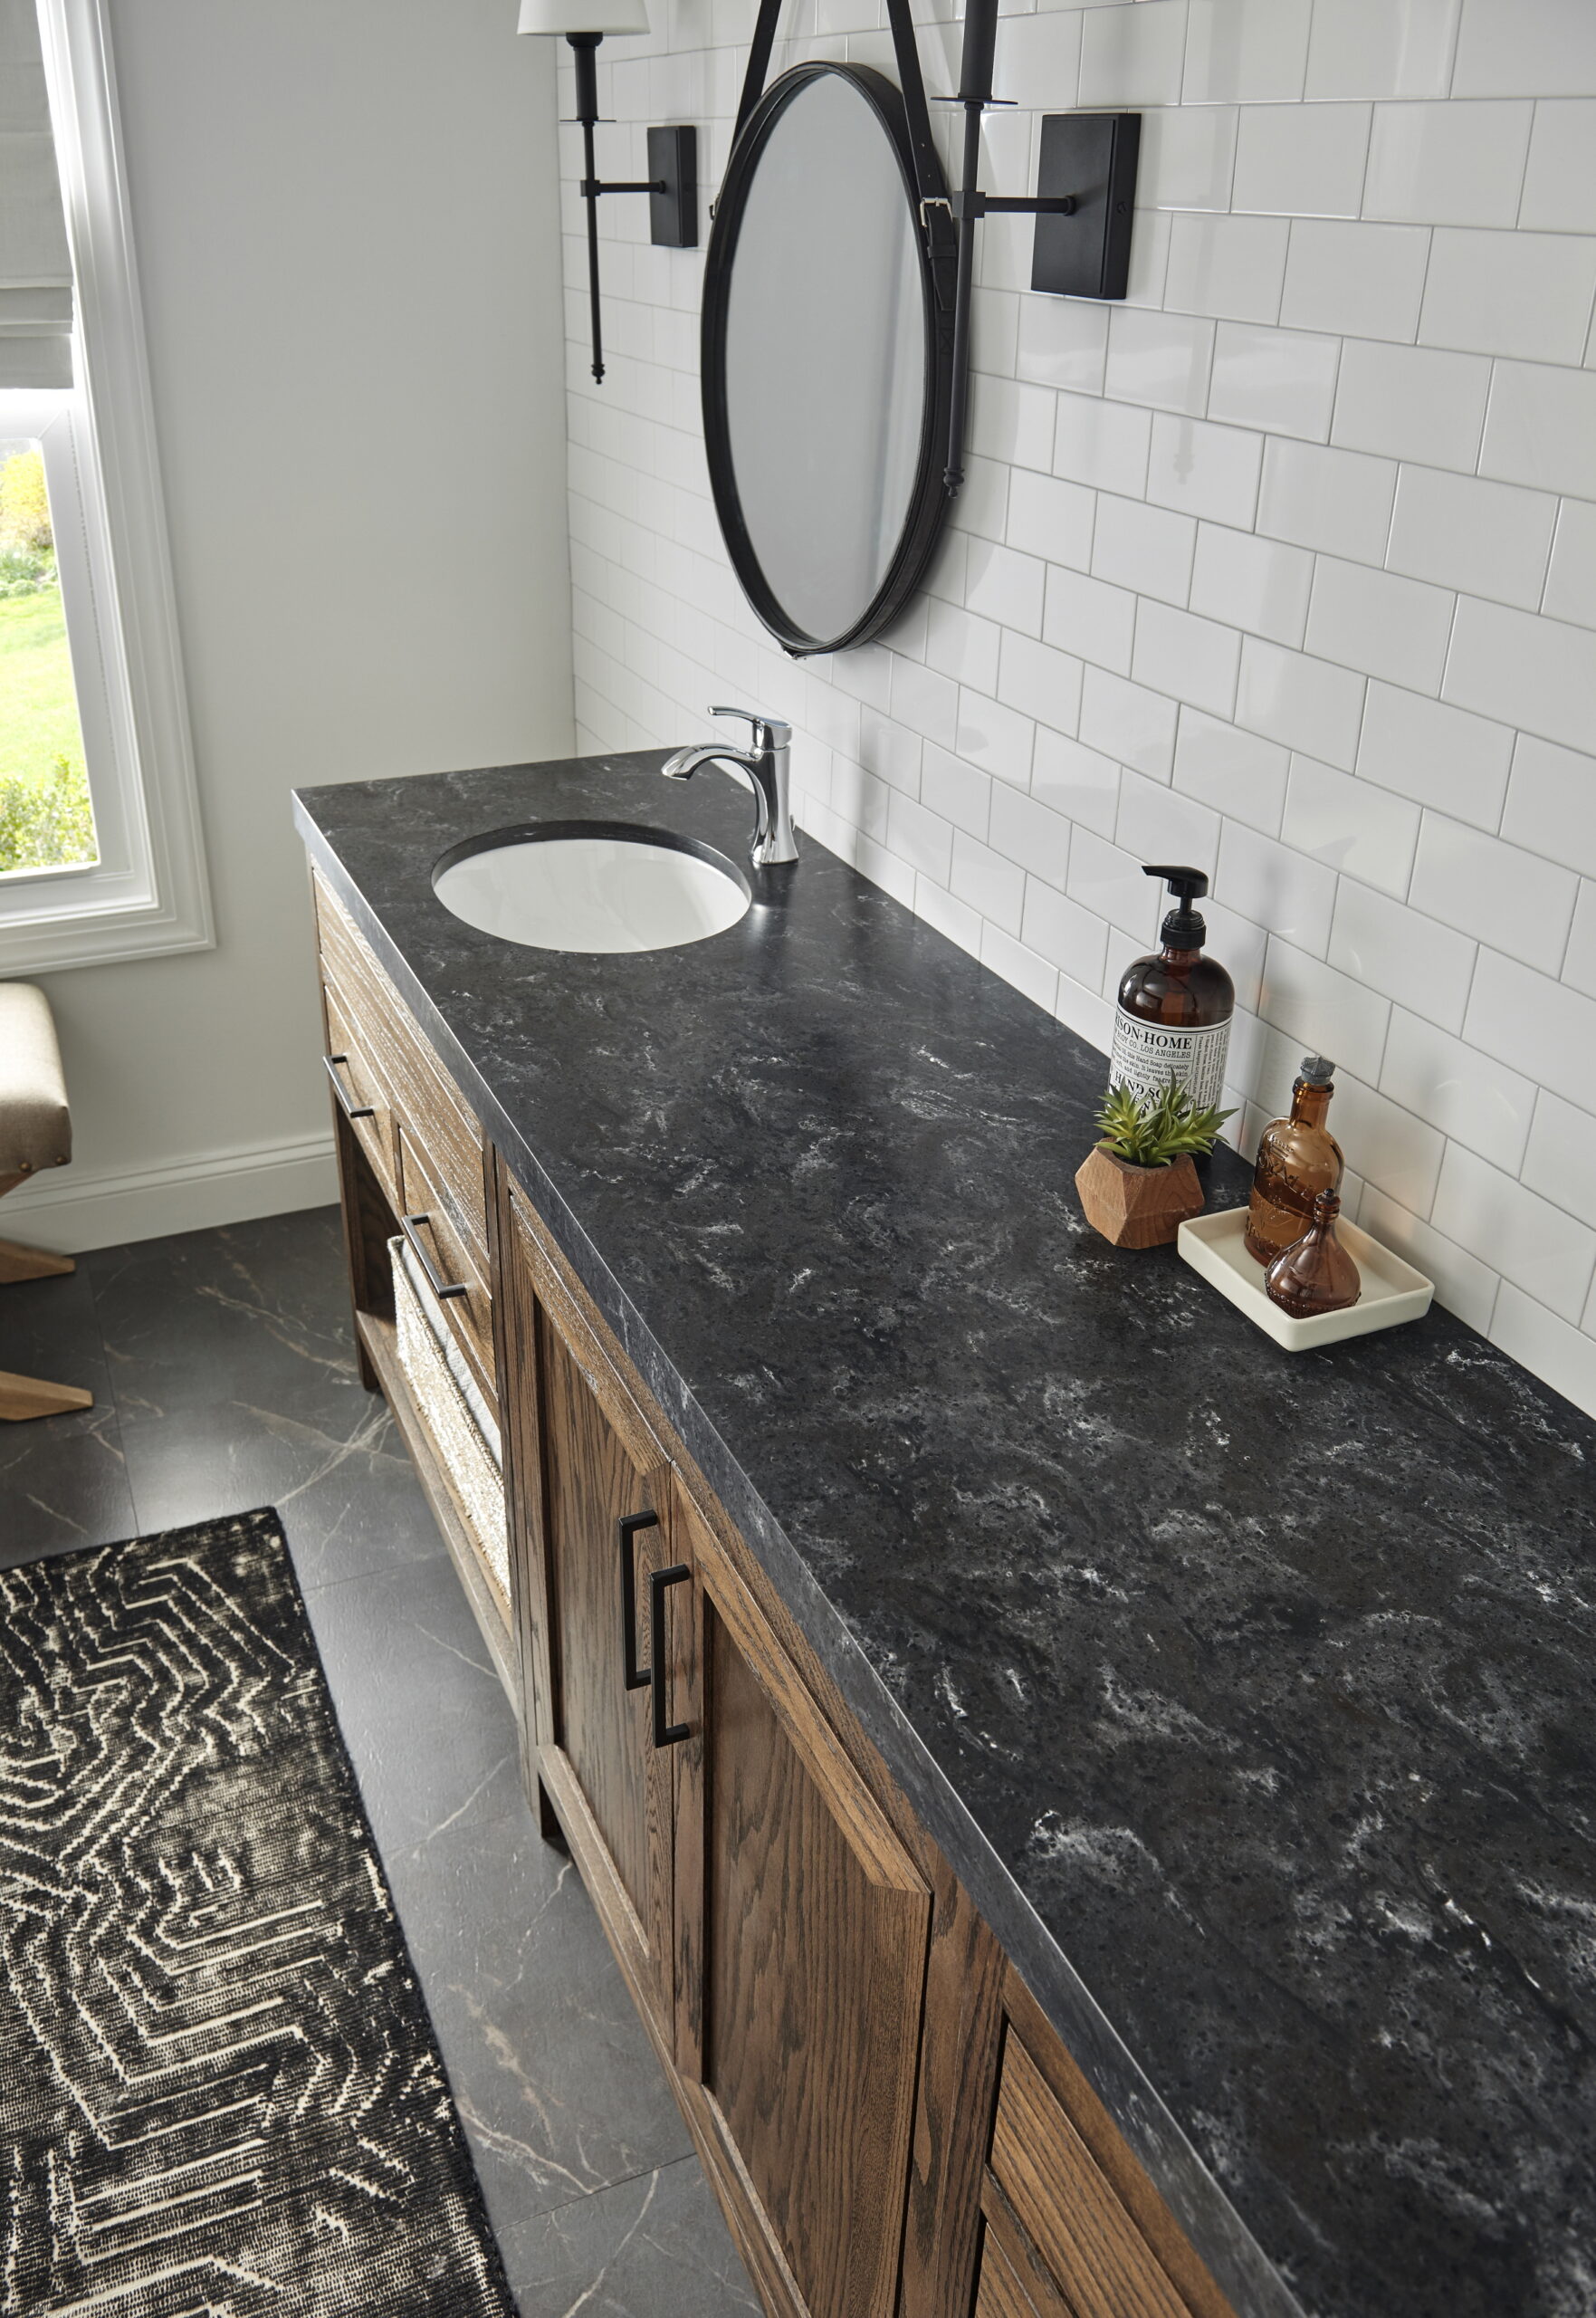
Preparing for the New Bathroom Sink
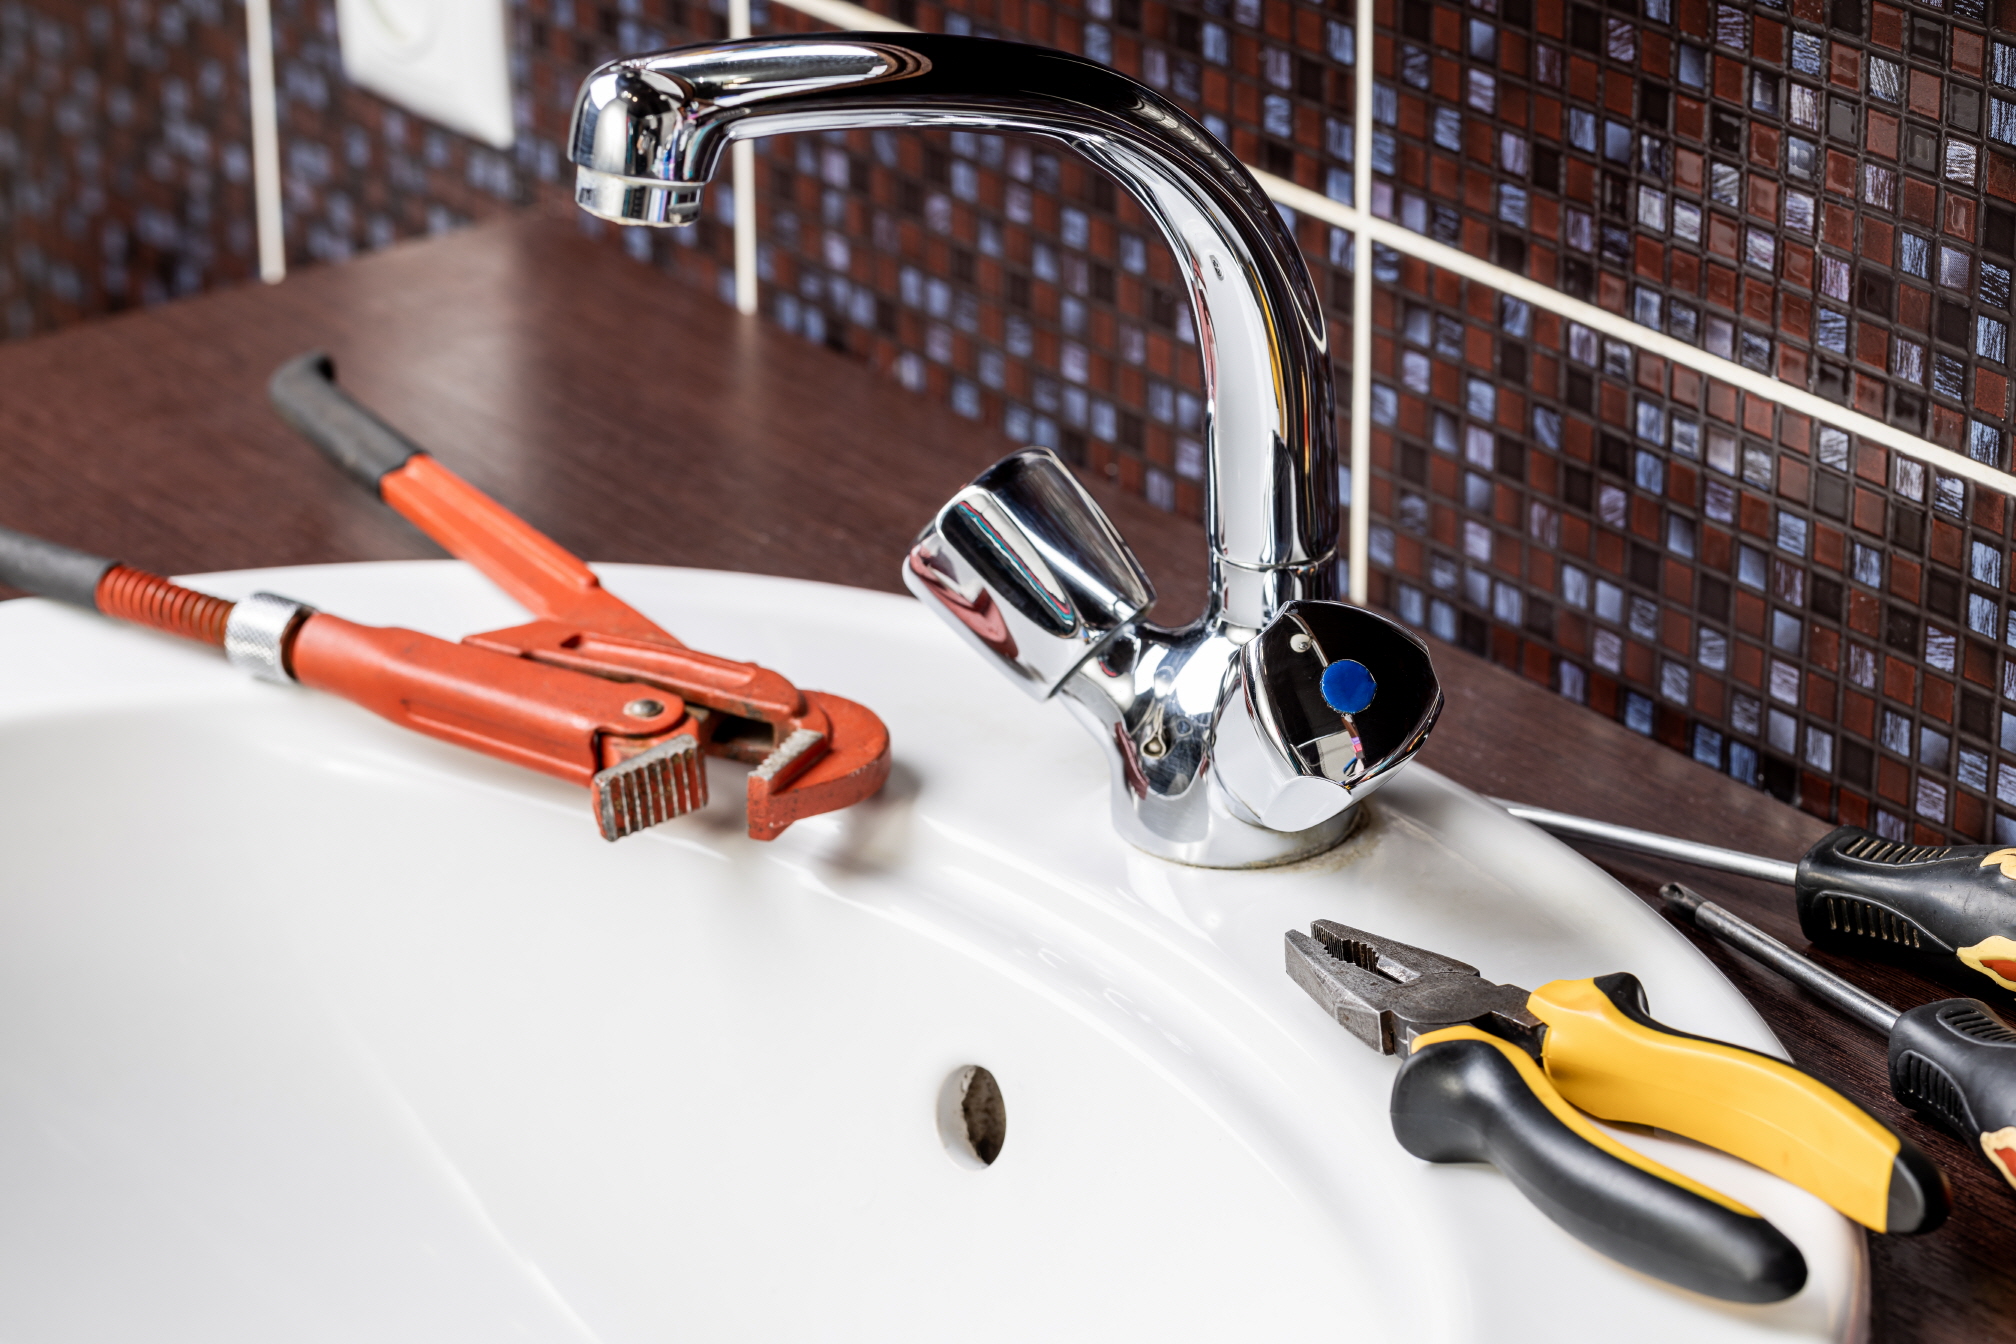
Preparing thoroughly before starting the installation process is crucial for a smooth and efficient sink replacement. First, gather all the essential tools and materials for the project. These typically include a tape measure, adjustable wrench, utility knife, plumber’s putty, silicone caulk, a bucket, and cleaning supplies. Additionally, keep a towel or rag close by to address any spills or drips immediately.
Equally important is the collection of safety gear. Protect your hands from sharp edges and debris by wearing gloves, and shield your eyes from any flying particles with safety glasses. If you’re handling old plumbing or caulk, wearing a mask is advisable to prevent inhaling dust or fumes.
Laying this groundwork effectively sets the stage for a successful and seamless sink replacement, minimizing potential complications during the installation process.

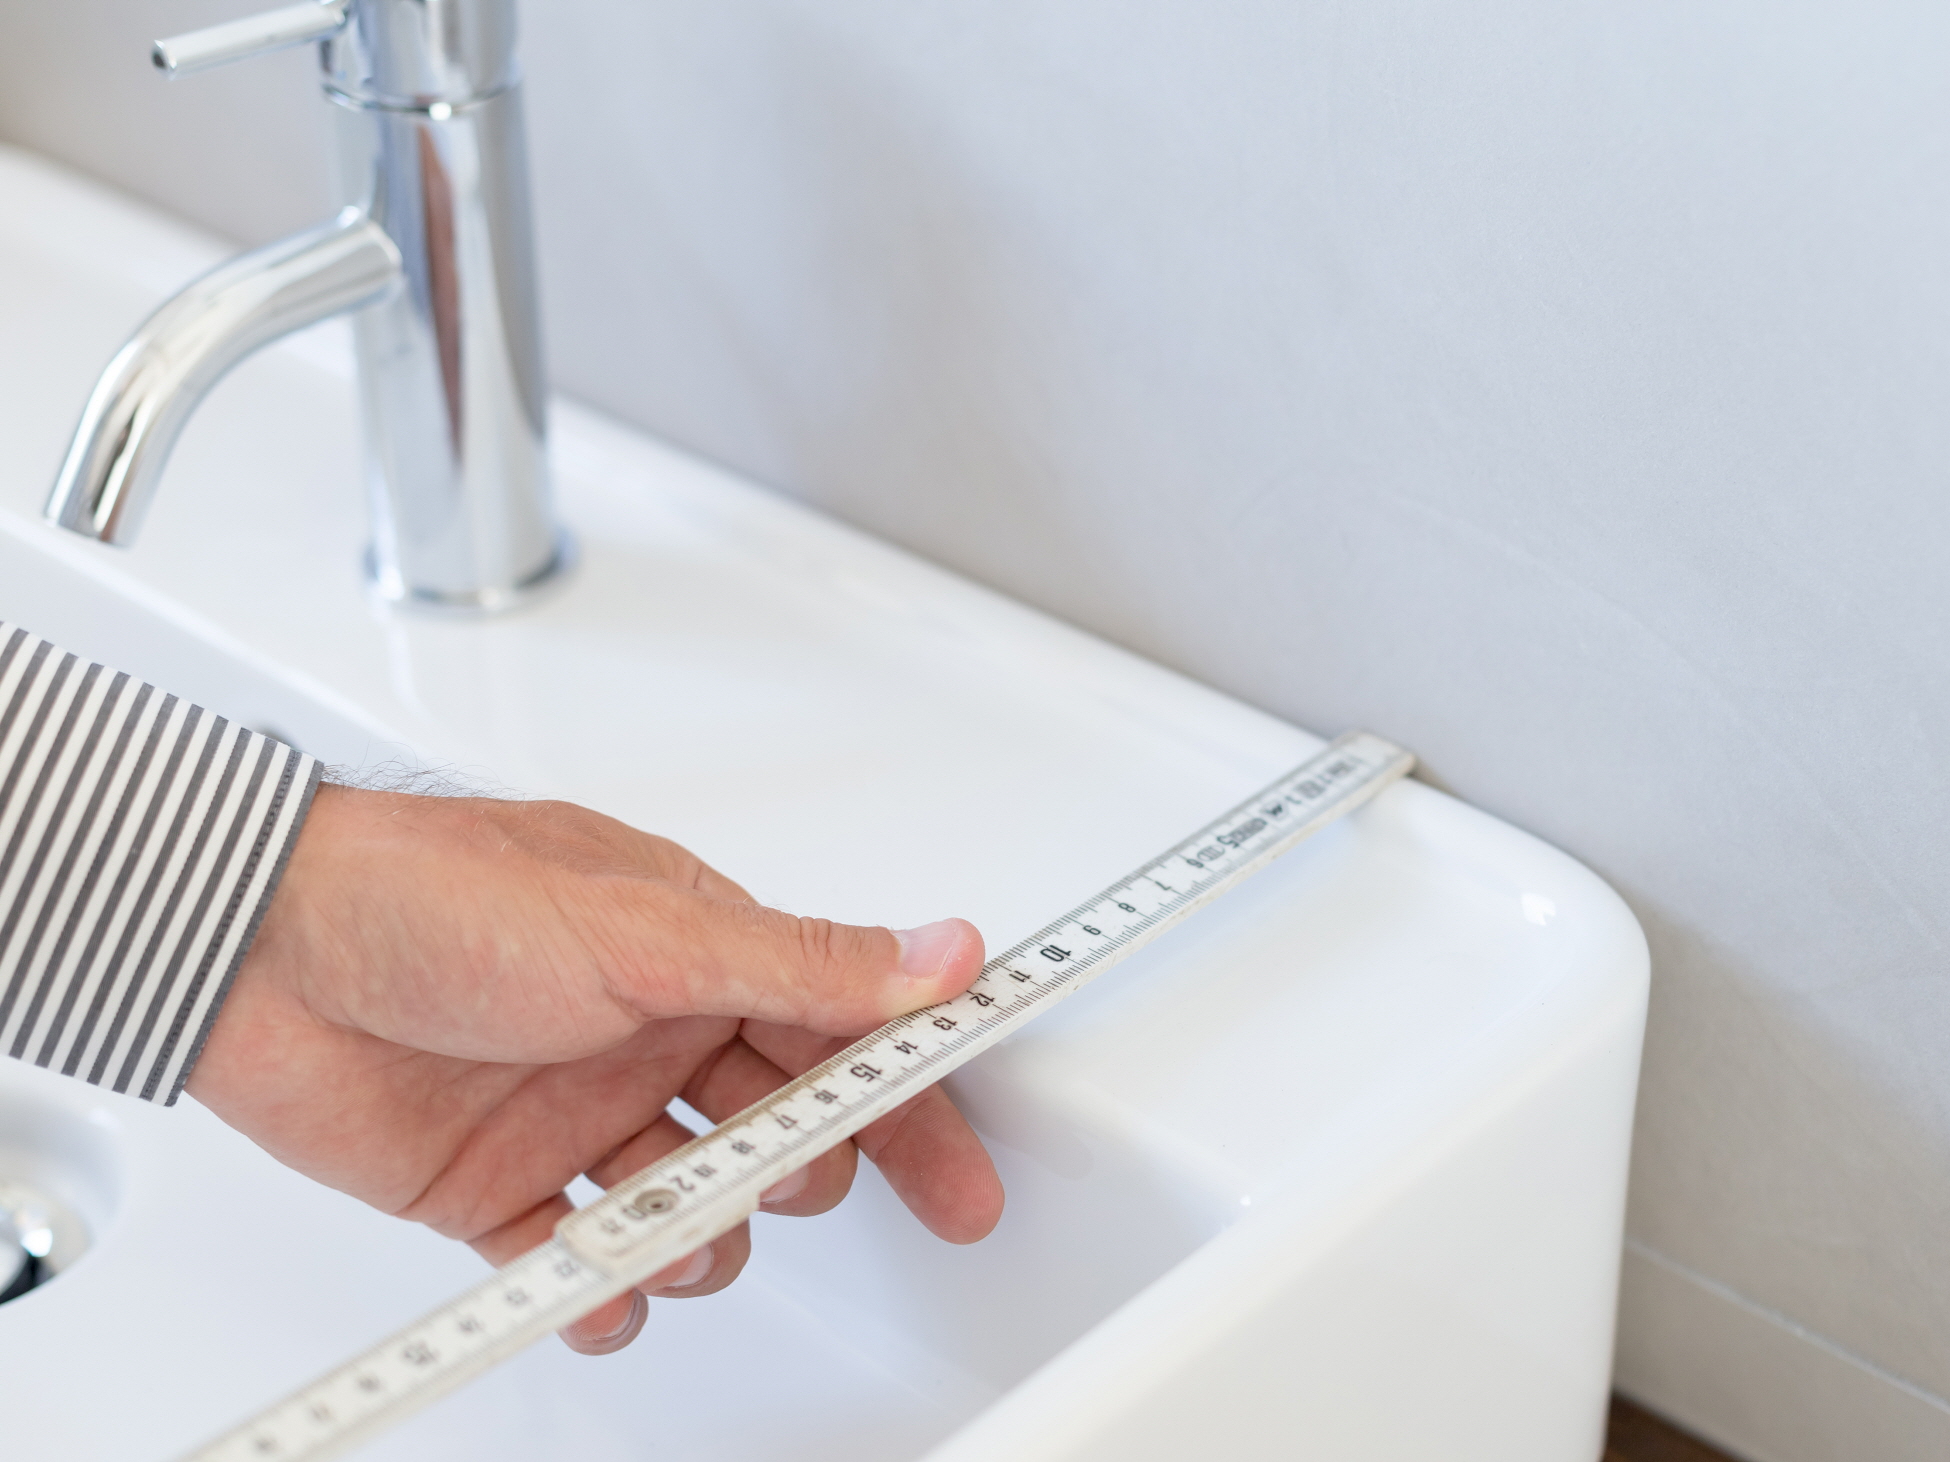
Step 1: Measure Your Sink
Accurate measurements are essential to ensure your new sink fits flawlessly. Begin by measuring the length, width, and depth of your current sink and compare these with the dimensions of the new sink. Don’t forget to also measure the countertop cutout; discrepancies here can cause installation problems. Additionally, check the positioning of the faucet holes to ensure they align with the new sink’s design, which will help avoid any unnecessary modifications.
Step 2: Choose the Components
Select your sink, faucet, and any additional components, such as a new drain assembly or P-trap, with careful consideration. Choose a style and material that complement your bathroom’s decor. For example, LX Hausys offers durable and stylish vanity tops and sinks that could be the perfect blend of strength and aesthetics for your space. Ensure all components are compatible with each other and with your bathroom’s plumbing to facilitate a smooth installation. Also, contemplate any additional features you may desire, like a built-in soap dispenser or advanced water-saving technology, to enhance functionality and efficiency.

Disconnecting and Removing the Old Sink
To remove the old sink, you’ll need to carry out a series of steps with caution. Start by shutting off the water supply, then proceed to disconnect the plumbing fixtures. The next step is to remove the sink itself. Following these steps meticulously helps prevent damage to your plumbing or countertop, ensuring a hassle-free transition to your new sink. Be prepared for potential spills by keeping towels or buckets ready to swiftly address any unexpected leaks during the removal process.
Step 1: Turn Off the Water Supply and Relieve Pressure
Removing the old sink is a multi-step process that requires attention to detail. Begin by shutting off the water supply, which is a critical first step to prevent flooding. Next, disconnect the plumbing connections carefully, taking care to detach the faucet, drain, and any other fixtures without damaging the surrounding area. Keep a bucket or towels within reach to catch any water remaining in the pipes, ensuring a tidy workstation as you proceed.
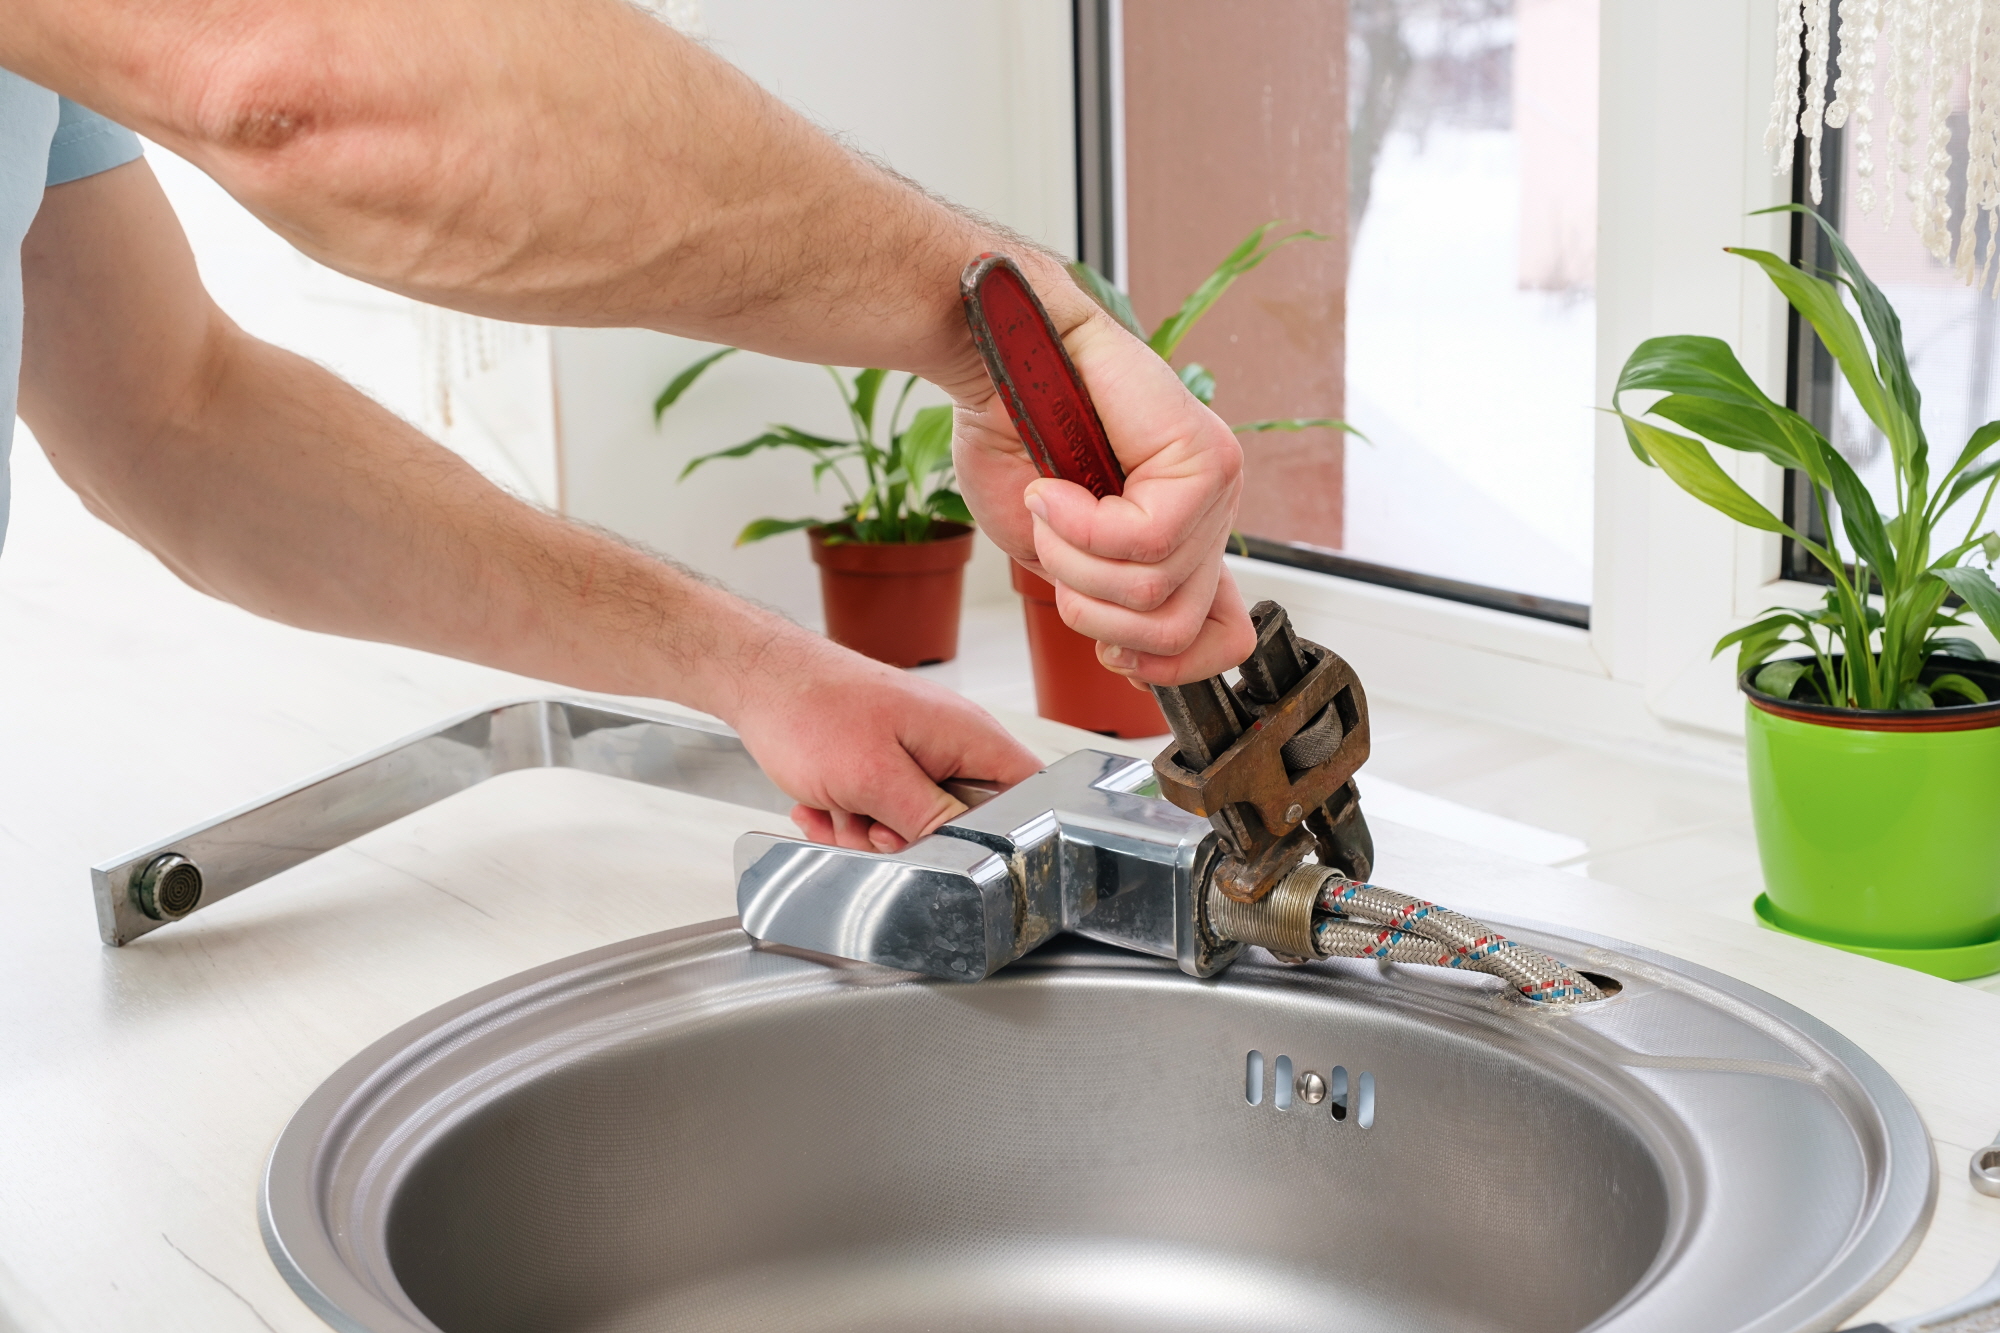
Step 2: Disconnect the Plumbing and Disposal
Begin by using a wrench to disconnect the supply lines connected to the faucet. If your sink is equipped with a garbage disposal, ensure it’s unplugged and then remove it, adhering to the manufacturer’s guidelines. Additionally, proceed to disconnect the drain pipes and the P-trap, placing a bucket underneath to capture any water that spills out. It’s crucial to keep all parts and pieces organized for straightforward reassembly later on.
Step 3: Remove the Disposal and Loosen Sink Clips
Should your sink include a garbage disposal, start by carefully removing it. Next, identify the clips or brackets that secure the sink to the countertop; these are usually located underneath. With a screwdriver, gently loosen these clips. As you do this, make sure to support the sink to avoid any accidental dropping or damage.
Step 4: Cut the Caulk and Remove the Old Sink
Start by slicing through the caulk seal encircling the edge of the sink with a utility knife. Carefully lift the sink from the countertop cutout; if it resists, apply gentle pressure or employ a putty knife to assist in lifting it. Exercise caution throughout this process to avoid damaging the countertop surrounding the sink.
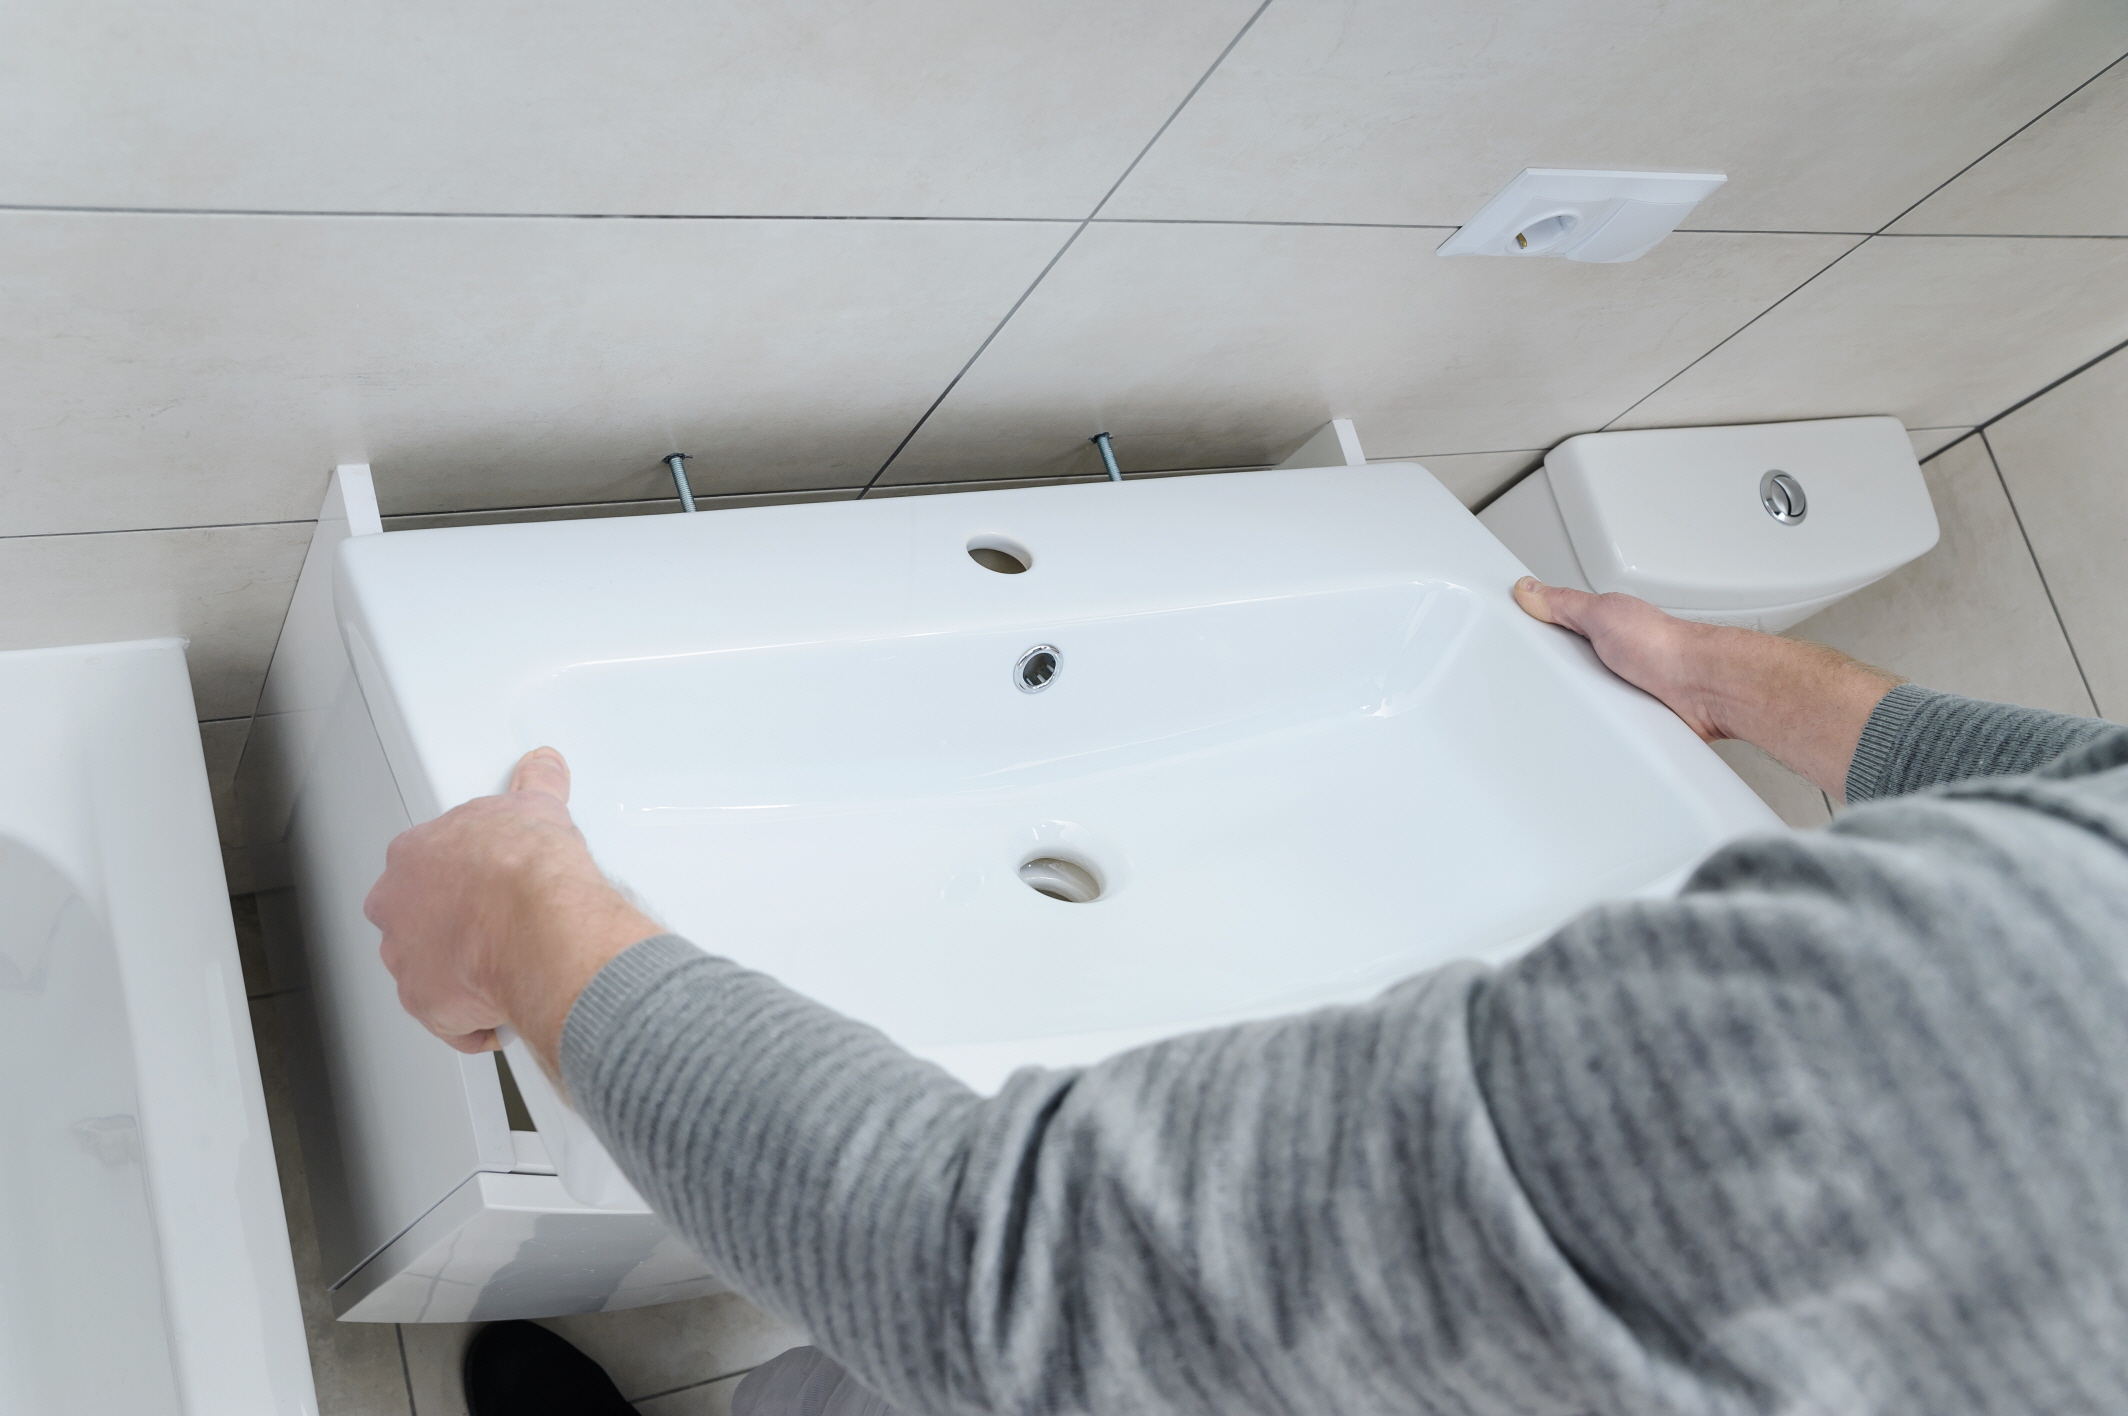
Step 5: Clean Up and Prepare for the New Sink
After removing the old sink, take the time to meticulously clean the countertop and surrounding area. Strip away any leftover caulk or adhesive to create a smooth base for installing the new sink. Achieving a clean and even surface is essential for forming a tight seal and averting leaks with the installation of the new sink.

Replacing a Top-Mount Sink
The top-mount sink, often referred to as a drop-in sink, is designed for installation from above the countertop, with the rim or lip sitting atop the counter to create a waterproof seal. Its popularity stems from an easy installation process, compatibility with various countertop materials, and straightforward maintenance. Available in an assortment of materials like stainless steel, porcelain, and composite, it suits both contemporary and classic bathroom styles.

For replacing a top-mount sink, follow these steps:
- Prepare Countertop and Clips: Verify that the new sink’s dimensions align with the countertop opening. Affix the mounting clips to the sink loosely for now.
- Install Faucet and Strainer: Fit the faucet and drain strainer onto the sink prior to placing it within the cutout.
- Apply Caulk and Position Sink: Run a bead of silicone caulk around the countertop cutout’s edge. Gently lower the sink into the opening, pressing down to form a solid seal.
- Finalize Installation: Fasten the sink securely by tightening the mounting clips. Then, connect the water supply lines to the faucet and join the drain pipes to the strainer.
Replacing an Undermount Sink
An undermount sink is installed beneath the countertop to yield a streamlined and modern look. Its hidden attachment points contrast with top-mount sinks, as it lacks a visible rim. This configuration makes cleanup easier by eliminating crevices where debris can accumulate. Securing an undermount sink requires precise measurements and a robust adhesive, which bonds it to the countertop’s underside. Typically paired with sturdy surfaces like granite, marble, or quartz, undermount sinks are known for their clean lines and contribute to a minimalist and chic bathroom ambiance.
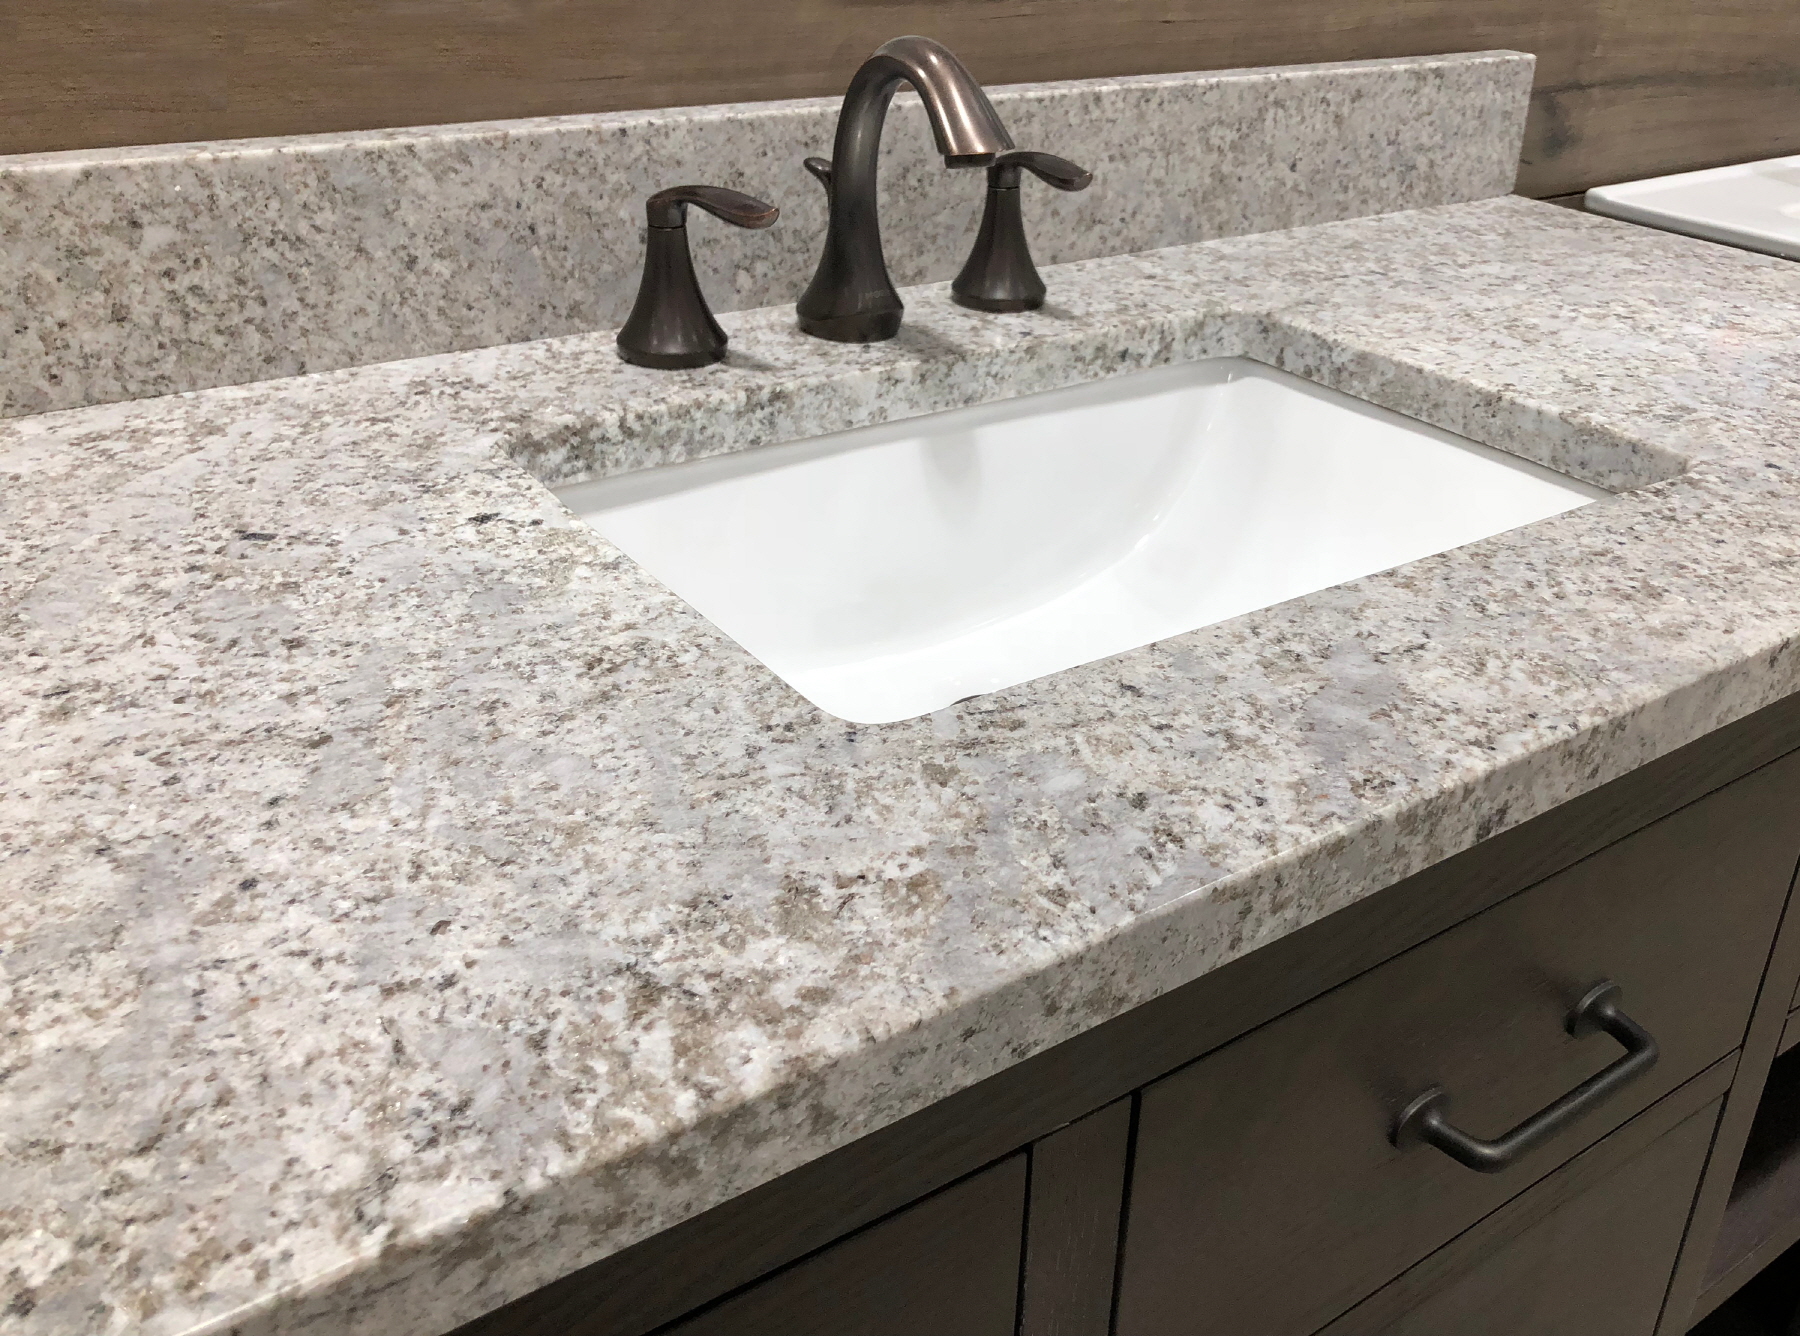
To replace an undermount sink, here are the steps:
- Prepare the Area and Sink: Check that the dimensions of the new sink correspond to the counter tailored. Lay a silicone adhesive bead around the rim of the countertop opening.
- Mount the Sink and Clips: Lift and press the sink firmly against the underside of the countertop at the adhesive point. Affix and secure the mounting clips to stabilize the sink.
- Attach the Faucet and Strainer: With the sink in place, proceed to install the faucet and the drain strainer.
- Connect Plumbing: Finally, hook up the water supply lines to the faucet and couple the drain pipes to the strainer, completing the installation.
Making Final Connections and Testing
Once the sink installation is complete, the next step is to make the final connections and conduct a leak test. Before proceeding, verify that all parts align properly and are ready for assembly. Check that the sink sits securely within the countertop opening and scrutinize each connection point to preempt any leakage. Prepare the water supply lines and the drainpipes by ensuring they are clean and devoid of obstructions. Keeping a bucket or towels close by to catch any drips can help to prevent water damage during the process. These precautions should facilitate a smooth installation of your new undermount sink.

Here are the final steps to activate and test your sink:
- Connect the Water Supply: Reattach the water supply lines to the faucet and gradually open the valves. Monitor for any leakage and if spotted, tighten the connections to resolve.
- Install the Drain Pipes: Secure the P-trap and additional drainpipes to the sink strainer, ensuring a snug fit to avoid potential leaks.
- Test the System: Activate the faucet to allow water flow and examine the drain for adequate operation. Check all newly connected areas for leaks and address any issues immediately.
How to Install a Kitchen Sink
This guide primarily addresses bathroom sink installation, yet it’s worth noting that installing a bathroom sink parallels the process of fitting a kitchen sink in many respects. Fundamental steps such as measuring the space, removing the old sink, and positioning the new sink securely are common to both. These installations involve several key tasks: detaching the water supply lines and drainpipes, ensuring a tight seal to prevent leaks, and fastening the sink in place using clips or brackets. Additionally, the installation process for both bathroom and kitchen sinks encompasses the connection of faucets, drain assemblies, and any auxiliary components like garbage disposals or strainers. Despite variations in specific fixtures and configurations, the overall approach to installing both types of sinks remains consistent. Below is a concise summary of the steps involved:

Step 1: Check the Countertop Opening and Attach Clips
To ensure a seamless installation, confirm that the dimensions of the countertop opening correspond precisely with those of the new sink, eliminating any possibility of gaps or an incorrect fit. After attaching the mounting clips, carefully position the sink within the countertop cutout. Make any required adjustments to achieve proper alignment before firmly tightening the clips. This step is crucial for securing the sink adequately and achieving a tight, leak-proof installation.
Step 2: Install the Faucet and Strainer
For a smoother installation process, fit the faucet and drain strainer to the sink before positioning it within the countertop. Performing these assemblies in advance facilitates a more efficient workflow and minimizes the risk of inflicting damage on the sink or the surrounding countertop during the final installation stage. Before moving forward, double-check to ensure that all connections are not only secure but also properly sealed.

Step 3: Install the Disposal Mount
When installing a garbage disposal, it’s essential to follow the manufacturer’s instructions closely to attach the mounting assembly to the sink, making sure every component is firmly in place. Achieving proper alignment and ensuring all connections are tightly secured is vital. These steps help prevent leaks and guarantee the efficient operation of the disposal unit once installed.
Step 4: Seal the Basin and Set the Sink in Place
First, apply a bead of silicone caulk along the edge of the countertop cutout to establish a watertight seal. Then, gently lower the sink into the opening, pressing down firmly to guarantee it is perfectly flush against the countertop, ensuring the caulk spreads evenly all around. This step is crucial in preventing water from leaking underneath the sink, thereby averting potential damage.
Step 5: Secure the Hardware and Attach Water Lines
Securely anchor the sink by tightening the mounting clips in an even manner, thus ensuring stability. Next, attach the water supply lines to the faucet, ensuring each connection is tightly fitted to avert any leakage. Finally, affix the drainpipes to the strainer, confirming that each connection is snug and correctly aligned for optimal functionality.

Choose Your New Bathroom Sink with LX Hausys
Carefully preparing, methodically removing the old sink, and precisely installing the new one are essential steps in changing a bathroom sink. By adhering to this process, you can successfully replace your bathroom sink, bringing a fresh and updated appearance to your space.
Selecting the appropriate sink is vital for enhancing both the functionality and the aesthetic appeal of your bathroom. LX Hausys provides an extensive selection of high-quality vanity tops and sinks that blend durability with style. Engineered to endure daily use, our products offer a sleek, modern appeal to any bathroom. Whether your preference leans towards a classic design or a more modern vibe, LX Hausys delivers the perfect solution to meet your bathroom sink requirements. With LX Hausys, you gain access to a robust, stylish sink that elevates both the look and practicality of your bathroom. Explore our HIMACS sinks or reach out to us for more information on our superior products.


