Since the average bathroom is about 40 square feet, you might think there’s not a lot of room to work with for renovations. However, it’s easy to make your home restroom look great and feel relaxing.
Updating your bathroom’s flooring is a great way to keep it in top shape. Unfortunately, many people find removing them to be an expensive hassle. Read on to learn how to update floor tiles without removing them and spruce things up easily!
1. Paint Over the Tiles
Painting over bathroom tiles is an affordable and straightforward way to update their look. You can make them any color you want from calming blue to classic white. Yellow, orange, and green are also great hues for invigorating and engaging aesthetics.
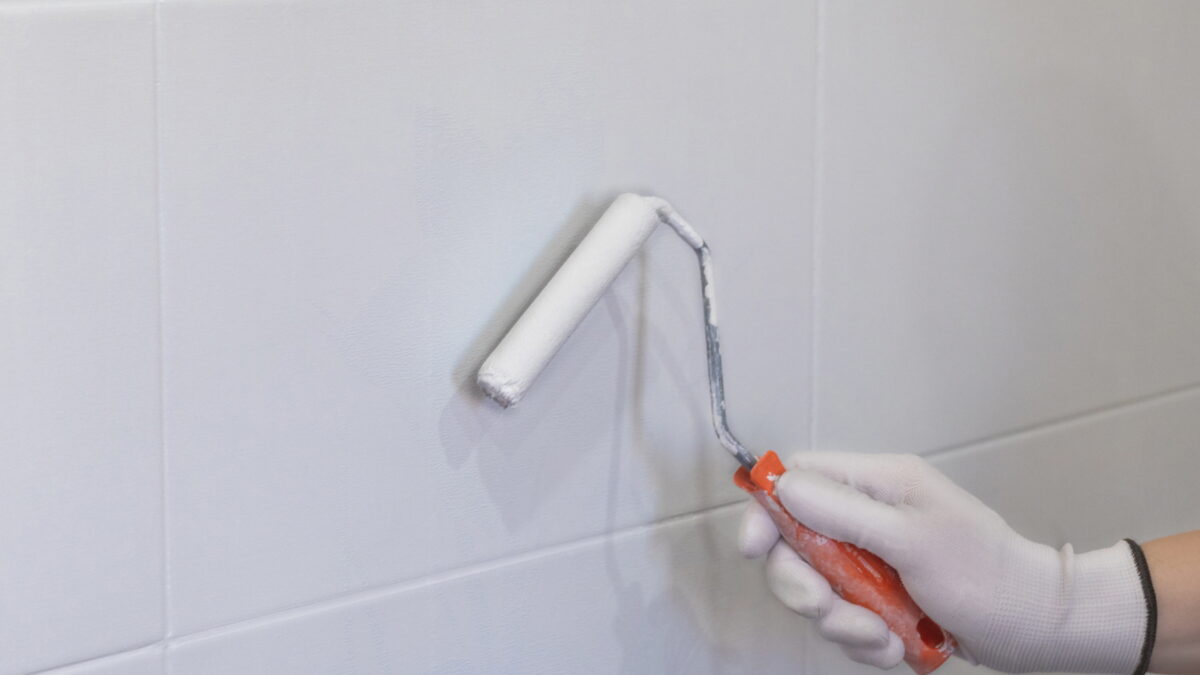
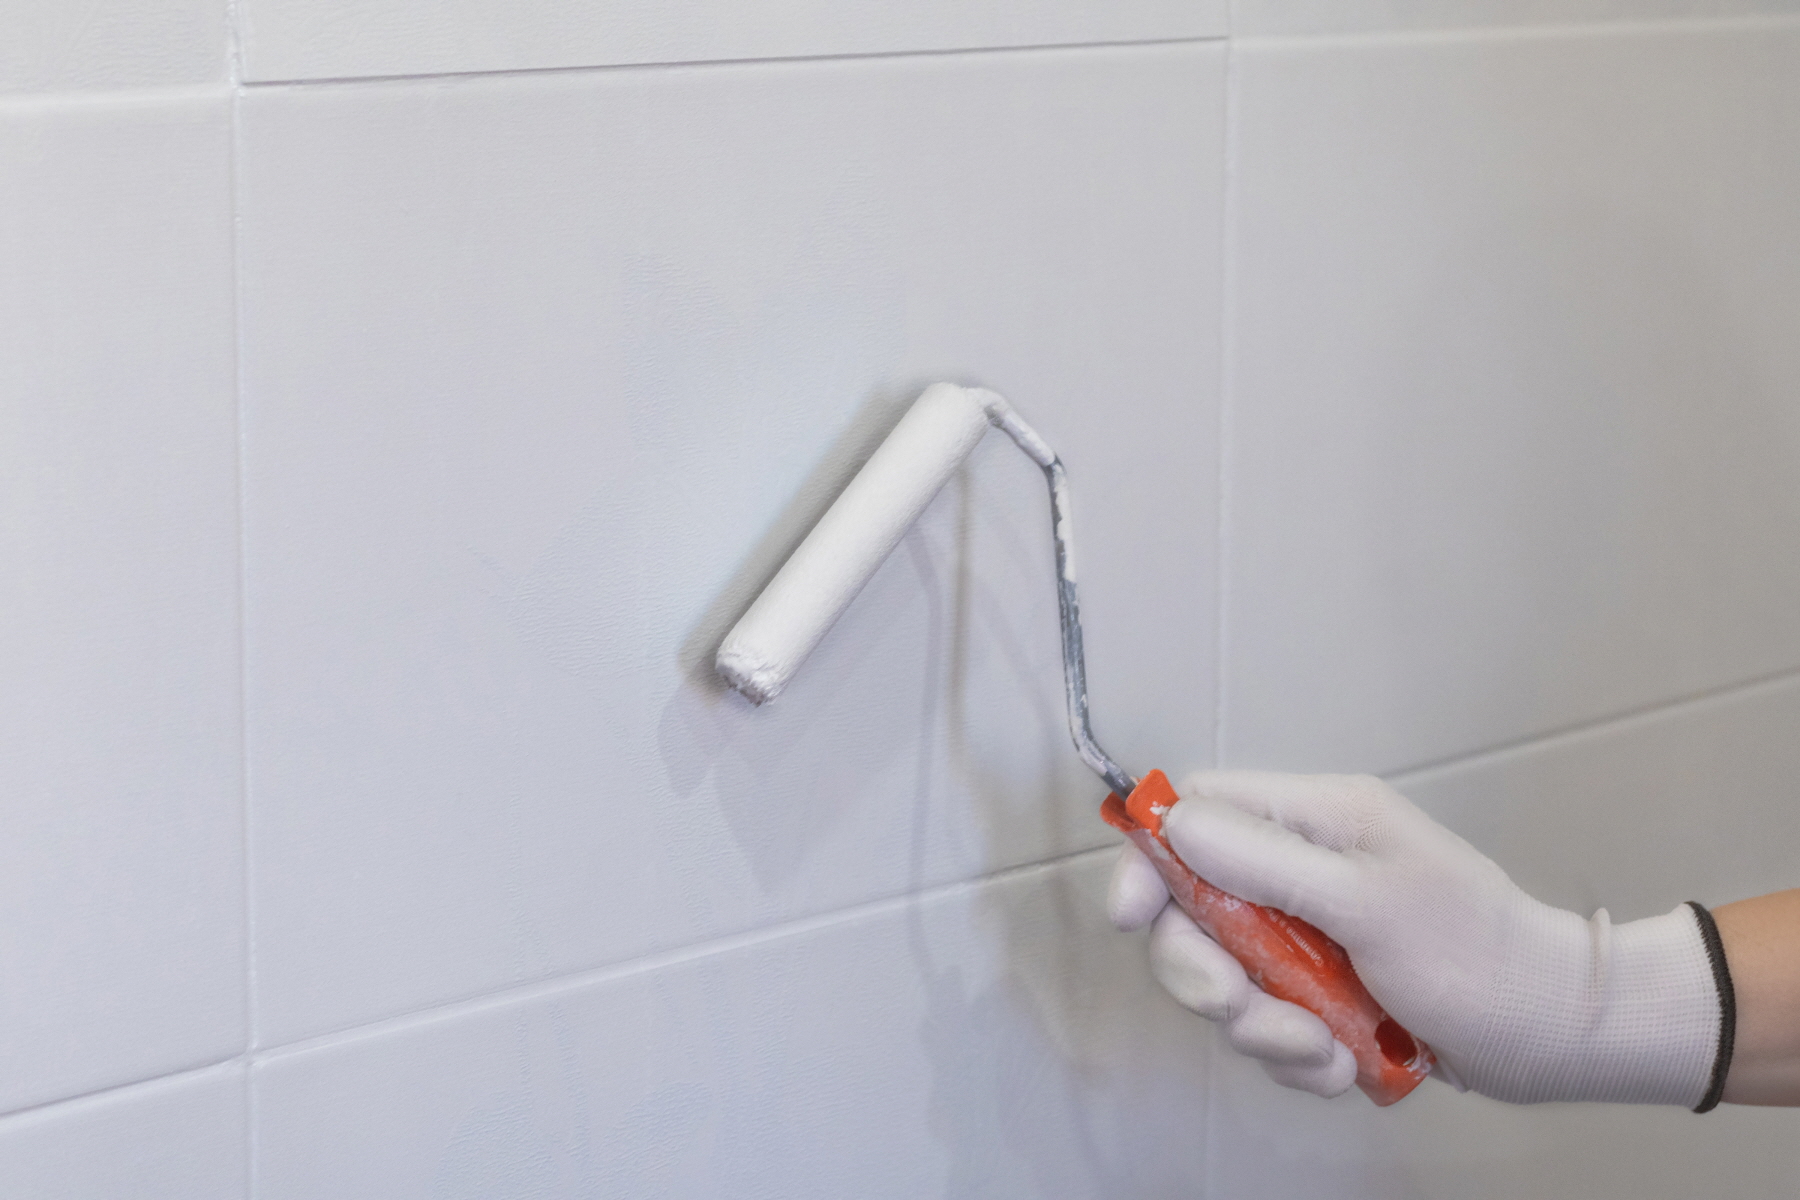
Clean and sand the tile, apply a layer or two of primer, and let it dry. Add an epoxy or two-process paint layer with a roller. Paintbrushes work for touchups as well.
Lay down as many coats as you need and let the paint dry between all layers. Eventually, when everything looks even and beautiful, you’ll be ready to go!
2. Apply Tile Stickers or Decals
Tile stickers and decals are made from waterproof vinyl. You peel their thin backing off and stick them onto the floor wherever desired. They’re scratch-resistant and durable enough to last for many years, though you can peel a small section of the floor up and replace the decal if necessary.
This quick and easy way to change the look of tiles has an extremely simple application process. The lack of installation costs makes it really affordable. Plus, you’ll have the ability to easily change designs since it’s easy to replace decals in minutes.
3. Use Vinyl Flooring
Instead of just applying vinyl decals, you can also use vinyl flooring to change the look of your space. Vinyl planks are easy to install over existing tiles because they simply need a flat surface to cling to. Old, clean tiles will do just as well as the underside of your flooring.
Vinyl flooring has several unique benefits, the primary one being durability. Water resistance is also key, and thick vinyl tiles and planks are even more waterproof than already-resistant decals.
One of the best things about vinyl is how many design options are available. From neutral white to navy blue to bright, popping orange, the color possibilities are limitless. You can also get waterproof, pest-resistant vinyl plank made to look like natural wood that never warps over time!
4. Install Laminated Wooden Flooring
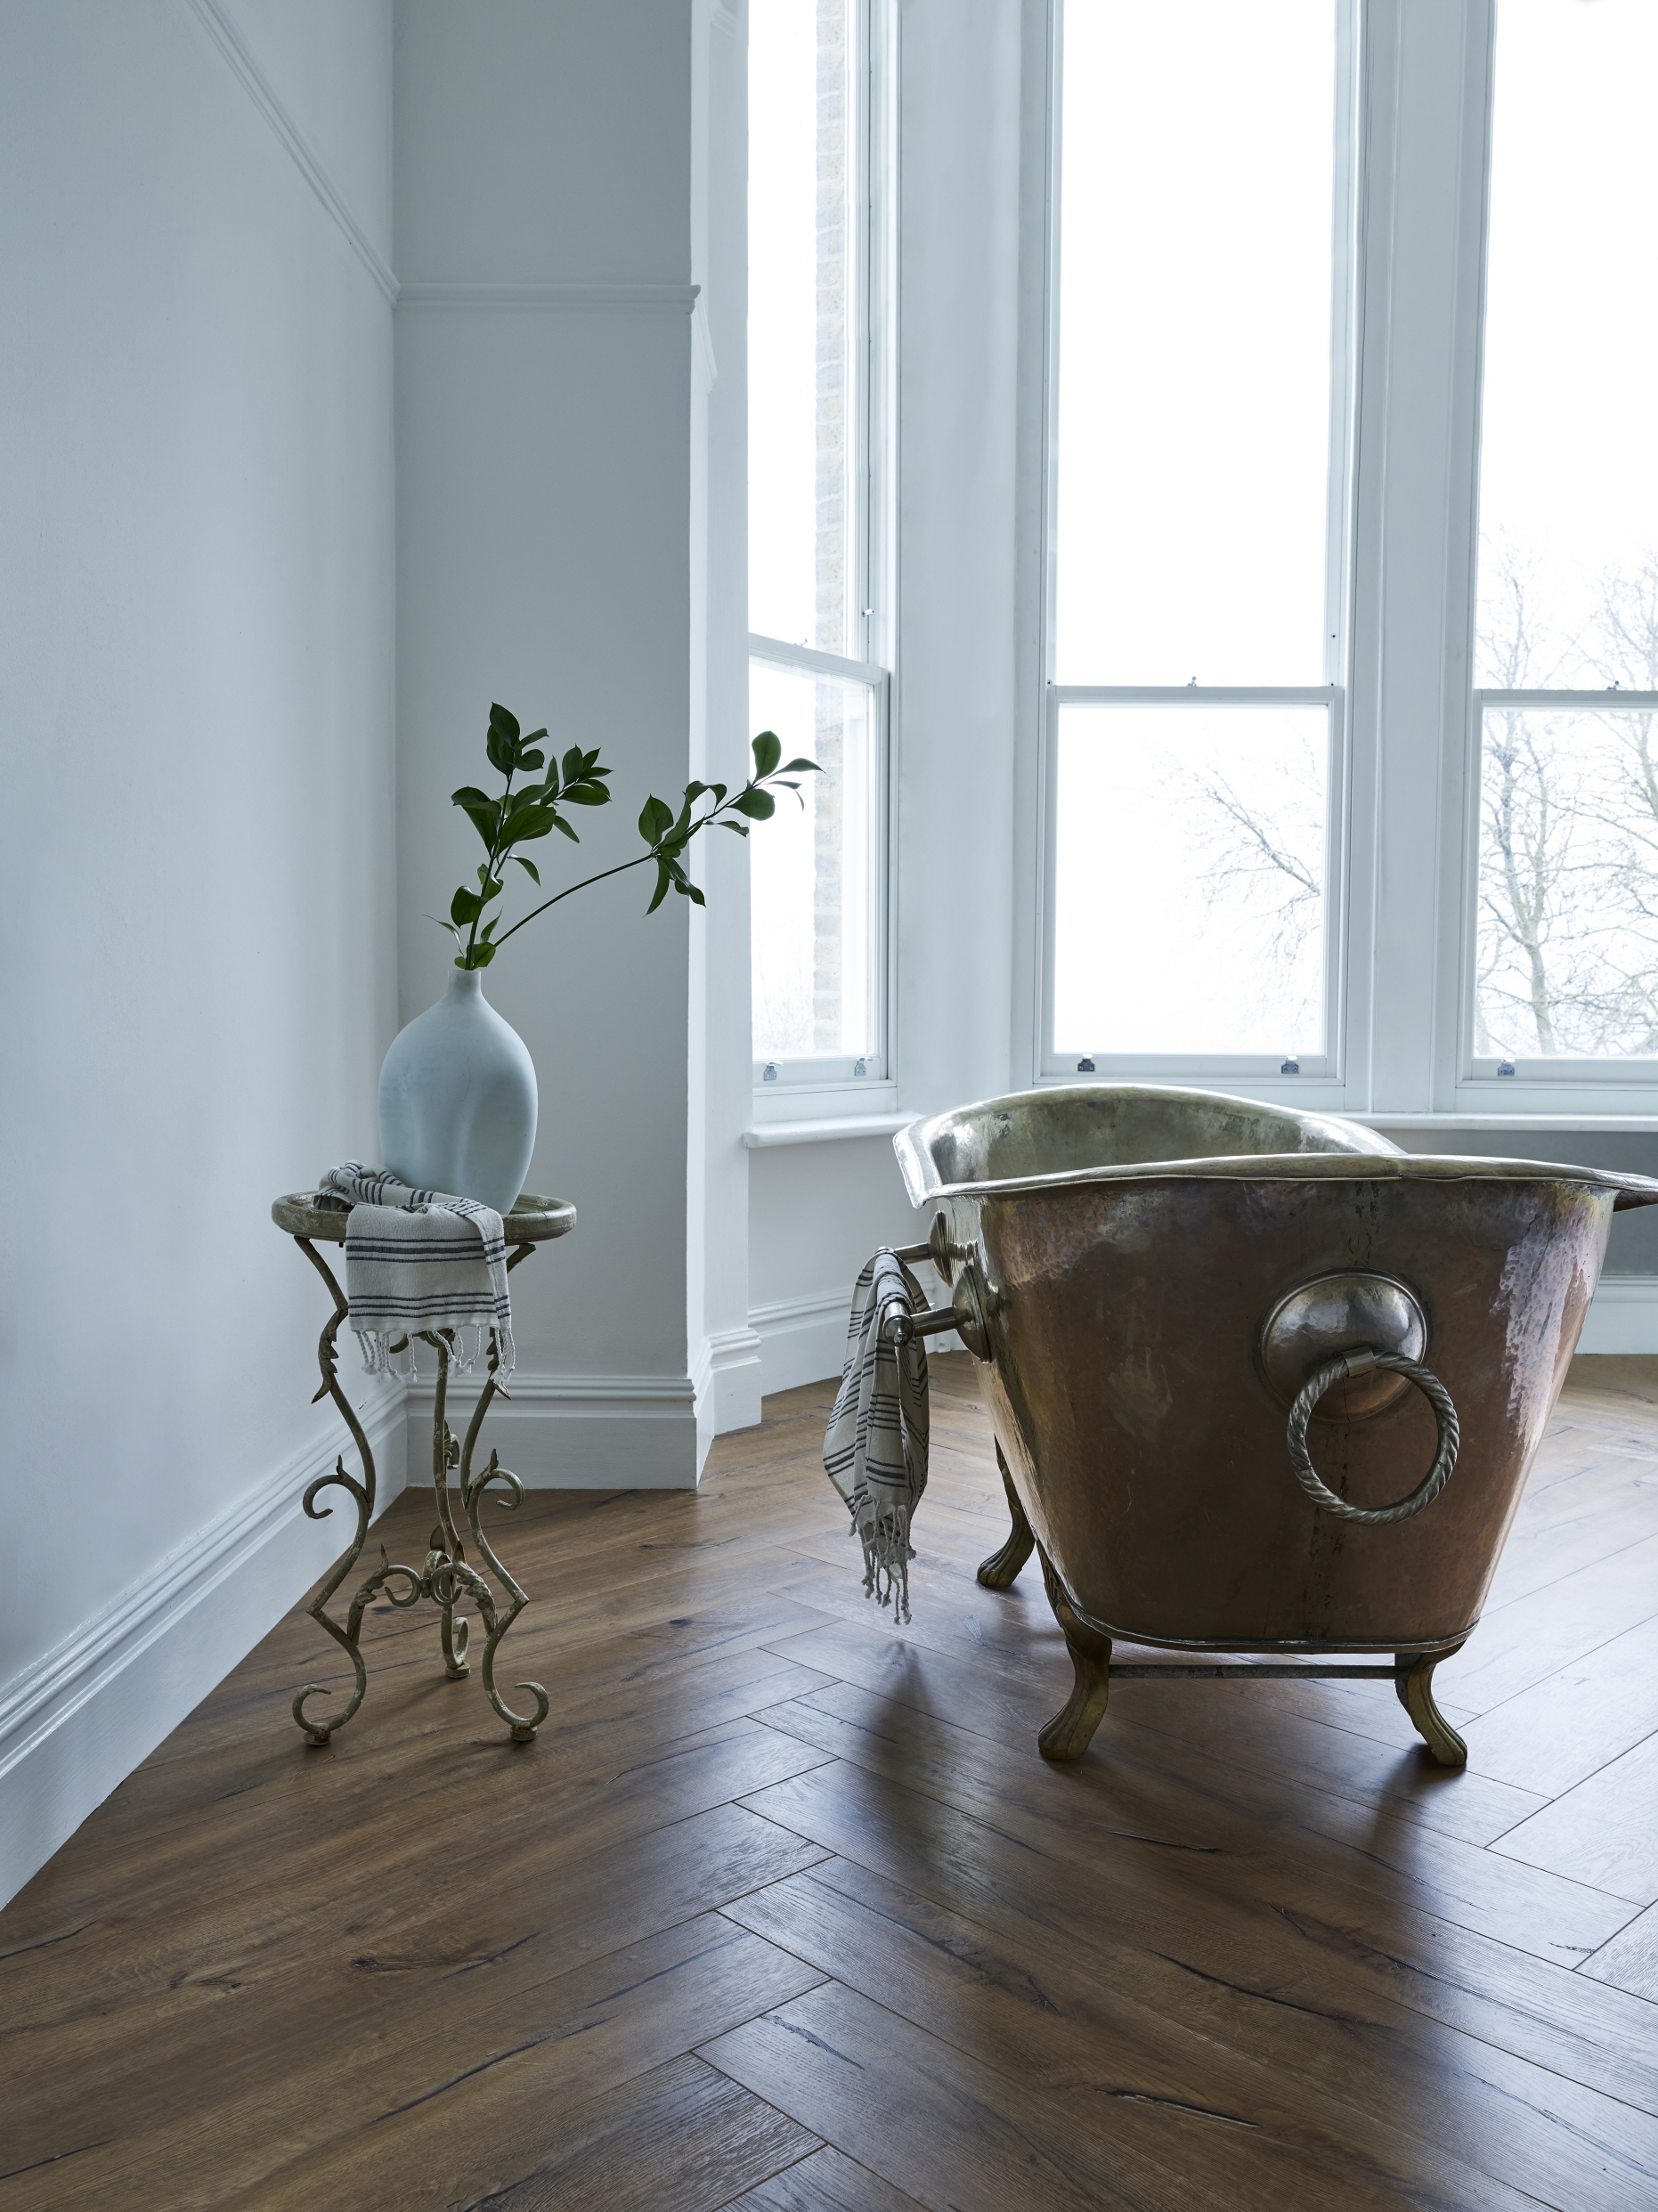
Laminated wooden flooring is easy to lay on top of pre-existing tile. It hides everything underneath it and adds warmth and style to any bathroom. Hardwood comes in a wide range of designs and colors ranging from beige to brown to mahogany.
For the most elegant possible effect, install wooden flooring with high-end Calacatta quartz countertops. The entire room will have a polished and luxurious aesthetic that makes your bathroom space appear larger and classier.
5. Apply an Epoxy Coating
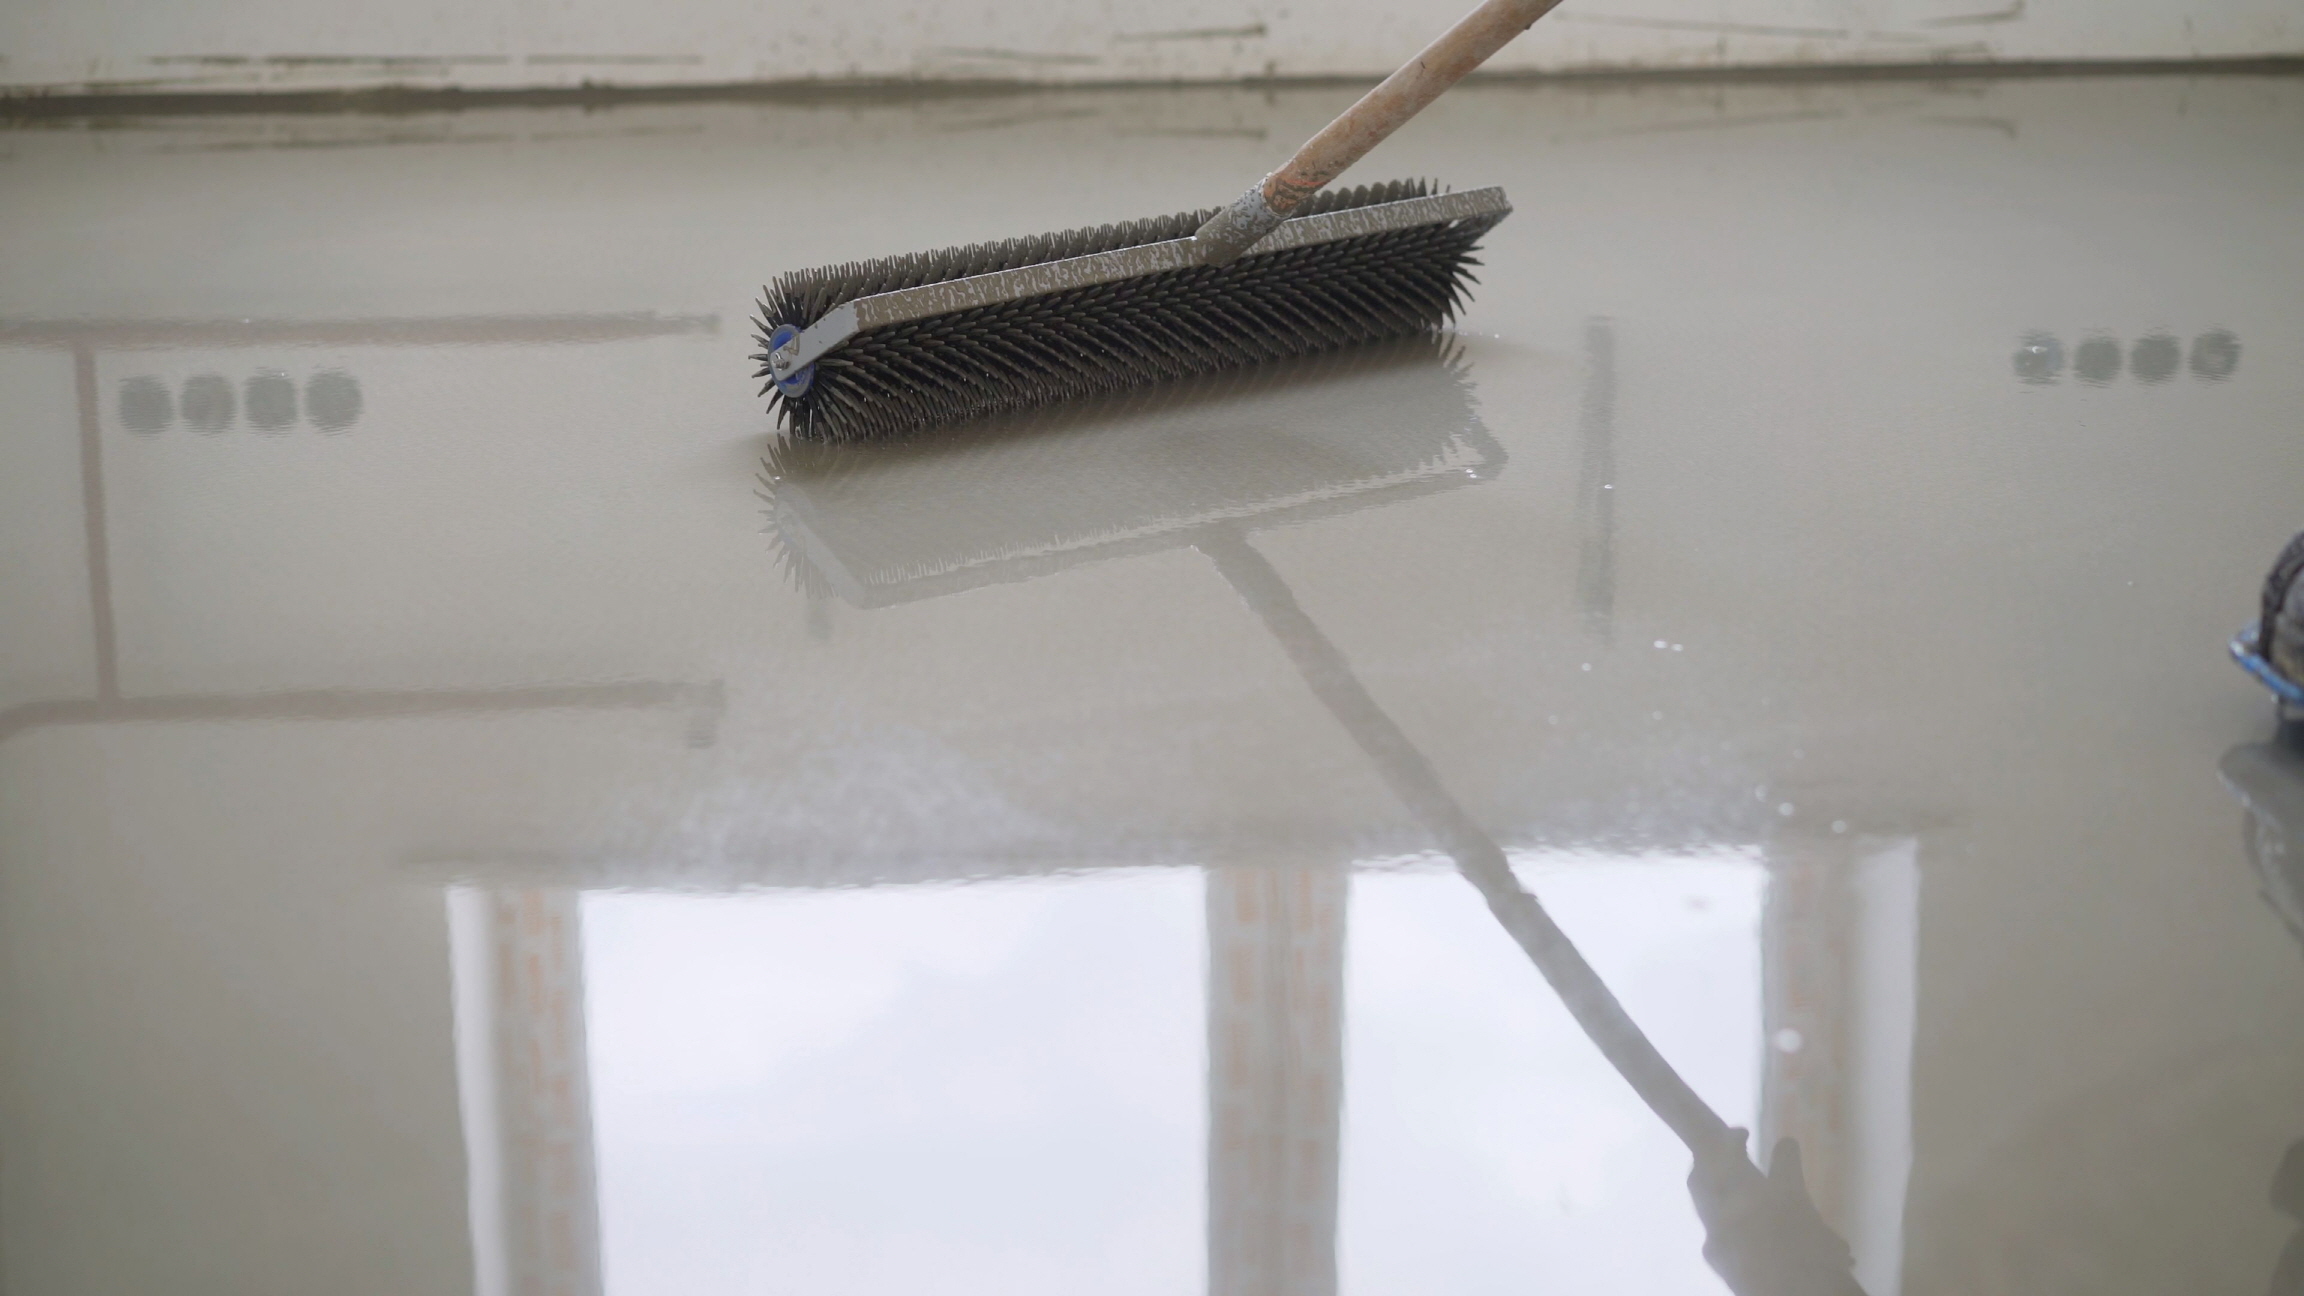
Epoxy is a type of floor coating that you paint or roll over the tile underneath. The thin layer changes the way that the tile looks because of its texture and color-related properties. Simple clear epoxy lets your old tile shine with a polished and shimmering look.
However, epoxy isn’t always clear. You can change the color of your tiles by painting colored epoxy layers over the surface. Metallic epoxy coating, marble-look options, and flake epoxy finishes also make unique renovations a breeze.
6. Clean and Refresh the Grout
“Grout” is the filler inside the lines between your floor tiles. It’s the space between them and manifests as grooves between each tile.
Usually, it’s a simple mix of limestone and cement. Sometimes, a color mixture is added before everything’s blended together with water, applied, and allowed to dry and harden.
When you clean the grout, you get rid of dirt and grime between the tiles. This makes the space appear cleaner and better-finished.
You can also reapply grout in a different color. This can refresh the overall look of your bathroom, especially when you match the color to a newly installed accent wall or quartz countertop.
7. Resurface the Tiles
Resurfacing tiles essentially means that you apply a new glaze to them. You take an epoxy coating or a resin one and apply it to the top of the tiles. This hardens into a porcelain-like texture that shimmers and shines under any lighting scheme.
Resurfacing and revitalizing tiles can clean things up if you want to focus on other parts of your bathroom renovations now. It’s a good temporary measure for those who’d rather save their current budget for VIATERA quartz countertops, accents and decorations, new appliances, and wall art.
8. Cover with Rugs or Carpets
You can also simply apply rugs to your pre-existing bathroom tile flooring. This spruces things up with an entirely new look, and it’s a unique way to create a great space since most people don’t think to add carpet to their restrooms. Rugs are cozy and create a warm vibe.
Just make sure that the carpeting you choose has a waterproof backing as well as a water-resistant surface!
9. Consider Wall Panels or Overlays
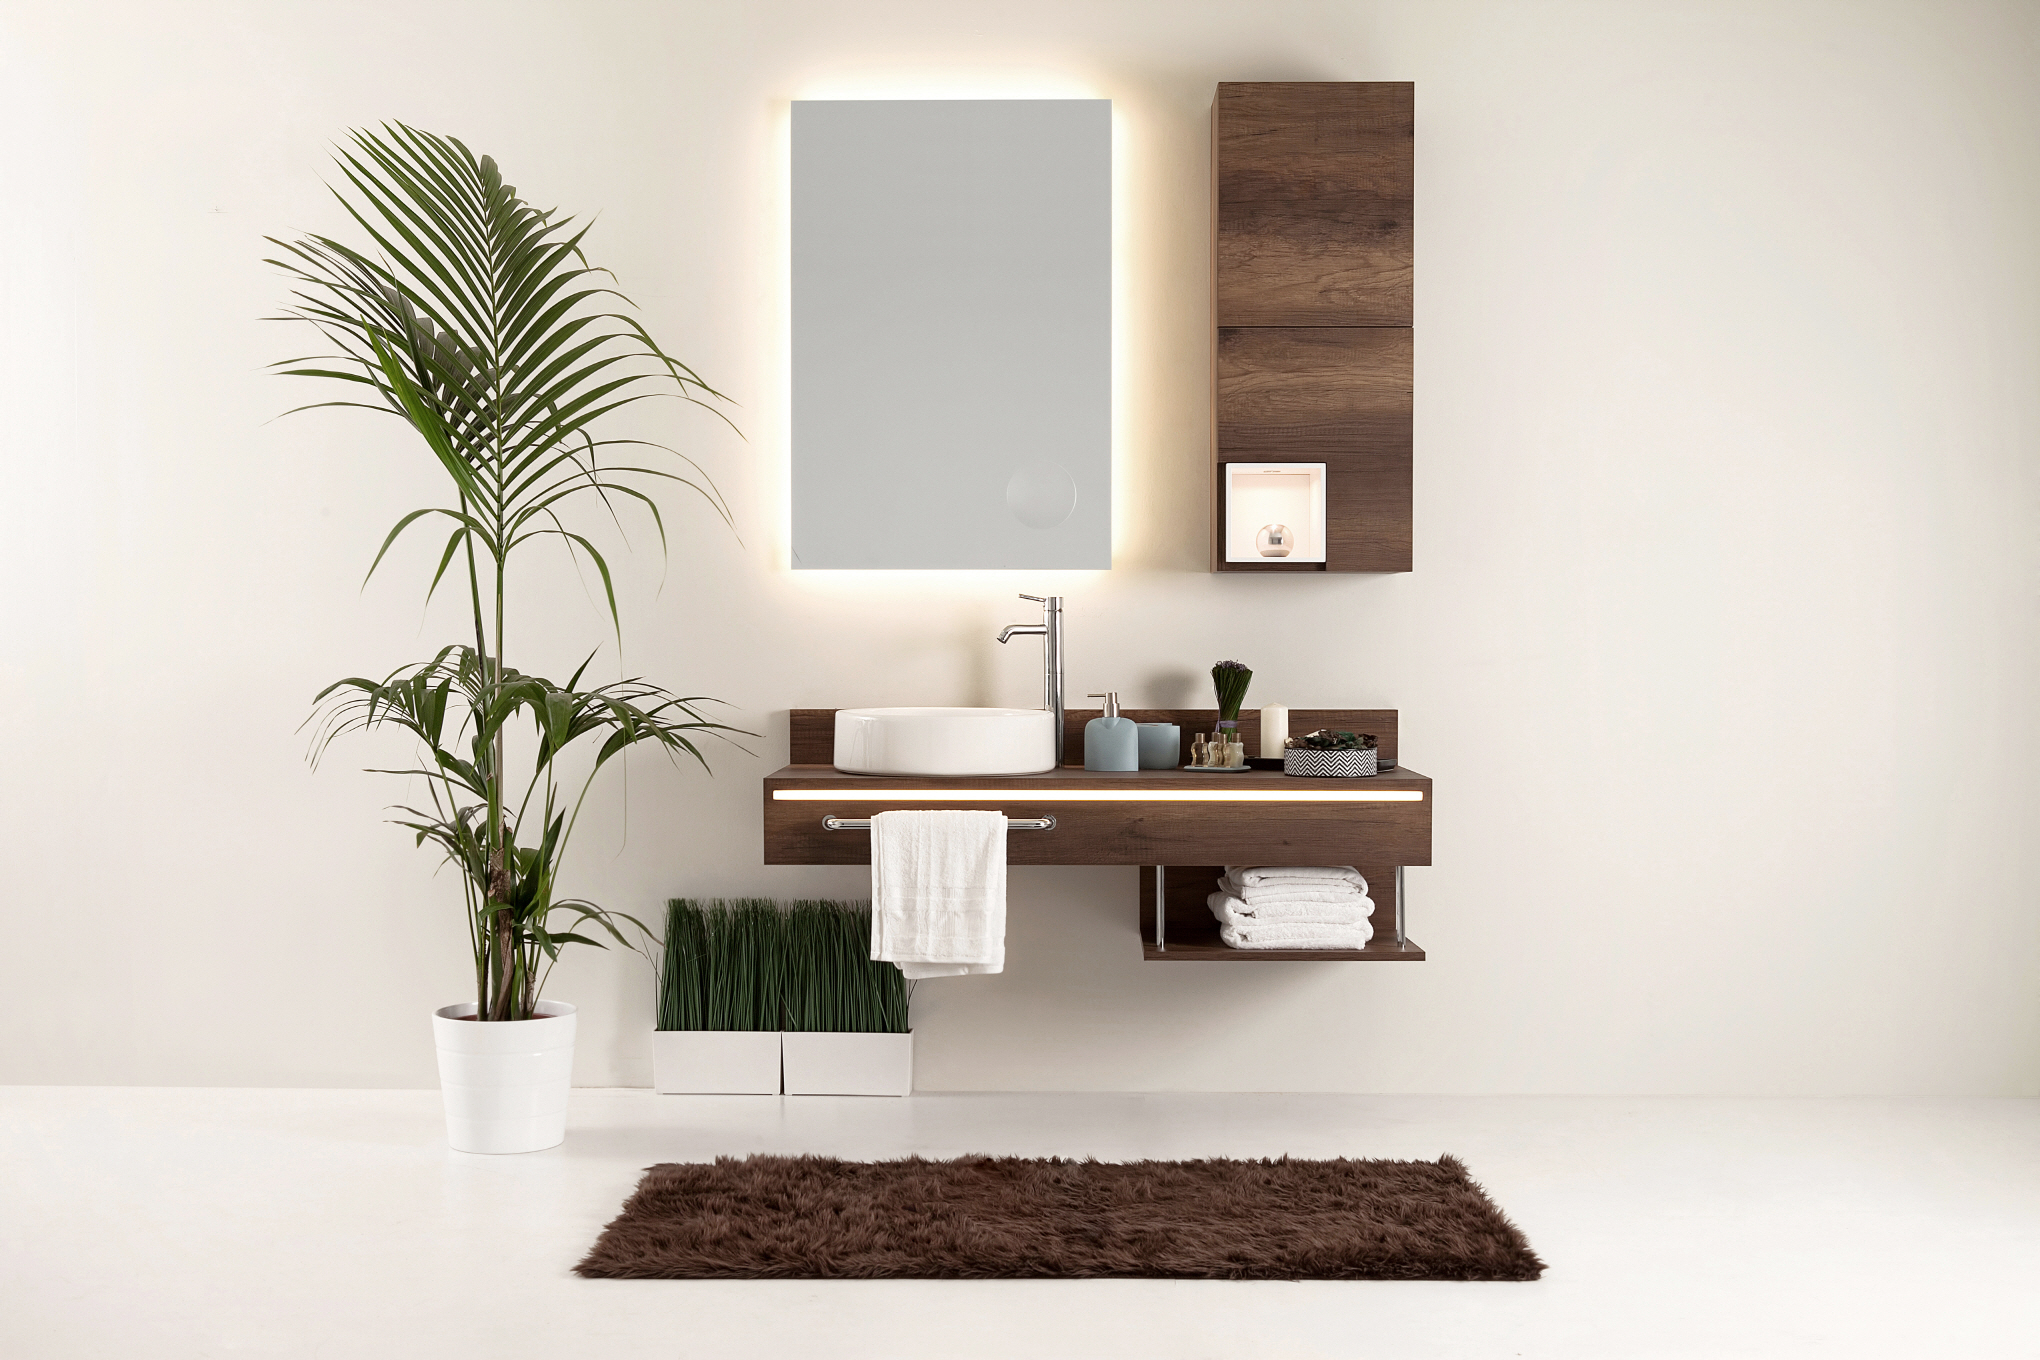
Install laminated flooring in conjunction with wall panels. Overlays that change the look of your wall are another budget-friendly way to keep your space looking fresh.
Make sure to match your flooring and walls with each other. This creates a cohesive and comprehensive interior aesthetic.
10. DIY vs. Hiring a Professional
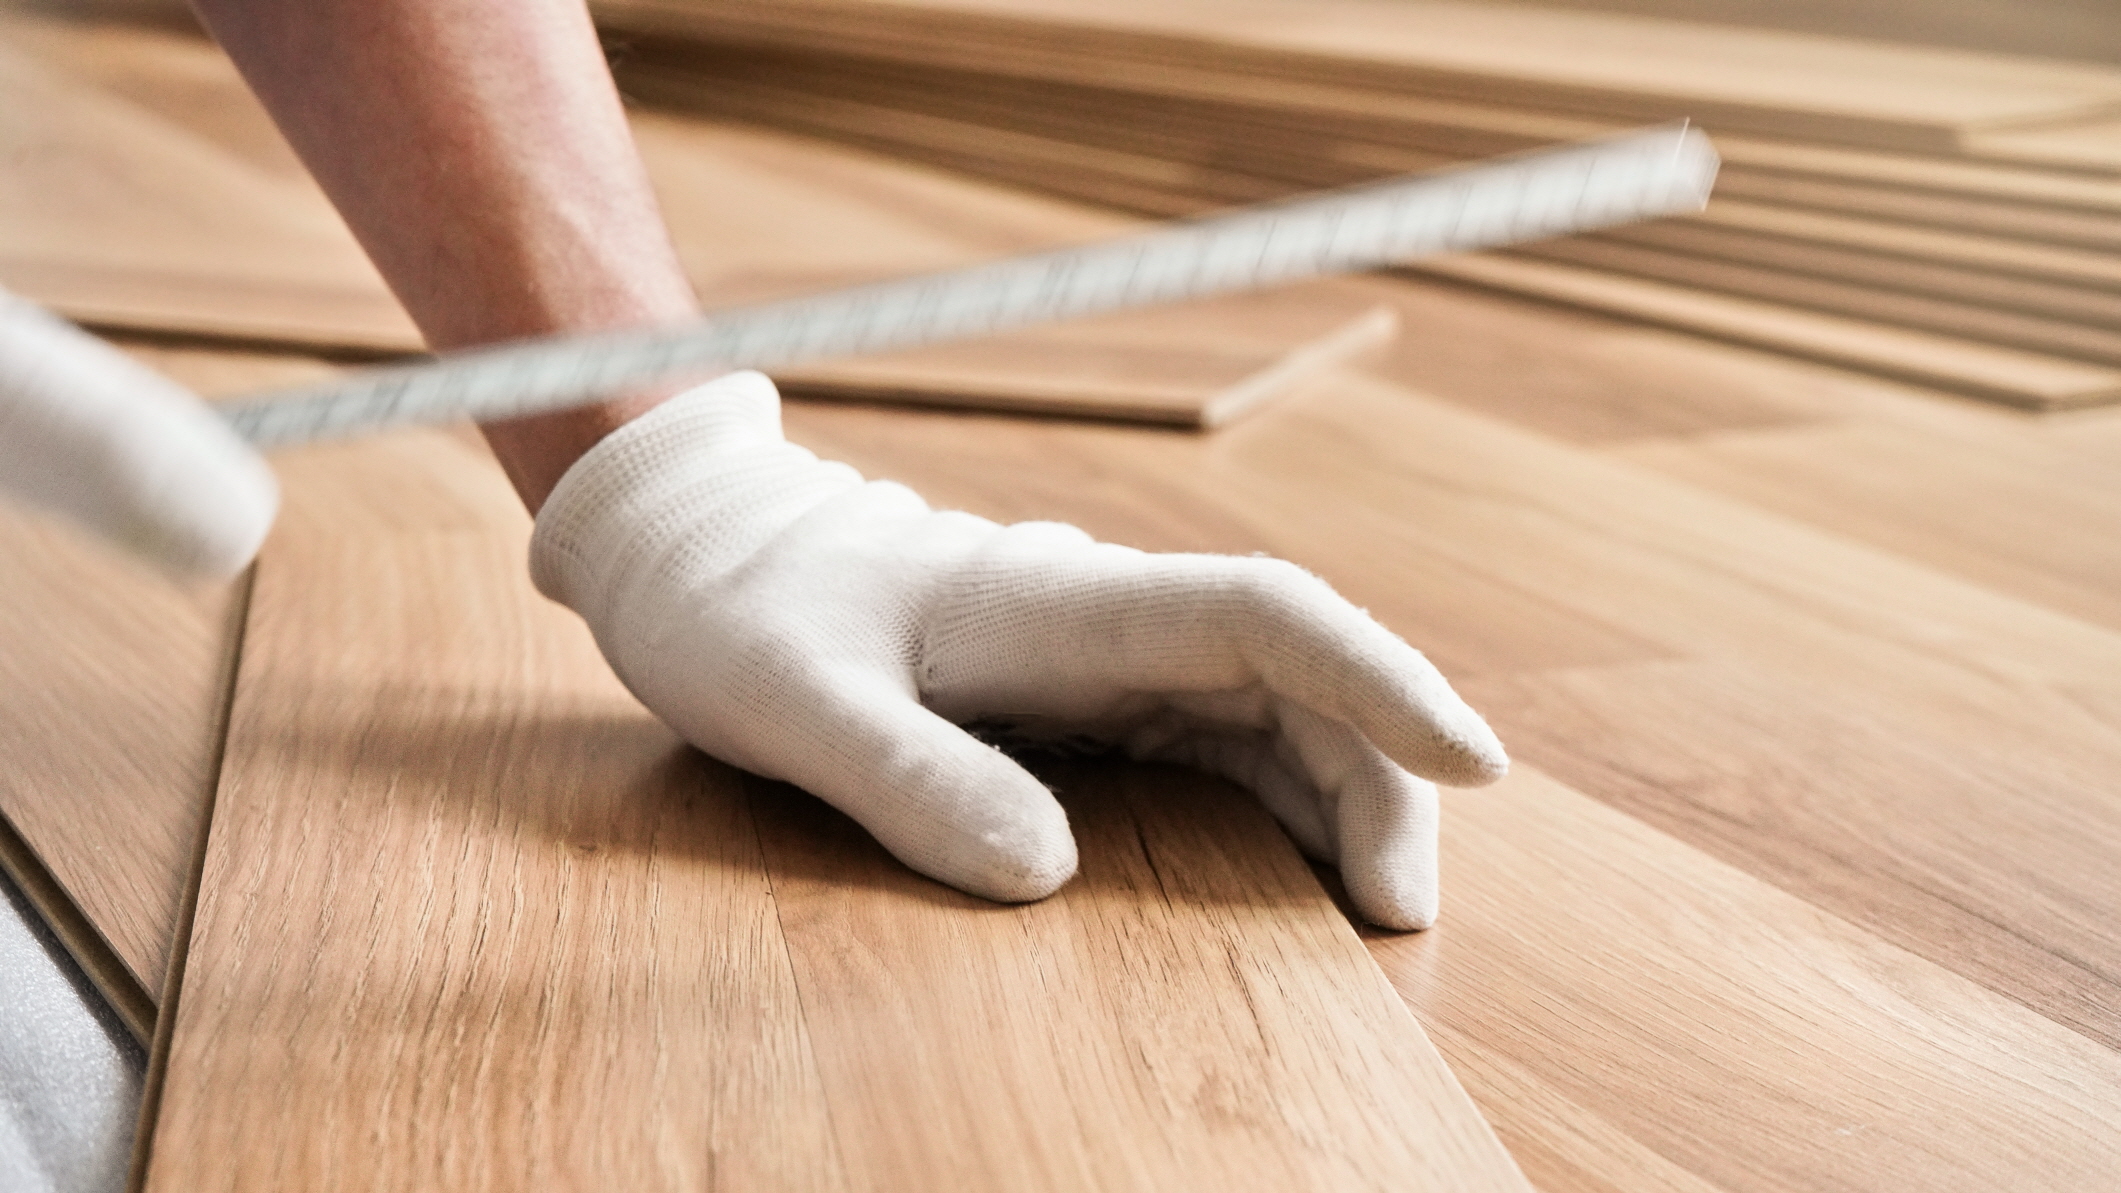
Many people think bathroom floor DIY tips are enough to get them through. However, nothing can compare to professional installation since experts have tools and resources you don’t.
Specialized knowledge makes the installation process easier. It also reduces the likelihood that you’ll need to replace things prematurely, so installation costs are an investment in long-lasting flooring.
Beyond How to Update Floor Tiles
Understanding how to update floor tiles is the first step toward successful renovations. However, it’s going to be challenging to perform a cost-effective bathroom makeover without professional assistance.
LX Hausys is committed to providing high-quality flooring, countertops, and more. Our easy and efficient installation processes mean that you can boost your home interior’s look with minimal stress. Reach out to our team to learn more about our services and solutions.

