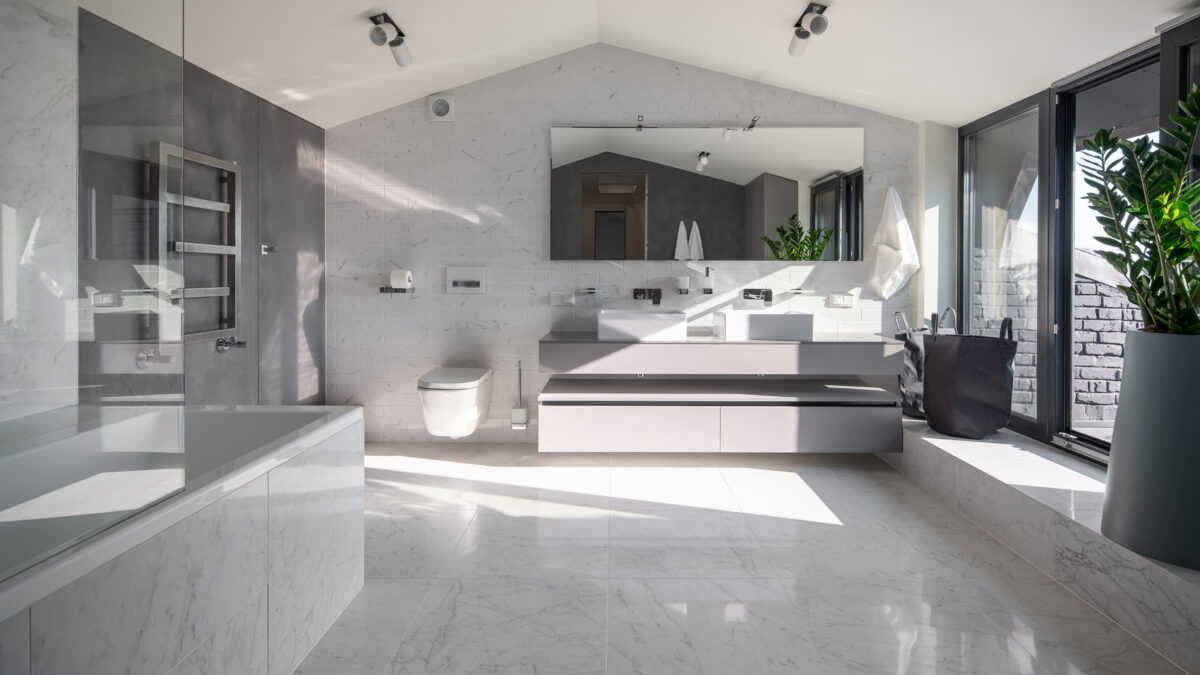
Transforming your bathroom is not only an immensely gratifying endeavor but also a project that can be both time-consuming and costly. Nevertheless, the outcome is a space that exudes both functionality and style. A remodel, depending on your vision—be it a sleek modern aesthetic or a comfortable, inviting retreat—can significantly enhance your everyday life and boost your home’s value.
However, embarking on this journey requires careful preparation. Prior to immersing yourself in the plethora of design options and selecting fixtures, it’s essential to have a well-structured plan of action. To assist you in navigating this process, this article will provide a detailed checklist and a systematic guide through the critical phases of a successful bathroom remodel. From the initial planning stages to the final accents, we aim to equip you with the necessary insights to approach your project confidently, guaranteeing that the metamorphosis of your bathroom is not just envisioned but accomplished. Let’s begin your transformation journey!
Step 1. Determine Overall Design Ideas
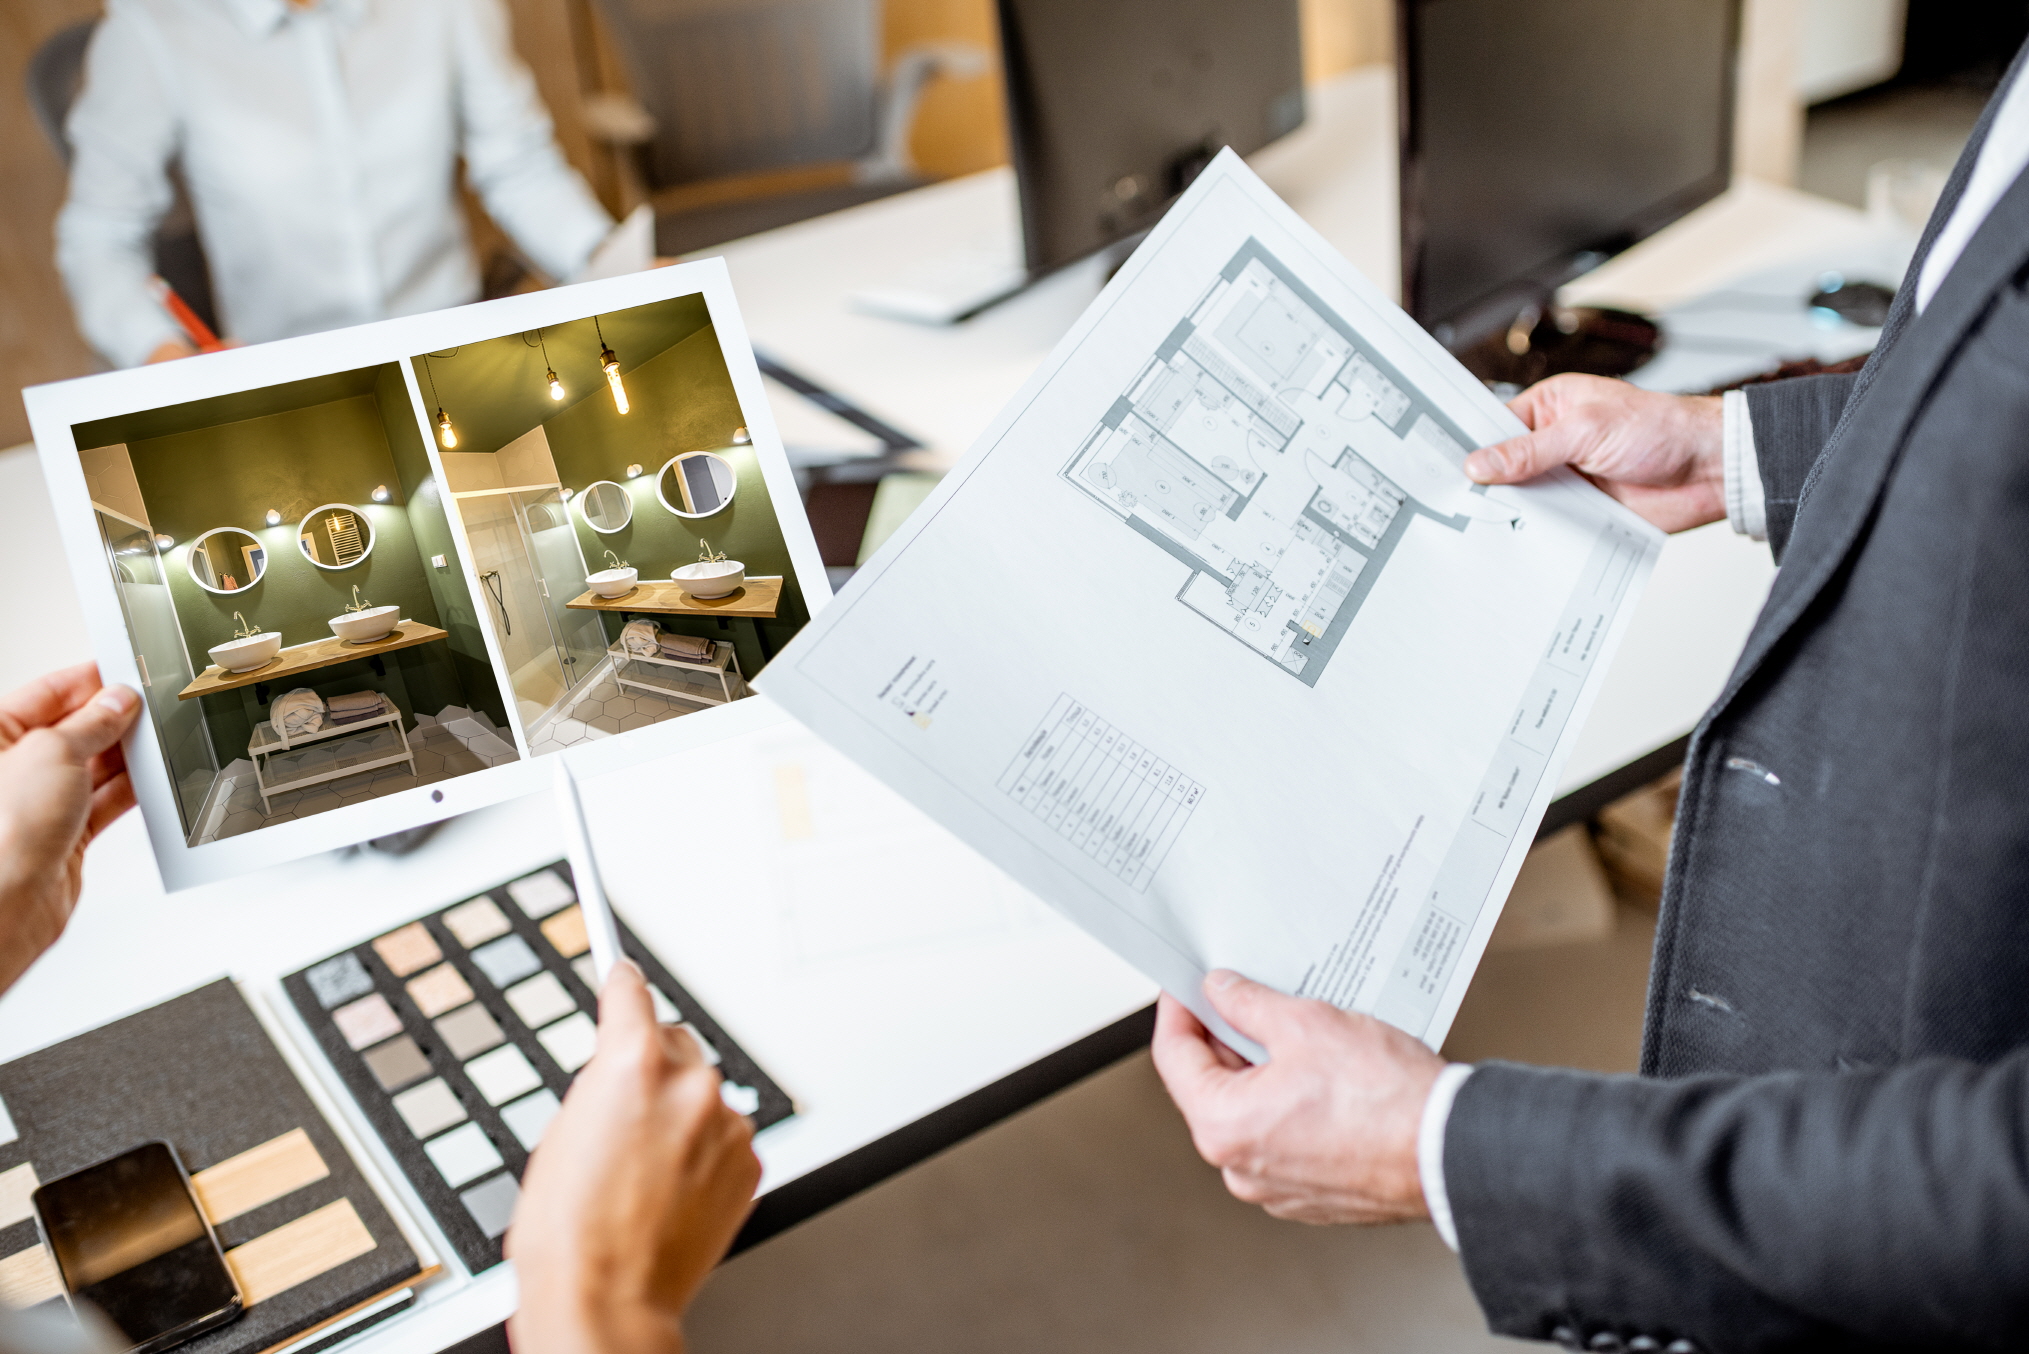
Initiating a bathroom remodel is a process that begins with a step of paramount importance: setting the project’s direction. This foundational step involves gathering and refining your design ideas to establish the bathroom’s overarching aesthetic. For initial inspiration, explore platforms like Pinterest and Instagram, which are treasure troves of visual concepts and current trends. This exploration will help you gauge what styles and elements you might want to incorporate. Further refine your concepts by visiting design-oriented websites such as Houzz and Apartment Therapy, where you’ll find curated collections and professional insights to flesh out your vision. Additionally, perusing magazines and exploring local showrooms can offer a tangible sense of how certain designs translate into real-world spaces, sometimes shifting your preferences based on in-person experiences.
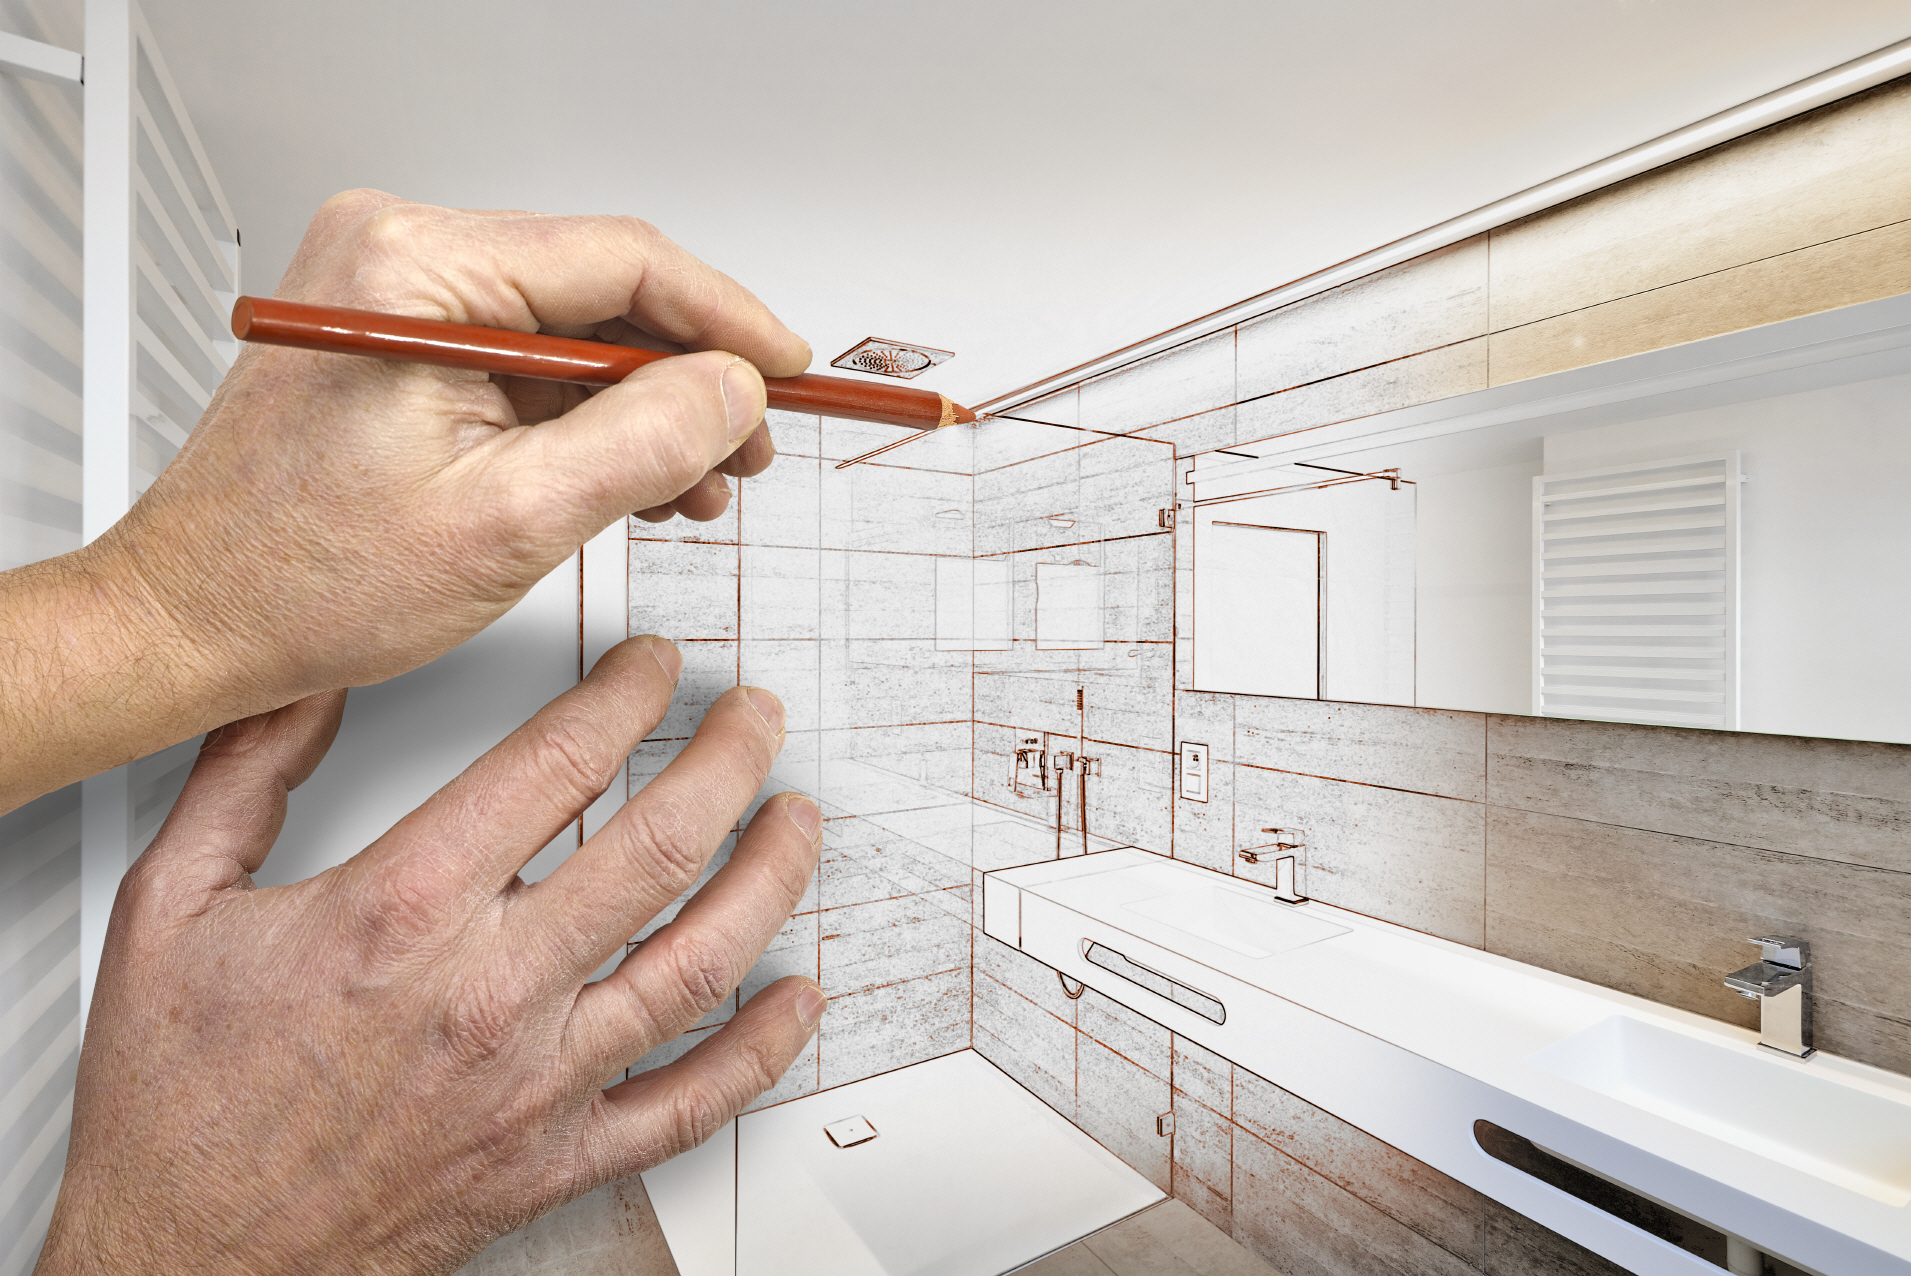
As you collate ideas, consider these critical factors to guide your remodel toward fulfilling both your aesthetic and functional desires:
- Budget: Establish your financial boundaries early on, reserving specific portions of your budget for various components of the remodel.
- Layout: Assess the current layout’s effectiveness and contemplate alterations that could enhance the bathroom’s utility and flow.
- Style: Select a design motif that resonates with your personal taste, be it sleek and modern, warmly traditional, or a unique blend.
- Materials: Investigate materials that not only align with your design theme but also offer longevity and ease of maintenance.
- Fixtures & Features: Choose faucets, lighting, and extra luxuries (like heated floors or a deluxe showerhead) that elevate the space’s comfort and functionality.
- Storage: Design a storage strategy to maintain an organized and clutter-free environment.
- Lighting: Strike a balance between natural and artificial lighting to create an ambiance that’s both practical and welcoming.
- Ventilation: Prioritize adequate ventilation solutions to deter moisture-related concerns like mold.
Step 2. Plan a Scope and Budget
Determining the scope and budget for your bathroom remodel is a pivotal step, shaping the extent of modifications you can undertake. Operating with a limited budget may require prioritizing certain renovations over others. The initial decision to either conduct a comprehensive overhaul or to refresh specific elements sets the stage for your project. A thorough renovation, including the relocation of plumbing and electrical frameworks, can significantly elevate costs due to the complexity of the work involved. Conversely, simple updates like replacing fixtures or a new paint job can be more economically feasible. Remodeling costs can vary greatly, with basic improvements starting around $5,000, and extensive, high-end modifications potentially exceeding $25,000.
As you map out your plan, take into account the following components and their potential budgetary implications:
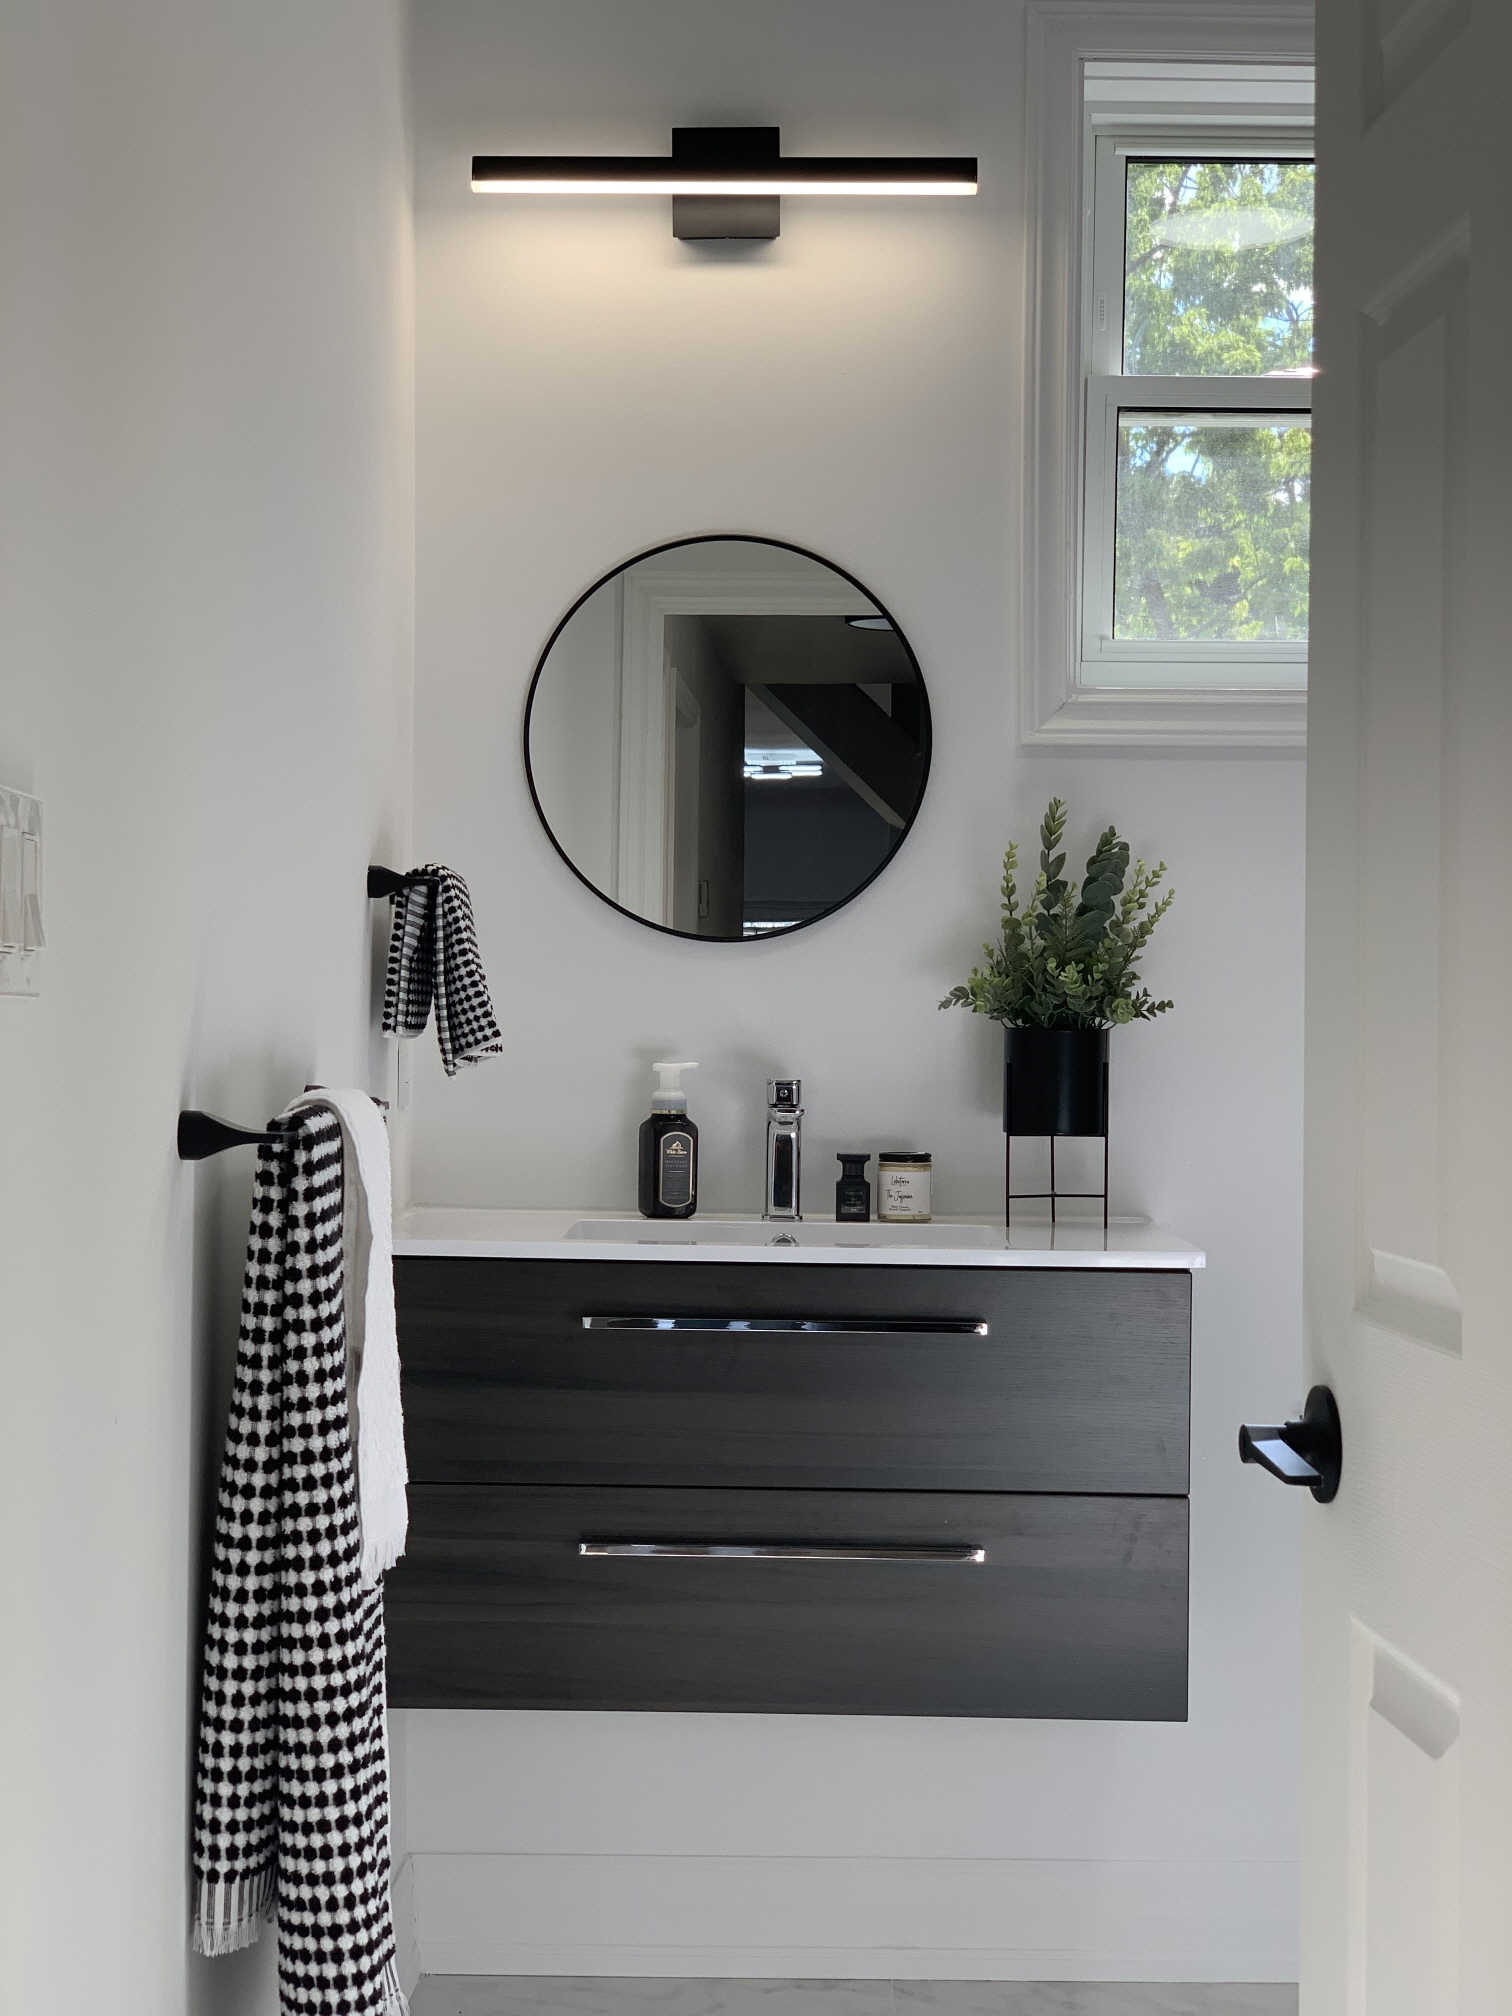
- Vanities: Costs can fluctuate based on the vanity’s size, style, and material.
- Mirrors: Select mirrors that not only fit your aesthetic but also fulfill your functional needs.
- Faucets: The design and finish of your faucets can influence both the look and expense.
- Sinks: Factors like sink type and size play into the overall design and utility.
- Hardware: Coordinating hardware with your design theme can pull the look together.
- Tile & Flooring: Investing in durable, attractive materials for your surfaces pays off in both style and longevity.
- Lighting & Fixtures: Proper lighting fixtures are key to creating the desired atmosphere.
- Shower & Bathtub: Consider whether updating, replacing, or keeping these fixtures as is best fits your needs and budget.
Step 3. Decide on DIY or Professional Help
Choosing between undertaking a bathroom remodel as a DIY project or enlisting professional help requires a careful evaluation of the advantages and challenges each option presents. Embarking on a DIY remodel can be cost-effective and gratifying, offering a hands-on role in transforming your space. This route demands not only a considerable investment of time and energy but also a substantial level of skill for successful execution. While many homeowners are capable of completing simpler tasks such as painting, swapping out hardware, or installing new fixtures on their own, more intricate work like plumbing, electrical adjustments, and extensive tile work typically necessitates the knowledge and precision of a licensed contractor. This ensures the safety, adherence to building codes, and quality of the final outcome. Here are essential points to consider when deciding whether to go DIY or hire professionals:
- Skill Level: Honestly assess your abilities and prior experience in home improvement projects.
- Project Complexity: Gauge whether the remodel includes complicated aspects like electrical or plumbing work.
- Time Commitment: Reflect on the amount of time you can feasibly dedicate to completing the remodel.
- Budget: Account for the expenses associated with tools, materials, and any potential errors if opting for DIY.
- Permits and Regulations: Determine the necessity for permits for certain remodel aspects and whether you’re prepared to manage these requirements.
- Quality of Work: Decide if your work can match the craftsmanship level of a professional.
- Warranty and Insurance: Consider the benefits of professional warranties and insurance, which offer additional security and assurance.
How to Select a Contractor
Ensuring the success of your bathroom remodel hinges significantly on selecting the right contractor. Begin this crucial step by thoroughly researching potential candidates. Gathering recommendations from friends, family, or trustworthy online reviews can provide valuable insights into a contractor’s reputation for quality and reliability. It’s essential to schedule interviews with these potential candidates to discuss your project in detail. During these meetings, inquire about references, examine their portfolio of previous projects, and confirm their licensure and insurance status.
To make an informed choice, request detailed written estimates from at least three different contractors. It’s important not just to focus on the cost but to also carefully evaluate the scope of work and proposed timelines to ensure they meet your expectations. Effective communication plays a vital role in this process. Opt for a contractor who not only listens to your ideas but also brings valuable suggestions to the table and maintains open lines of communication throughout the duration of the project.
By considering these factors, you’ll be better equipped to choose a contractor who aligns with your vision, executing your bathroom remodel with a blend of professionalism and expertise.
Step 4. Plan Each Element
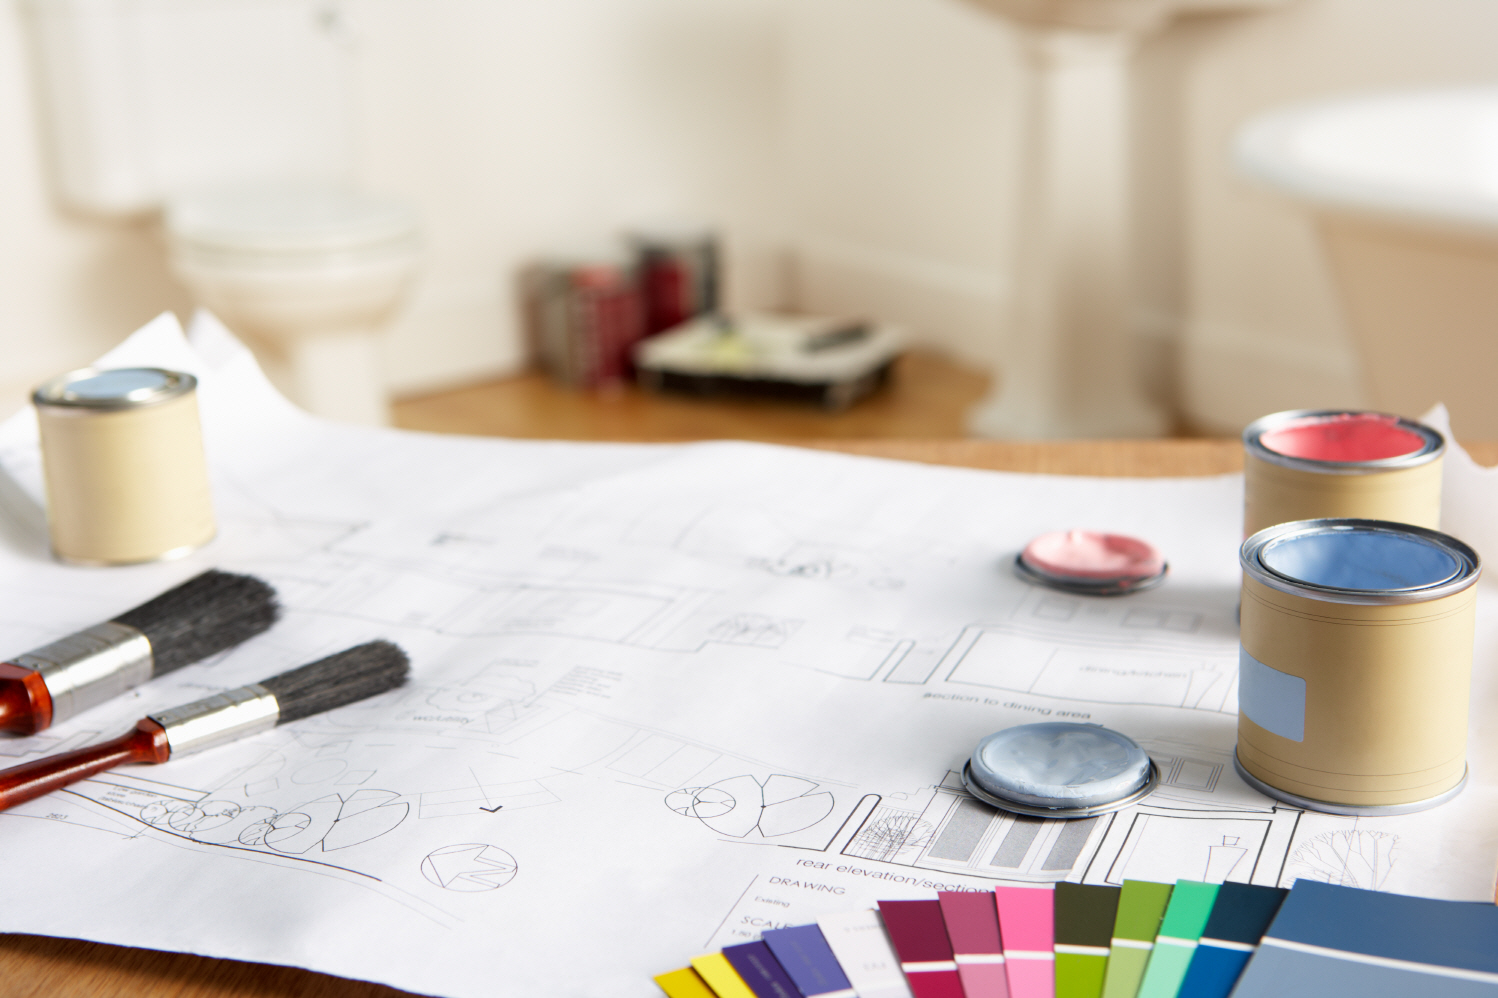
Ensuring that every element of your bathroom remodel harmonizes both aesthetically and functionally is crucial for achieving your dream bathroom. To aid in this process, we’ve compiled a checklist to guide you through planning each aspect of your bathroom carefully:
Layout Design
- Functionality: Design the layout to meet your daily requirements, ensuring efficient placement of fixtures and ample movement space.
- Traffic Flow: Optimize the layout to minimize congestion and ensure easy access to various areas of the bathroom.
- Fixture Placement: Strategically position sinks, toilets, and bathing areas while taking into account plumbing requirements and accessibility.
- Storage Solutions: Include adequate storage options like cabinets, shelves, and drawers to maintain an organized space.
- Ventilation: Implement effective ventilation strategies to prevent moisture buildup and maintain good air quality.
- Lighting: Maximize natural lighting and supplement with well-placed artificial lighting for functionality and ambiance.
- Accessibility: Design the space to be accessible for all users, integrating universal design principles as necessary.
- Aesthetic Balance: Aim for a visually pleasing arrangement that complements the bathroom’s overall style and design.
- Plumbing & Electrical: Assess existing systems to understand their influence on your layout options and potential renovation costs.
- Space Utilization: In smaller bathrooms, focus on maximizing space with compact fixtures and intelligent design choices.
Plumbing Work
- Existing Plumbing Layout: Review the current plumbing configuration to assess whether it can be retained or needs modifications.
- Fixture Placement: Position new fixtures (sinks, toilets, showers) to align with the existing plumbing, or calculate any costs associated with relocating pipes.
- Water Pressure: Check the water pressure and flow rates to confirm they are suitable for new fixtures and appliances.
- Drainage: Verify that the drainage system can accommodate any additional fixtures, and inspect for potential clogs or drainage issues.
- Pipe Material: Select appropriate pipe materials (e.g., PVC, PEX, copper) that meet your requirements and adhere to local building codes.
- Leak Prevention: Use high-quality fittings and ensure seals are properly done to prevent any potential leaks.
- Ventilation: Ensure the plumbing system is adequately vented to prevent any sewer gasses from entering the bathroom.
- Building Codes: Make sure all plumbing alterations or installations comply with local building regulations and codes.
- Water Heating: Determine if the existing water heater can meet the demands of the new fixtures, or if an upgrade is needed.
- Professional Assistance: For complex tasks like rerouting pipes or installing new fixtures, consider engaging a licensed plumber to guarantee expert installation and code compliance.
Electrical Setup
- Code Compliance: Confirm that all electrical work complies with local building codes and regulations. This includes ensuring proper grounding and the installation of GFCI (Ground Fault Circuit Interrupter) outlets to prevent electrical shock.
- Lighting: Design a lighting plan that incorporates overhead lights, task lighting around mirrors for grooming, and ambient lighting to enhance the space’s overall comfort and usability.
- Power Outlets: Calculate the need and optimal placement for power outlets to cater to devices such as hair dryers and electric razors, enhancing functionality and convenience.
- Ventilation Fans: Make provisions for the incorporation of exhaust fans to improve air quality and prevent moisture accumulation, which can lead to mold and mildew.
- Heated Floors: If considering heated floors, account for the required electrical connections and controls to ensure a warm and comfortable environment.
- Towel Warmers: For added luxury, plan for the electrical requirements of towel warmers or other electrical amenities, ensuring they are properly wired and safe to use.
- Switch Placement: Strategically position switches and controls for easy access, prioritizing both user convenience and safety in their placement.
- Circuit Load: Evaluate the existing electrical infrastructure to determine if it can support the addition of new fixtures and appliances, potentially requiring additional circuits or an upgrade to the electrical panel.
- Safety: Prioritize safety by ensuring all electrical installations are properly executed and safeguarded against potential hazards such as electrical shorts or fires.
- Professional Help: For technical installations or updates, it’s prudent to engage a licensed electrician. This ensures that all work is done safely, in compliance with building codes, and to a high standard of quality.
Ventilation System
- Exhaust Fan Size: It’s important to choose a fan with a CFM (cubic feet per minute) rating that matches your bathroom’s size for optimal moisture and odor removal. This ensures the fan can effectively manage the air volume of the space.
- Fan Placement: Ideally, the fan should be positioned centrally to enhance air circulation, efficiently removing steam and humidity and preventing mold growth.
- Ductwork: Proper ducting is essential to direct the exhausted air outside your home, rather than into attic spaces or other interior areas, avoiding moisture damage elsewhere.
- Ventilation Needs: Evaluate whether your space might benefit from advanced ventilation options, such as a fan with a built-in humidity sensor for automatic moisture control, to keep the environment comfortable and mold-free.
- Noise Level: Look for a fan with a suitable noise rating (measured in sones), ensuring it provides powerful ventilation without being obtrusively loud, thereby maintaining a serene bathroom atmosphere.
- Maintenance: Ease of maintenance is key. Select a fan that offers straightforward access for cleaning and upkeep, ensuring long-term performance and reliability.
- Energy Efficiency: Choose an energy-efficient model to cut down on electricity use and reduce your environmental footprint, without sacrificing ventilation quality.
Lighting Design
- Layered Lighting Approach: Utilize a mix of ambient, task, and accent lighting to craft a space that’s both functional and inviting. This layered approach ensures all areas of the bathroom are well-lit.
- Ambient Lighting: Start with overhead fixtures or recessed lighting to establish a base level of general illumination that lights up the entire bathroom softly.
- Task Lighting: Around the mirrors and vanities, install focused lights to provide bright, directed light. This is crucial for detailed tasks like grooming, ensuring clarity and precision.
- Accent Lighting: Use accent lights to spotlight architectural features, artwork, or decorative details, adding depth and dimension to the space.
- Natural Light Integration: Embrace natural light by incorporating windows or skylights. Use light-filtering treatments to balance brightness, privacy, and aesthetics.
- Lighting Fixture Selection: Match lighting fixtures with your bathroom’s design theme while ensuring they produce adequate lumination without causing glare or creating shadows.
- Dimmer Switches: Adding dimmer switches allows you to modify the lighting intensity to suit various activities and set the desired mood at any time.
- Energy Efficiency: Prioritize energy-saving lighting options, like LED bulbs, to curtail energy use and lower your electric bills without sacrificing light quality.
- Mirror Lighting: Strategically place lights around mirrors to cast even light across the face, eliminating shadows for activities such as makeup application or shaving.
- Safety Considerations: Choose fixtures and electrical components certified for wet or damp locations to ensure the safety and durability of your lighting in a moisture-rich environment.
- Color Temperature Selection: Opt for bulbs with a color temperature that enhances the overall design of your bathroom and provides a flattering, natural light for all uses.
- Maintenance Ease: Select lighting fixtures that are straightforward to clean and durable, particularly in moisture-heavy areas, to ease the maintenance process.
Flooring Options
- Water Resistance: Start by focusing on materials known for their water resistance. Ceramic tiles, vinyl, and stone stand out as excellent choices that guard against water damage. For instance, LX Hausys’ HFLOR provides superior water resistance at an affordable cost, making it a smart option for bathroom floors.
- Durability: High-traffic areas demand flooring that withstands constant use. Look for materials that resist scratches, dents, and general wear, ensuring your floor remains in top condition over the years.
- Slip Resistance: Safety is paramount in a bathroom. Choosing flooring with a non-slip surface is essential to prevent slips and falls, especially on wet floors.
- Ease of Maintenance: Opt for flooring that promises easy cleaning and maintenance. Floors that require minimal effort to maintain their appearance will make your life easier and keep your bathroom looking pristine.
- Comfort: Your bathroom is a sanctuary, so comfort should not be overlooked. Materials like cork or cushioned vinyl offer a gentler feel underfoot, ideal for those who spend significant time in the bathroom.
- Style and Aesthetics: The flooring should match the overall design aesthetic of your bathroom. Select a style and color that enhance the visual appeal of your space, contributing to the ambiance you wish to create.
- Installation: Consider whether you can install the flooring yourself or if professional help is needed. Account for the cost of installation when planning your budget to avoid any surprises.
- Cost: Budgeting is key. Assess the cost of both materials and installation, weighing them against your available budget while not compromising on quality, as this could affect the long-term value and durability of your flooring.
- Underlayment: Don’t forget the underlayment, which can enhance comfort, insulation, and in some cases, soundproofing. This layer can impact the overall feel and function of your flooring.
- Transition to Other Areas: Lastly, think about how the bathroom flooring will connect with the rest of your home. The transition should be smooth and cohesive, ensuring a seamless flow from one area to another.
Walls and Ceiling
- Moisture Resistance: Start by picking materials adept at repelling moisture and fending off mildew. Options like moisture-resistant drywall (commonly known as green board), cement board, or waterproof paints are specifically designed for wet environments.
- Ventilation: Proper ventilation is essential. It minimizes moisture accumulation that could otherwise nurture mold growth or cause damage to walls and ceilings.
- Durability: Make sure to incorporate materials tailored to endure the steamy climate of a bathroom. For heavily used areas, water-resistant paints or tiles are reliable choices that provide longevity.
- Aesthetics: The look and feel of your bathroom are shaped by the finishes, colors, and textures you choose. Aim for choices that complement the rest of your bathroom’s design for cohesive aesthetics.
- Ease of Maintenance: For convenience, select surfaces that are simple to clean. Washable paints and tiles that easily wipe clean can save time and preserve the bathroom’s cleanliness over time.
- Insulation: To enhance energy efficiency and maintain a consistently comfortable temperature, consider incorporating adequate insulation within the walls and ceilings.
- Ceiling Height: If you are considering altering the ceiling height, review options such as incorporating a drop ceiling for functional or decorative purposes.
- Lighting Integration: Carefully plan the embedding of lighting fixtures and ventilation fans in your ceiling. This not only ensures a smooth and functional integration but also maintains a clean aesthetic.
- Wall Coverings: Determine the best wall coverings for your space, considering factors such as resilience, moisture resistance, and your style preference. Options range from tiles and wallpaper to different types of paint finishes.
- Accessibility: As you plan for wall-mounted installations, like towel bars or shelves, position them at heights and locations that offer easy access and practicality.
Bath and Shower
- Size and Layout: Start by assessing the available space to pin down the ideal size and layout. Whether you’re drawn to a combined bath and shower unit or prefer them as separate entities, prioritize functionality and flow.
- Style and Design: The aesthetics of your bath and shower should be an extension of your bathroom’s overall theme. Whether you opt for an ultra-modern enclosure, a statement freestanding tub, or a cozy traditional setup, the style should sync with the space.
- Water Efficiency: With sustainability in mind, choose fixtures that promise water efficiency. Low-flow showerheads and faucets can curtail water usage, leading to significant savings on utilities.
- Accessibility: Design a space that is welcoming to all users. Features such as grab bars, slip-resistant flooring, and reachable controls contribute to a user-friendly bath and shower area.
- Materials: Prioritize durable and water-resistant materials for all surfaces, from tile and stone to acrylic. Don’t forget to use grout and sealants that can handle the humidity and frequent water exposure.
- Ventilation: Good ventilation is crucial in a bath and shower setting to stave off mold and mildew. A well-ventilated space maintains air quality and protects surfaces.
- Storage: Integrate clever storage solutions to keep essentials tidy and at arm’s length. Built-in niches or shelving can be both practical and aesthetically pleasing.
- Safety: Safety considerations should never be overlooked. Non-slip flooring, strategically placed grab bars, and low thresholds are key to a safe bathing experience.
- Fixtures and Controls: Opt for fixtures and controls that are straightforward to manipulate and upkeep, such as thermostatic mixer taps for a consistently perfect water temperature.
- Budget: Last but not least, be mindful of your finances. Weigh the costs of various options and installation fees to ensure the final touches align with your budget without compromising on style or necessity.
Toilet Installation
- Size and Space: Choose a toilet that fits well in the available space, ensuring there is enough room for comfortable movement around it.
- Type of Toilet: Consider the variety of types available—standard, elongated, or compact—to find the best match for both comfort and spatial constraints.
- Water Efficiency: Invest in water-efficient models, such as low-flow or dual-flush toilets. These options help reduce water usage, lowering utility bills and supporting environmental conservation.
- Comfort: Evaluate different features to maximize comfort, including the toilet’s height (standard versus comfort height) and the shape of the seat.
- Installation Requirements: Check whether your installation requires a new rough-in, or if the existing plumbing is adequate for the new toilet.
- Drainage and Plumbing: Ensure the new toilet’s placement is compatible with your current drainage and plumbing systems or plan for necessary modifications.
- Accessibility: If accessibility is a priority, consider incorporating helpful features like grab bars or elevated seats to accommodate all users comfortably.
- Style and Design: Select a toilet that complements the overall bathroom decor, taking into consideration elements like color, shape, and finish.
- Maintenance: Opt for a design that simplifies cleaning and maintenance, possibly featuring a smooth surface or a self-cleaning mechanism to ease the daily routine.
- Budget: Keep your finances in check by considering both the purchase cost of the toilet and any installation fees to ensure the project remains within your budget.
Vanity and Sink
- Size and Space: Begin by choosing vanities and sinks that fit the available space comfortably, avoiding a cramped or cluttered look in the room.
- Style and Design: Aim for a harmonious bathroom by selecting a vanity style that enhances the overall design. Considerations include the vanity’s material, color, and the type of sink that best fits your aesthetic vision.
- Storage Needs: To maintain an organized and clutter-free bathroom, opt for vanities that offer sufficient storage solutions, such as drawers, shelves, and cabinets.
- Sink Type: From undermount and drop-in sinks to pedestal and vessel types, decide on a sink that not only looks appealing but also serves your functional needs effectively.
- Countertop Material: The vanity countertop should be both durable and easy to care for. Materials like quartz, granite, or laminate offer longevity and are aesthetically pleasing. Brands like LX Hausys, with their VIATERA Quartz, HIMACS Solid Surface, and TERACANTO Porcelain options, provide a range of stylish and durable surfaces.
- Height and Ergonomics: Consider the ergonomic height of the vanity and sink to ensure they are comfortable for users of various stature and accessibility needs.
- Plumbing Compatibility: It’s essential to verify that your selected vanity and sink are compatible with your bathroom’s existing plumbing, or plan for any modifications needed.
- Lighting: Proper lighting is crucial around the vanity area. Plan for lighting solutions like sconces or overhead lights that enhance both functionality and the aesthetic appeal of the space.
- Water Efficiency: To conserve water and save on utility bills, choose faucets and sinks designed for water efficiency.
- Maintenance: Prioritize materials and finishes for the vanity and sink that are straightforward to clean and maintain, ensuring a lasting and fresh look with minimal effort.
- Budget: Keep an eye on the overall costs, including the vanity, sink, countertop, and installation, to ensure that your bathroom remodeling stays within your financial plan.
Storage Solutions
- Space Utilization: Make the most of the space by integrating storage solutions that align with the bathroom’s layout and size. Don’t overlook vertical or corner spaces—they can be prime real estate for storage.
- Type of Storage: Assess your storage requirements and select from various options such as cabinets, shelves, built-in niches, and drawers. The choice should reflect what you intend to store and the space available.
- Accessibility: Place storage units strategically so that frequently used items such as toiletries, towels, and cleaning supplies are easily reachable.
- Organization: Keep items tidy and findable with organizational aids like dividers, baskets, and trays, making the most of your storage space.
- Design and Style: Choose storage options that enhance the bathroom’s overall design. Aim for a cohesive look with matching colors, materials, and finishes.
- Size and Capacity: Opt for storage options that are sized appropriately for your belongings, providing enough space without leading to a cluttered environment.
- Multi-Functionality: Take advantage of multi-functional storage pieces, such as vanities with integrated storage or mirrors with shelving, to make the most of your bathroom’s square footage.
- Wall-Mounted Options: In smaller bathrooms, consider wall-mounted shelves or cabinets to conserve floor space and contribute to a more open, airy feel.
- Cabinetry Materials: Select materials for cabinetry and shelving that can endure the moisture-dense bathroom atmosphere without deteriorating.
- Ventilation: Good airflow around storage areas is key to preventing moisture retention and mold. Ensure your storage solutions don’t compromise bathroom ventilation.
- Custom Solutions: If off-the-shelf storage doesn’t fit your space or needs, investigate custom solutions designed to work with your unique constraints.
Step 5. Choose Your Materials and Finishes
Selecting the right materials and finishes is a crucial step in the bathroom remodeling process, directly influencing both the room’s aesthetic appeal and its longevity. Begin with choosing materials known for their water resistance and durability. For flooring and walls, options like ceramic, porcelain, or vinyl tiles are ideal, while countertops benefit from the resilience of quartz or granite.
It’s equally important to match these materials with finishes that reflect the overall design theme you’re aiming for—be it sleek and modern fixtures or classic, elegant hardware. However, the key lies in finding a balance between style and functionality. Opt for surfaces that are not only visually appealing but also easy to maintain and capable of withstanding the bathroom’s high moisture levels.
Additionally, consider the interplay between materials and both natural and artificial lighting, as well as how they influence the bathroom’s spatial perception and ambiance. Thoughtful selection of materials and finishes will ensure your remodeled bathroom is not only cohesive and stylish but also meets your practical needs and design preferences effectively.

Step 6. Order Materials
Ordering materials for a bathroom remodel requires careful planning and organization to ensure the renovation process goes smoothly and on schedule. Start by compiling a detailed list of all the necessary materials, including tiles, fixtures, cabinetry, countertops, and paint.
It’s essential to order these materials well in advance of the remodel’s start date. Doing so accounts for potential shipping delays and backorders, ensuring that everything is on hand and ready for installation. Carefully check quantities to avoid running short or over-purchasing, and consider buying a little extra to accommodate future repairs or replacements.

Choose to work with reputable suppliers known for providing high-quality products and reliable delivery services. Additionally, make sure to review their return policies and warranties; this will keep you prepared in case any issues arise with the materials.
By efficiently managing your orders and planning ahead, you can help prevent delays and ensure that your bathroom remodel progresses smoothly and according to plan.
Step 7. Set a Project Timeline
Ordering materials for a bathroom remodel requires careful planning and organization to ensure the renovation process goes smoothly and on schedule. Start by compiling a detailed list of all the necessary materials, including tiles, fixtures, cabinetry, countertops, and paint.
It’s essential to order these materials well in advance of the remodel’s start date. Doing so accounts for potential shipping delays and backorders, ensuring that everything is on hand and ready for installation. Carefully check quantities to avoid running short or over-purchasing, and consider buying a little extra to accommodate future repairs or replacements.
Choose to work with reputable suppliers known for providing high-quality products and reliable delivery services. Additionally, make sure to review their return policies and warranties; this will keep you prepared in case any issues arise with the materials.
By efficiently managing your orders and planning ahead, you can help prevent delays and ensure that your bathroom remodel progresses smoothly and according to plan.
Step 8. Apply for Permits and Conduct Tests
Applying for permits and conducting tests are critical components in a bathroom remodel, ensuring compliance with local building codes and maintaining the overall safety and functionality of the renovation. Start by identifying the specific permits your project requires, which may include electrical, plumbing, and structural permits depending on the scope of the work.
Submit the necessary applications to your local building department and coordinate with them to schedule the required inspections. Additionally, conducting tests such as pressure checks for plumbing systems and electrical system verifications is crucial. These tests help detect any potential issues early on, ensuring all systems operate optimally.
Taking these steps not only helps avoid costly repairs later but also ensures your bathroom remodel adheres to all safety standards and regulations. By meticulously managing permits and testing procedures, you can secure a successful, compliant renovation that endures over time.

