What is a Backsplash?
A backsplash is the portion of the wall in your kitchen that extends vertically from the countertop, often positioned behind the sink, stovetop, and other appliances. It serves to protect your walls from splashes and spills. Depending on your design preferences, a backsplash can be a subtle addition just a few inches high, or it can extend all the way to the ceiling, creating a striking focal point.
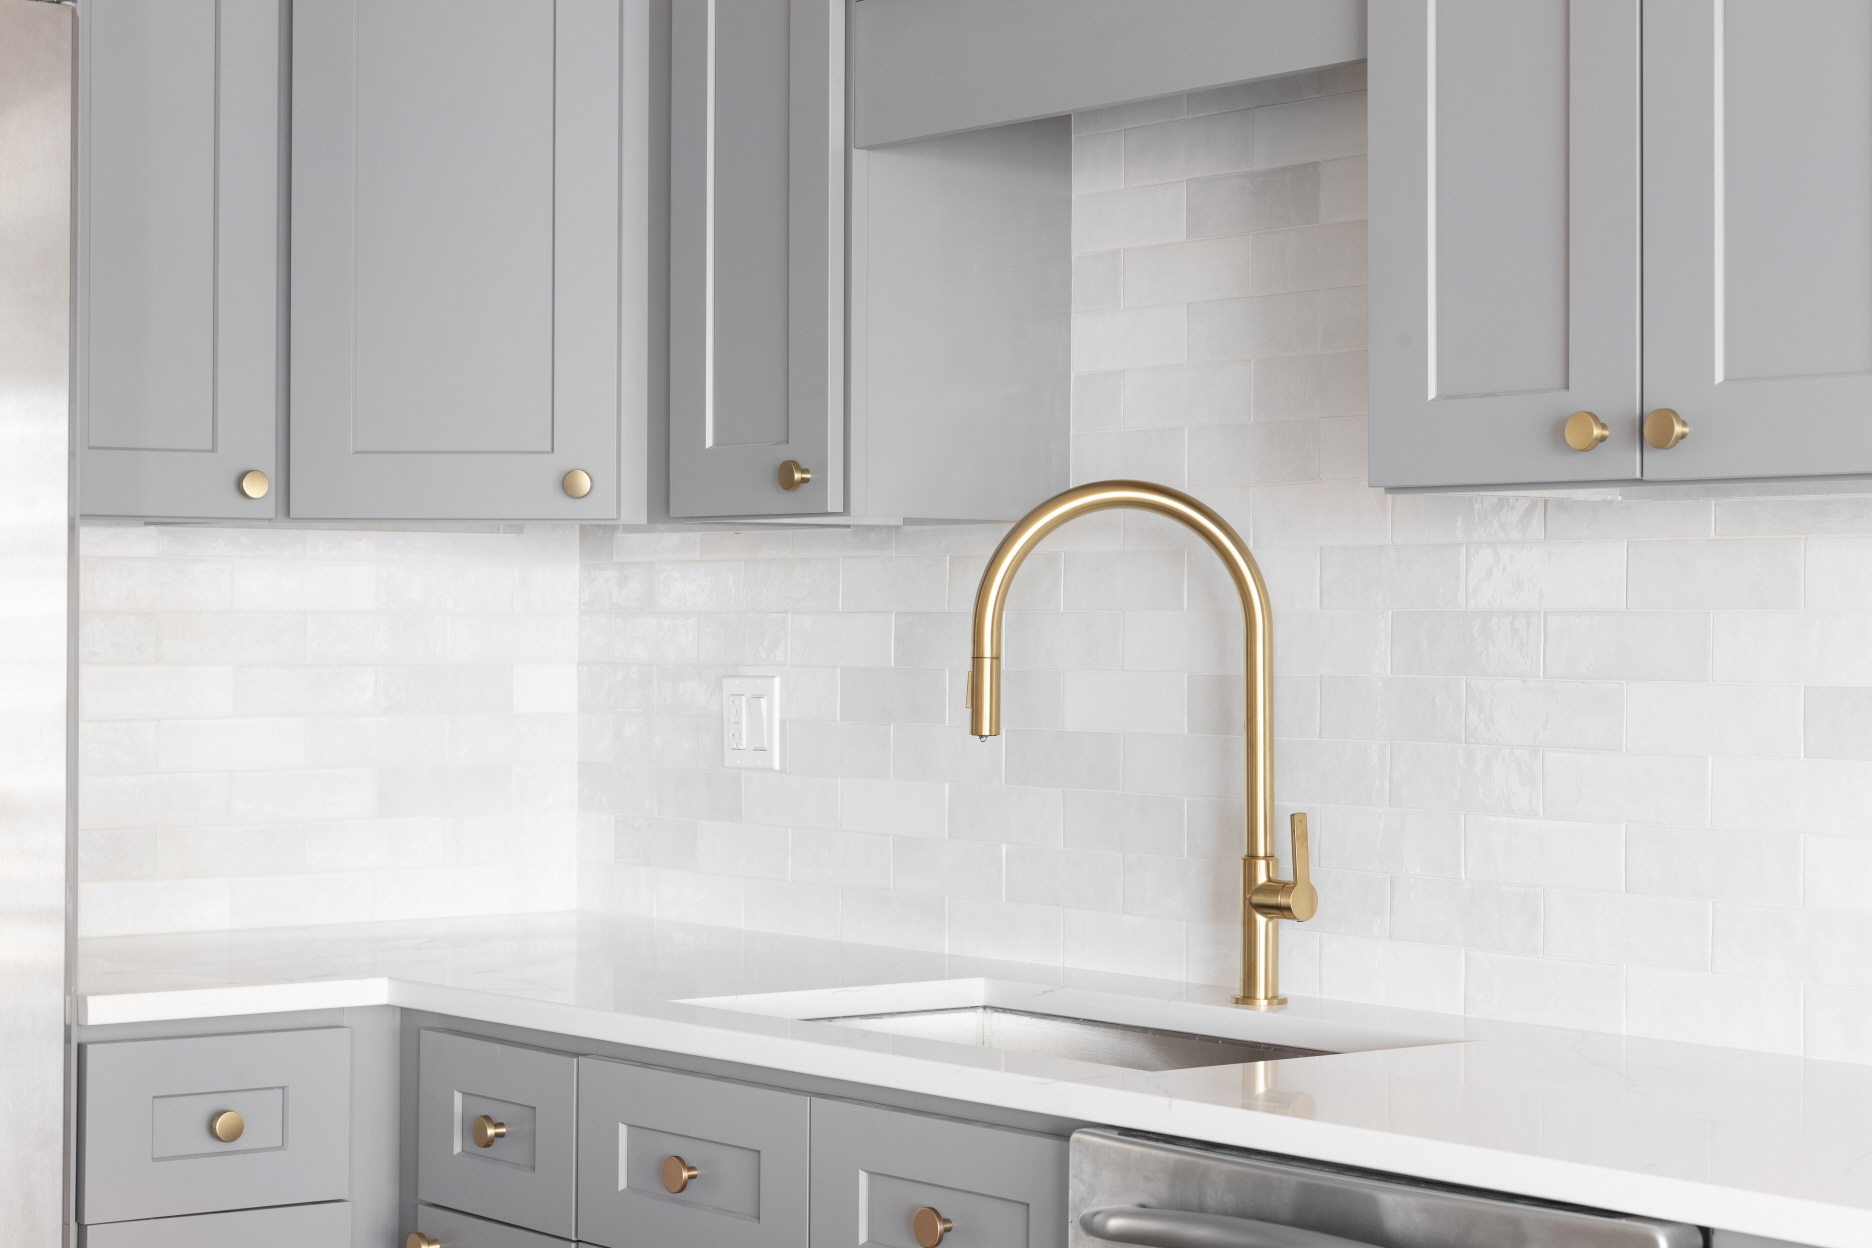
In this article, we will walk you through a detailed, step-by-step guide on installing a backsplash. Additionally, we’ll share some helpful tips for a successful installation and ongoing maintenance.
Why Do You Need a Backsplash?
Installing a backsplash in your home comes with numerous benefits. Firstly, it significantly boosts your kitchen’s functionality by safeguarding your walls against water, grease, and stains that inevitably result from cooking. If you find yourself cooking frequently or if your household is a bustling hub of activity, a backsplash provides that essential extra layer of protection against potential spills and splatters.
Moreover, backsplashes offer more than just practical utility; they are a dynamic design element as well. With a vast array of colors, patterns, and textures available, backsplashes can greatly enhance your kitchen’s aesthetic. Whether you prefer ceramic and porcelain tile, glass, stone, wood, or marble, there’s an option to suit every design style. For a rustic interior, layered stones can add warmth and texture, while vibrant tiles can perfectly capture a coastal bungalow’s breezy charm.
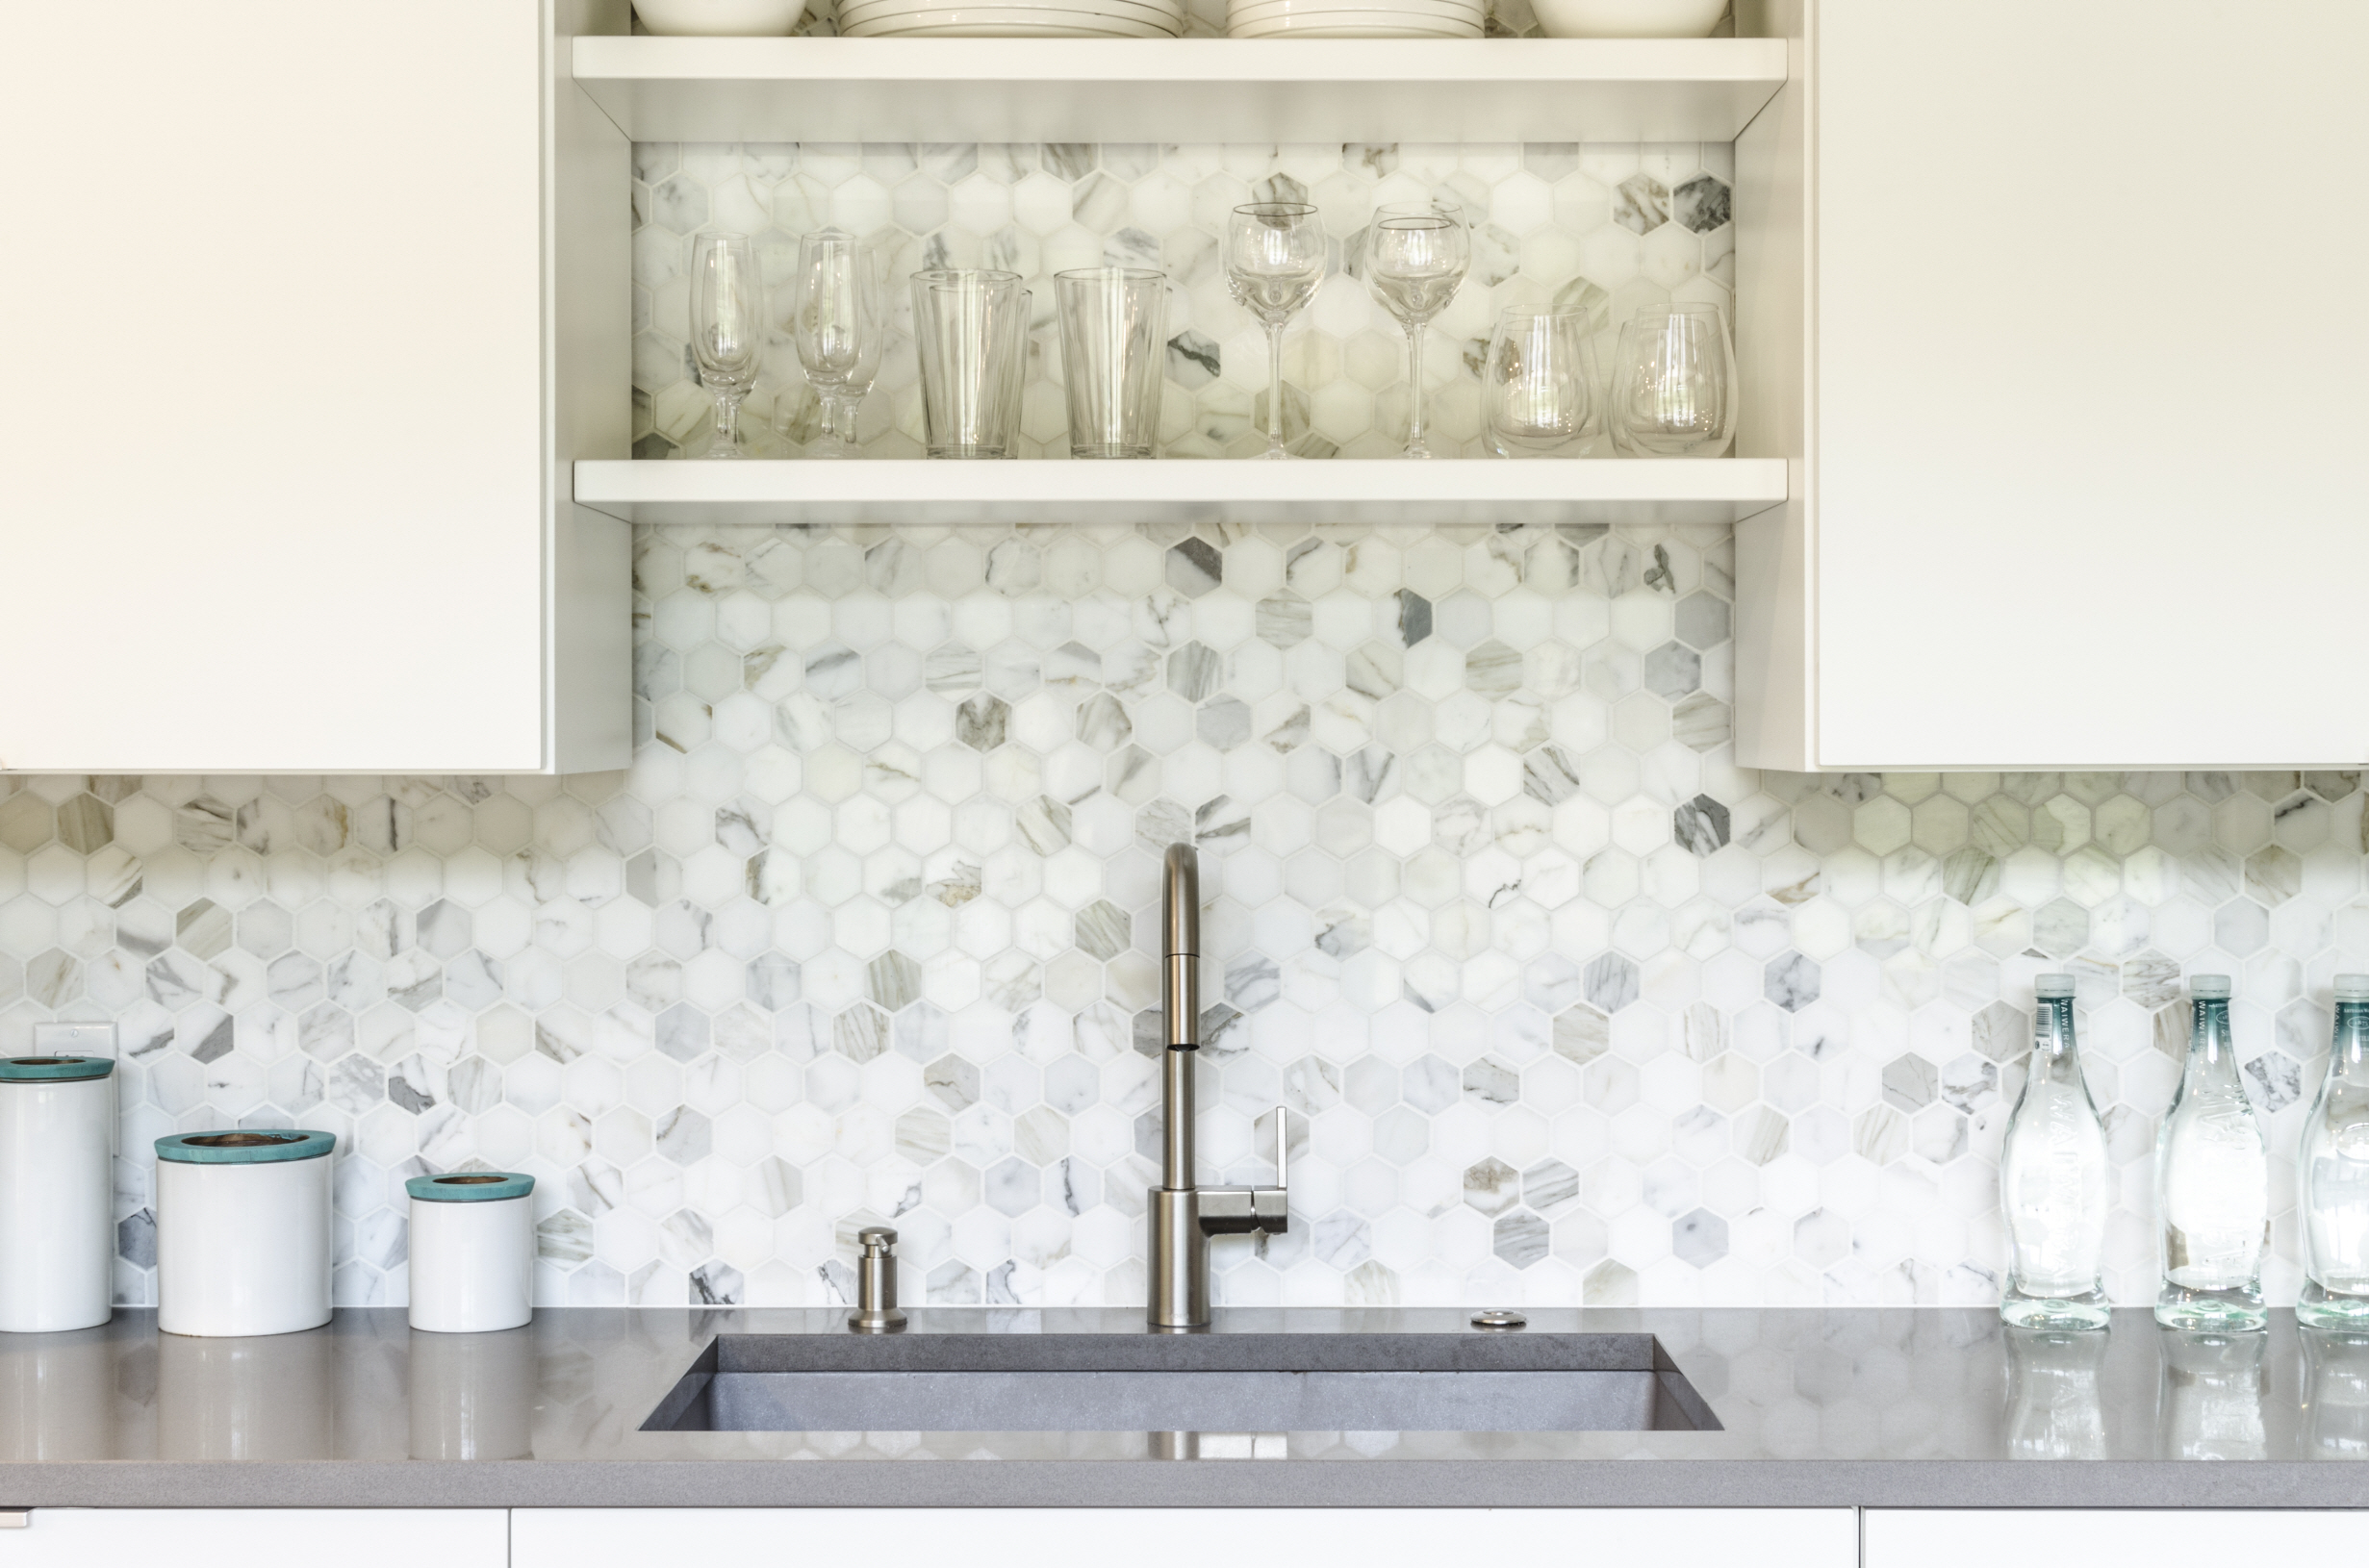
Additionally, choosing to install a backsplash is one of the most cost-effective ways to renovate your kitchen, offering an easy update to your space without breaking the bank. Given that kitchens often play a pivotal role in the sale of a home, investing in a backsplash can not only elevate your kitchen’s appearance but also add value to your home at a reasonable cost.
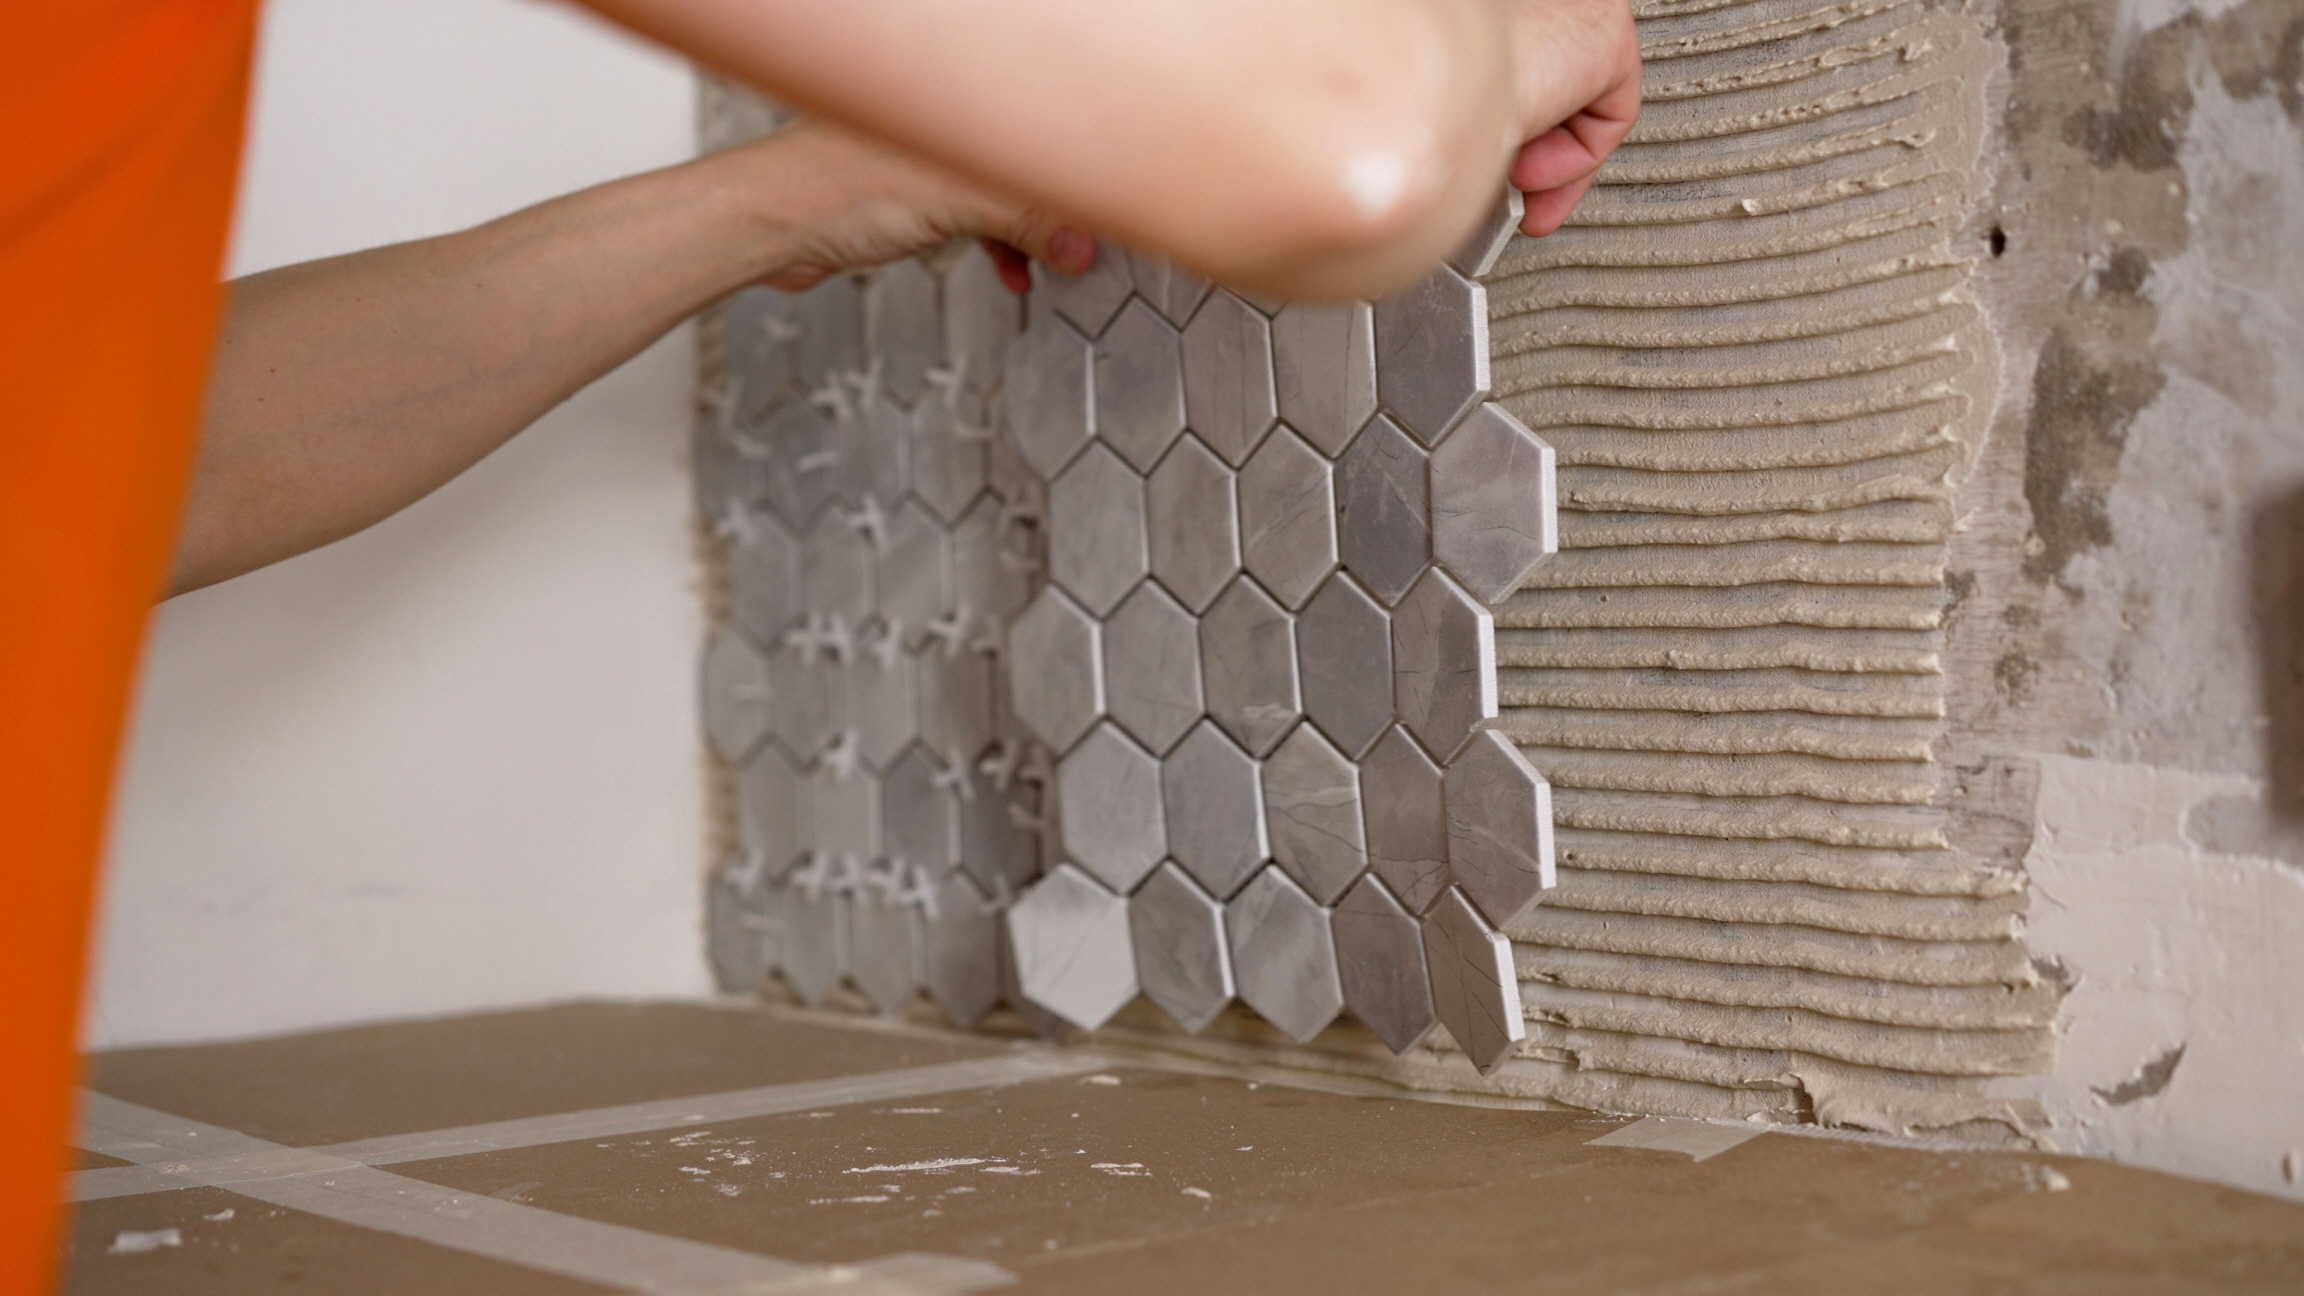
Step-By-Step Guide on Installing a Backsplash
This section offers a straightforward, step-by-step guide for installing a backsplash.
Step 1. Preparation
To begin your project, the first step involves measuring the wall area where the backsplash will be installed and choosing your desired backsplash materials. Following that, it’s crucial to arrange your pieces in a dry run to confirm their correct placement. Arrange the materials on a flat surface in the precise order you plan to apply them to the wall, making certain that both the pattern and alignment meet your expectations. Remember to leave a 1/8-inch expansion gap around the perimeter of your backsplash to accommodate any shifts between it and the countertops and cabinets.
Step 2. Apply Caulk and Install
Next, proceed to affix the backsplash pieces using an appropriate adhesive, such as silicone caulk or mortar. Apply dime-sized dabs of silicone caulk along the length of each piece. Press down and back firmly to securely embed each piece into the caulk. Ensure the application of caulk is consistent so the backsplash pieces sit flush against the wall. If you choose tile for your backsplash, follow up by applying grout and sealant to fill the gaps between the tiles, ensuring a finished and cohesive look.
Step 3. Finishing
For the final touch, use caulk or silicone sealant to fill the expansion gaps, creating a seamless transition between your backsplash and countertops. Once this is done, reinstall the outlets and switch covers to complete the look of your newly installed backsplash.
Useful Tips for Backsplash Installation
This section provides essential tips designed to enhance the outcome of your backsplash installation process.
Tip 1. Choose the Right Area for Installation
To optimize your backsplash installation, it’s crucial to choose the appropriate area in your kitchen. Focus on the walls that endure the most impact from cooking activities. Usually, we suggest situating the backsplash above the stove or the sink—or both, if feasible. If your space and budget allow, you might even contemplate expanding the backsplash along the entirety of your kitchen walls or extending it upward to highlight the material you’ve selected for your backsplash.

Tip 2. Get the Right Tools for the Job
Having the right tools at hand will significantly simplify your project. Before starting, ensure you’re equipped with a tape measure, a level, a drill with assorted bits, and a tile cutter for material preparation and space setup. Additionally, have your backsplash material ready along with caulk, and if you’re working with tile, include grout in your toolkit.
Tip 3. Plan and Measure Carefully
After choosing your desired backsplash material, the next step involves planning the design. Start by measuring the wall space designated for installation to calculate the total square footage needed. Think about how the chosen material will integrate into your space. Small tiles can be easily adapted to fit various areas, whereas larger stones or silicone pieces might require cutting to accommodate the dimensions of your project space. It’s wise to purchase supplies exceeding your initial estimation by ten percent to compensate for any potential mistakes or miscalculations.
Tip 4. Prepare Your Walls Properly
Before starting the installation, it’s essential to prepare your workspace thoroughly. Ensure that the kitchen area, including the wall, countertops, and floor, is decluttered and clean. If the wall is marred by stains, dust, or grease, it must be washed to guarantee the backsplash adheres effectively. Clean the wall using mild soap and water, and allow it to dry completely before you proceed with the installation.
Tip 5. Use a Backsplash to Make Small Areas Look Bigger
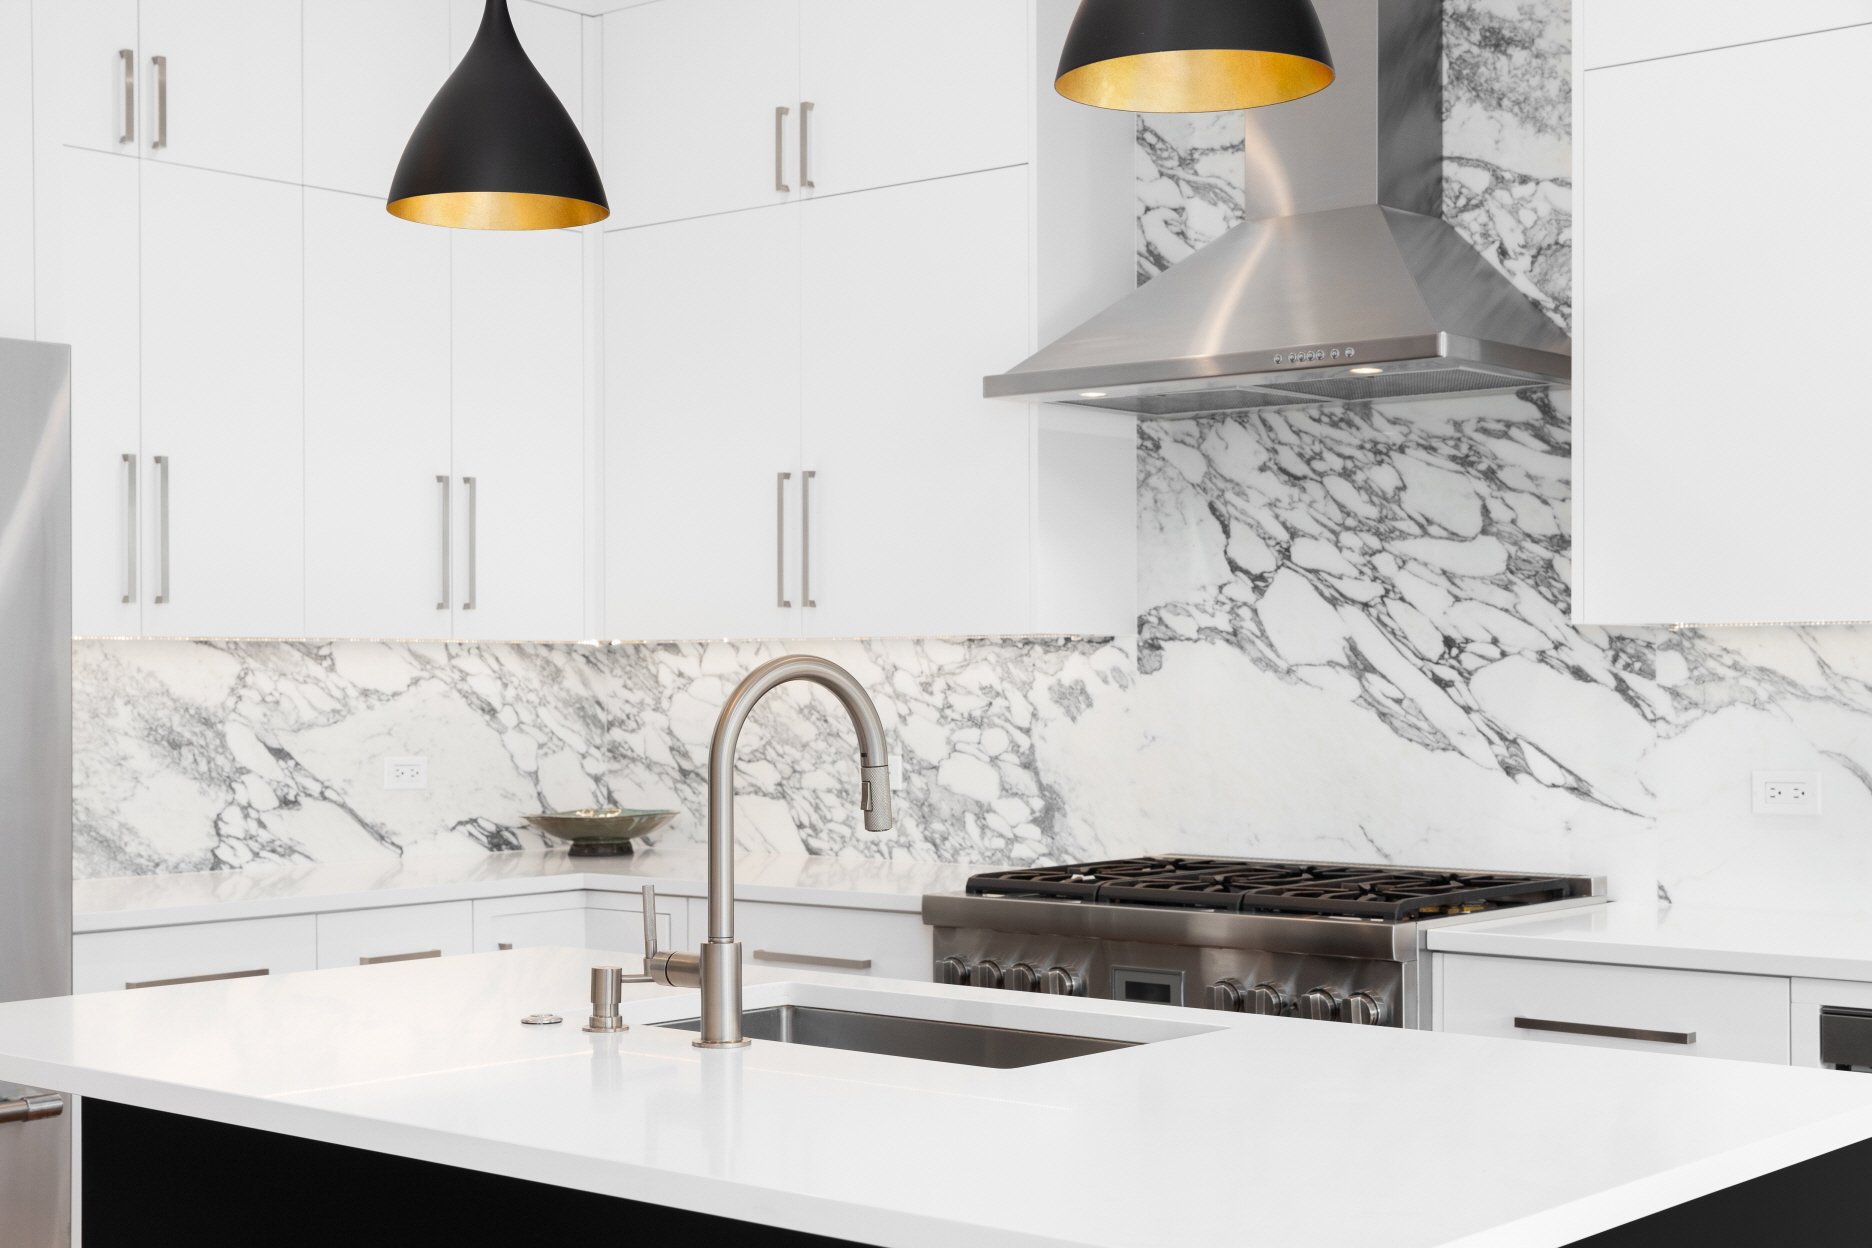
Did you know that a well-designed backsplash can create the illusion of a larger kitchen space? By extending the horizontal lines with patterns such as shiplap wood or subway tiles, you can enhance this visual trick. Opt for a dramatic granite or marble backsplash featuring colorful veining and extend it to the ceiling to draw the gaze upwards. Choosing backsplash materials in light, reflective colors also helps to reflect light throughout the room, making it appear more open and spacious.
Tip 6. Apply a Sealant for Protection
When dealing with natural materials like wood, stone, or tile for your backsplash, keep in mind that their microscopic pores can allow moisture, liquids, and debris to seep in, which may degrade their quality over time. To combat this, it is advisable to apply a sealant across the entire backsplash. This protective layer will help maintain the pristine appearance of your backsplash for years to come.
Tip 7. Use Quartz for a Durable and Stylish Look
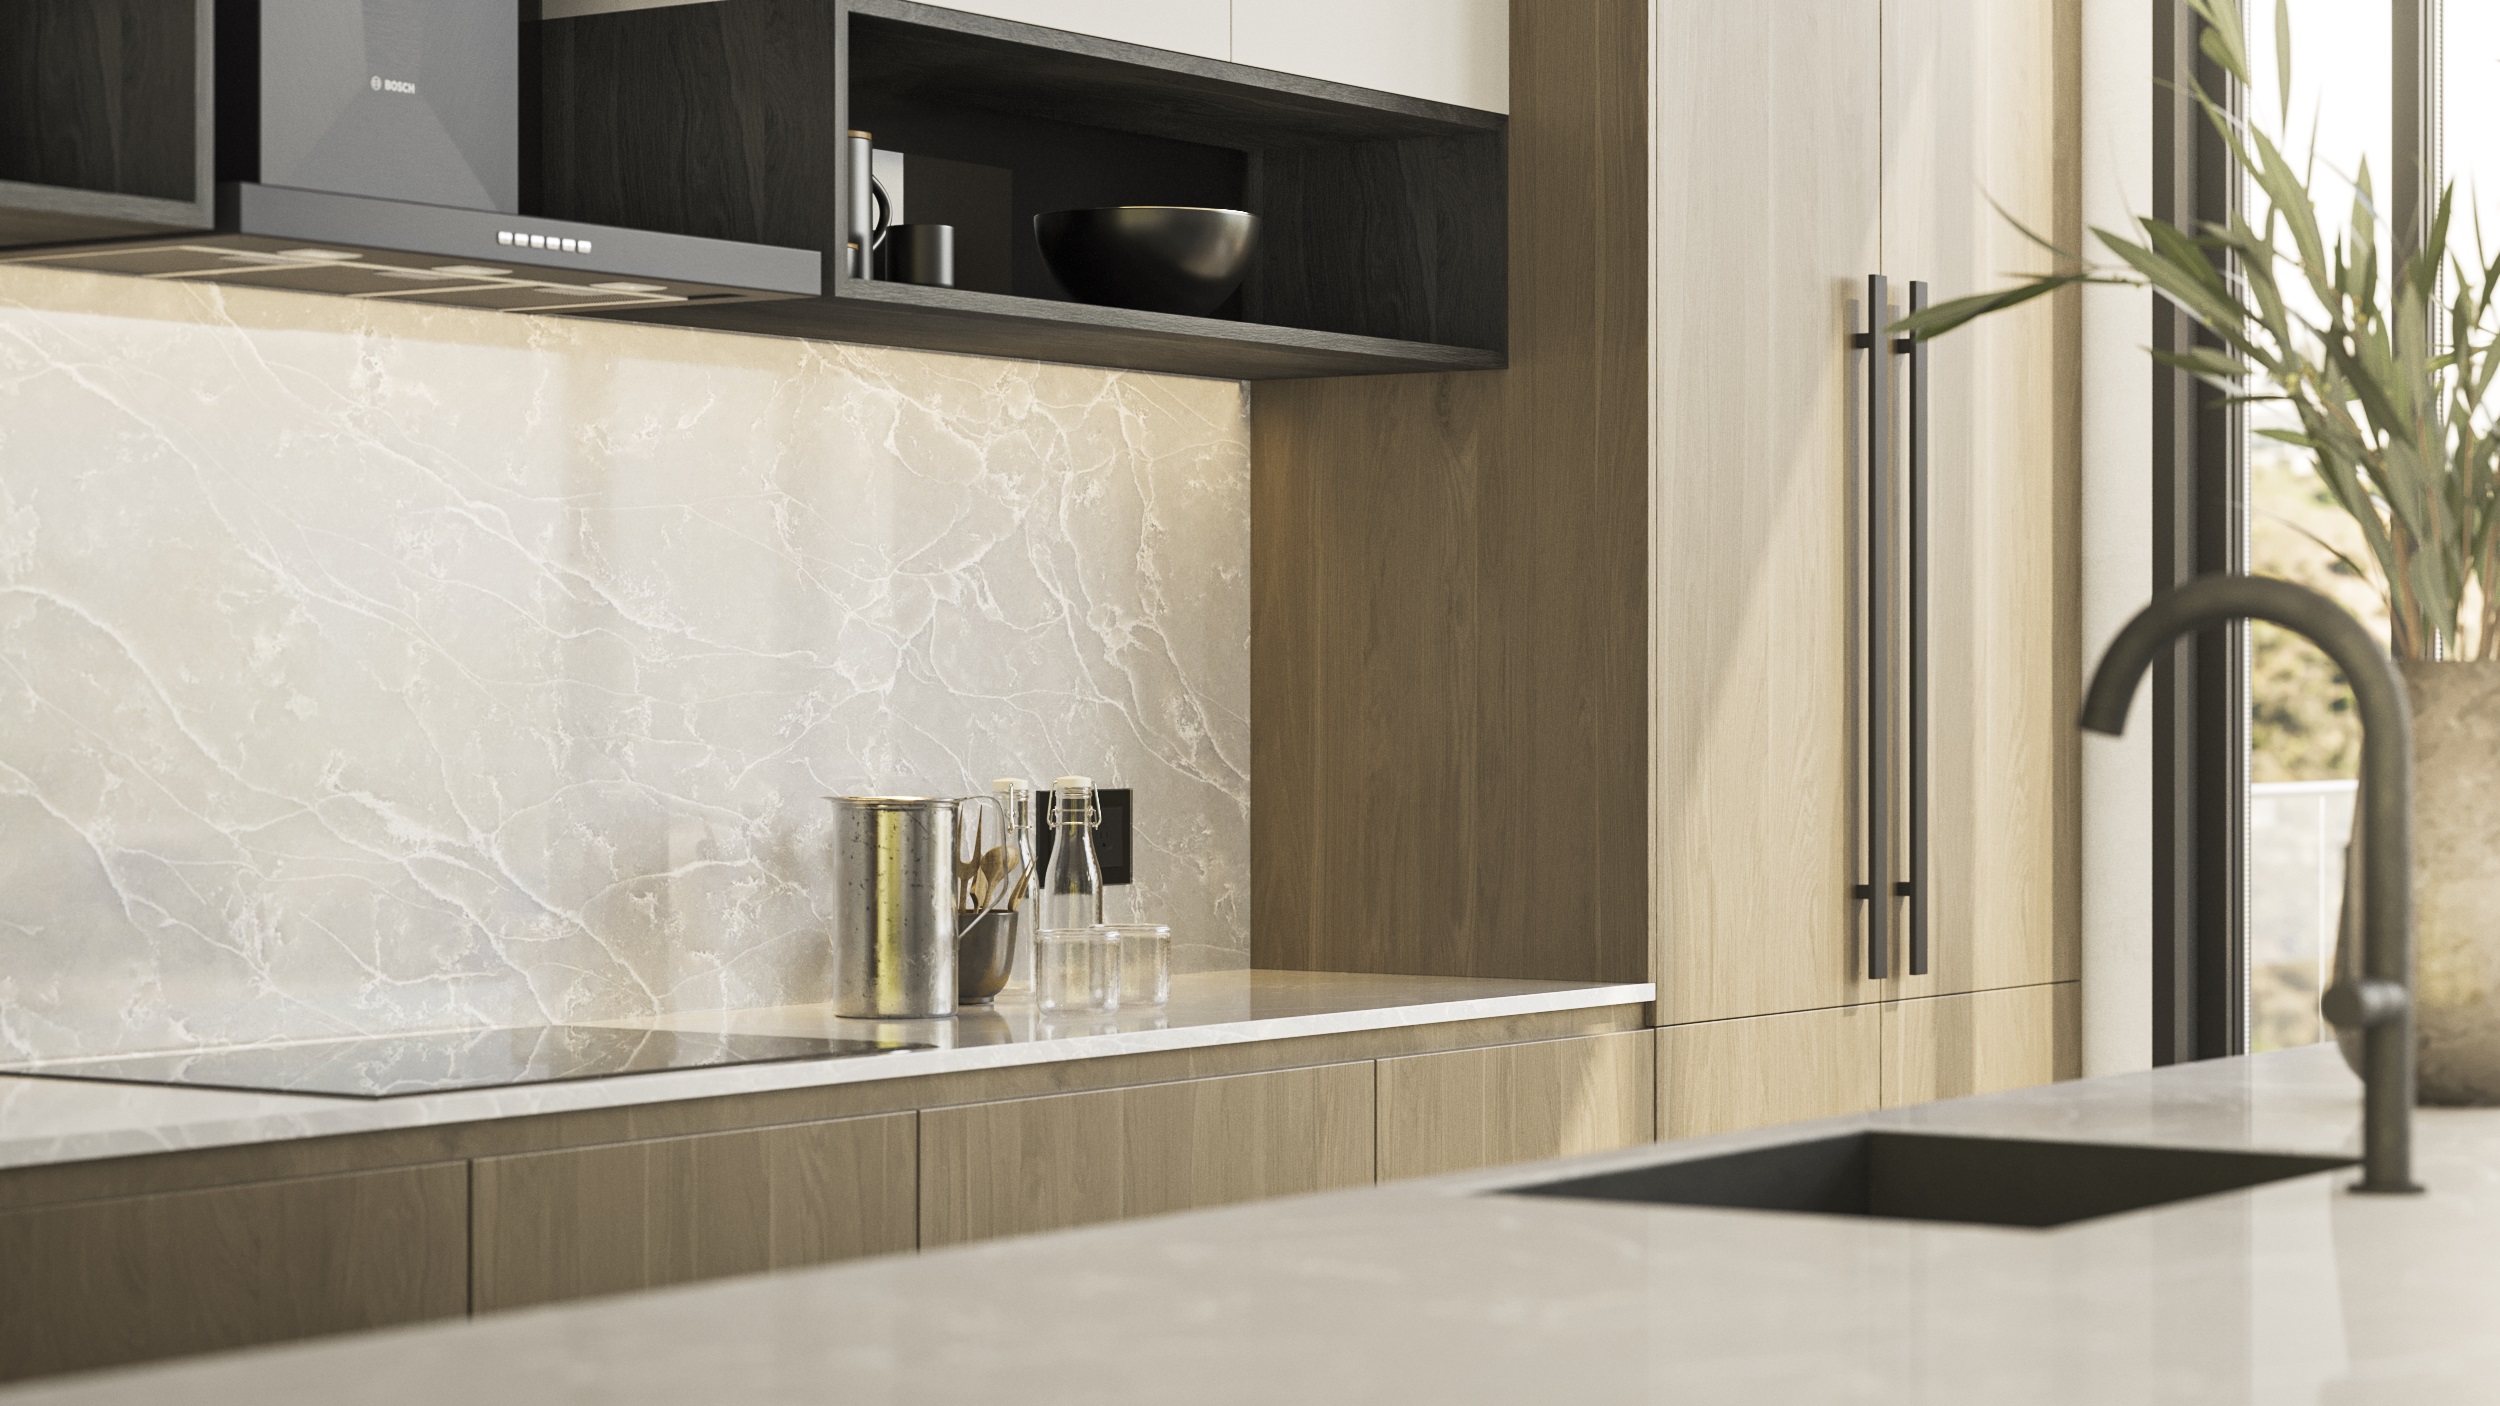
Consider opting for a stylish quartz backsplash for your kitchen. Quartz is a robust material composed of a blend of crushed stone and recycled industrial byproducts, such as ceramic, silica, glass, and mirrors, bound together by a cement-based binder. Its popularity as a backsplash material stems from its high durability, resistance to staining, and low maintenance requirements. Unlike purely natural materials, quartz does not require sealing. Additionally, it is available in a wide array of elegant colors and designs, from veined to chipped mirrored surfaces, adding a touch of sophistication to your space.
Tips on Maintenance of Backsplashes
Keep in mind that the work doesn’t end after your backsplash is installed. To ensure its longevity, it’s essential to clean and maintain it consistently. Aim to wash your backsplash with warm, soapy water every few weeks, and be cautious to steer clear of harsh cleaning products that could harm the surface. Also, when cooking, be careful not to rest hot pots and pans directly against the backsplash to prevent any scorching or damage.