Though it may be the smallest room in the home, the bathroom holds a significance that is hard to overlook. Considering that the average person spends around 860 days—a staggering two and a half years—over their lifetime within its confines, it’s no wonder that the bathroom is a popular choice for renovations. After all, this is a space where comfort and functionality should merge seamlessly, allowing us to relax and refresh as we go about our daily routines.
While the kitchen might be a common contender for the most expensive room to renovate, the bathroom follows closely behind. Such high costs are due to the intricate nature of work often involved in the limited square footage of the bathroom, encompassing plumbing, tiling, and electrical modifications. Despite the potential expense, the benefits of a well-executed bathroom renovation are manifold. Not only does a revamped bathroom offer a haven for you to enjoy, but it also has the potential to significantly increase the value of your home when you decide to sell.
Fortunately, transforming your bathroom need not be synonymous with extravagant spending. In this article, we will delve into ten cost-effective strategies to rejuvenate your bathroom. We’ll cover the necessary tools and materials you’ll need for each method, and provide you with an estimate of the costs involved. With these insights, you’ll be well on your way to creating a bathroom that’s not only aesthetically pleasing but also financially accessible.
Paint the Walls and Ceiling
Refreshing your bathroom with a coat of paint on the walls and ceilings is a fantastic, wallet-friendly strategy for a total makeover. Choosing a light color, like white, can visually expand a small space, making it appear larger and more inviting. On the other hand, a darker hue can add depth and drama, highlighting the room’s fixtures. For those aiming for equilibrium, painting one wall a darker accent color while maintaining lighter, neutral tones on the others achieves a well-rounded aesthetic. While white is often the go-to for ceilings, opting for a darker matching color can introduce a cozy, contemporary vibe. Regardless, even a new layer of white paint can drastically enhance the room’s brightness.
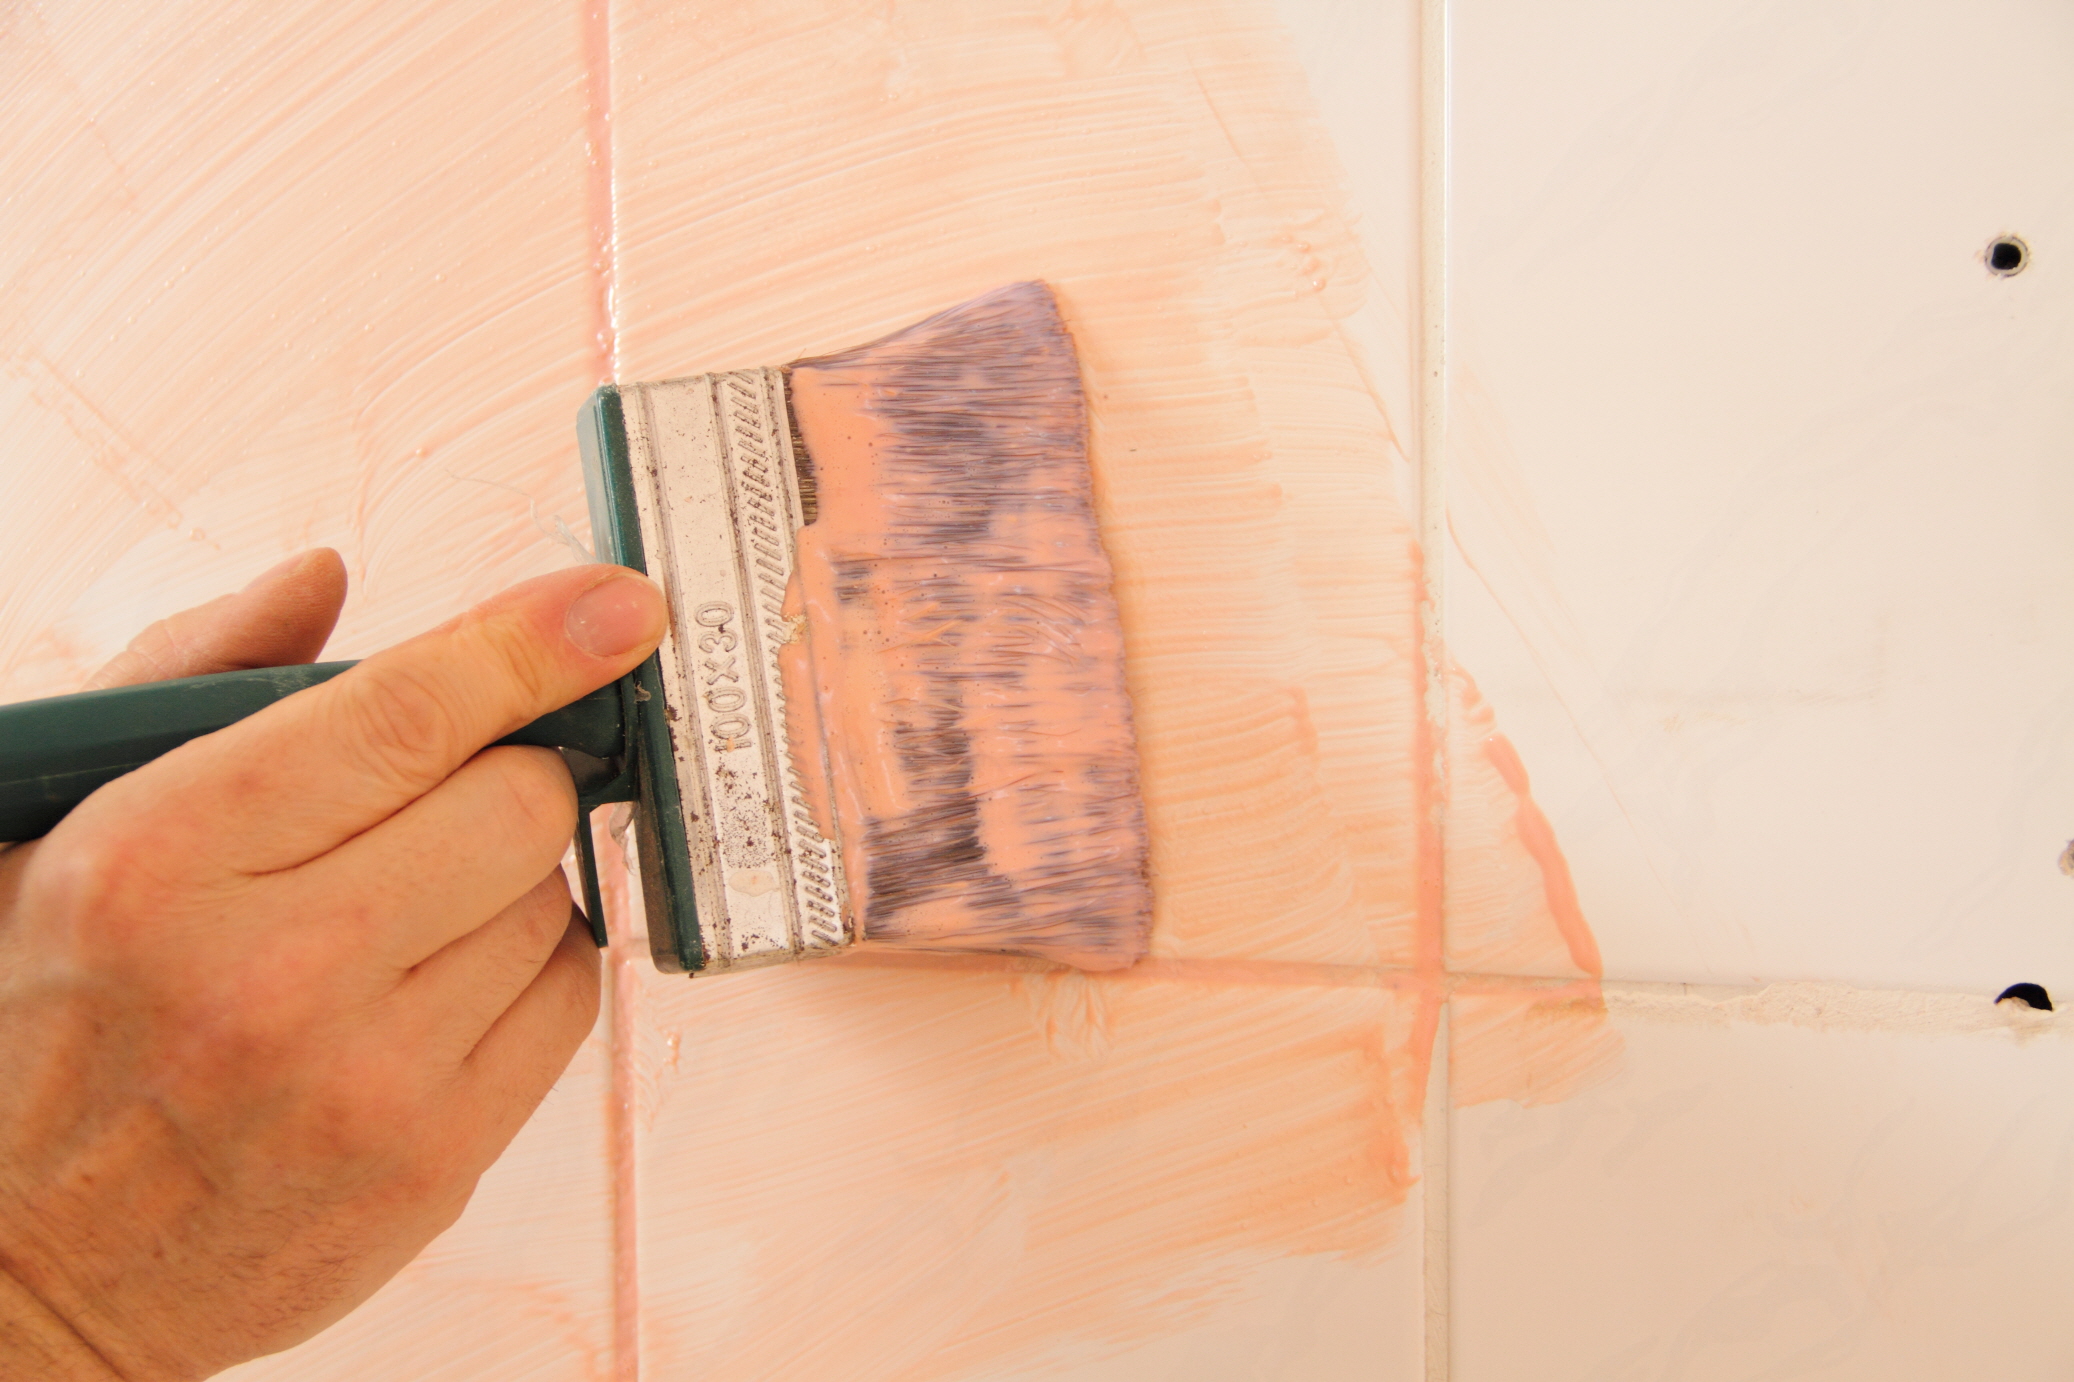
This entire transformation can be achieved on a budget of $100 to $200. Your shopping list for this project includes:
- Moisture Resistant Paint (1-2 gallons): $30-50, perfect for bathroom environments.
- Painter’s Tape: $5-10, to ensure clean lines and protect surfaces.
- Drop Cloths or Plastic Sheeting: $10-20, to keep floors and fixtures paint-free.
- Paint Rollers: $7-15, for efficiently covering large areas.
- Paint Brushes: $7-15, for detailed work around edges and fixtures.
- Paint Tray & Liners: $5-10, for easy paint application and cleanup.
- Moisture Resistant Primer (1-2 gallons): $20-40, if needed to prepare surfaces.
- Painter’s Mask (optional): $1-5, for personal protection.
- Extension Pole (for ceiling painting): $10-20, to reach higher areas easily.
- Sandpaper & Sanding Block: $5-10, for surface preparation.
Use Tile Stickers
Revamping your bathroom doesn’t have to mean dealing with the mess and expense of removing old tiles. Tile stickers offer a budget-friendly and stylish solution that can quickly breathe new life into your space. These peel-and-stick decals are ingeniously designed to replicate the look of real stone or ceramic tiles, allowing you to effortlessly cover any outdated or unsightly areas with minimal fuss. They come in a wide array of designs, patterns, and colors, enabling you to instantly upgrade your bathroom’s aesthetics while injecting your own personal flair. Importantly, tile stickers are moisture-resistant, making them perfectly suited for the damp bathroom environment.
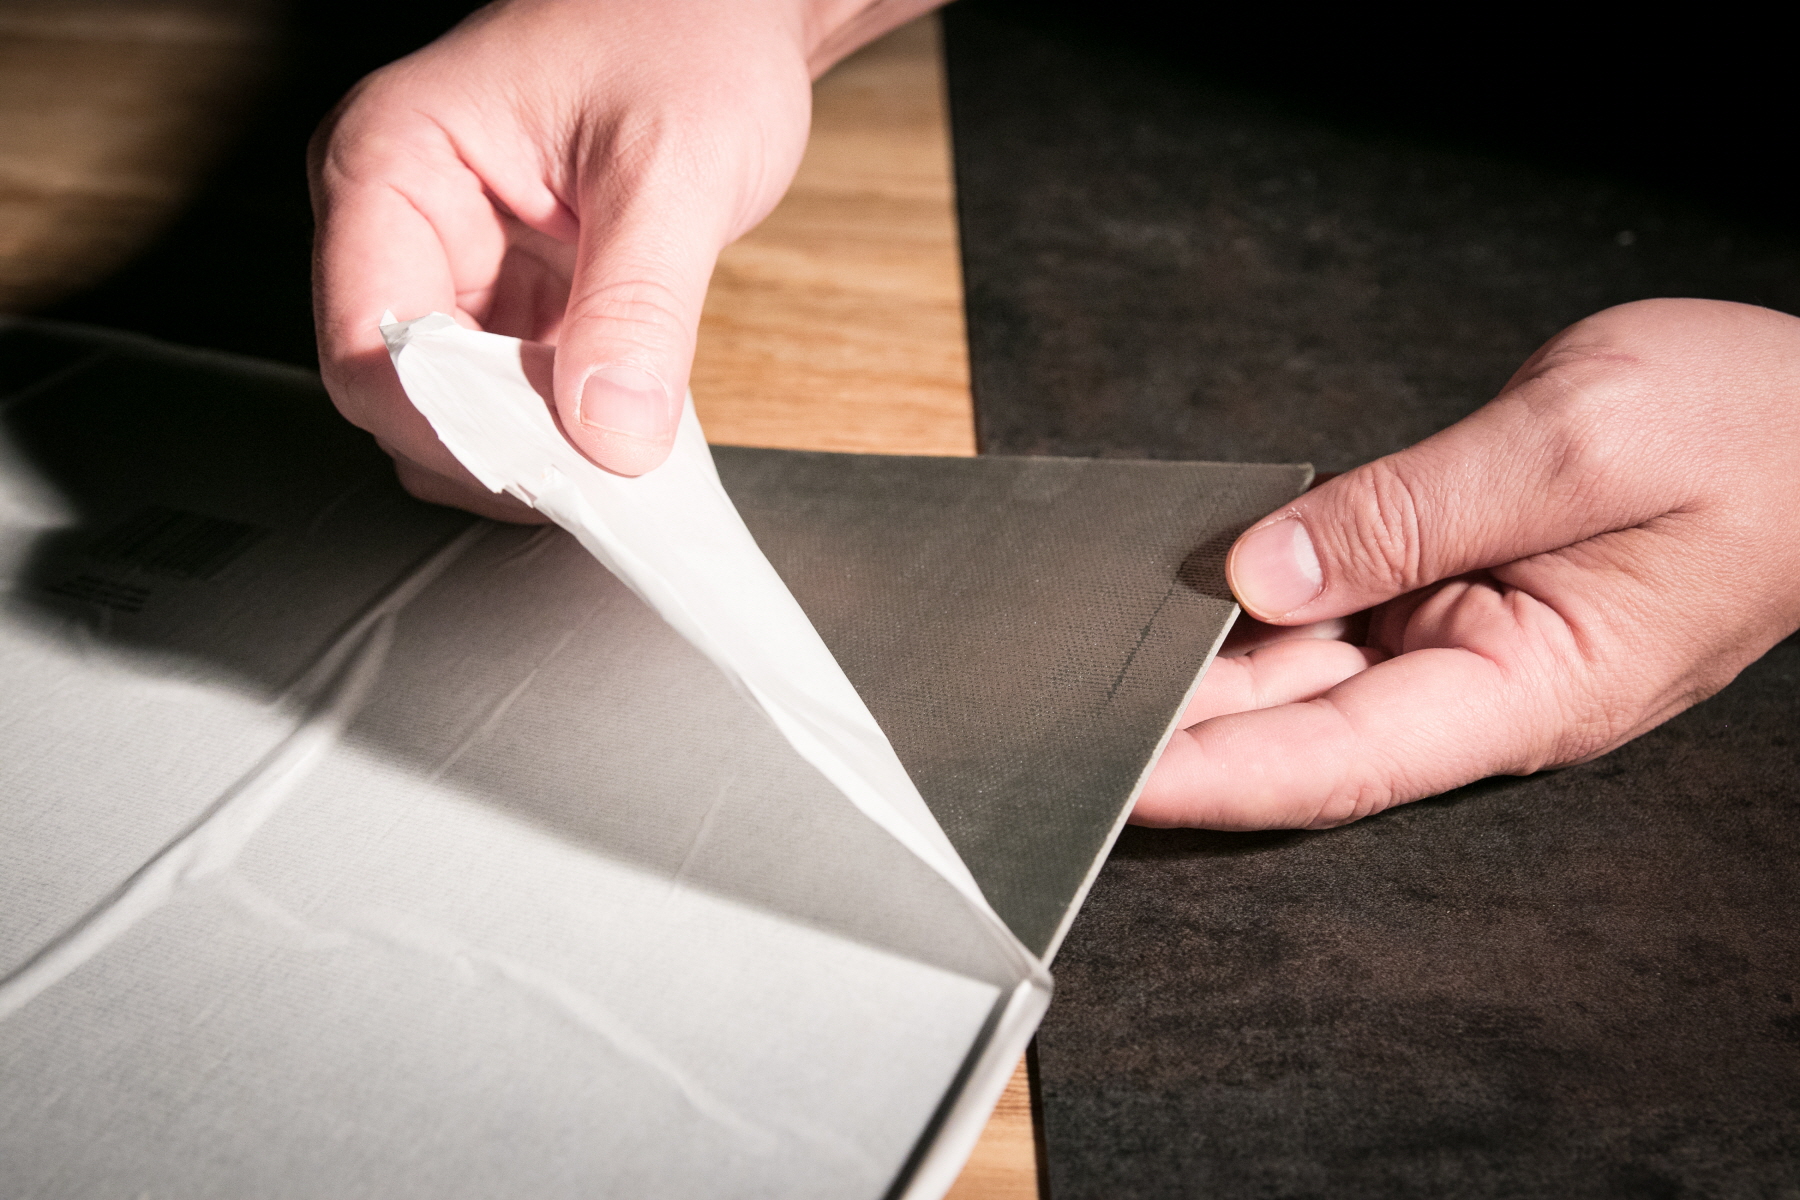
The application of tile stickers is a straightforward DIY project that doesn’t require any specialized tools or skills, presenting an ideal opportunity for budget-conscious DIY enthusiasts. For an investment of just $30-100, you can achieve a significant transformation. Here’s what you’ll need for the project:
- Tile Stickers: Priced at $1-5 per square foot, these are the main component of your bathroom makeover.
- Cleaning Supplies: Before applying the stickers, you’ll need to ensure the tiles are clean.
- Mild Cleaner: Costs between $3-8. A gentle formula will prep your tiles without damaging them.
- Sponge or Cloth: Priced at $1-3, used for applying the cleaner.
- Measuring Tape: For $5-10, this will help you accurately plan the layout of your tile stickers.
- Utility Knife: Costs $5-15. This will be essential for cutting the stickers to fit around any obstacles or to size.
- Squeegee or Plastic Card: Priced between $2-15, useful for smoothing out bubbles and ensuring the stickers adhere properly.
Replace the Shower Curtain
Switching out your shower curtain is one of the most straightforward and cost-effective methods to invigorate your bathroom’s decor without undertaking an extensive renovation. With just the addition of a new shower curtain, the entire mood of the room can be altered, whether you’re looking to incorporate bold colors, striking patterns, or an element of sophistication. By choosing a curtain that harmonizes with your bathroom’s existing color palette or decorative theme, you can create a unified and refined ambiance.
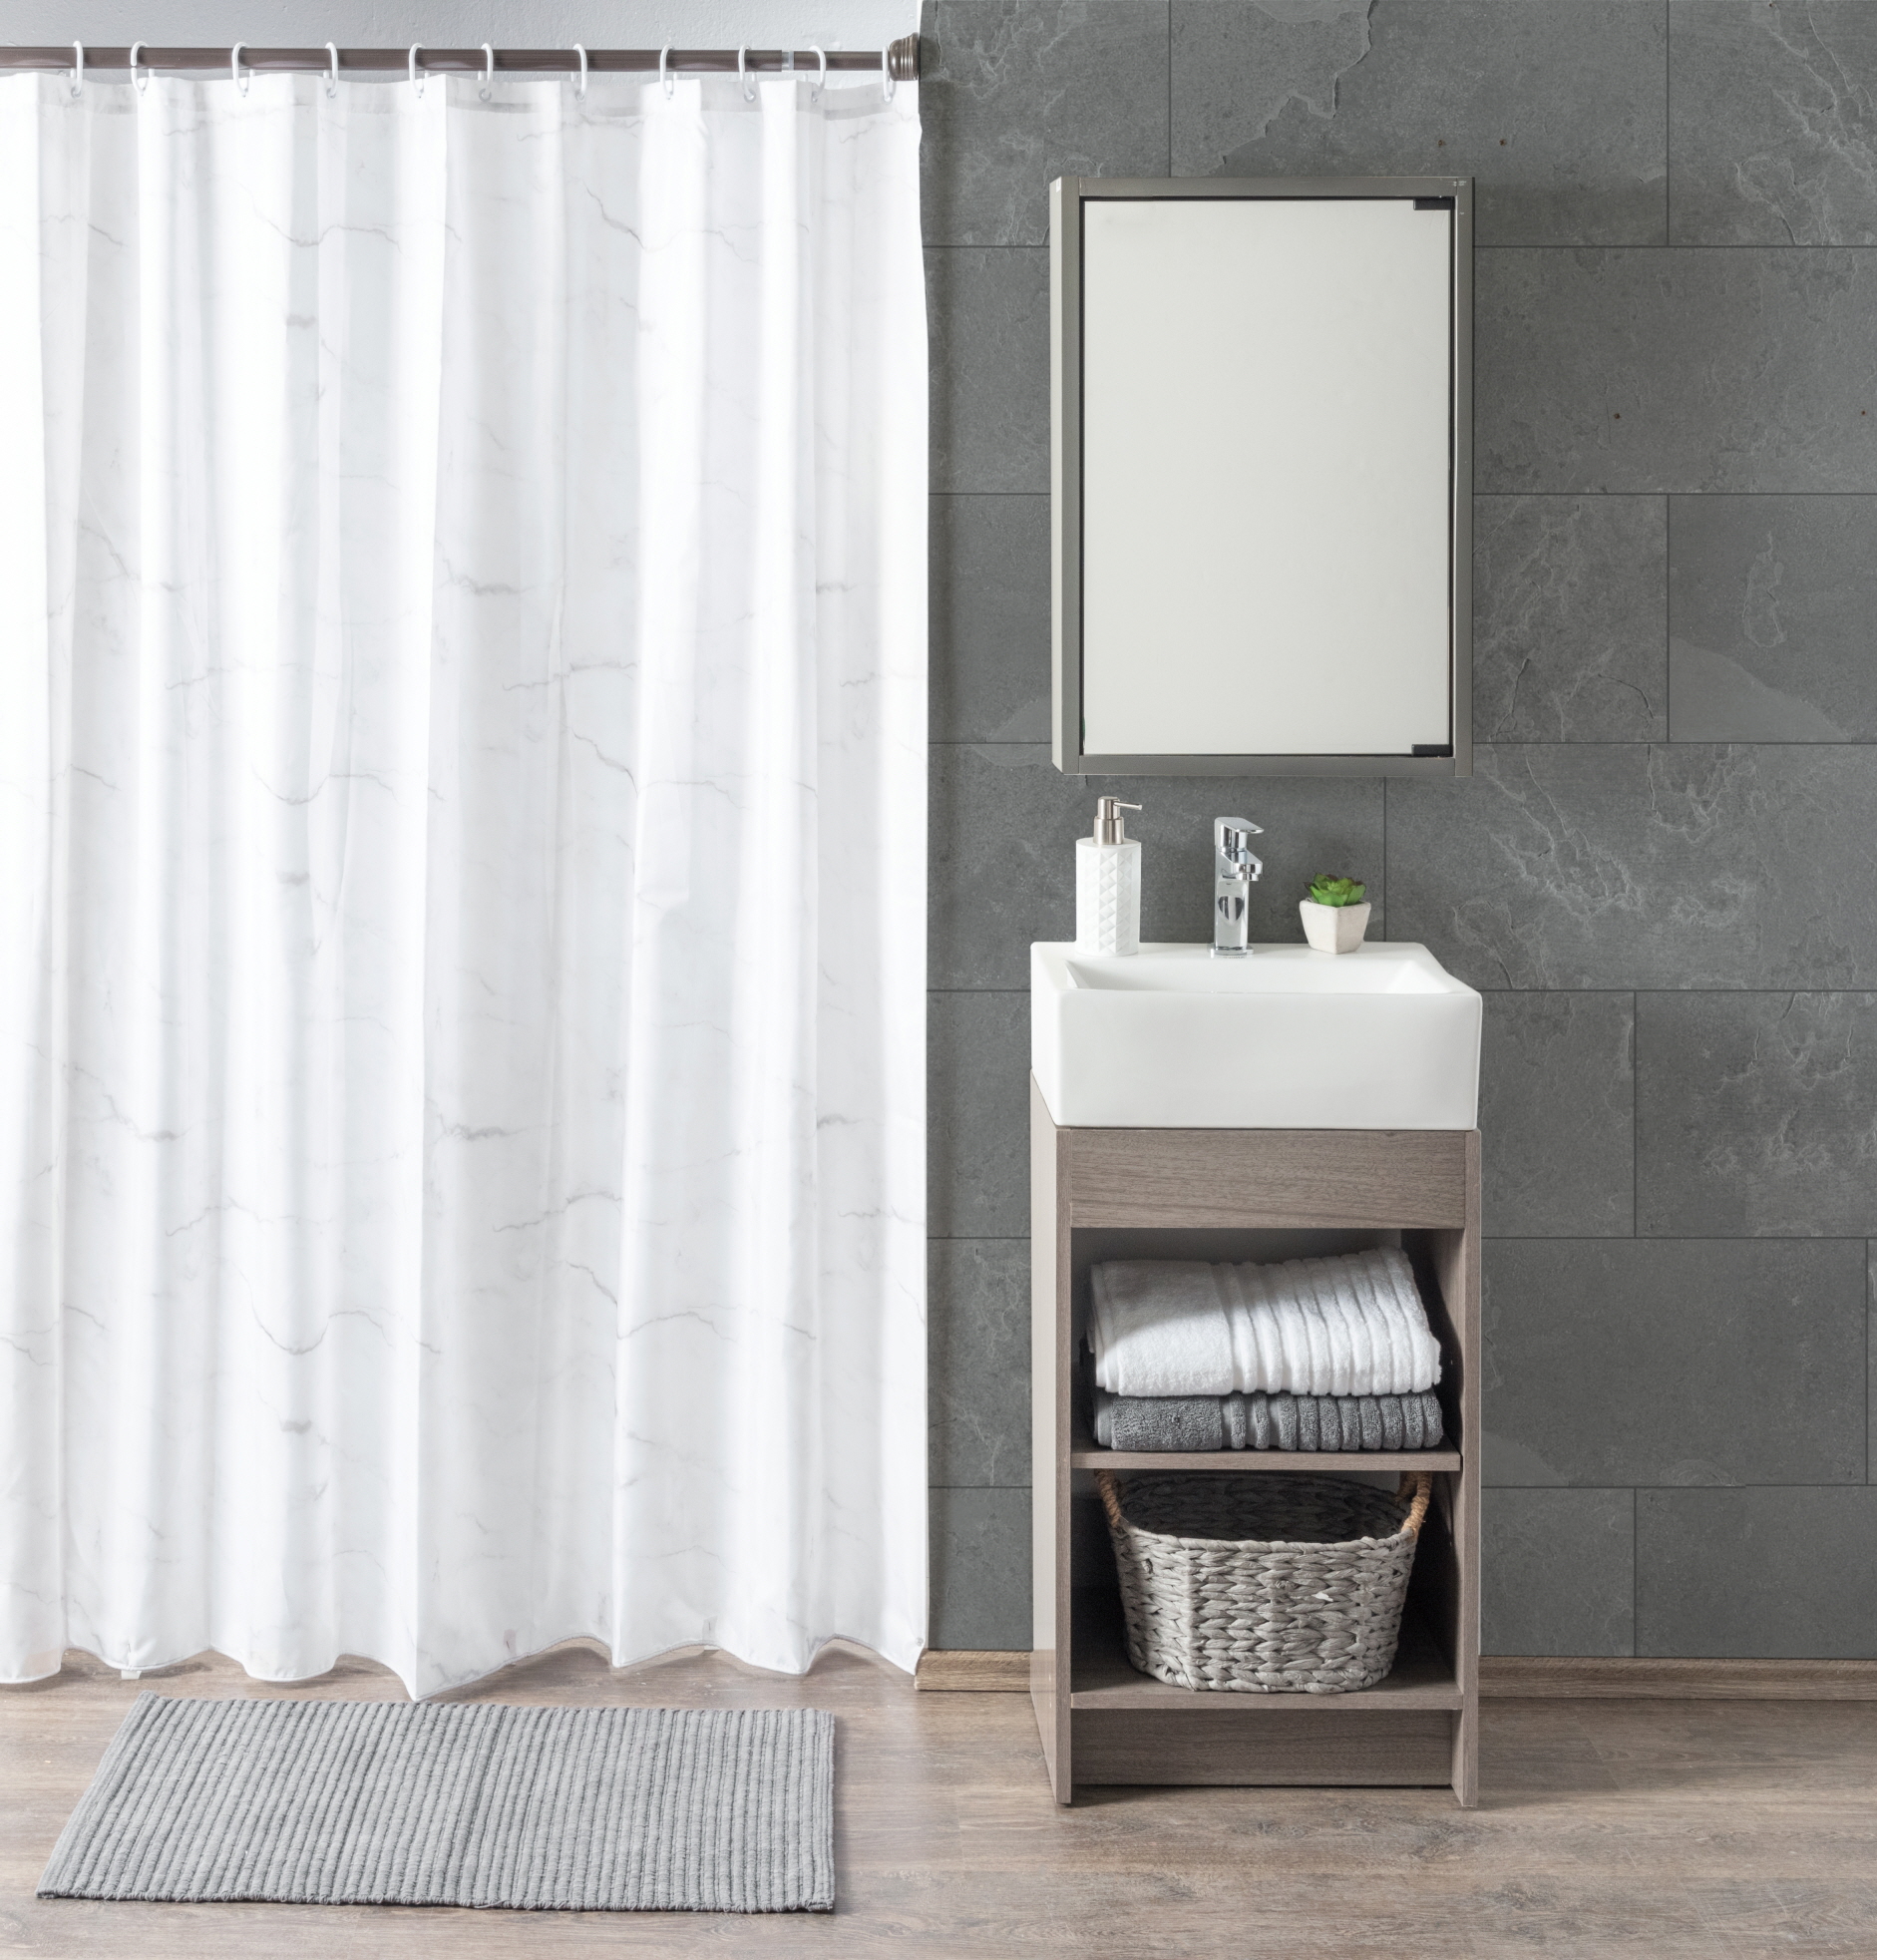
Moreover, opting for a curtain with mildew resistance or waterproof qualities not only elevates the bathroom’s aesthetic but also enhances its functionality, keeping the space fresh and hygienically sound. This seemingly minor update can have a disproportionately large effect on the overall feel and look of your bathroom, making it a prime choice for those desiring a quick yet impactful remodel on a budget.
Here’s what you’ll need for this effortless transformation:
- Shower Curtain: Prices range from $10 to $50; select one that suits your decor visions.
- Shower Curtain Liner (optional): Priced between $5 and $15, it provides an extra layer of moisture protection.
- Shower Curtain Hooks or Rings: For $5 to $20, these are necessary to hang your curtain with ease.
- Shower Curtain Rod (if needed): Somewhere between $10 and $30, a new rod may be the final touch to accommodate your fresh curtain or to match your new design scheme.
Upgrade the Lighting
Enhancing the lighting in your bathroom offers a cost-efficient strategy to significantly elevate both the functionality and atmosphere of the area. Replacing dated lighting fixtures with contemporary, energy-saving models can transform the space to appear more luminous, spacious, and welcoming, all the while contributing to lower energy expenditures. Establishing a cozy ambiance can be achieved through the use of layered lighting solutions; for instance, pairing overhead lighting with auxiliary sources like wall sconces or vanity lights. Additionally, the option for dimmable bulbs allows you to customize light intensity to suit various activities, whether it’s unwinding in the bath or attending to meticulous grooming tasks.
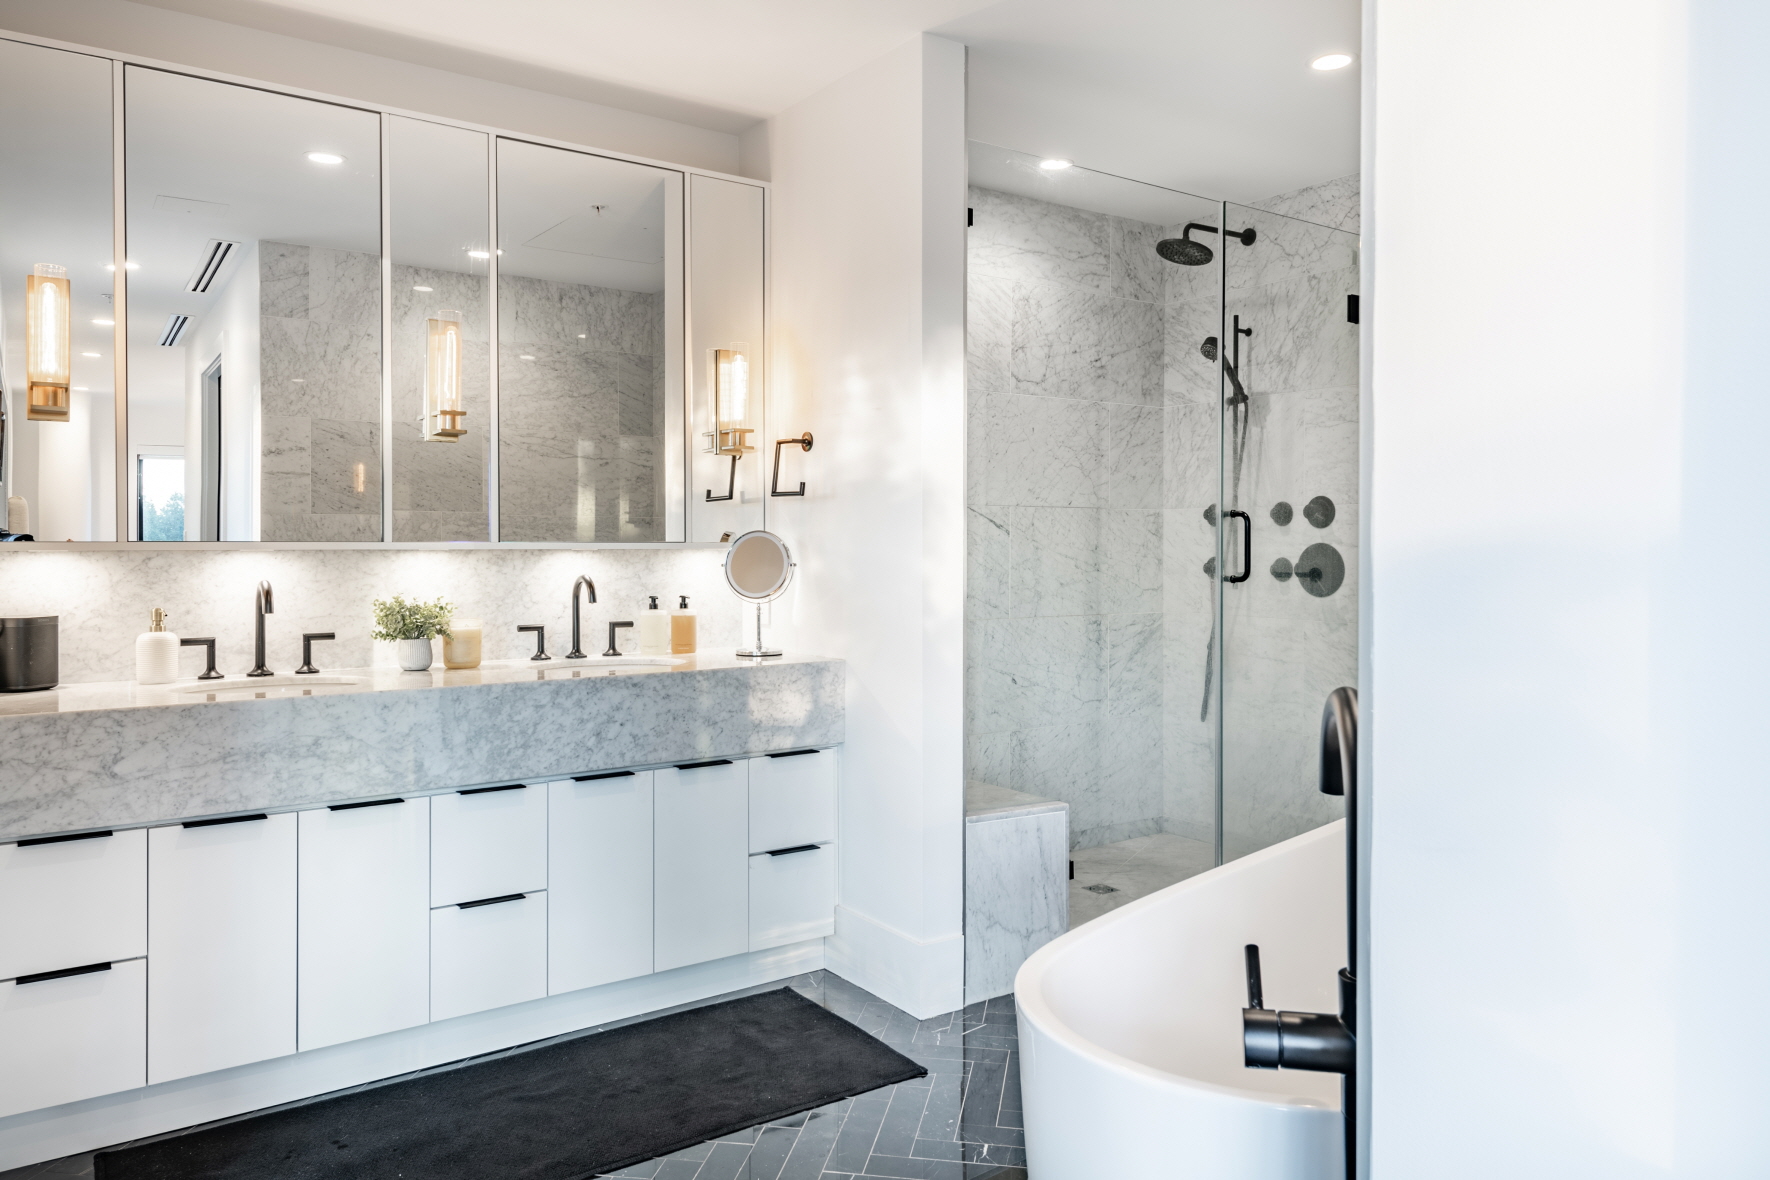
This straightforward modification can notably enhance the aesthetic and feel of your bathroom, and it can be executed with a minimal investment starting around $50. Here’s what you’ll need for the upgrade:
- New Light Fixtures: Ranging from $20 to $150, choose styles that modernize and brighten your space.
- LED or Dimmable Bulbs: Costs range from $5 to $20 per bulb for energy efficiency and ambiance control.
- Dimmer Switch (optional): Priced between $10 and $25, it offers adjustable lighting levels for different moods or tasks.
- Screwdriver Set: Available for $10 to $20, necessary for installation.
- Voltage Tester: Costs about $10 to $15, ensuring safety during installation.
- Wire Connectors (if needed): Priced at $2 to $5 per pack, for secure electrical connections.
- Mounting Hardware (if not included with fixtures): Costs around $5 to $10, for fixture installation.
Optimize Storage Space
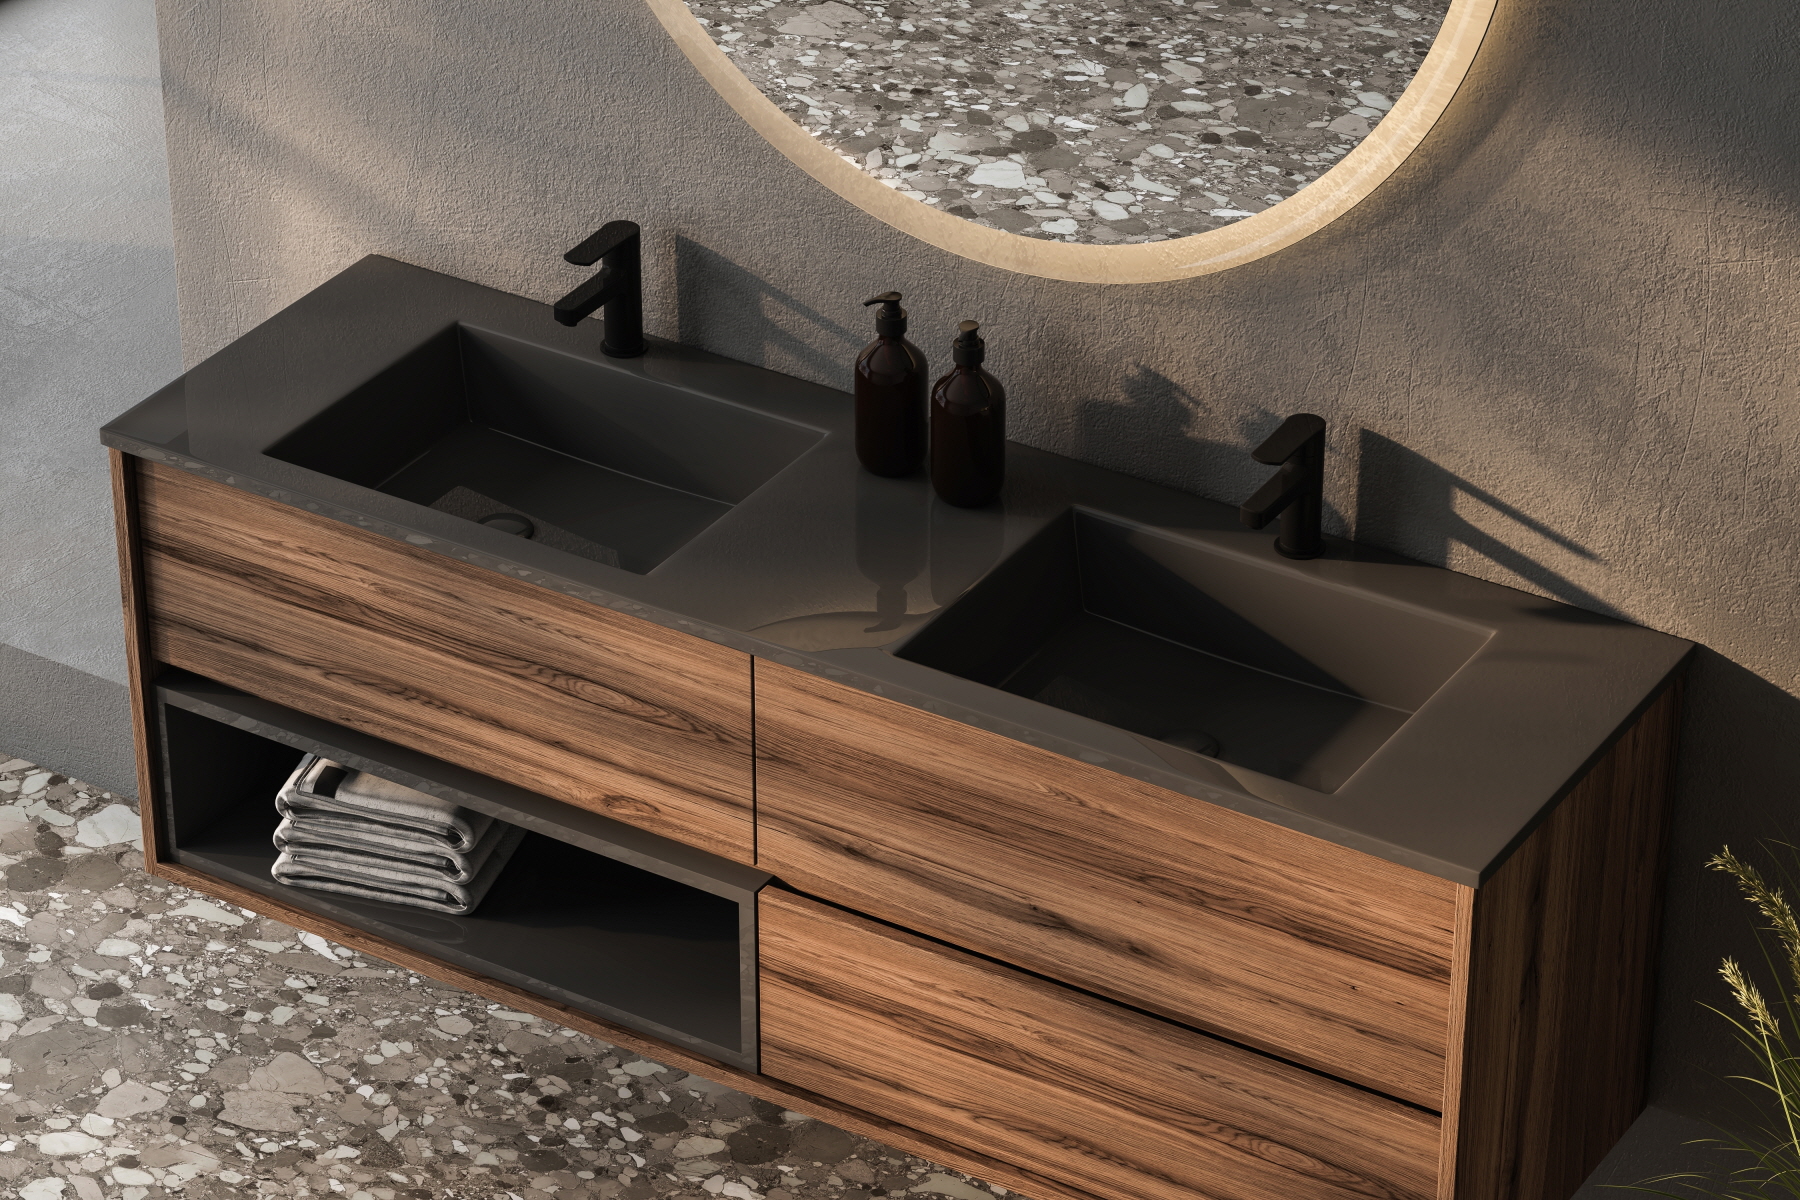
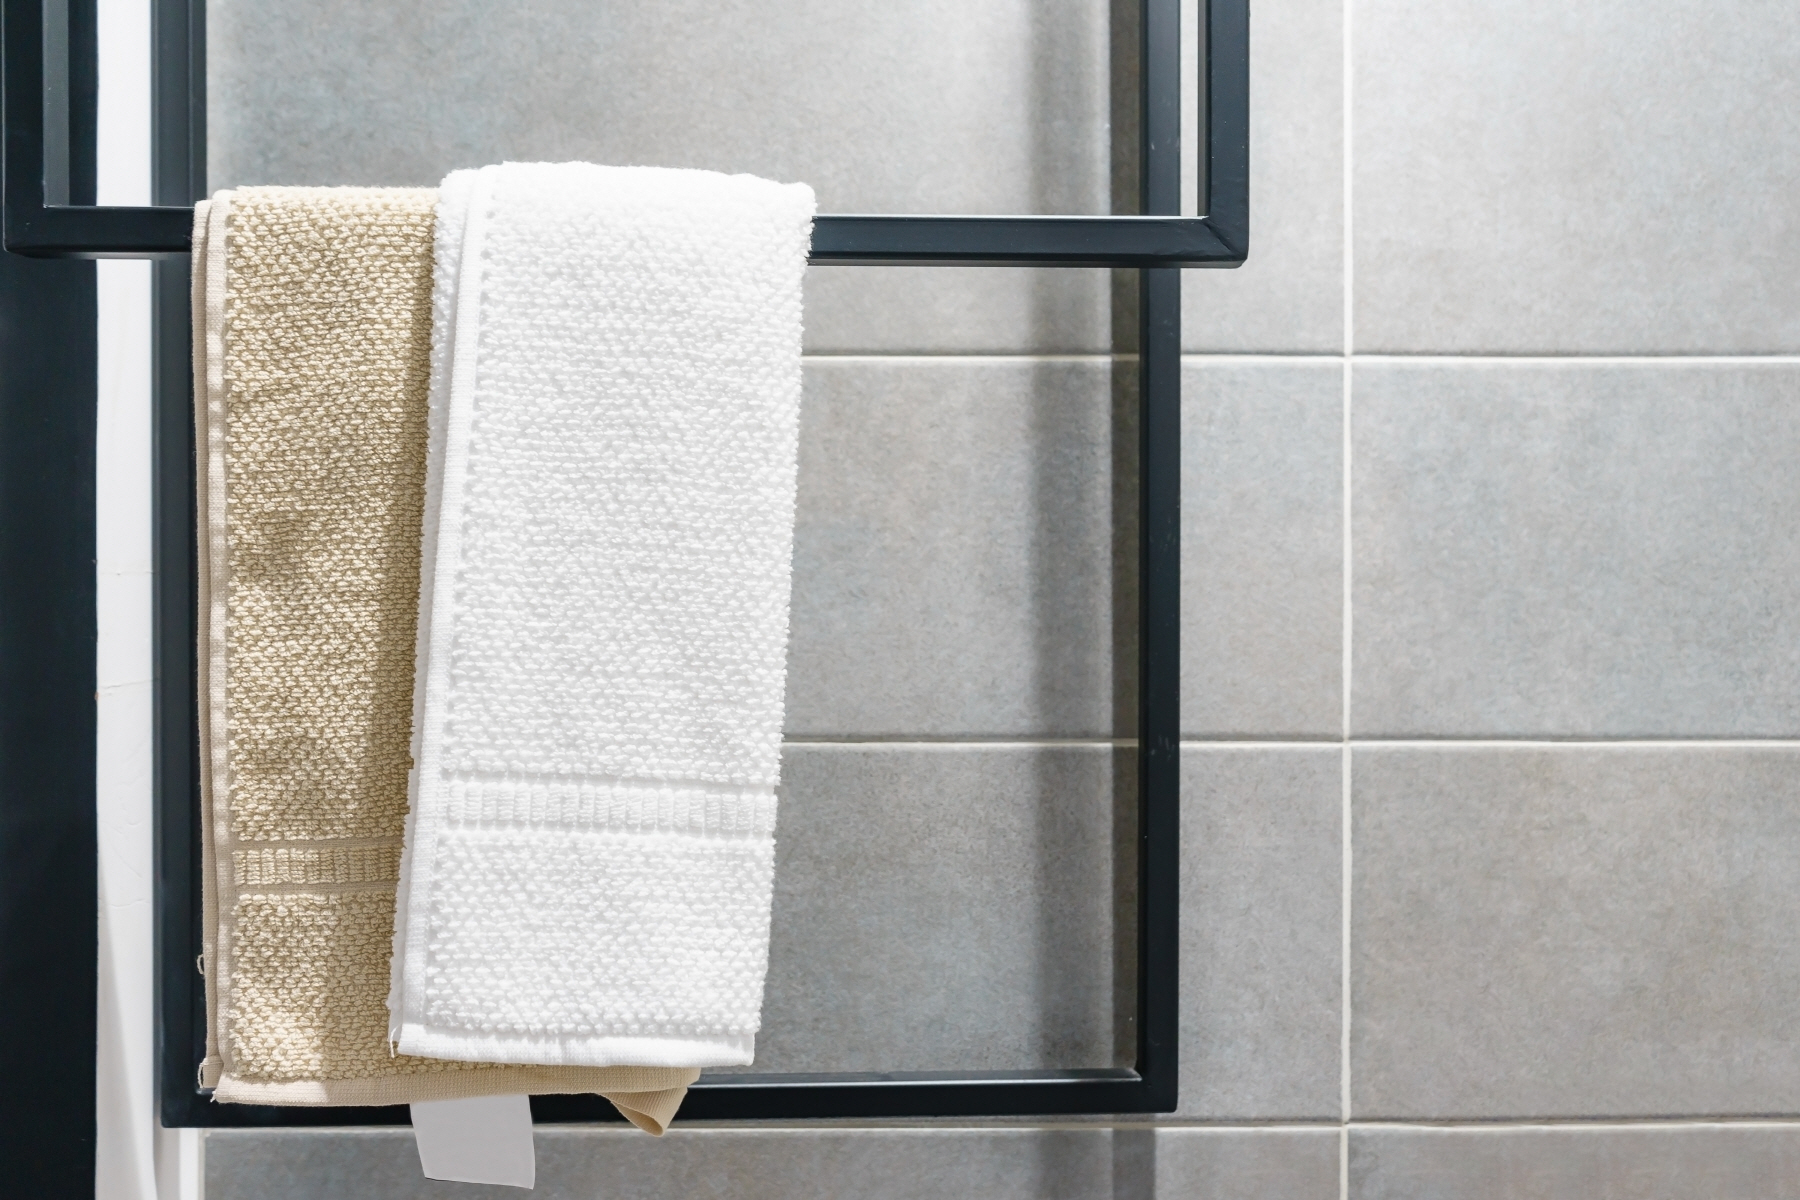
Maximizing storage space in your bathroom is an economical approach to enhancing the organization and functionality of a compact or cluttered space. Incorporating strategic storage solutions such as shelves, baskets, or over-the-door organizers enables the neat arrangement and easy access to bathroom essentials, effectively utilizing the room’s vertical space. Employing wall-mounted shelves, cabinets, or creatively repurposed items like mason jars and trays can organize toiletries seamlessly. Furthermore, installing hooks or towel bars can keep towels and robes neatly off the floor, contributing to a tidier and more expansive appearance. These minor adjustments can significantly improve your bathroom’s efficiency and ambiance, with potential costs ranging from as little as $50 to $200. Here’s a breakdown of potential necessities:
- Wall-Mounted Shelves/Cabinets: Priced between $20 and $100, they offer versatile storage options that save floor space.
- Over-the-Door Organizers: Ranging from $10 to $30, they are perfect for maximizing unused space behind doors.
- Storage Baskets/Bins: With a cost of $5 to $20 each, these are ideal for organizing smaller items and keeping countertops clutter-free.
- Hooks/Towel Bars: Available for $5 to $25, they are essential for hanging towels and robes, keeping them dry and organized.
- Repurposed Storage Containers: Costing $2 to $10 each, these offer an inexpensive way to keep things organized with a personal touch.
- Mounting Hardware & Tools: Necessary for installation, these can cost between $5 and $20.
Add Mirror Frame
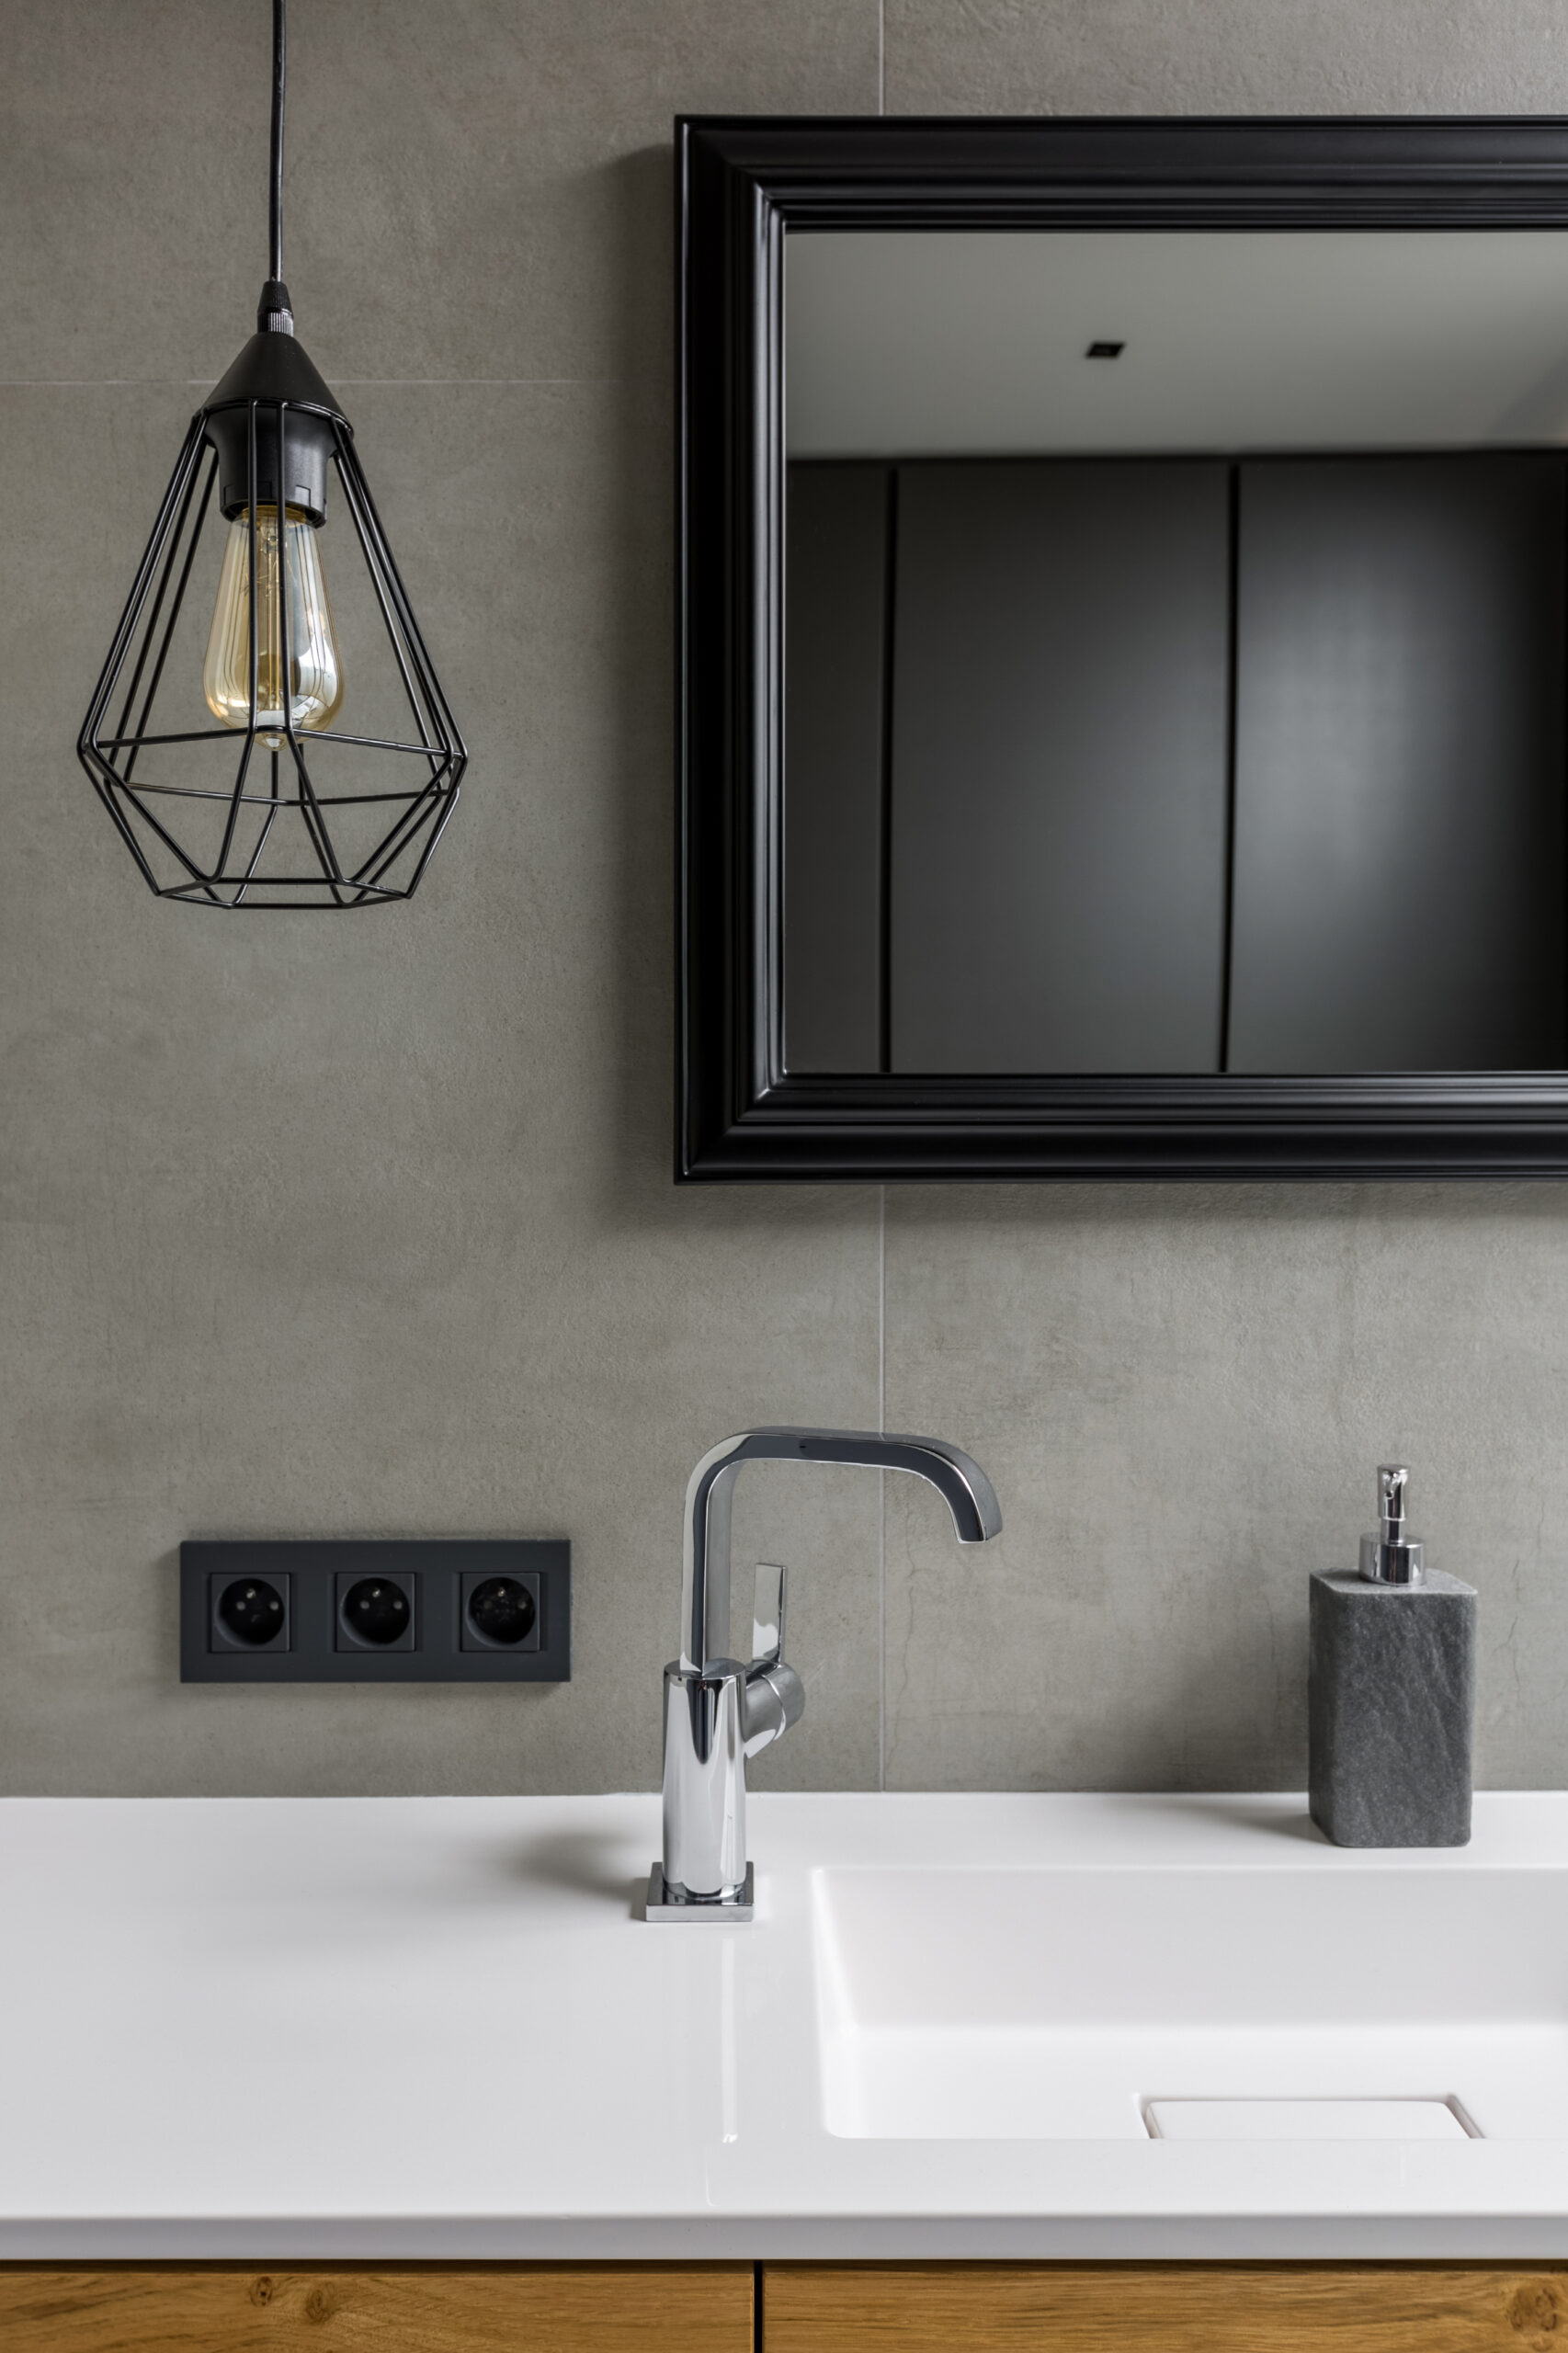
Enhancing your bathroom with a framed mirror offers a budget-friendly and sophisticated update, creating a fresh and refined look without the need for replacing the existing mirror. A well-chosen frame acts as a beautiful centerpiece in your bathroom and contributes to its design by adding a layer of elegance. Choose from a variety of materials such as wood, metal, or create a personalized DIY painted frame that complements your bathroom’s style. This manageable project can be accomplished within an afternoon, requires just a few tools, and has a cost range of $50 to $175, making it an ideal quick and effective DIY makeover. The materials and tools you’ll need include:
- Frame Material: At a cost of $20 to $100, this forms the basis of your mirror’s new look.
- Measuring Tape: An essential item, priced at $5 to $10, to ensure precise measurements.
- Miter Box & Saw: If constructing your frame from scratch, these items range from $10 to $25 and will aid in making accurate cuts.
- Wood Glue or Construction Adhesive: To secure your frame, costing between $5 to $10.
- Painter’s Tape: Useful for holding the frame in place while drying, and available for $5 to $10.
- Sandpaper: If you’re working with a wood frame, this can cost $3 to $7 for prepping the surface.
- Paint or Stain (optional): To customize your frame, this can cost $5 to $15, depending on your choice.
- Mounting Hardware (optional): If you plan to hang the mirror, the hardware will run you $5 to $10.
Change the Bathmat
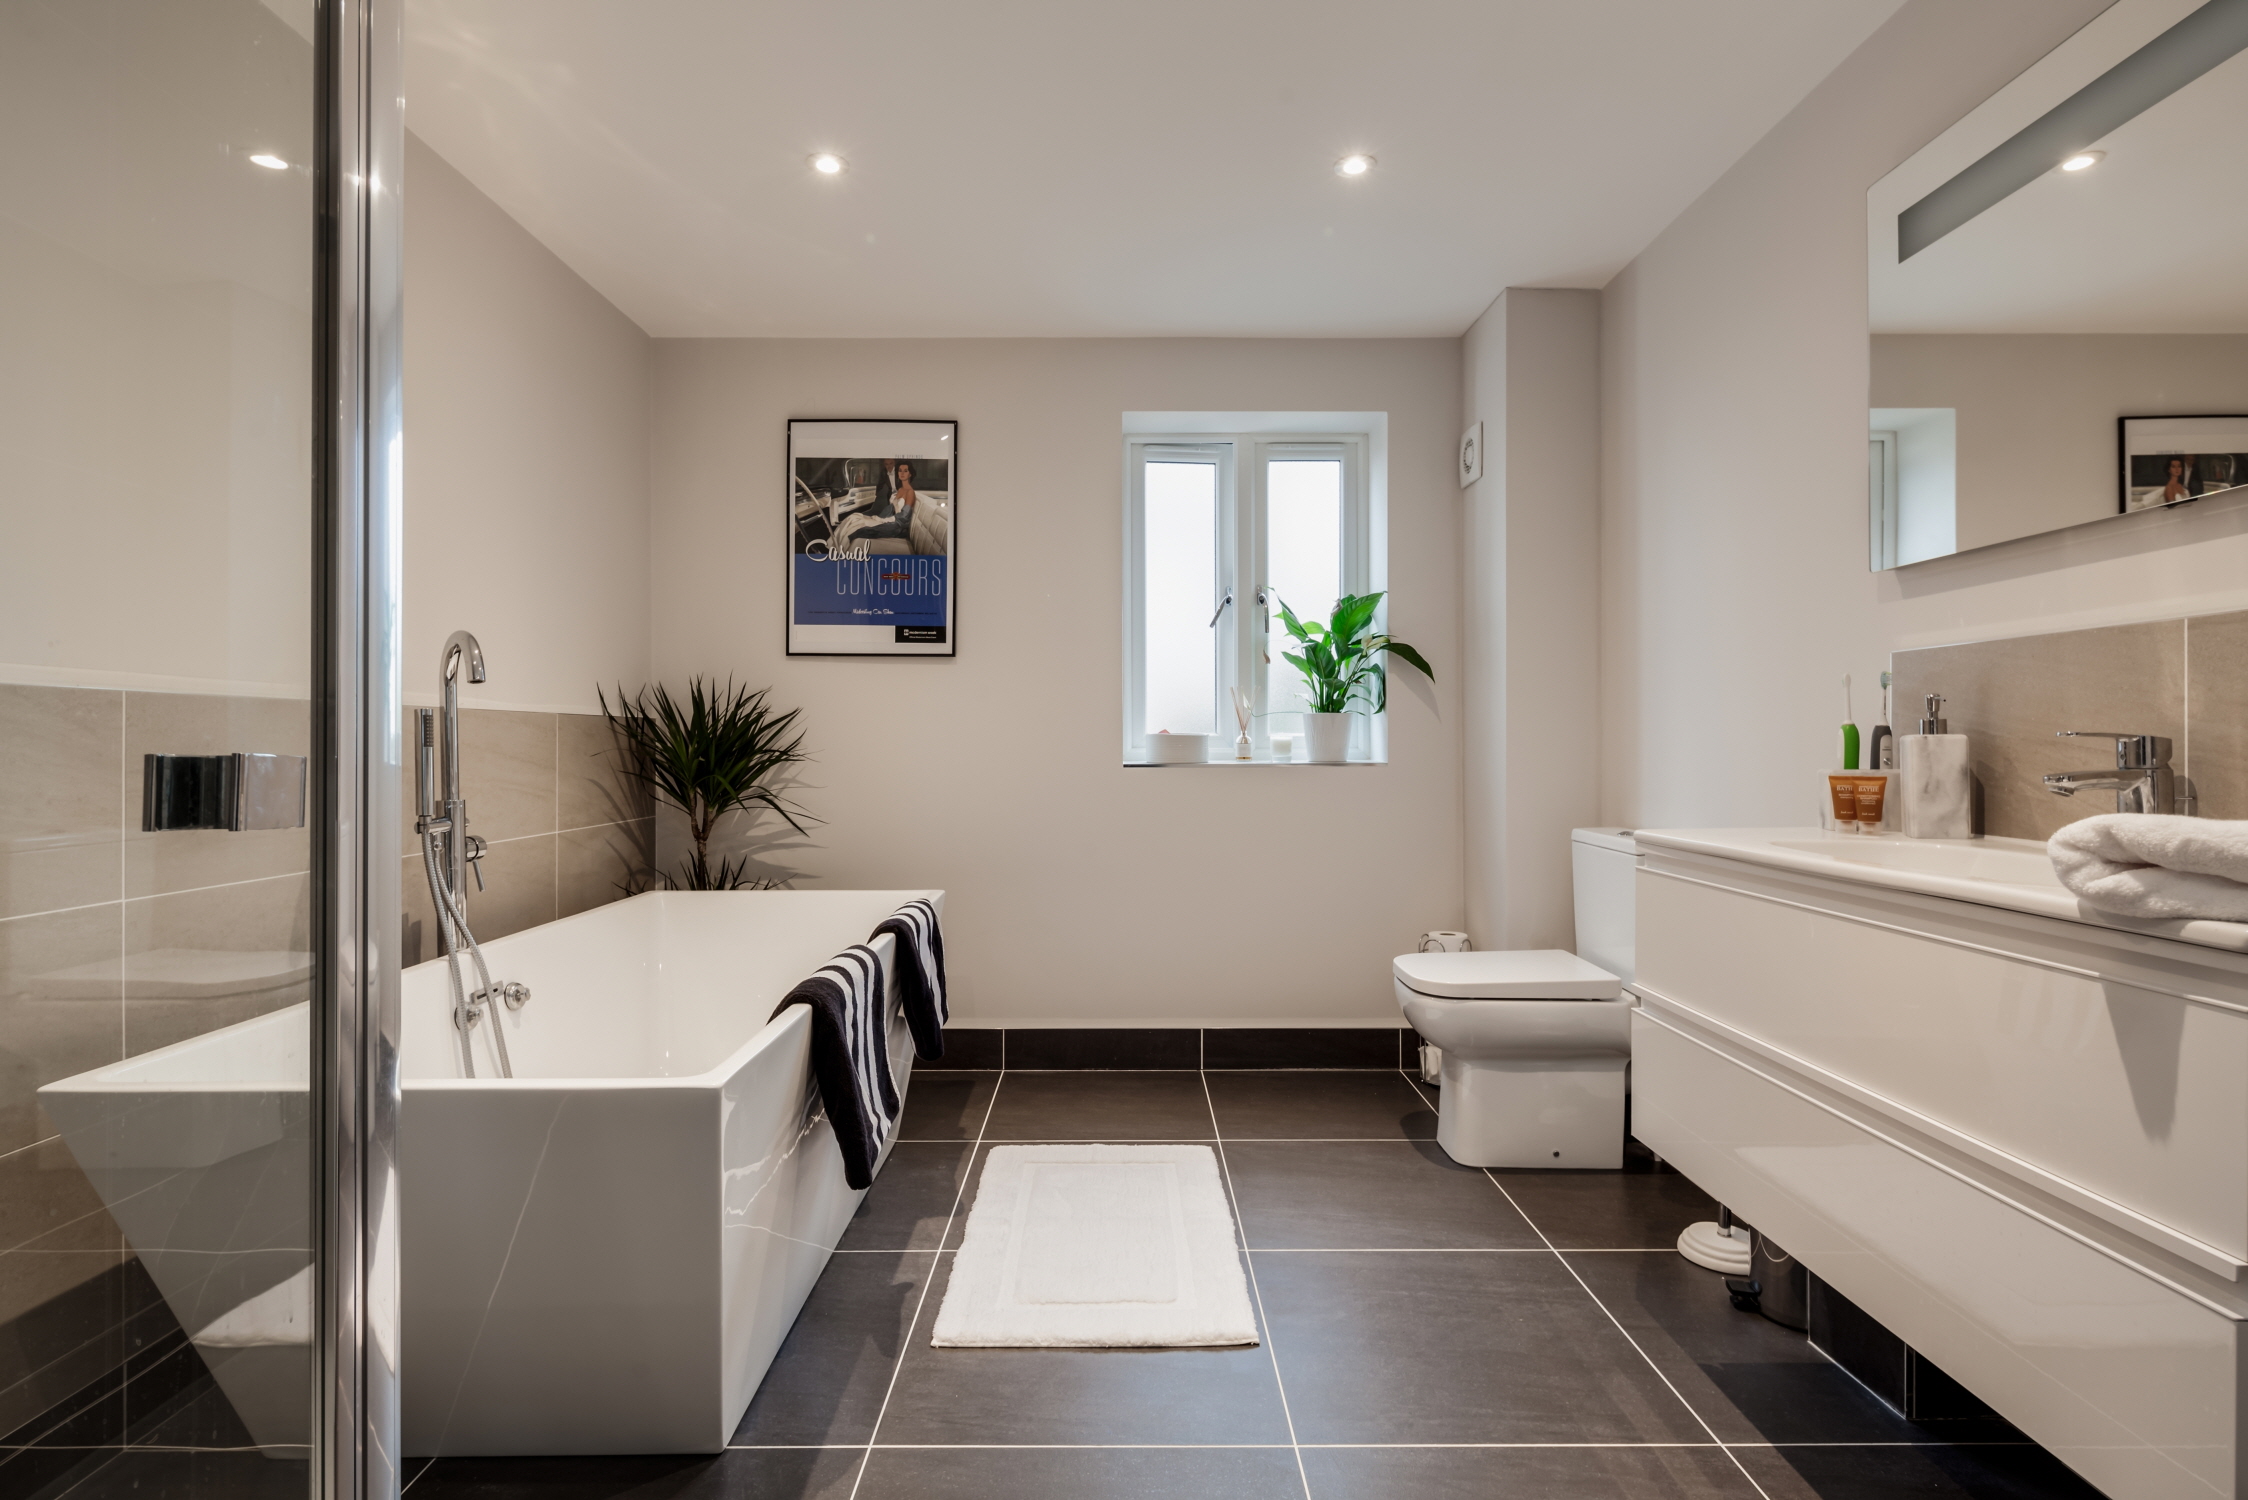
Replacing the bathmat is a remarkably simple yet effective method to rejuvenate your bathroom’s aesthetic appeal. A new mat can instantly introduce a vibrant splash of color, rich texture, or a captivating pattern that elevates the space’s design. With options ranging from luxurious, absorbent mats that ensure comfort underfoot to sleek, contemporary designs that complement your décor, this modest change can have a substantial visual effect. Beyond aesthetics, a new bathmat contributes to safety with improved traction that lessens the chances of slipping. This simple swap of an old, tired bathmat for a fresh one is a swift and affordable strategy to upgrade both the style and practicality of your bathroom, all achievable for under $50. Essentials for this update include:
- New Bathmat: With a price range of $10 to $50, there’s something for every taste and budget.
- Non-slip Rug Pad (if needed): For additional safety, these range from $5 to $15 and ensure your mat stays in place.
- Mild Detergent (optional): Priced at $3 to $7, to keep your bathmat looking clean and new.
Add Greenery
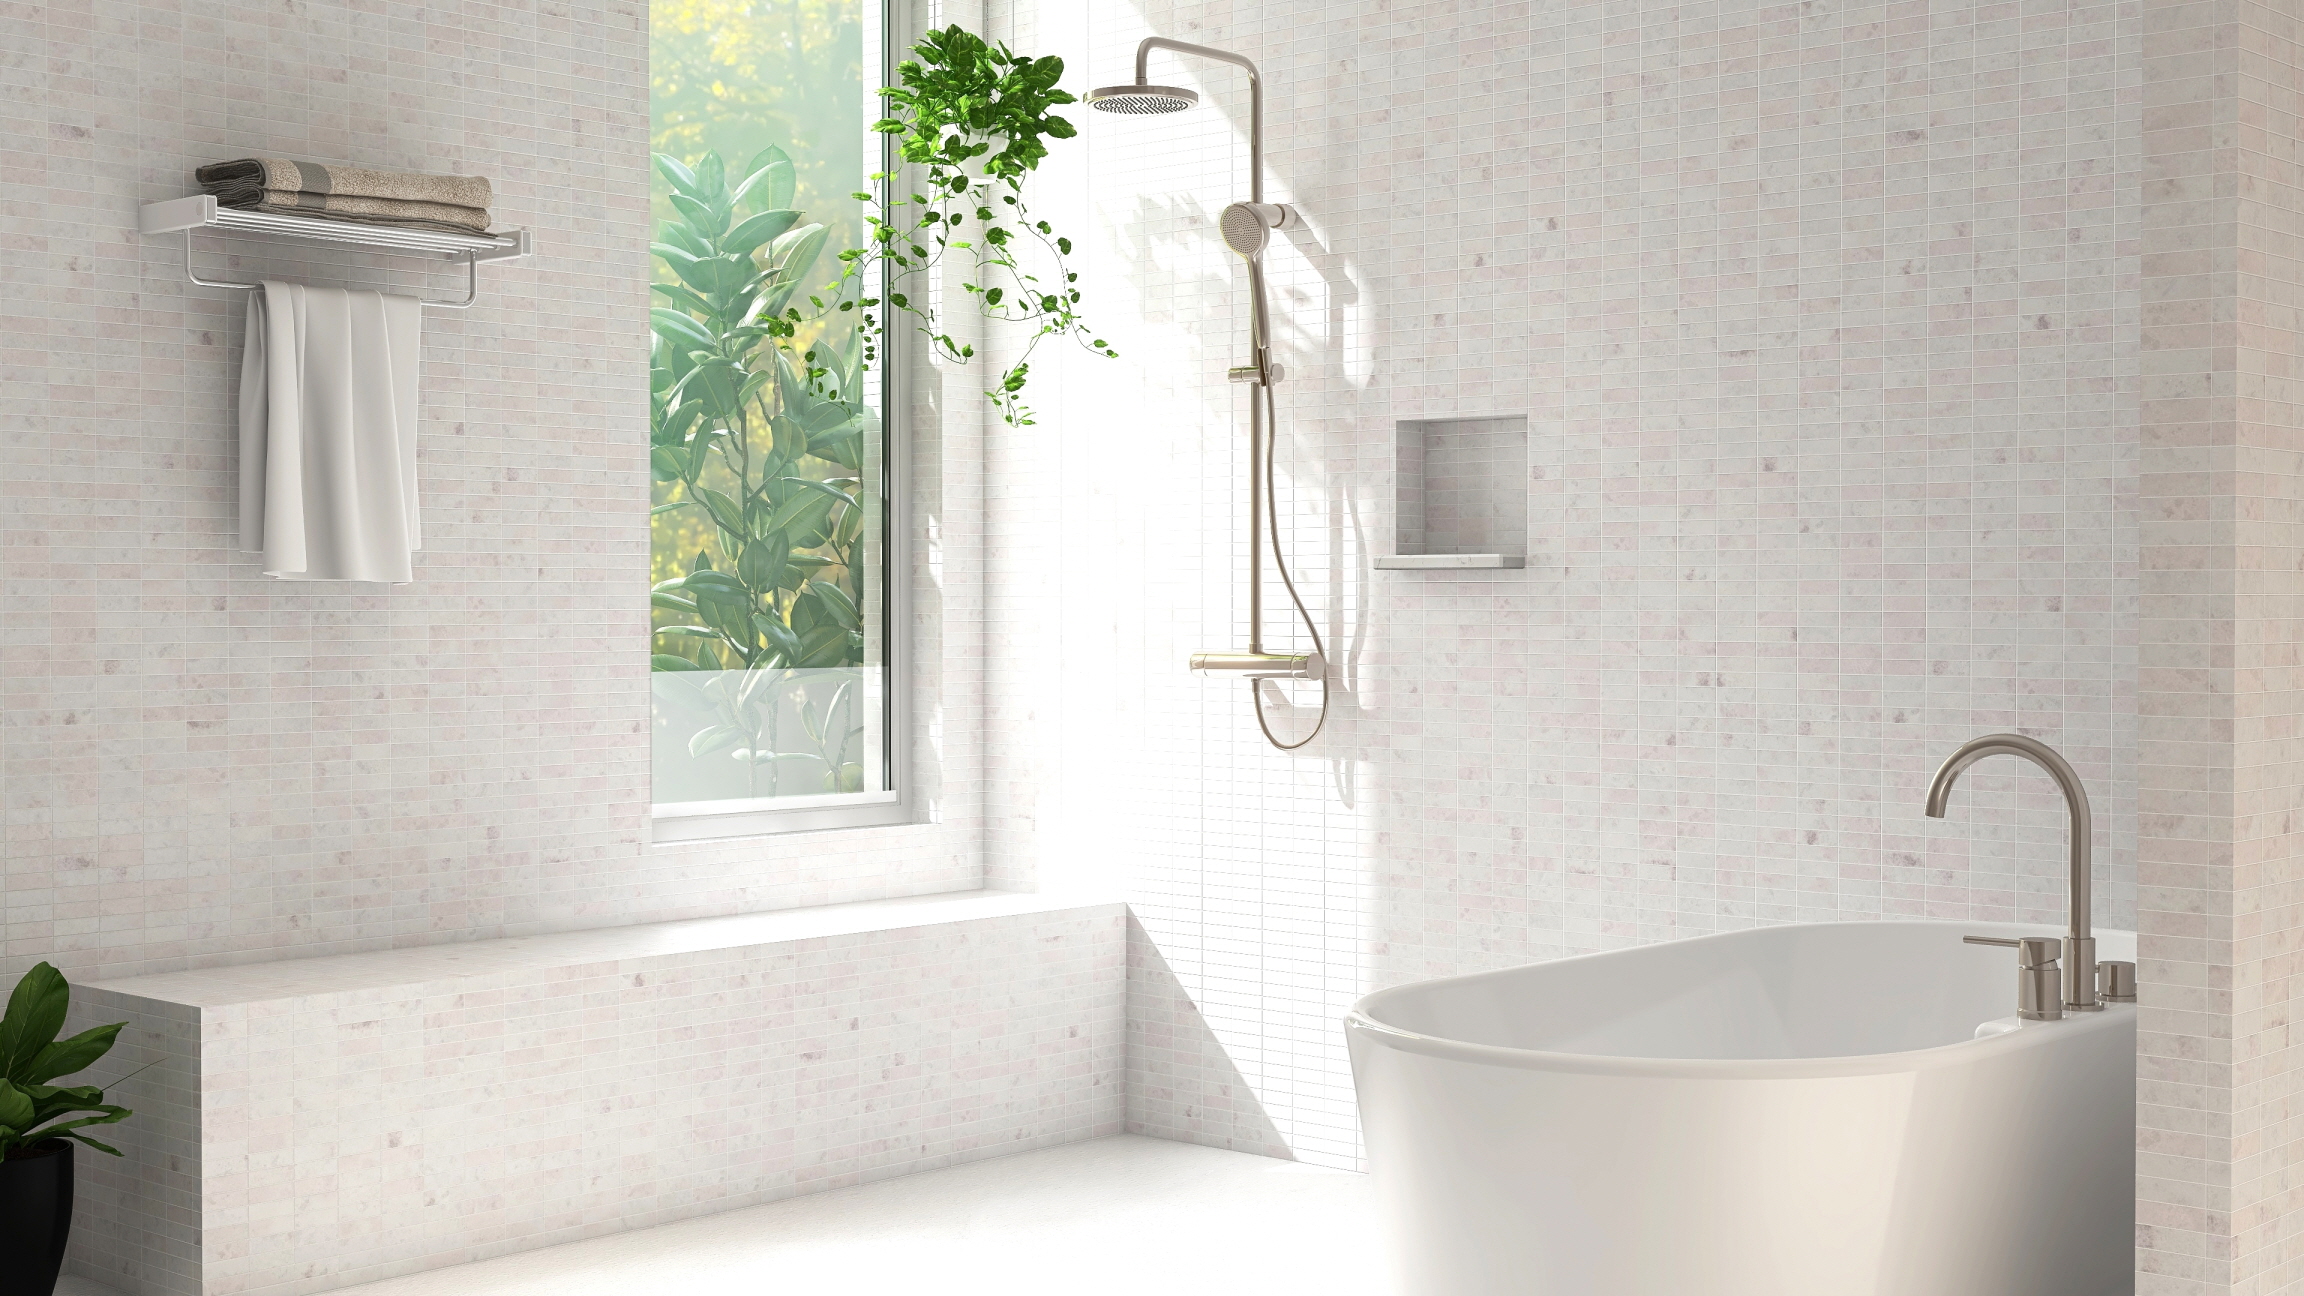
Incorporating greenery is a cost-effective and visually appealing way to infuse freshness and vitality into your bathroom, transforming it into a serene escape within your home. Plants not only introduce vivid colors and organic beauty but also enhance air quality and contribute to a calming ambiance. You can choose from a variety of options such as petite potted plants, eye-catching hanging planters, or bold statement pieces to align with your decor preferences and the space available. Ideal selections like ferns, orchids, and snake plants flourish in the humid conditions typical of bathrooms, making them perfect companions for this space. This straightforward addition is a means to inject warmth and liveliness into your bathroom, sidestepping the need for comprehensive renovations, all starting from as low as $20. For this green makeover, consider acquiring:
- Small Potted Plants: Priced at $5 to $20 each, offering an easy start to greening your bathroom.
- Medium to Large Plants: Ranging from $15 to $50 each, for those looking to make a more pronounced statement.
- Decorative Pots: Available for $5 to $30 each, to stylishly house your plants.
- Hanging Planters (optional): Costing $10 to $25 each, to add vertical interest.
- Watering Can/Spray Bottle: Essential for plant care, priced at $3 to $15.
- Plant Care Supplies (optional): Including nutrients and tools, available for $5 to $20.
Clean or Replace Grout
Cleaning or replacing the grout in your bathroom is an effective and economical way to enhance its appearance without committing to a full renovation. Over time, grout may become discolored or grimy, diminishing the look of your tiles. A thorough cleaning can often revive the original color of the grout, making your tiles appear revitalized. However, for areas with more persistent stains or where the grout is significantly worn, re-grouting might be necessary to achieve a clean and updated appearance with sharp, defined tile lines. This straightforward maintenance can significantly improve your bathroom’s aesthetic appeal and is both practical and budget-friendly.
Here are the supplies you might need:
- Grout Cleaner: Available for $5 to $15, to brighten up existing grout.
- Grout or Scrubbing Brush: Ranging from $5 to $10, essential for effective cleaning.
- Grout Sealer (if cleaning): Costs between $10 and $20, to protect cleaned grout.
- Grout Scraper or Rotary Tool (if replacing): Priced at $10 to $25, to remove old grout.
- New Grout (if replacing): Available for $10 to $20, to refresh the joints.
- Float & Sponge (if replacing): Ranging from $5 to $15, for applying and cleaning up new grout.
- Mixing Bucket (if replacing): For prepping new grout, costs $3 to $10.
Refurbish Existing Furniture
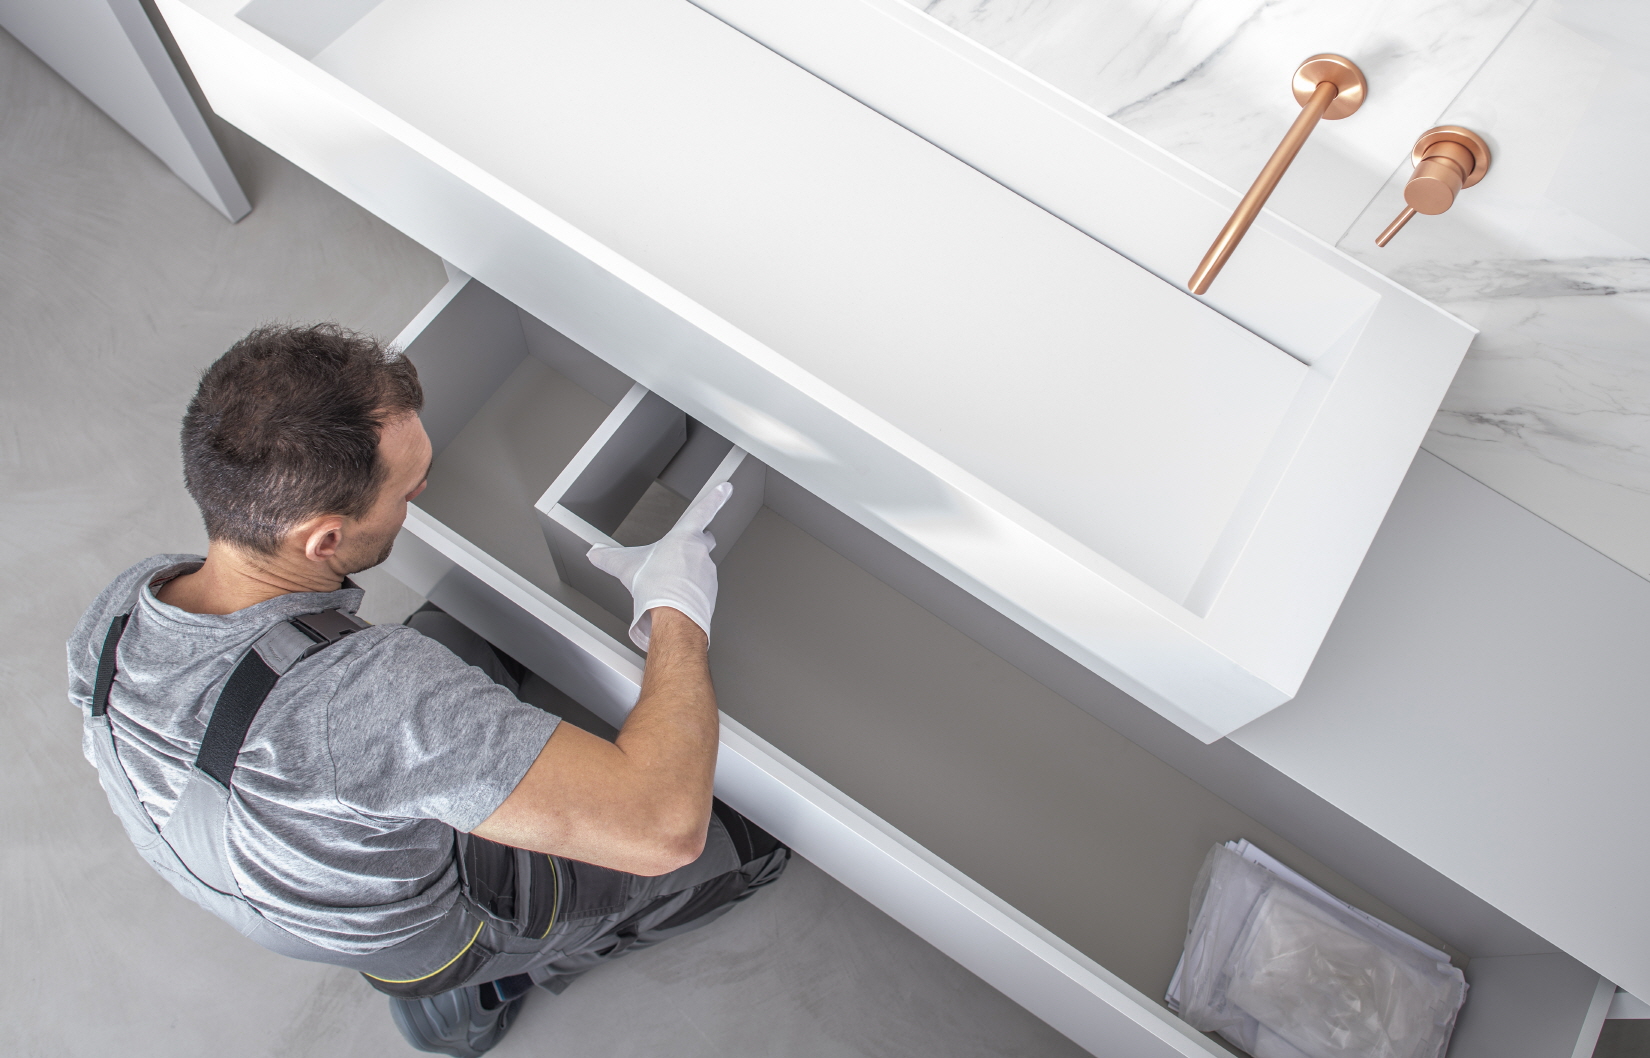
Revitalizing your current bathroom furnishings is a savvy and cost-conscious strategy for upgrading your space without the expense of acquiring new items. By breathing new life into items like cabinets, shelves, vanities, or other furniture, you not only conserve money but also infuse your bathroom with a bespoke flair. A fresh layer of paint, contemporary hardware, or the addition of chic decorative stencils can metamorphose outdated pieces into trendy, refreshed highlights. This process allows you to cultivate a unique vibe that resonates with your revised bathroom theme. Listed below are items you might consider for this project:
- Furniture Paint/Stain (1 quart): Priced between $10 and $25, to refresh or change the color of your items.
- Primer (if needed) (1 quart): Available for $10 to $20, to ensure proper paint adherence.
- Paint Brushes/Rollers: Ranging from $5 to $15, for the application of paint or primer.
- Sandpaper or Sanding Block: Essential for surface prep, costing $5 to $10.
- New Cabinet Hardware (if replacing): To modernize the look, priced at $5 to $20.
- Wood Filler and Adhesive (if needed): For repairs, available for $5 to $10.
- Sealant or Topcoat: Ranging from $5 to $15, to protect your finished pieces.
See Other Bathroom Remodel Ideas
For a burst of inspiration as you embark on your bathroom remodel journey, make sure to explore the wide range of examples and case studies showcased by LX Hausys. Dive into their resources by following this link.
