If you’re looking to refresh your kitchen floors with a new look, peel and stick vinyl tiles are an excellent choice. This budget-friendly option is not only easy to DIY but also simple to replace if you decide on a change or need to repair damages. In this article, we provide a straightforward guide on how to install peel and stick vinyl tiles, helping you keep your kitchen looking its best.

Step 1: Prepare the Floor and Clean the Surface
Proper surface preparation is the most crucial yet often overlooked step in installing vinyl tiles. To ensure a flawless application, start by thoroughly cleaning the surface to eliminate dust, grease, or any debris. This usually involves sweeping the floor, followed by mopping with a mild detergent solution and a final rinse with water. The surface must also be leveled, smoothed, and completely dry before tile installation can begin. For those laying tiles over a concrete surface, a primer adhesive might be necessary to secure a strong bond to the floor. It’s essential to avoid installing tiles over loose or uneven flooring and radiant heated floors, and refrain from using additional adhesives unless specifically directed. Additionally, remove any baseboards prior to installation, planning to reinstall them over the tiles to accommodate potential expansion.
Step 2: Find the Center of Your Room
Once your surface is properly prepared, the next step is to locate the center of your room. Measure the length of each wall using a tape measure. Then, use a chalk line to snap perpendicular lines across the floor, which should intersect in the center of the room. These guidelines will serve as your reference points when laying your tiles.
Step 3: Lay Out Tiles
Start by laying out the tiles with the back liner still intact, beginning at the center of the room and working your way outward toward the walls. Once the tiles are in place, examine the outer edges to determine if you need to adjust their positioning. This step is crucial for minimizing unnecessary trimming and avoiding the creation of thin, fragile pieces of tile along the edges.
Step 4: Apply Tiles to Floor
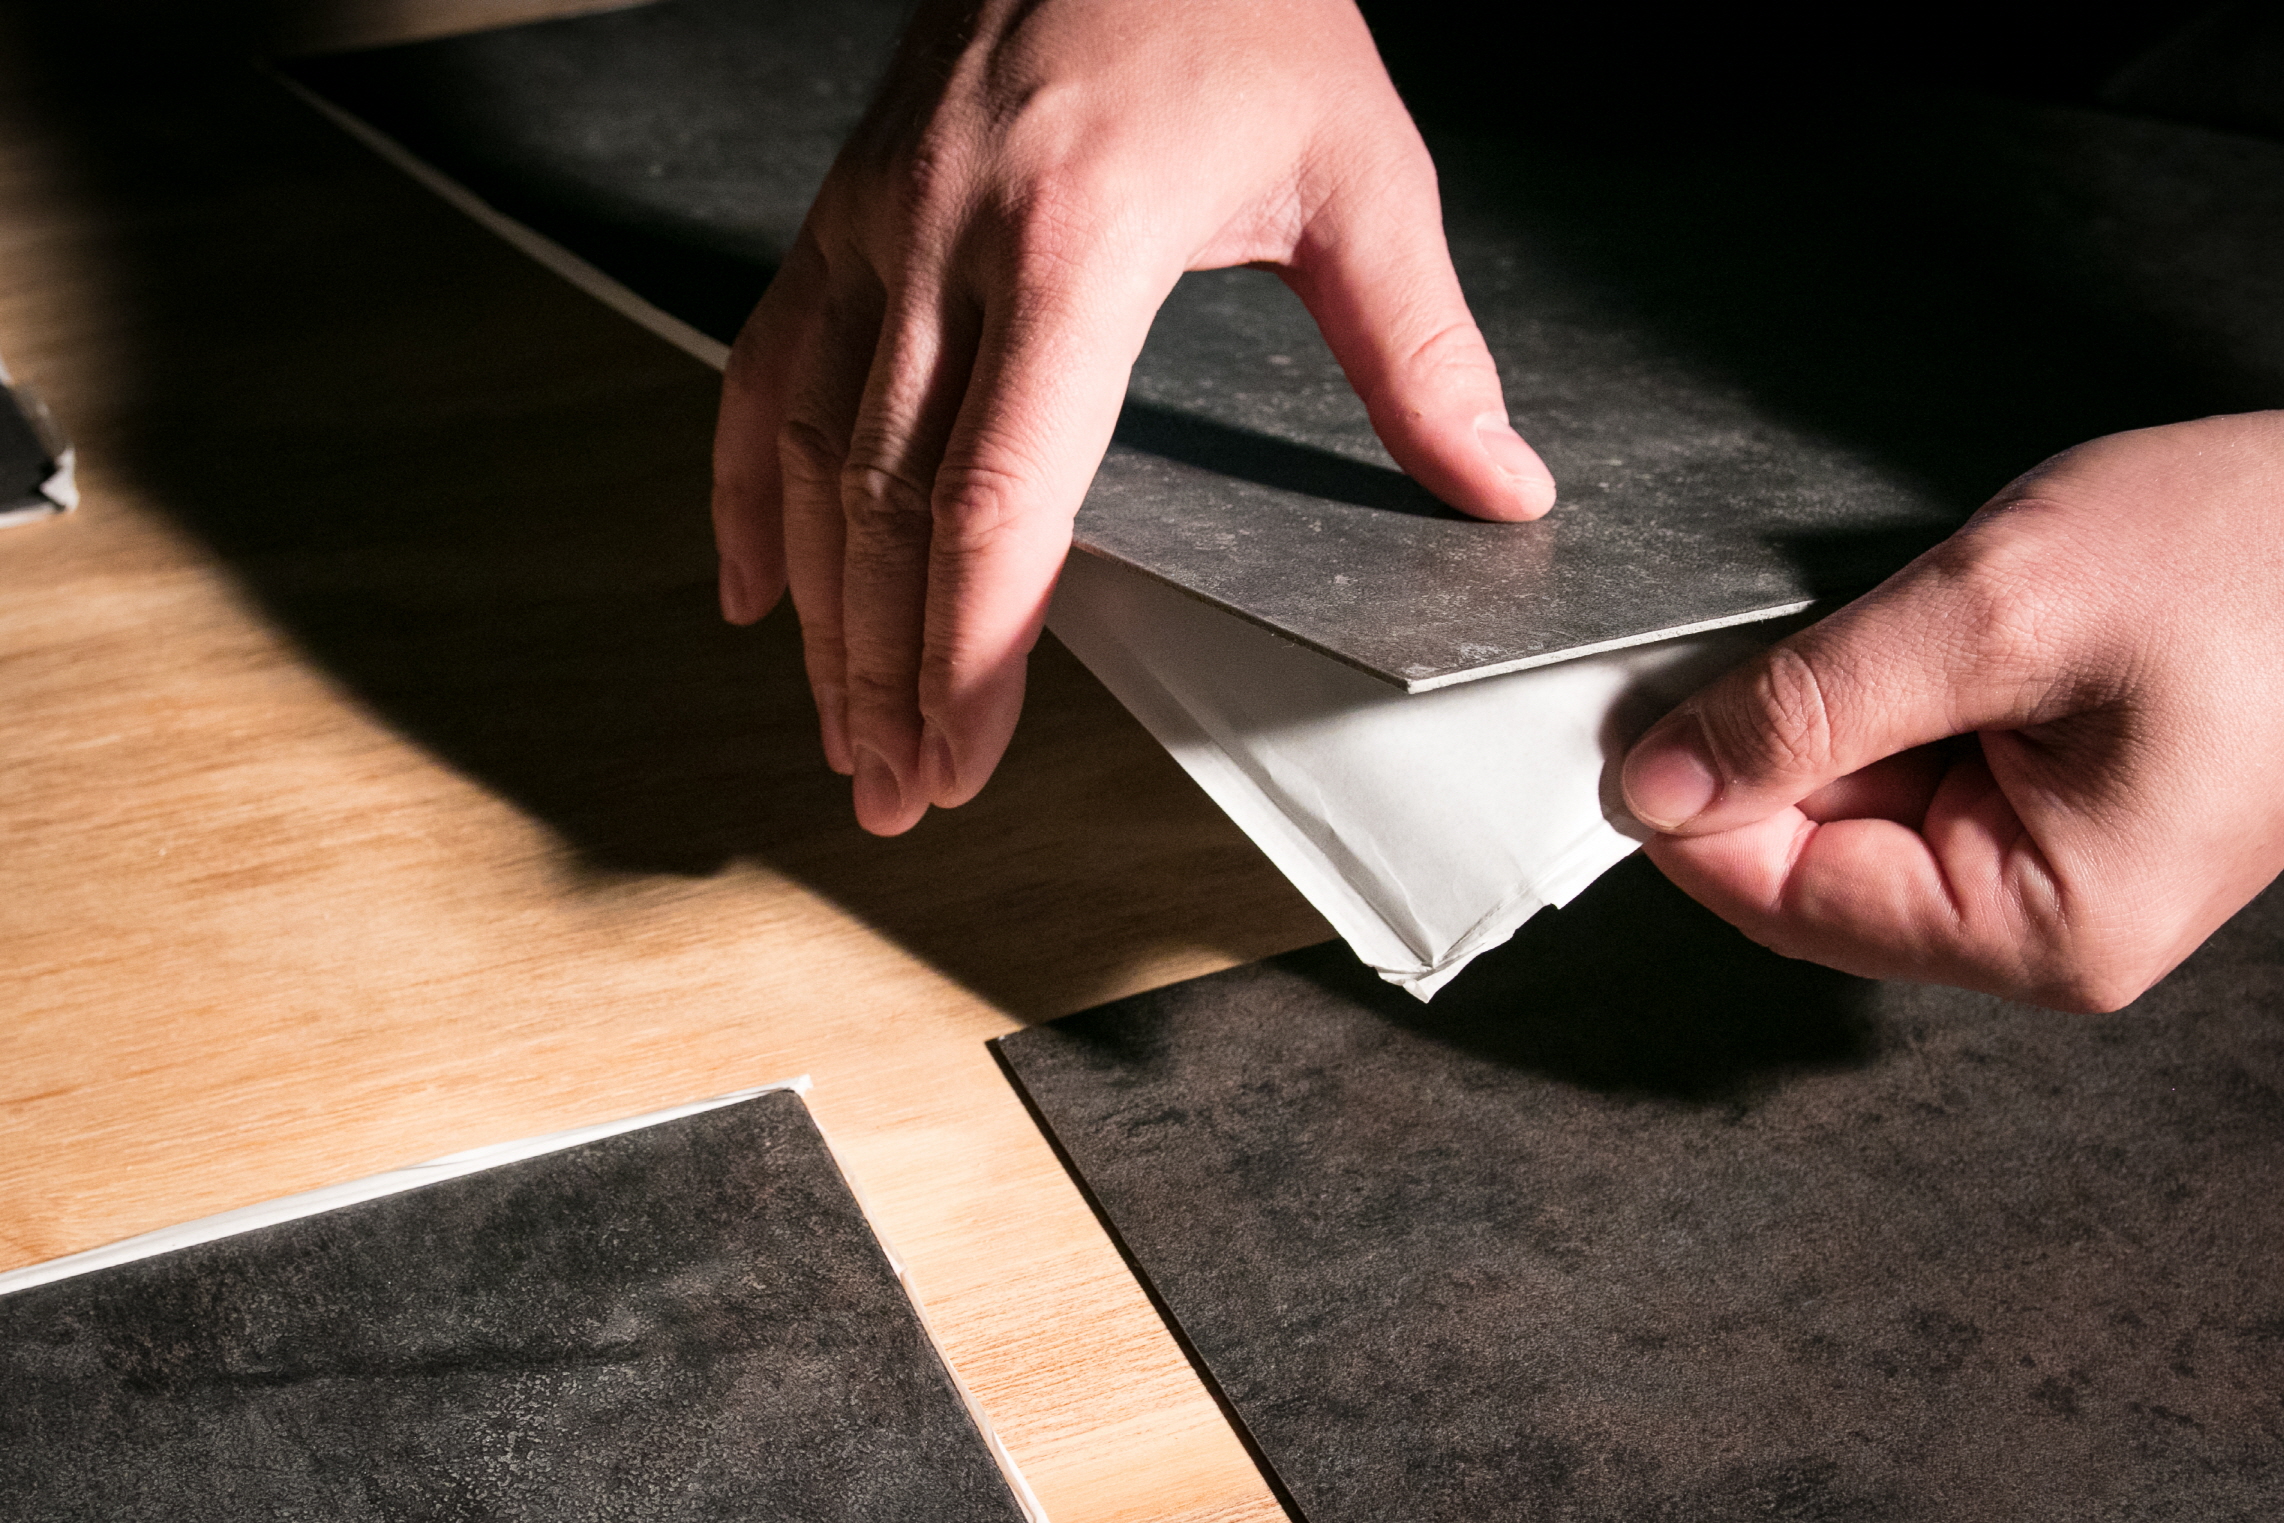
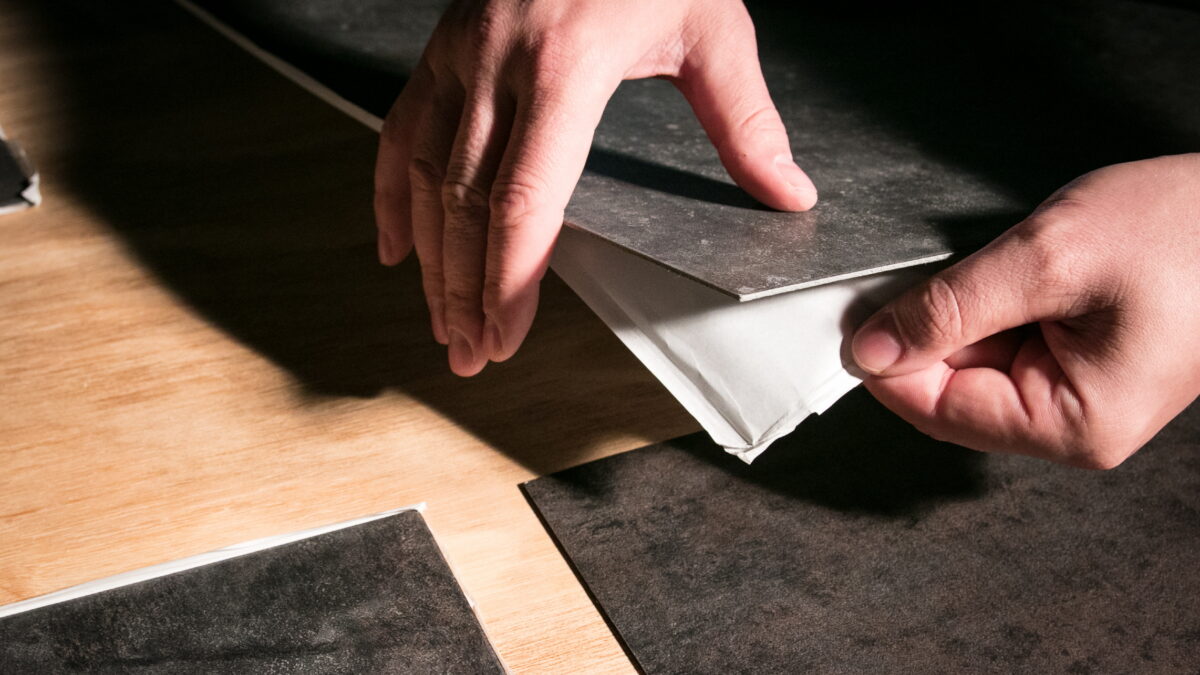
After ensuring the layout of your tile floor meets your expectations, you can proceed to secure them in place. Begin at the center of your room once more, carefully remove the protective backing from your starting tile, and press it firmly onto the floor. It’s essential to keep the adhesive backing free from dust, dirt, or oils to maintain a secure and strong bond. As you continue, rotate each subsequent tile to align with the pattern, placing it snugly against the side of the preceding tile. Tackle the installation one quarter of the room at a time, expanding outward in a stepping pattern. Once the entire floor has been laid, using a tile roller, ideally weighing between 75 to 100 pounds, will enhance the bond between the tiles and the floor, ensuring a durable finish.
- On Plywood: Applying peel and stick vinyl to a plywood surface is akin to doing so on concrete. Ensure the plywood is clean, secure, and level. Use a leveling compound to fill any seams for an even surface. Since plywood can be slightly more pliable, using a roller is recommended to ensure that the tiles bond effectively to the floor.
- On Vinyl: When installing over an existing vinyl surface, the same care as with plywood is necessary. Make sure the surface is clean and level, applying a leveling compound to any seams for uniformity. However, it’s important to note that tiles adhere more quickly and securely to vinyl surfaces than to other subfloor types. This increased adhesion means you’ll need to be extra precise in your tile placement since adjusting them after the fact will be more challenging.
- Edges & Tricky Corners: To ensure tiles fit neatly along walls or in complex corners, measure the space carefully with a tape measure before making any cuts. Once you have the dimensions, use a straight edge and a utility knife to precisely trim the tiles for a perfect fit. Pre-measuring and cautious trimming are key to achieving a clean, finished look around edges and tricky corners.
Step 5: Cleaning Your Tiles
After installing your tiles, maintenance is straightforward: keep them clean to preserve their appearance. Allow the tiles to settle and expand for at least five days before initiating any cleaning. Feel free to sweep, mop, vacuum, or dust as needed. However, when it comes to using cleaning solutions, opt for a vinyl floor cleaner. Avoid detergents, soaps, harsh chemicals, bleach, one-step cleaners, or wax, as these can damage your tiles and shorten their lifespan.

