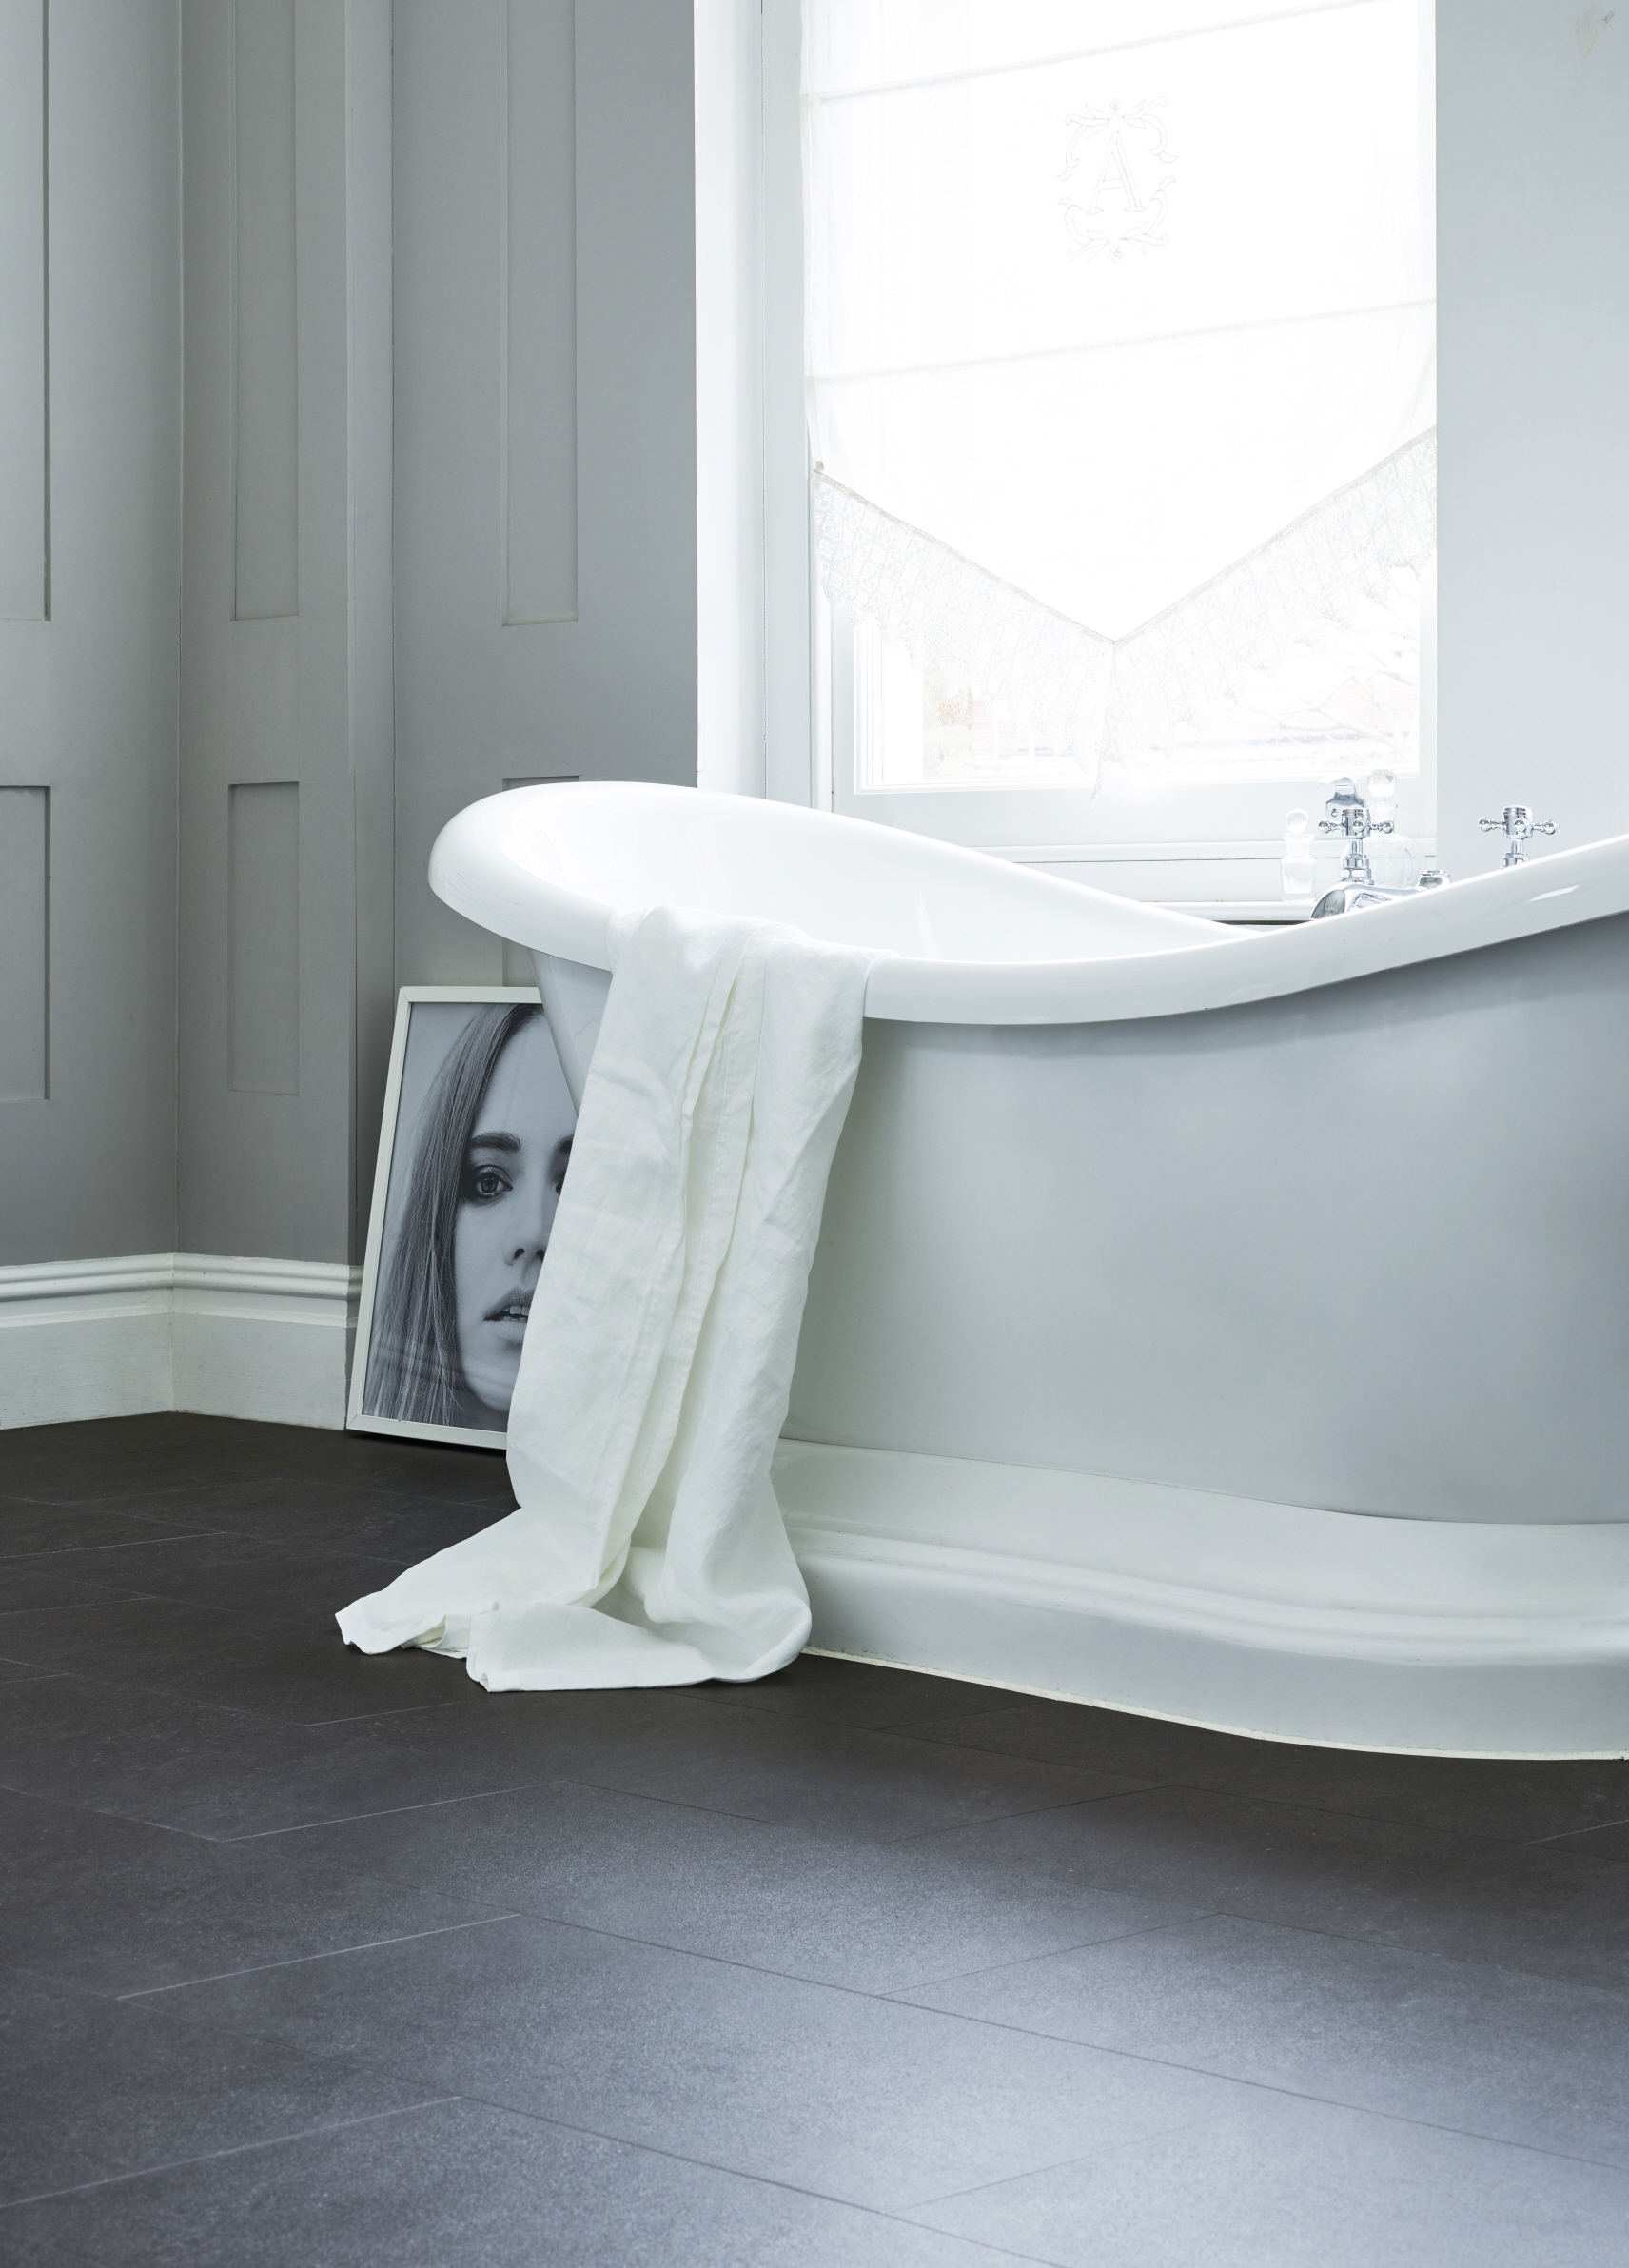
Revamping your bathroom’s appearance and functionality can be achieved with the simple project of replacing the tile floor. This DIY endeavor not only offers the potential for a refreshed space but also allows for significant cost savings over hiring a professional. If you have a free weekend and the desire to undertake a project that delivers the joy of self-accomplishment and an immediate impact on your bathroom’s vibe, laying new tiles is an excellent choice.
However, the project’s success hinges on your preparedness and a commitment to getting it right the first time. It is crucial to meticulously follow each step and to have all necessary materials at hand. This guide aims to shepherd you through the process of replacing a bathroom tile floor, ensuring you are fully prepared for each phase. Embrace this guide as your roadmap to navigate the intricacies of your next DIY project with confidence, ensuring a polished and satisfactory finish.
5 Simple Ways to Replace Bathroom Tile Floor
The thought of replacing a bathroom tile floor might initially appear overwhelming, yet it becomes manageable with the correct tools and clear instructions. We simplify the process into five easy steps, starting from the removal of old grout to the installation of new tiles. Each phase is vital for ensuring a finish that mirrors professional workmanship. Prior to embarking on this project, it’s essential to assemble all required tools and materials. Make sure you have a grout removal tool, chisel, hammer, tile cutter, and thin-set mortar at your disposal.
Step 1: Remove the Grout
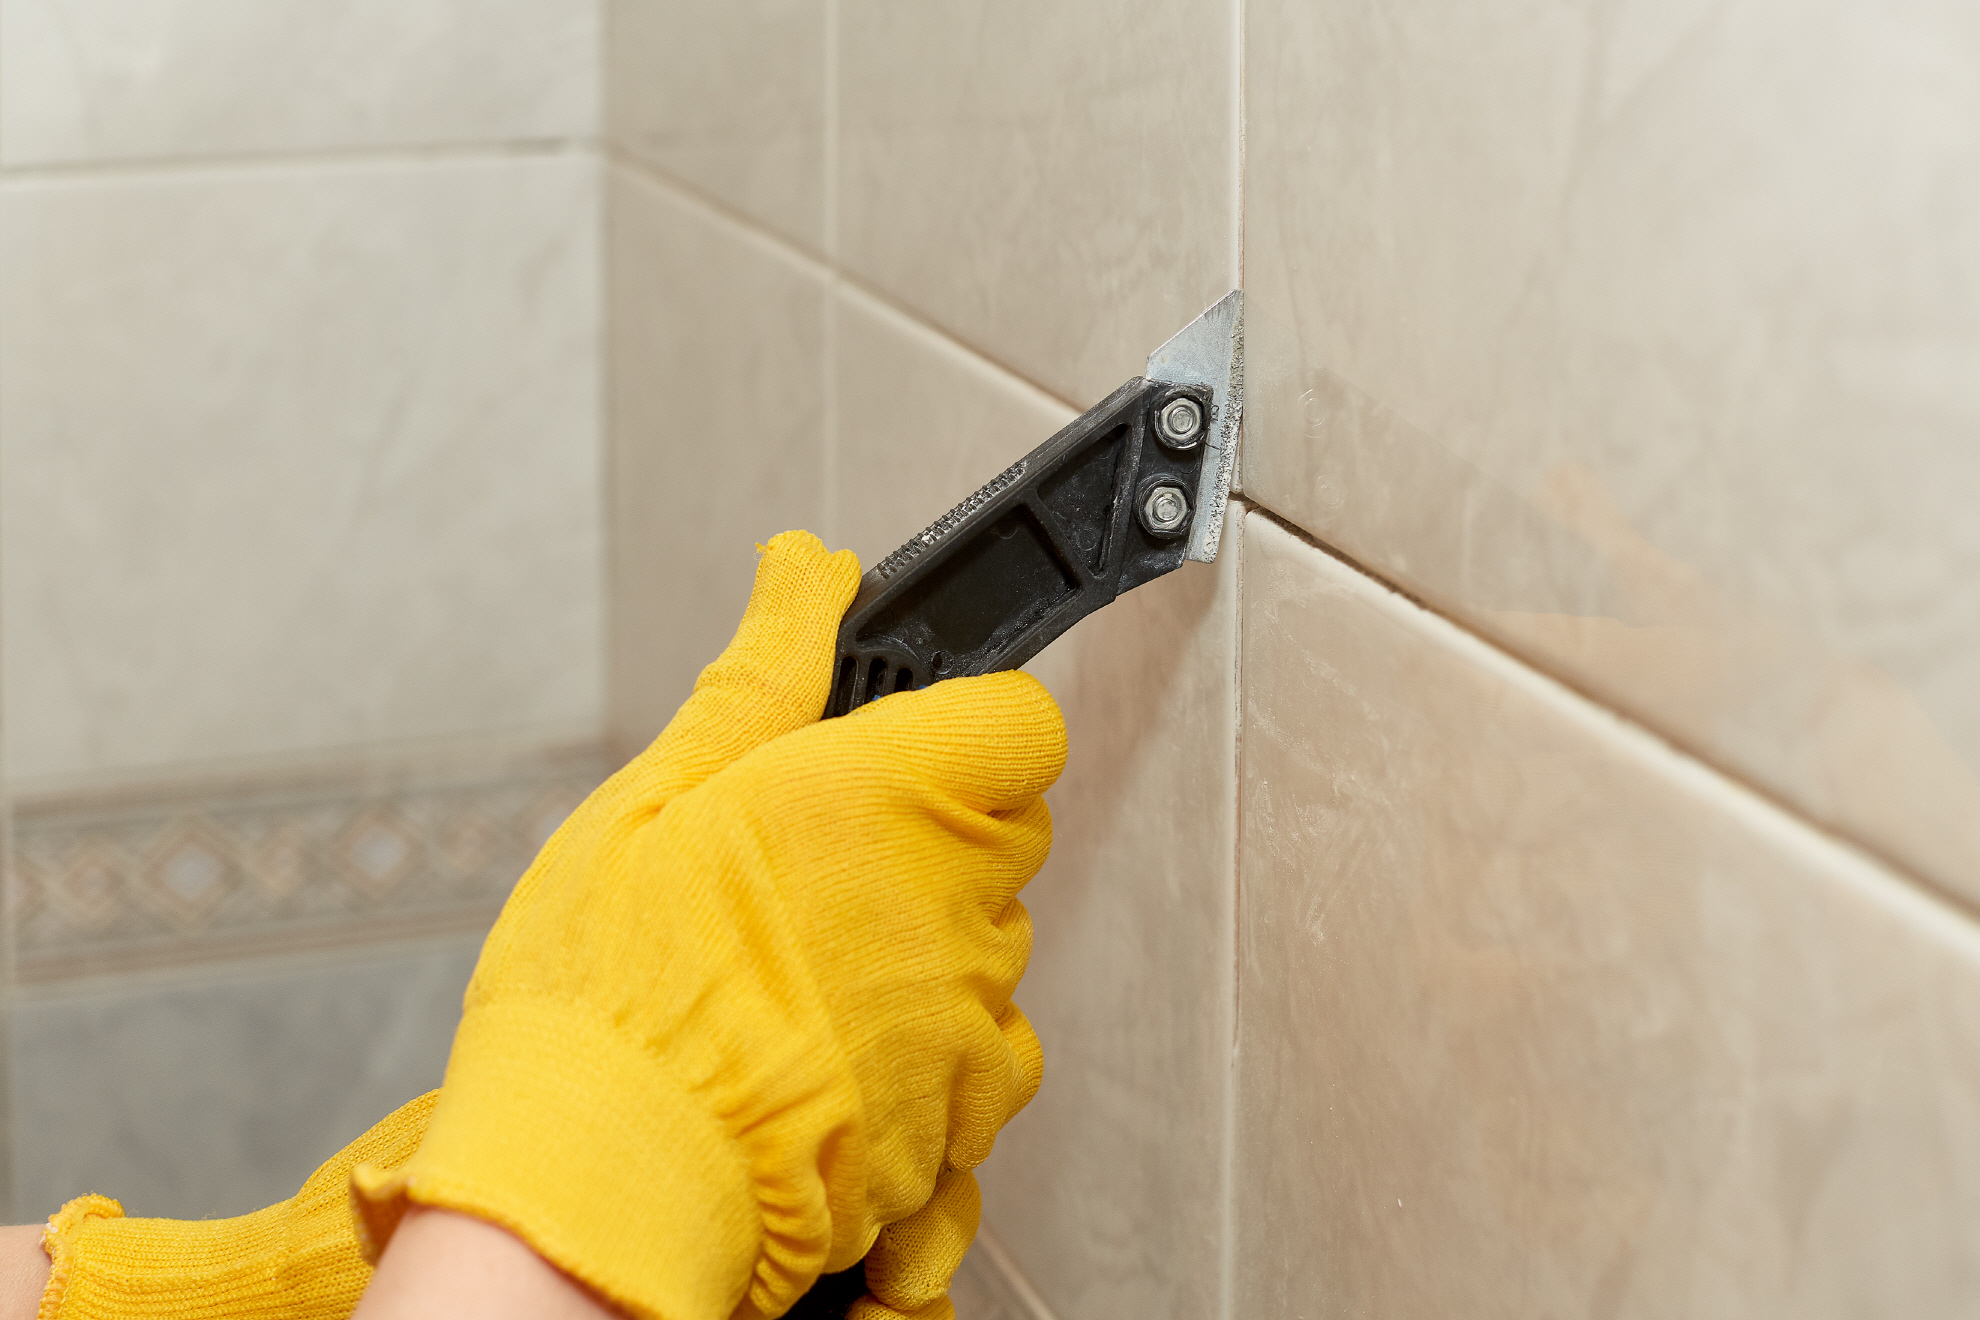
To begin the grout removal process, you’ll need an appropriate tool such as a grout saw or a multi-tool equipped with a grout removal blade. Don’t forget to equip yourself with safety goggles and a mask to shield yourself from dust and debris.
Start by donning your safety goggles and mask for protection. Then, proceed to meticulously scrape out the grout from between the tiles using your chosen grout removal tool. It’s important to proceed carefully to prevent any damage to the adjacent tiles. After the grout has been effectively removed, ensure to sweep or vacuum the area to eliminate any remaining dust and debris.
This initial step of grout removal is crucial in the process of replacing your bathroom tile floor. It facilitates the loosening of tiles, allowing for their easier extraction without inflicting unnecessary harm to the subfloor.
Step 2: Remove the Tile
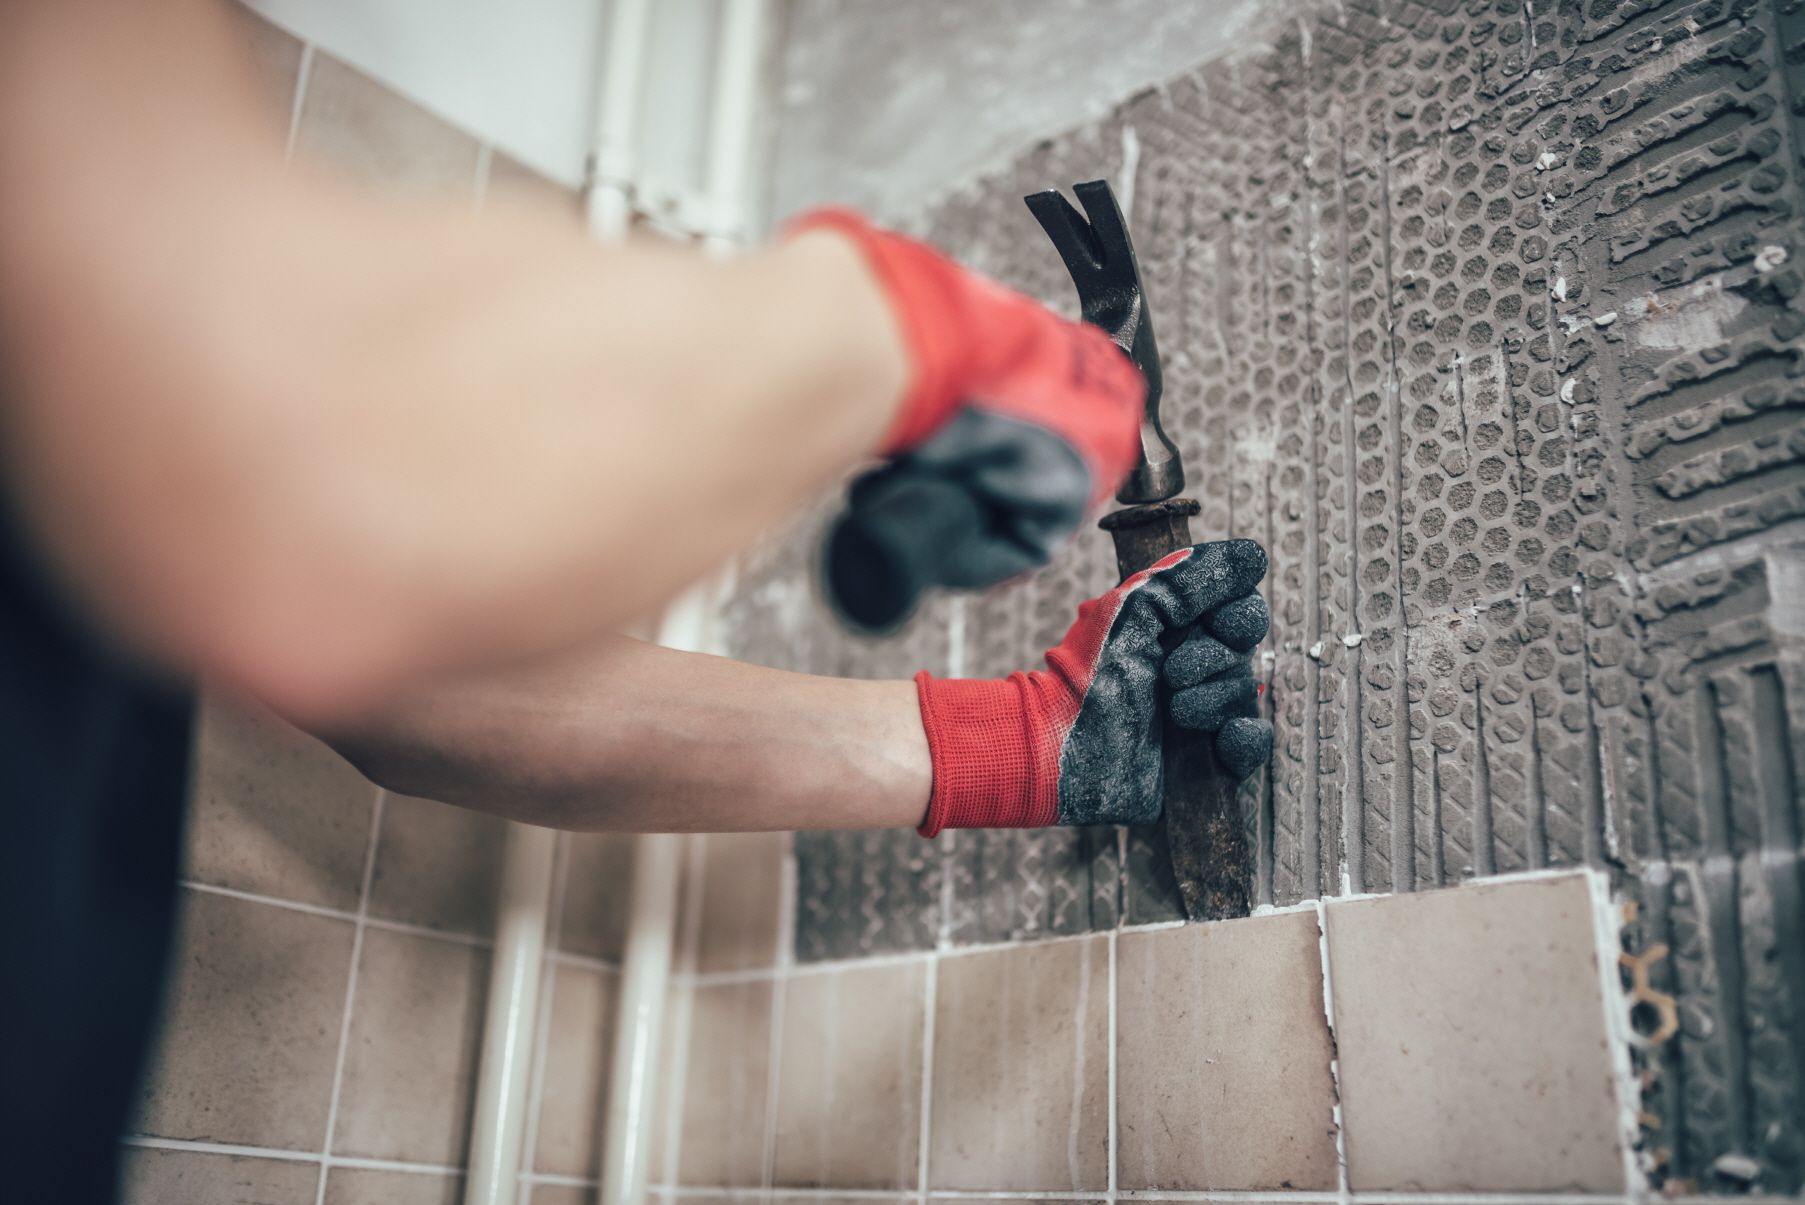
To remove the existing tiles, you’ll need some essential tools: a hammer, chisel, flat pry bar, and heavy-duty gloves for protection.
Begin the tile removal process by starting at the edge of the tiled area. Use the chisel and hammer to gently tap and loosen the first tile. Once loosened, slide the flat pry bar under the tile and carefully lift it away from the floor. Continue this technique with the remaining tiles, working systematically across the floor while taking care not to damage the subfloor.
After all the tiles have been removed, it’s important to thoroughly clean the subfloor, removing any residual thin-set or adhesive. This step is labor-intensive but critical for preparing the surface for new tile installation. Ensure that the subfloor is completely clean and smooth before moving on to the next phase of your project.
Step 3: Lay New Thin-Set
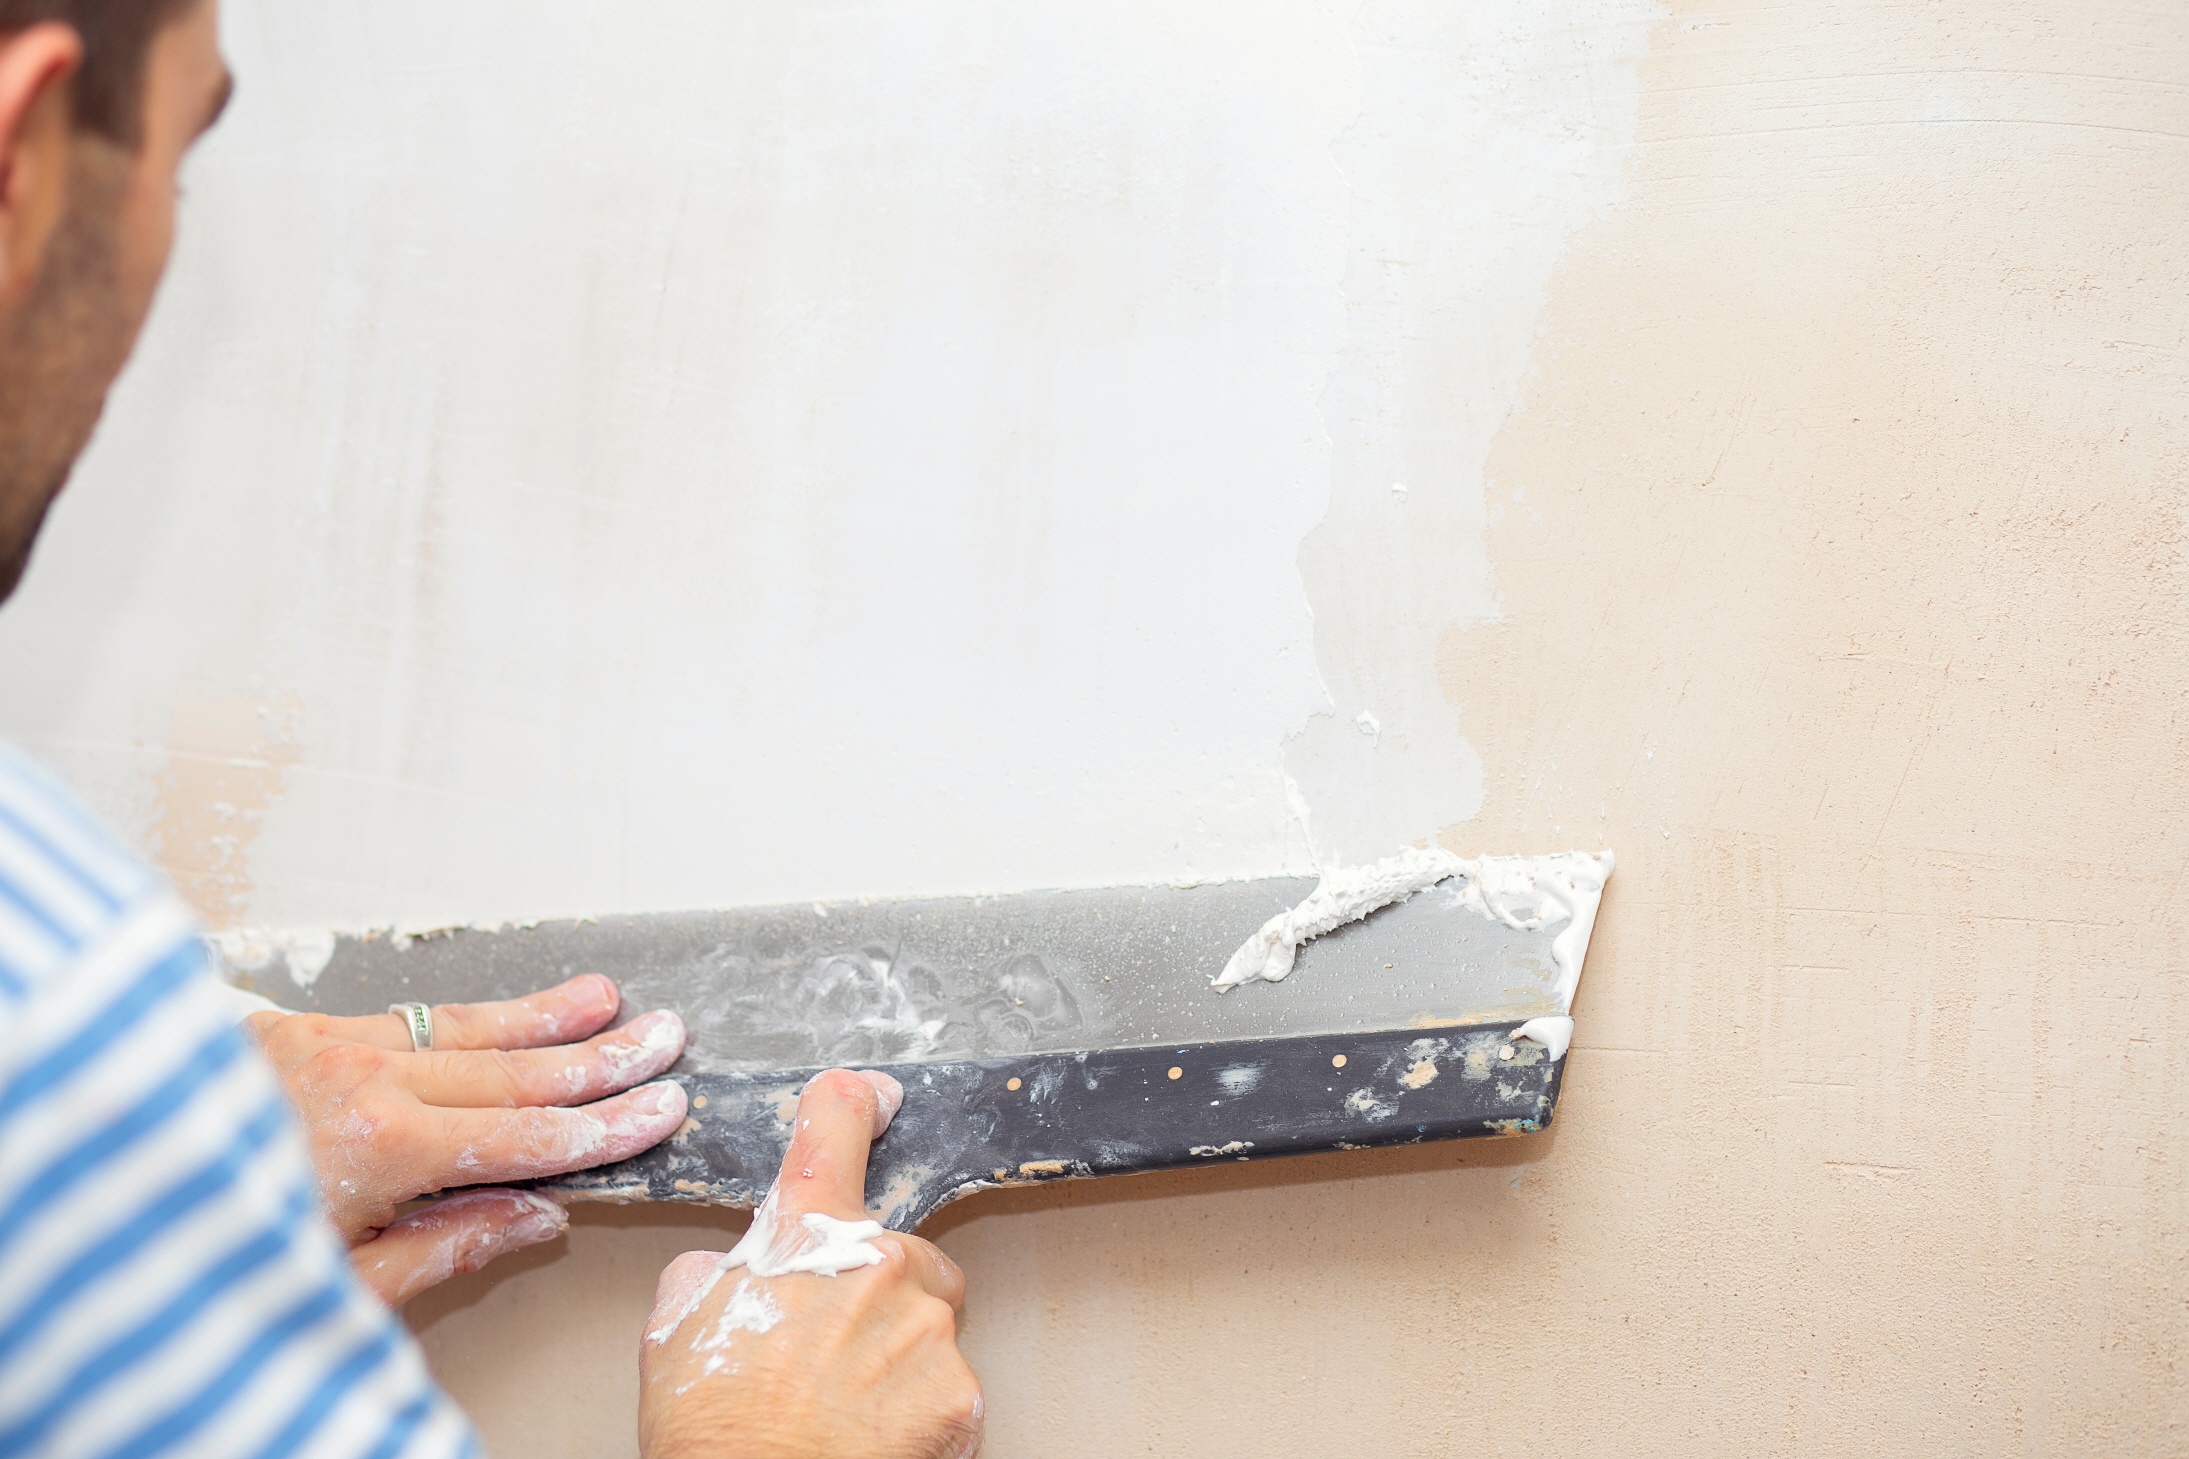
For applying new thin-set, you will require thin-set mortar, a trowel, a bucket, and water.
Initiate this step by mixing the thin-set mortar in a bucket according to the manufacturer’s instructions, aiming for a consistency similar to peanut butter.
To apply the thin-set, use the trowel to evenly spread the mortar over the subfloor in a small section, keeping the work area manageable. Utilize the notched edge of the trowel to create ridges in the thin-set. These ridges are critical as they enhance the adhesion of the new tiles to the subfloor.
The application of thin-set is a vital step to ensure a strong and durable bond between the new tiles and the subfloor. It’s important to work in small sections to avoid the thin-set drying out before the tiles are set in place.
Step 4: Place New Tile
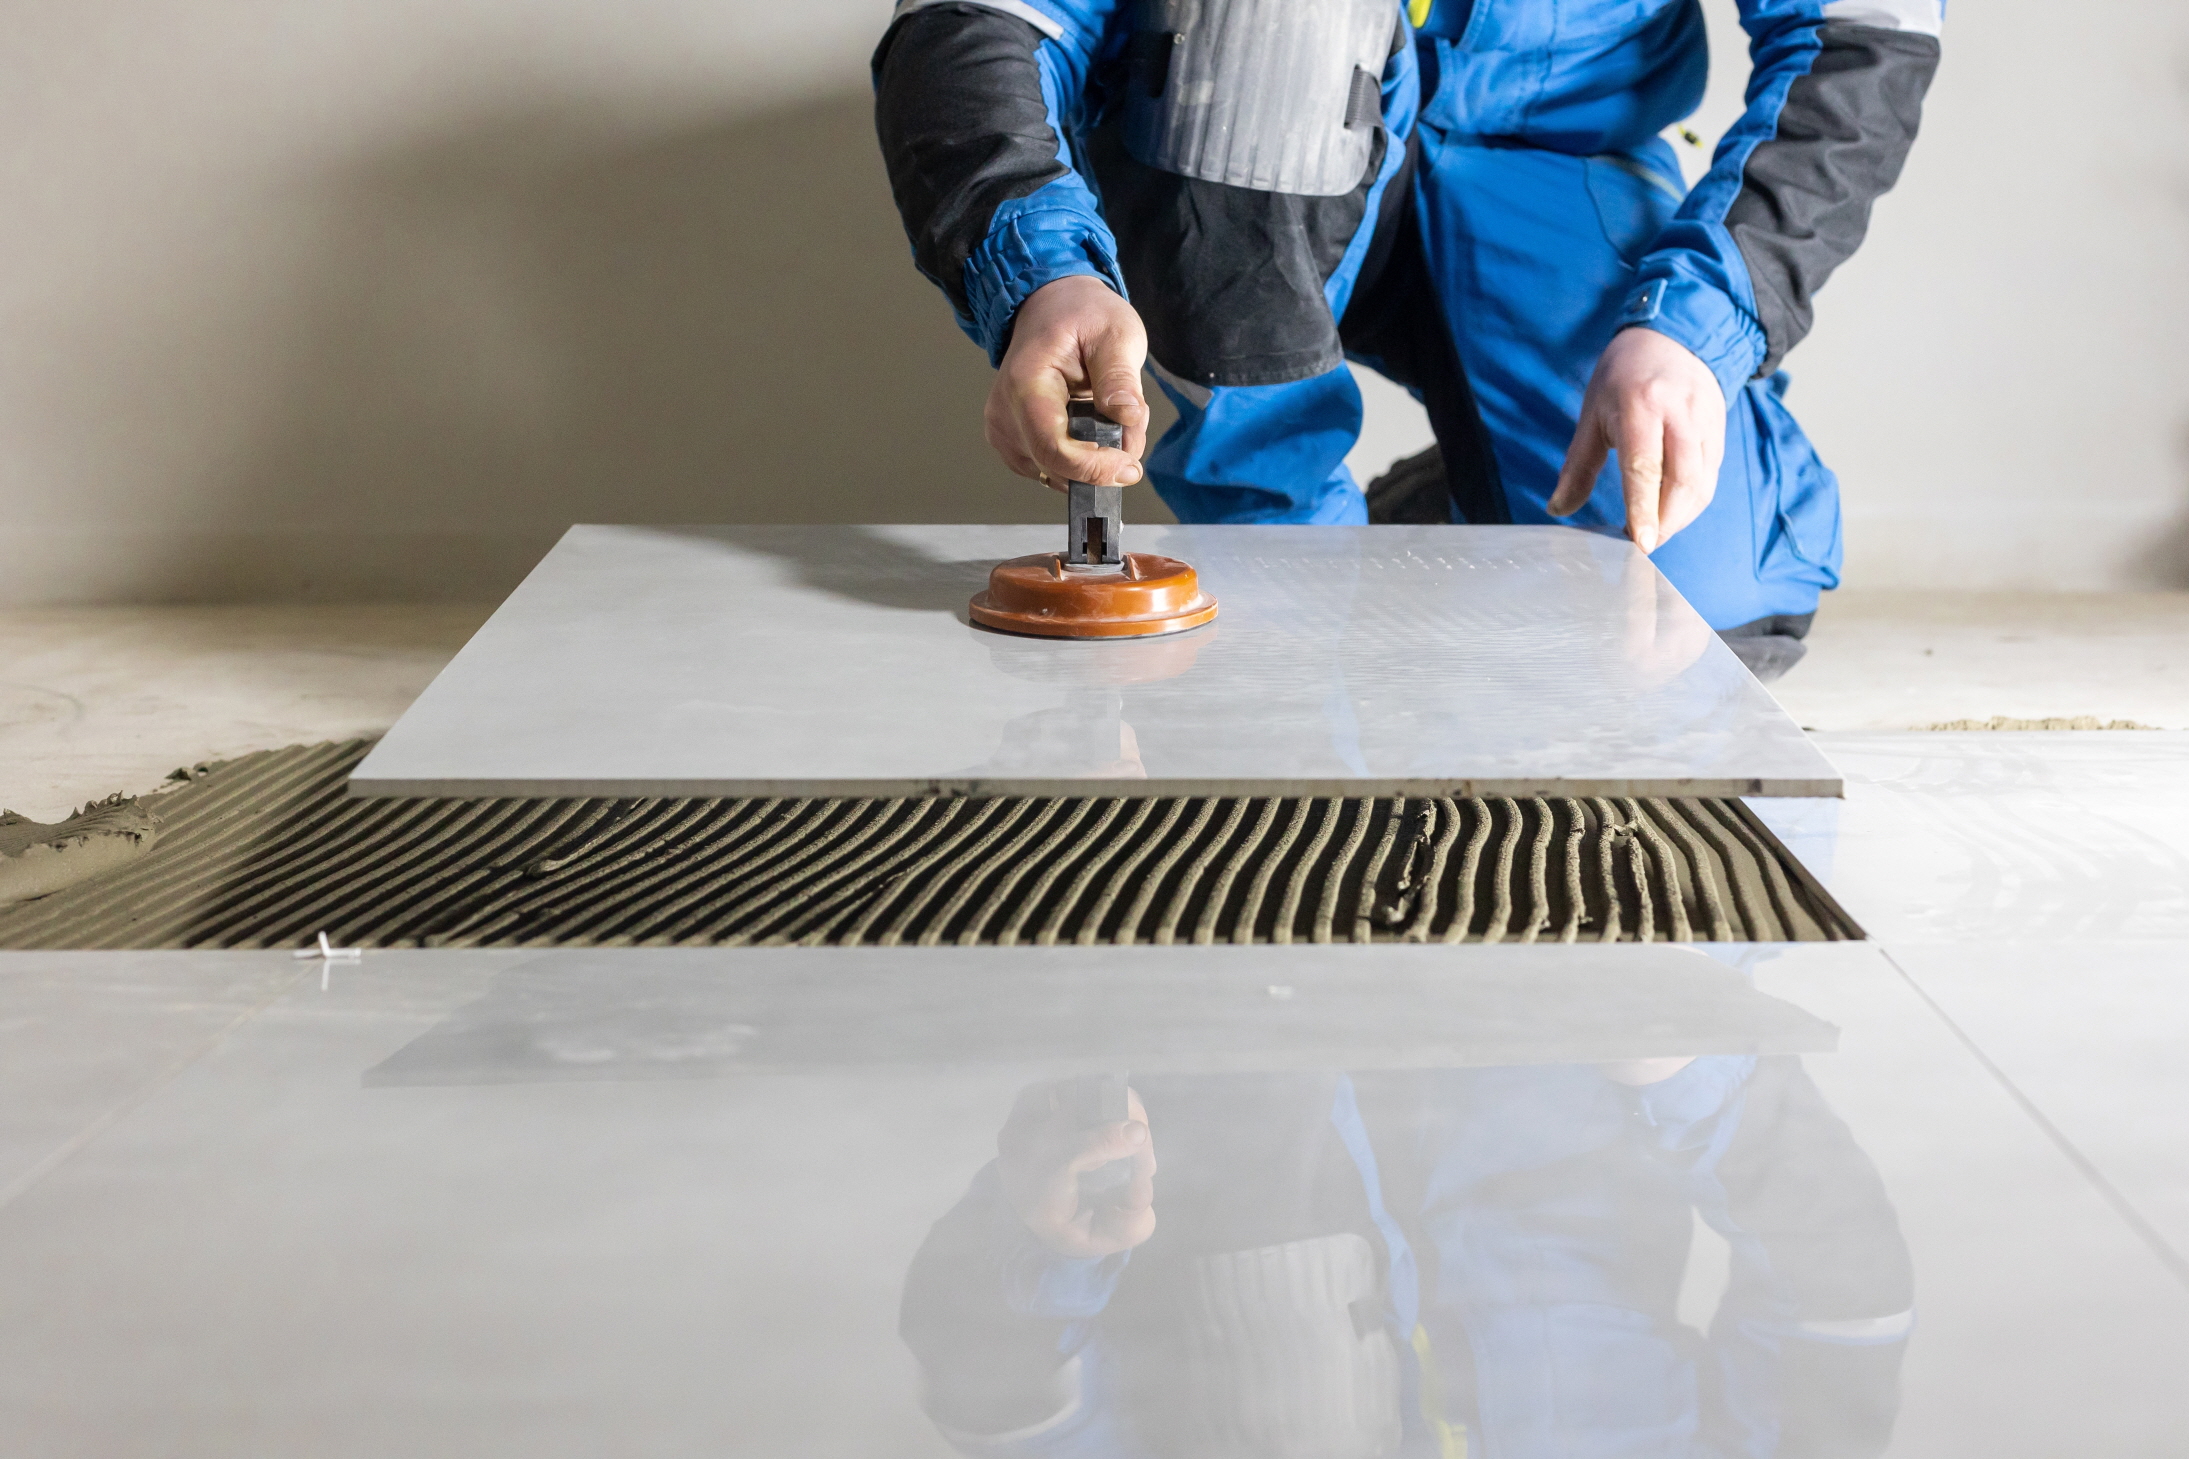
Finally, you’ve reached the exciting stage of placing your new tiles. For achieving great results, have your bathroom tiles, tile spacers, tile cutter, and a level at hand.
It’s advisable to first arrange your tiles on the floor to confirm the layout and guarantee consistent spacing. Once you’re satisfied with the arrangement, you’re ready to start setting the tiles into place.
Begin in a corner, pressing the first tile firmly into the thin-set. Employ tile spacers around each edge of the tile to maintain uniform gaps between tiles, which will contribute to a symmetrical grout line appearance.
Progressively work your way across the bathroom floor, placing the tiles one by one. Regularly check with a level to ensure that the tiles lie flat and even. When necessary, use the tile cutter to tailor tiles to fit snugly around the edges, corners, and fixtures.
Patience and precision are key during tile installation to attain a professional-looking finish. Take your time to properly align each tile and utilize spacers to achieve consistent grout lines, which will pay off in the overall look of your new bathroom floor.
Step 5: Grout
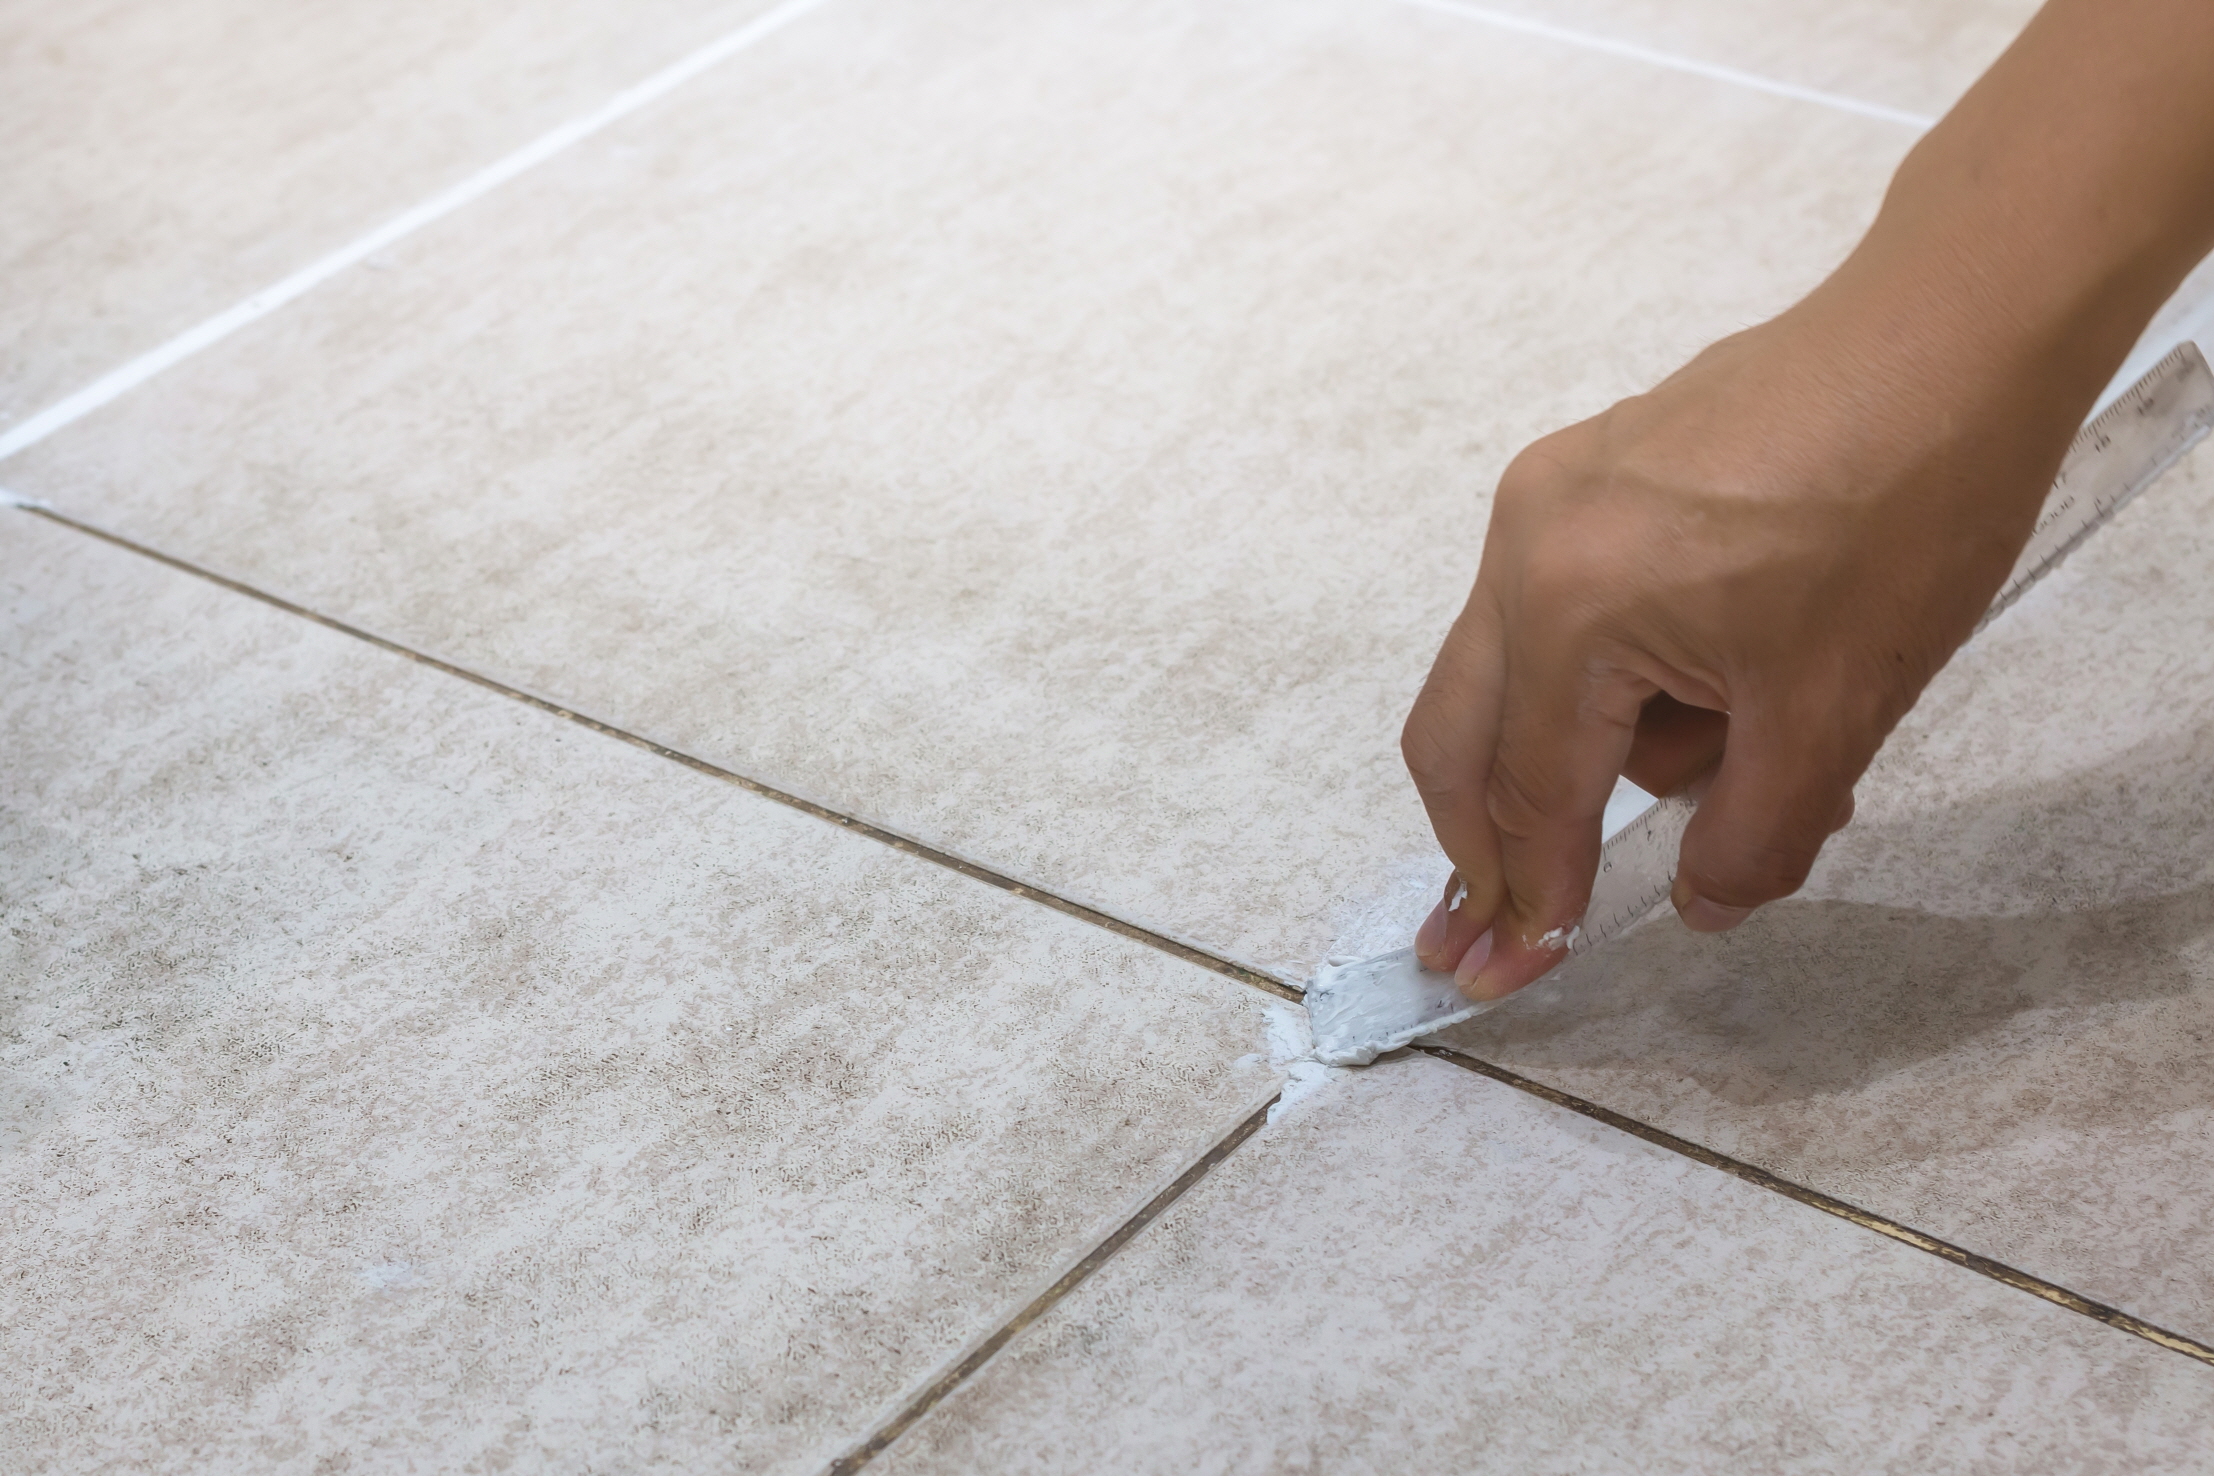
Having laid the tiles, you’re now at the rewarding final step of your bathroom floor renovation: grouting. Grouting not only fills in the gaps between your tiles but also seals your hard work with a smooth, complete look. For this crucial final step, you’ll need some specific materials: grout, a grout float, a sponge, and a bucket of water.
Start by mixing your grout according to the manufacturer’s instructions until it reaches a smooth, peanut butter-like consistency.
With the grout ready, apply it across the tiles using a grout float. The key here is to ensure the grout is firmly pressed into the spaces between your tiles. Work methodically in small sections and angle the float at 45 degrees to ensure deep, even application.
It’s essential to spread the grout evenly and clean meticulously for optimal results. After the grout has had a few minutes to set initially, take a damp sponge and begin to remove the excess grout from the tile surfaces. Remember to frequently rinse your sponge and repeat the process until the tiles are clean.
Once the grout has fully dried, conduct a final cleanup to erase any grout haze that remains on the tiles.
Completing this final clean signifies the end of your bathroom tile DIY project, leaving you with a beautifully refreshed bathroom floor.
Choose Your New Bathroom Tile Floor with LX Hausys
Transforming your bathroom with a new tile floor is a gratifying DIY project that not only boosts the visual appeal of your space but also its functionality. If you’re on the hunt for a weekend project that can revitalize your bathroom, this endeavor is a perfect choice. By adhering to five straightforward steps and opting for high-quality materials like those offered by us at LX Hausys, you’re set to achieve a professional-grade finish that will delight you for years.
In the quest for the ideal tiles for your bathroom, LX Hausys stands ready with an extensive selection of top-quality choices. Whether your taste veers towards the sleekness of contemporary design or the warmth of traditional styles, our catalog is poised to meet your needs. Our tiles are celebrated for their enduring durability and moisture resistance, making them exceptionally suited to the bathroom setting and ensuring their longevity. Moreover, the LX Hausys team is committed to providing personalized advice and support to guide you toward selecting the most fitting tiles for your project, promising an exquisite and enduring outcome. Now is the time to gather your tools and embark on the journey to reinvent your bathroom floor!
For further details on our array of bathroom flooring solutions, feel free to reach out to our LX Hausys team.

