

Updating your bathroom vanity can significantly enhance both the appearance and functionality of your space, giving it a more modern and efficient look. Undertaking this project on your own is not only a great way to save on labor costs but also offers a profound sense of achievement as you witness your efforts materialize. This guide is designed for everyone, from seasoned DIY enthusiasts to those embarking on their first home improvement project, and will lead you through the process of replacing a bathroom vanity and sink. With clear, step-by-step instructions, we’ll cover everything from gathering the necessary tools and materials to achieving a secure and professional finish. By following this guide, you’ll have all the information you need to bring this fulfilling project to a successful completion.

How to replace a bathroom vanity and sink by yourself?
Replacing a bathroom vanity and sink on your own involves a sequence of steps, starting from disconnecting the current plumbing setup to installing the new fixtures. Below is a comprehensive guide to assist you throughout the process:
1. Disconnect the Bathroom Sink and Water Lines
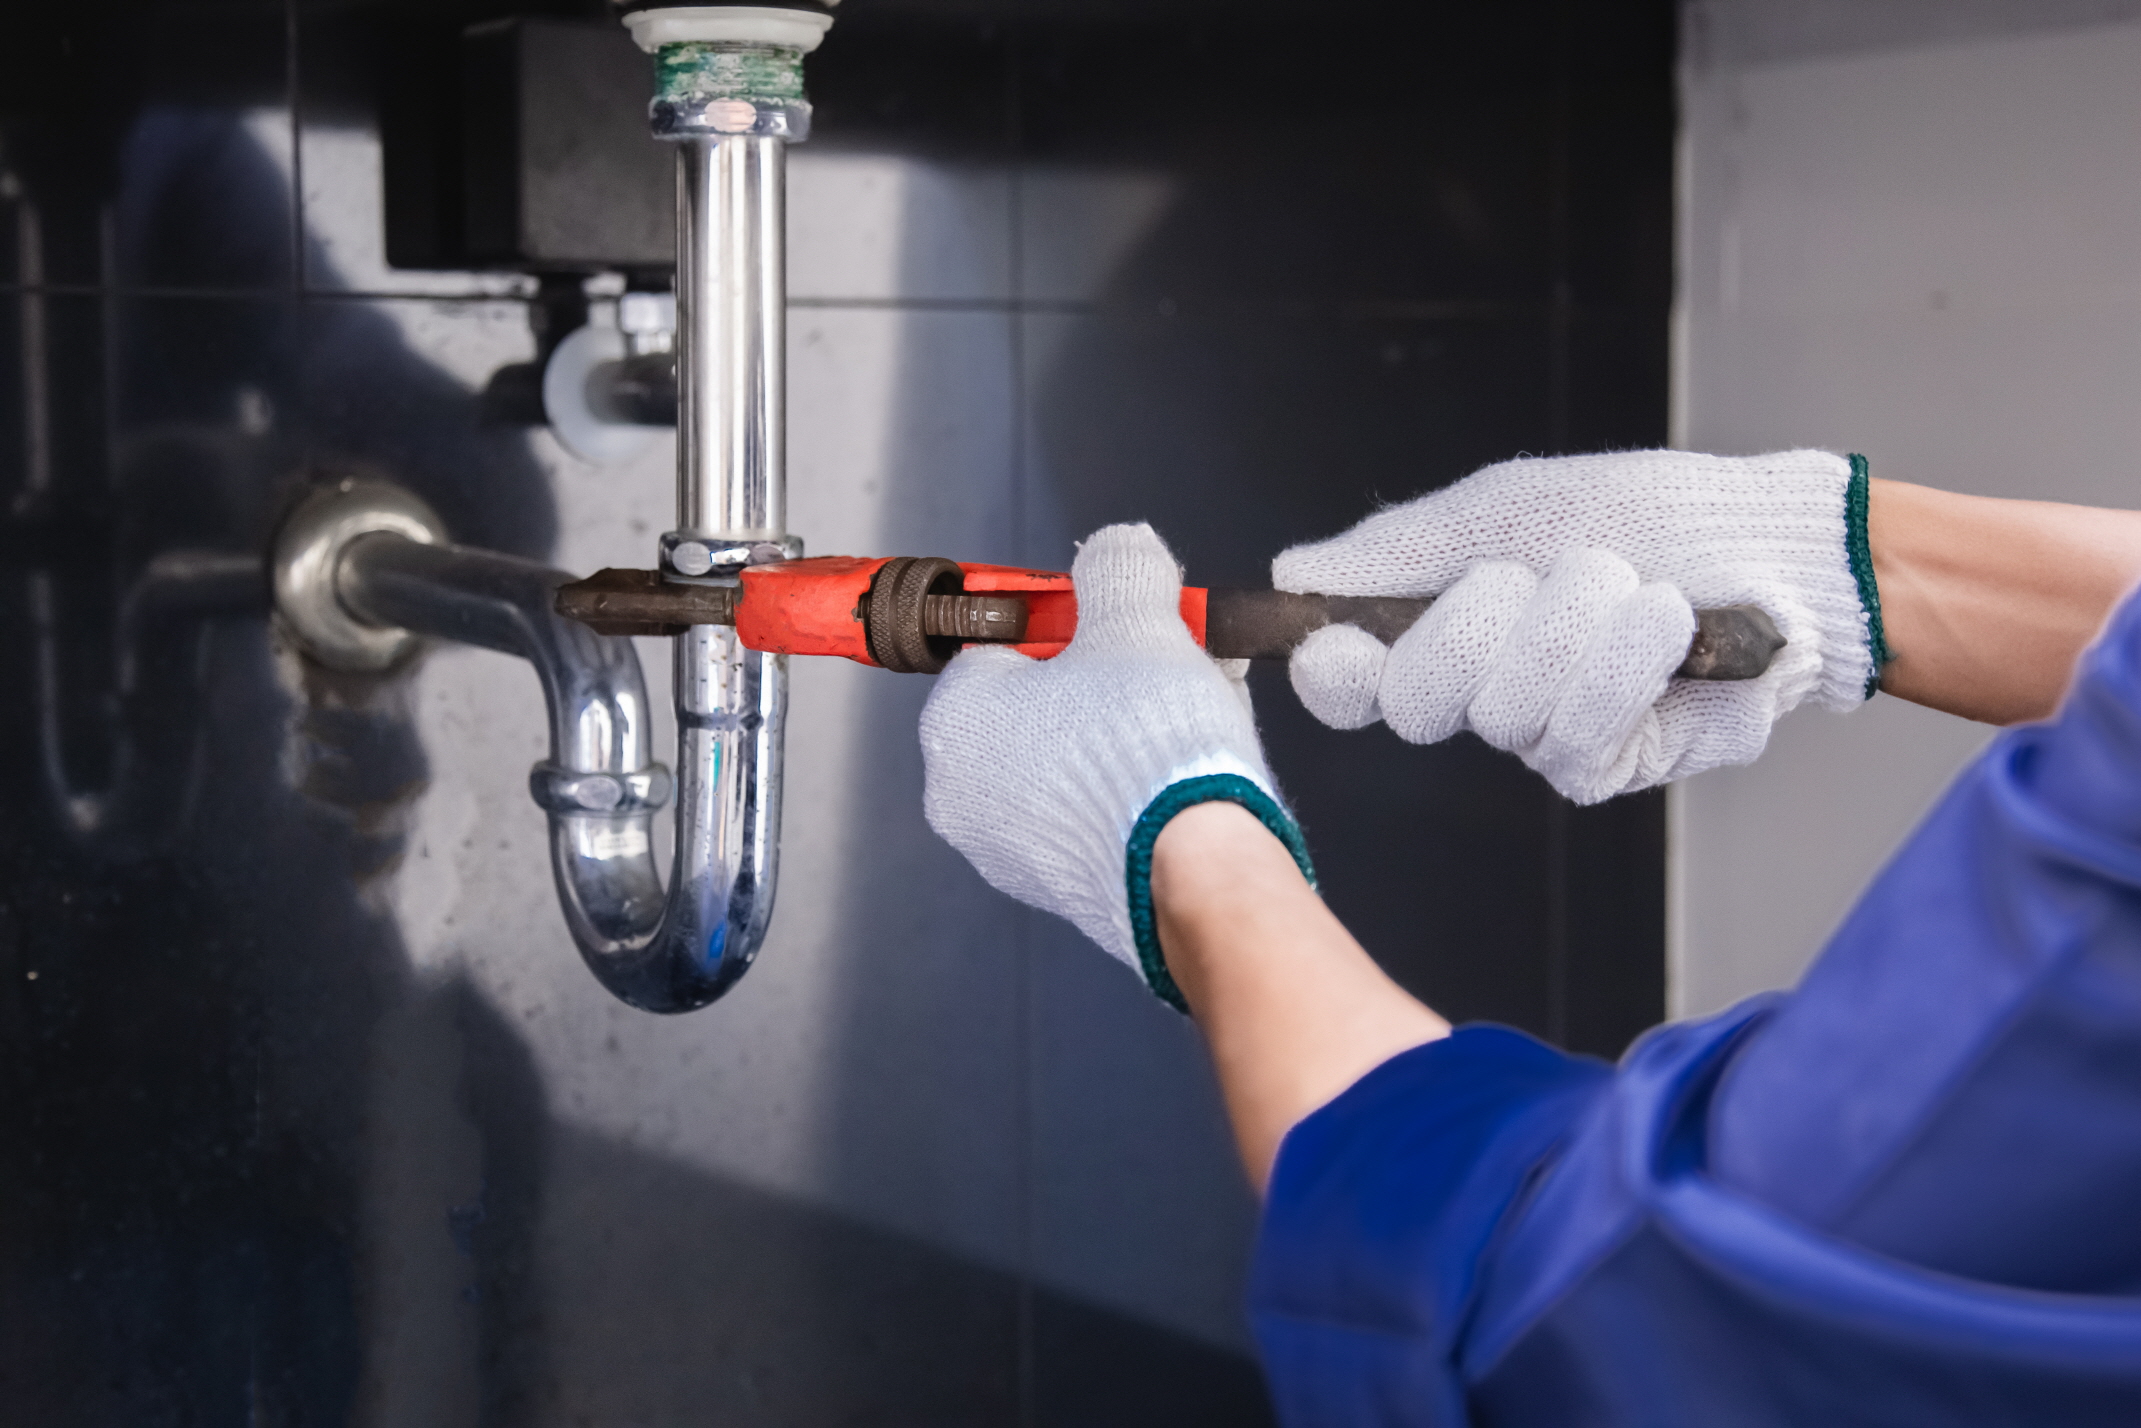
To begin this process, start by shutting off the water supply. This can be done by finding the shut-off valves under the sink and turning them clockwise. Next, relieve the water pressure by opening the faucet, allowing any residual water to drain away. For the final preparatory steps, use a wrench to disconnect the water lines, separating the hot and cold water supply lines from the faucet.
To effectively remove the bathroom sink and water lines, follow these steps: Firstly, place a bucket under the sink to catch any dripping water. Then, with a wrench, loosen the nuts that connect the water lines to the faucet. The next step involves disconnecting the drain pipe; do this by unscrewing the slip nuts that hold it in place. Lastly, remove the P-trap and set it aside carefully.
2. Locate the Wall Studs
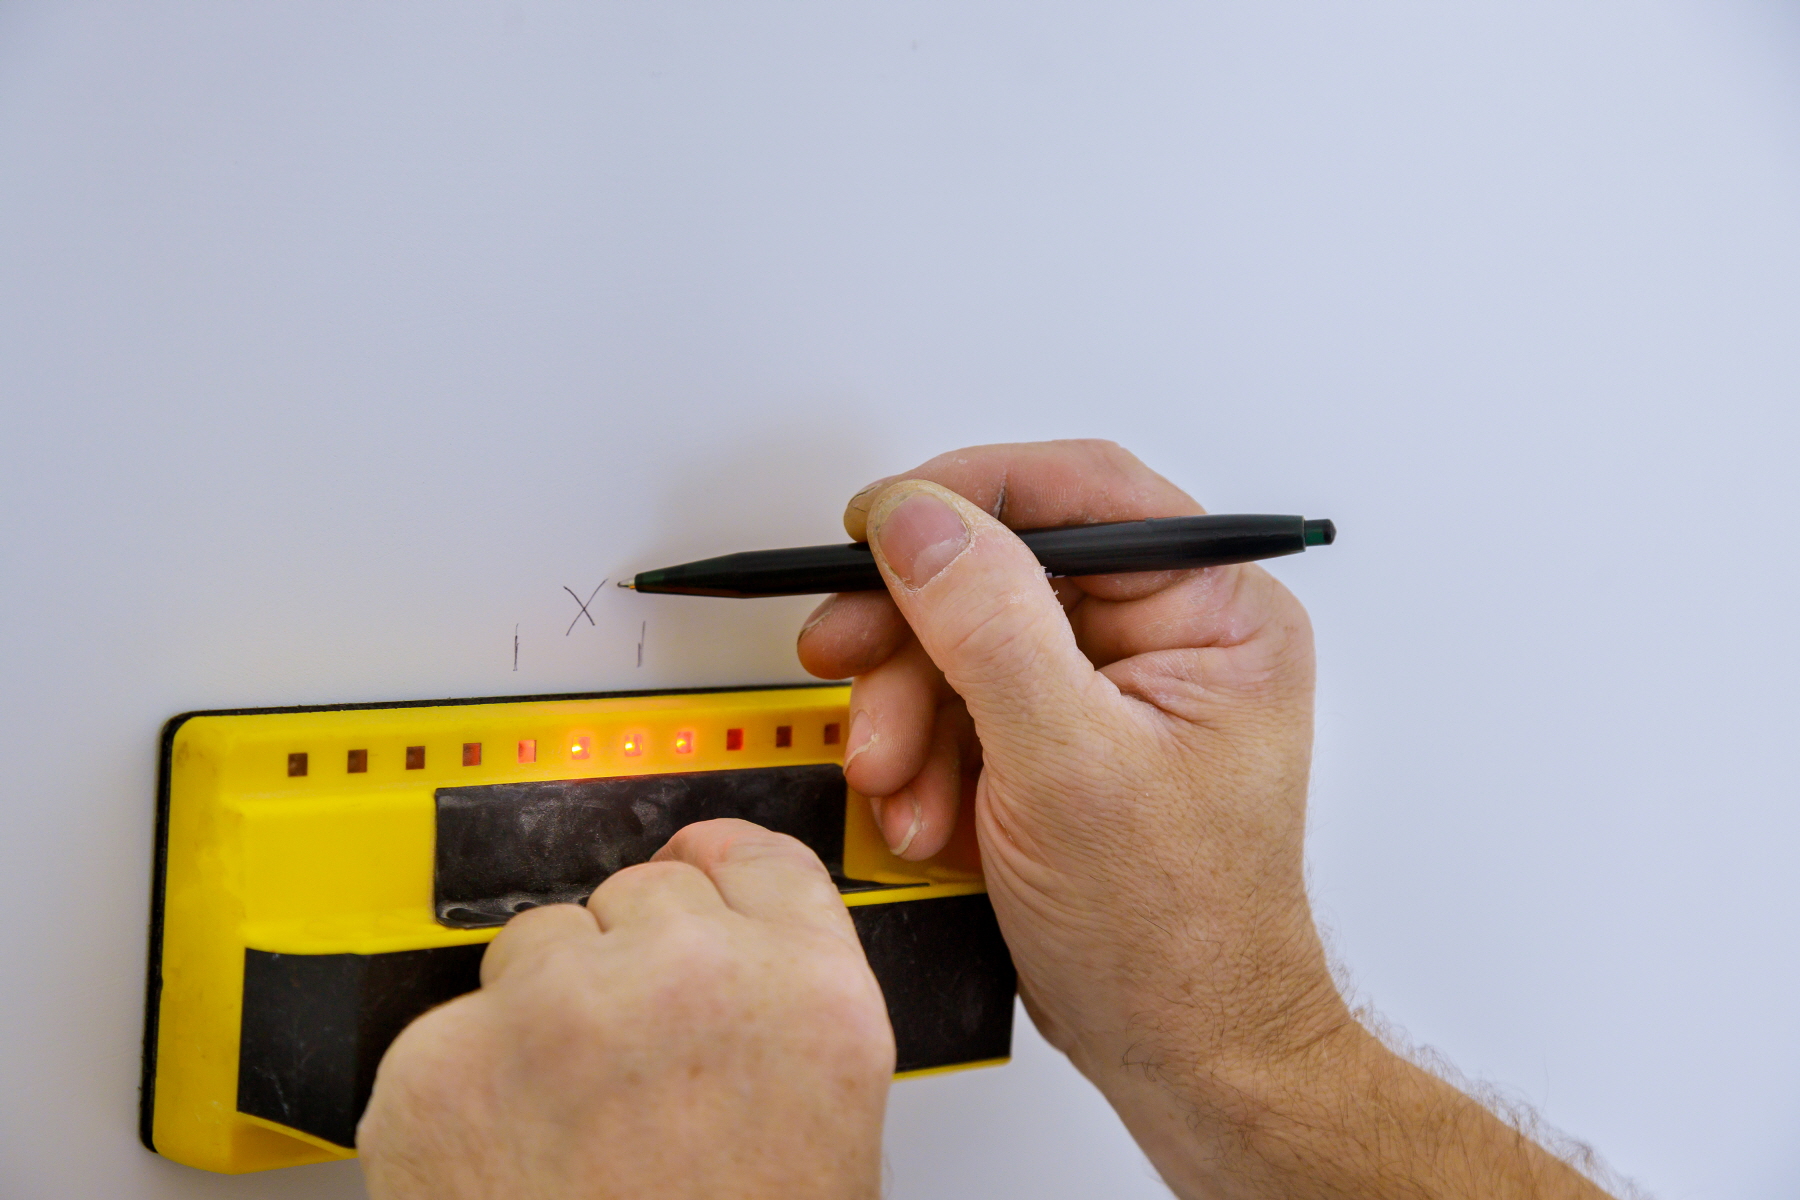
Before commencing the replacement of your bathroom vanity, it’s important to ensure you have all the necessary tools and that the area around the vanity is clear for easy access. Essential tools for this task include a stud finder, pencil, and tape measure. By preparing these tools in advance and maintaining a clutter-free workspace, you can facilitate a smooth and efficient installation process.
Start the process by using the stud finder to identify the studs in the wall where the new vanity will be mounted. When you locate the studs, use a pencil to mark their positions. Then, with the tape debacle, measure the distance between the studs to verify that the vanity can be securely affixed.
3. Remove the Existing Bathroom Vanity and Repair the Wall
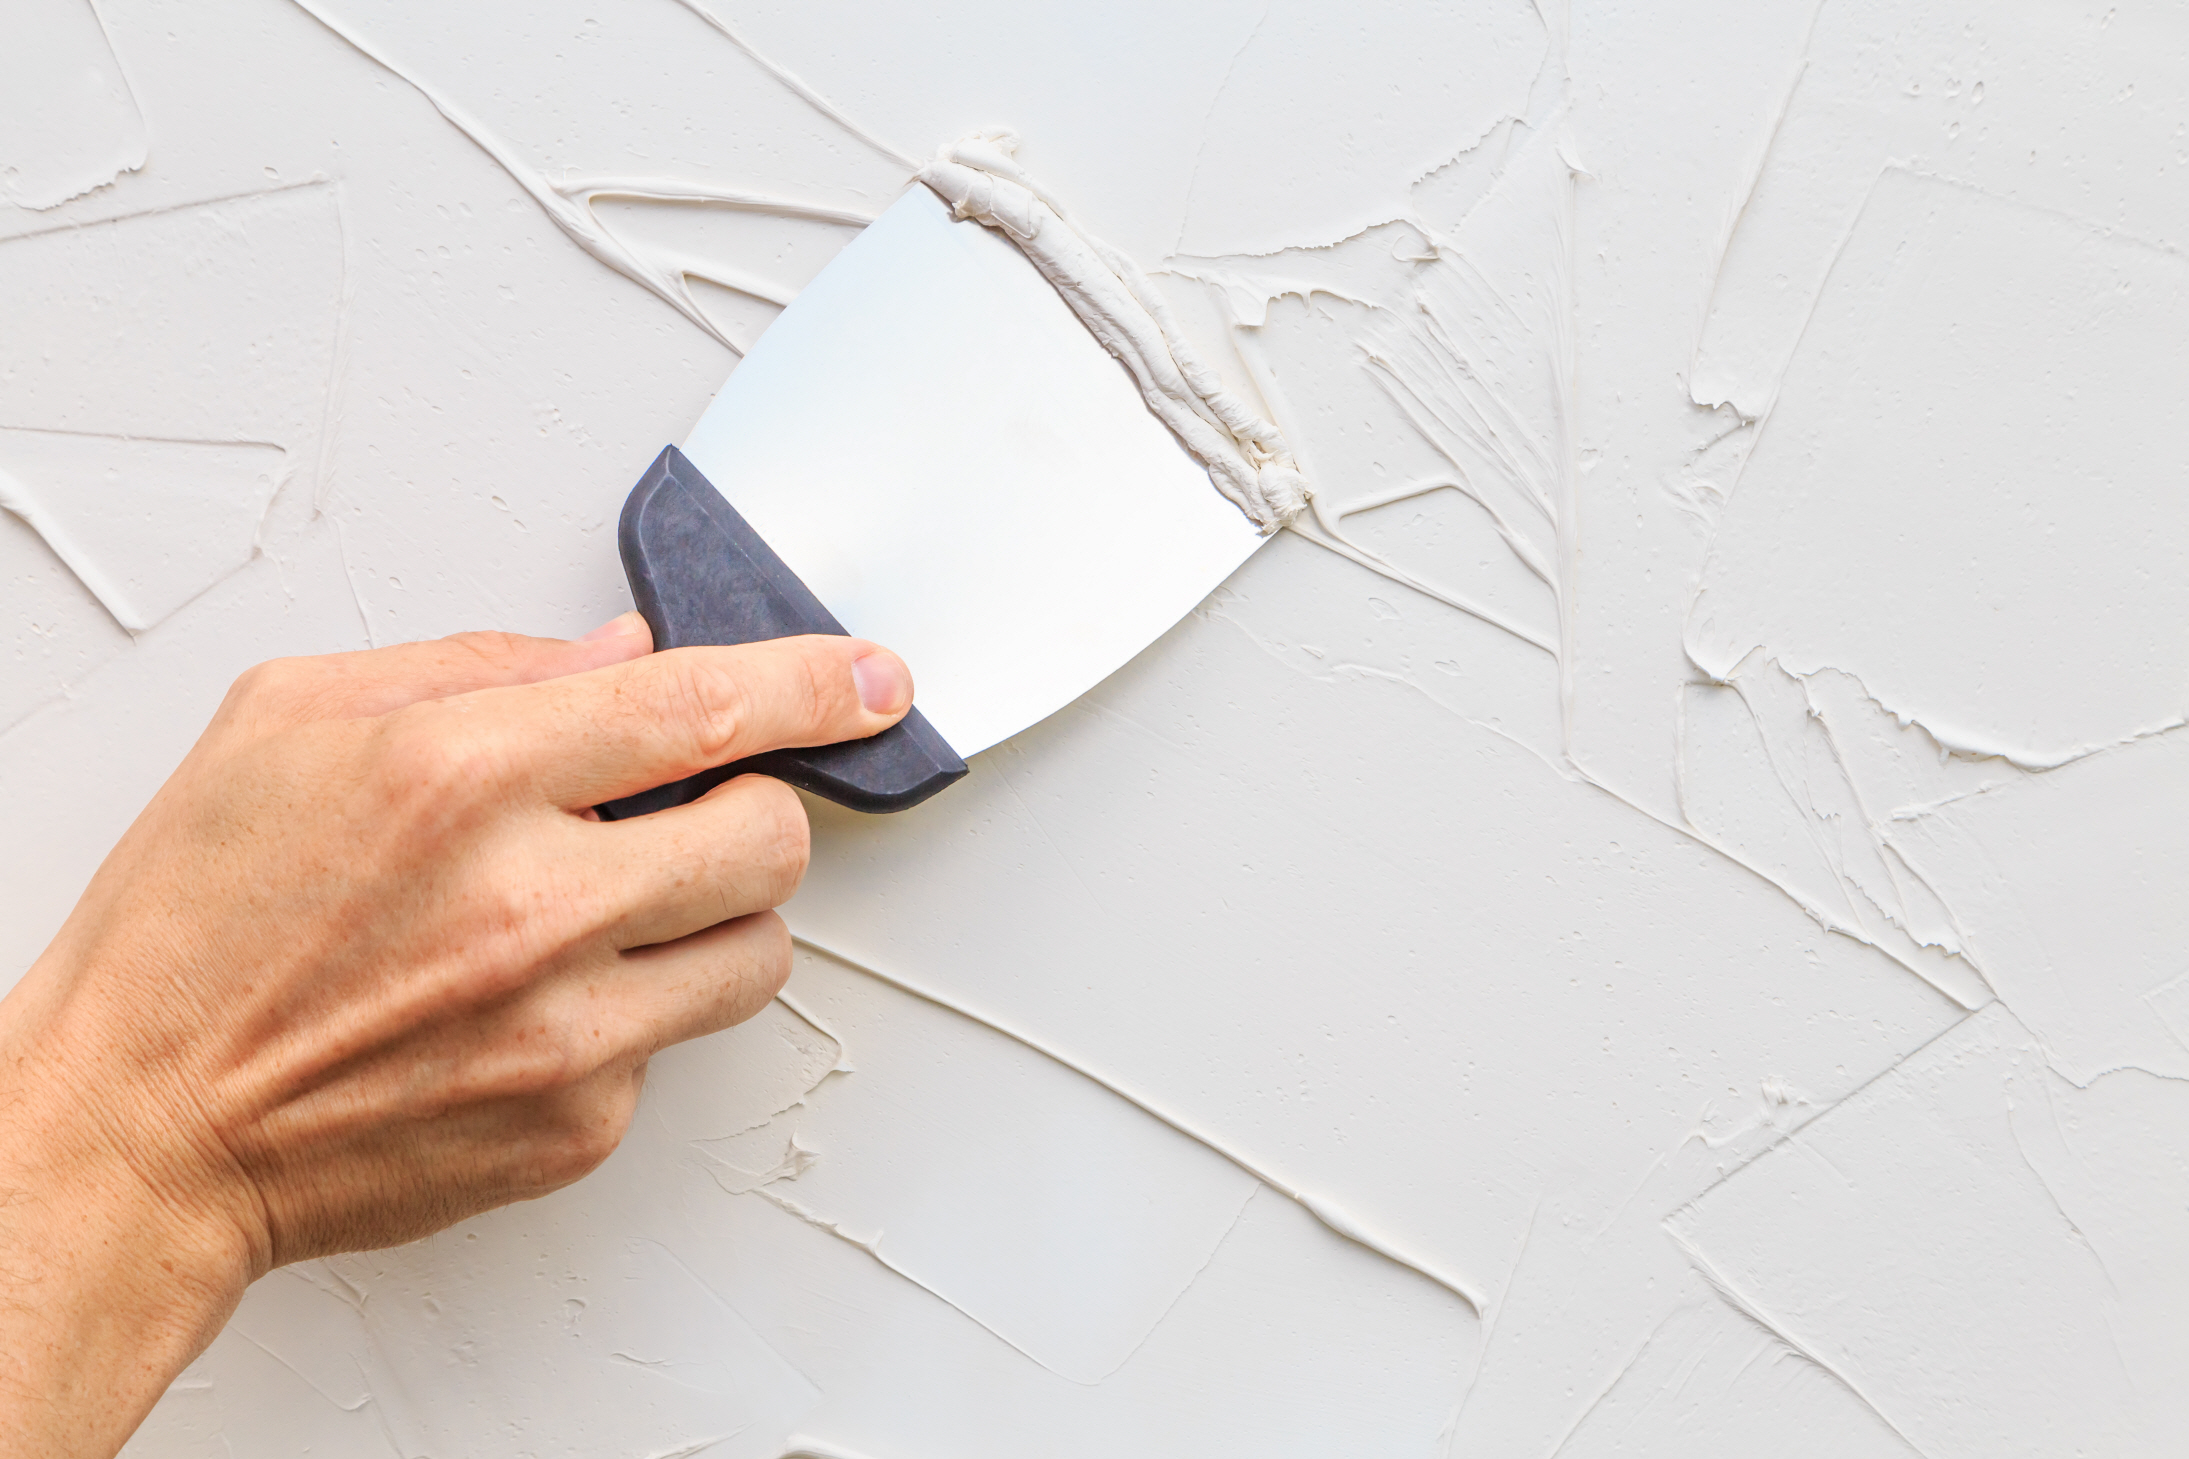
Before kicking off the project, ensure you’ve collected all the essential tools you’ll need, such as a utility knife, screwdriver, pry bar, putty knife, patching compound, and sandpaper. To safeguard your flooring against potential damage during the vanity’s removal, lay down a drop cloth or an old towel beneath the work area.
Start by carefully cutting through any caulking or sealant between the vanity and the wall with the utility knife. Proceed to remove any screws or nails that are anchoring the vanity to the wall. Gently pull the vanity away from the wall, then place it to the side. Examine the wall for damages and prepare for any necessary repairs. Apply patching compound to fill in holes or cracks using a putty knife, and after the compound has dried, sand down the repaired areas until they’re smooth.
4. Measure and Mark for the New Vanity Installation
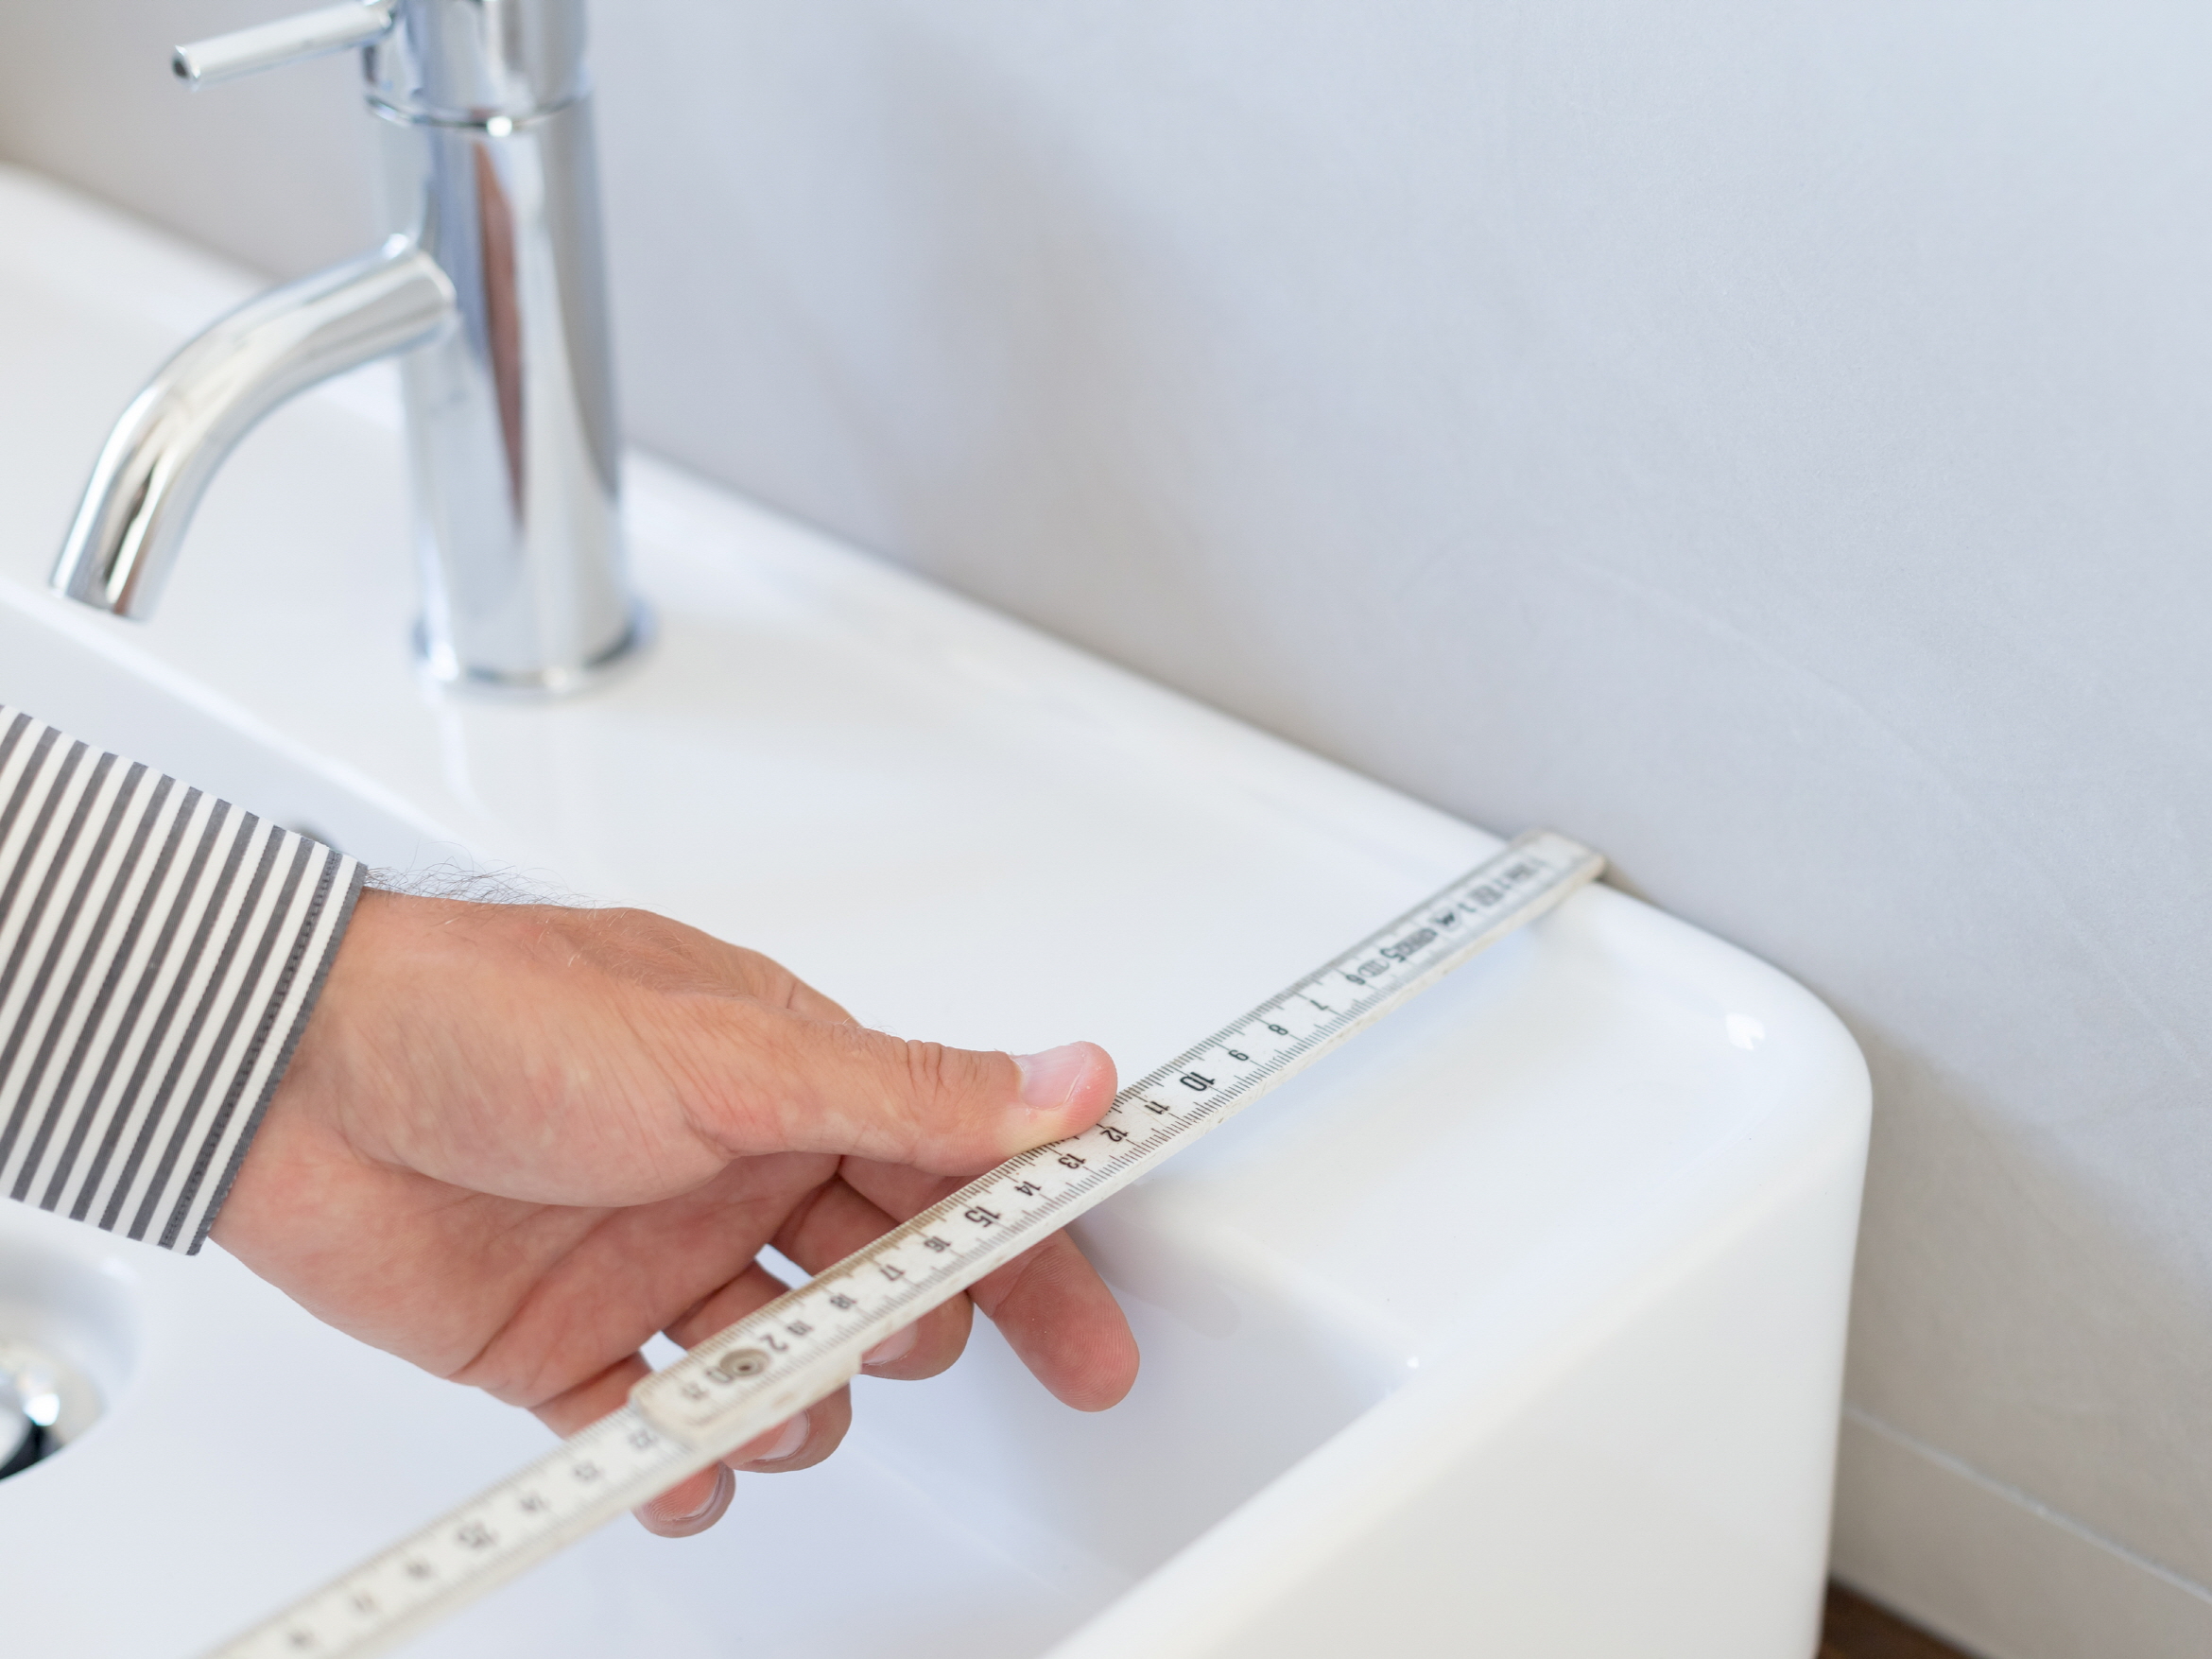
Before you get started, make sure you have all the necessary tools: a tape measure, pencil, and level. These are crucial for accurate placement and ensuring a secure installation of your new vanity.
Begin by measuring the dimensions of the new vanity to establish its position on the wall. Use a level to draw a horizontal line where the top of the vanity will sit. Following this, identify the positions for the mounting screws by marking the stud locations in conjunction with the vanity’s mounting brackets.
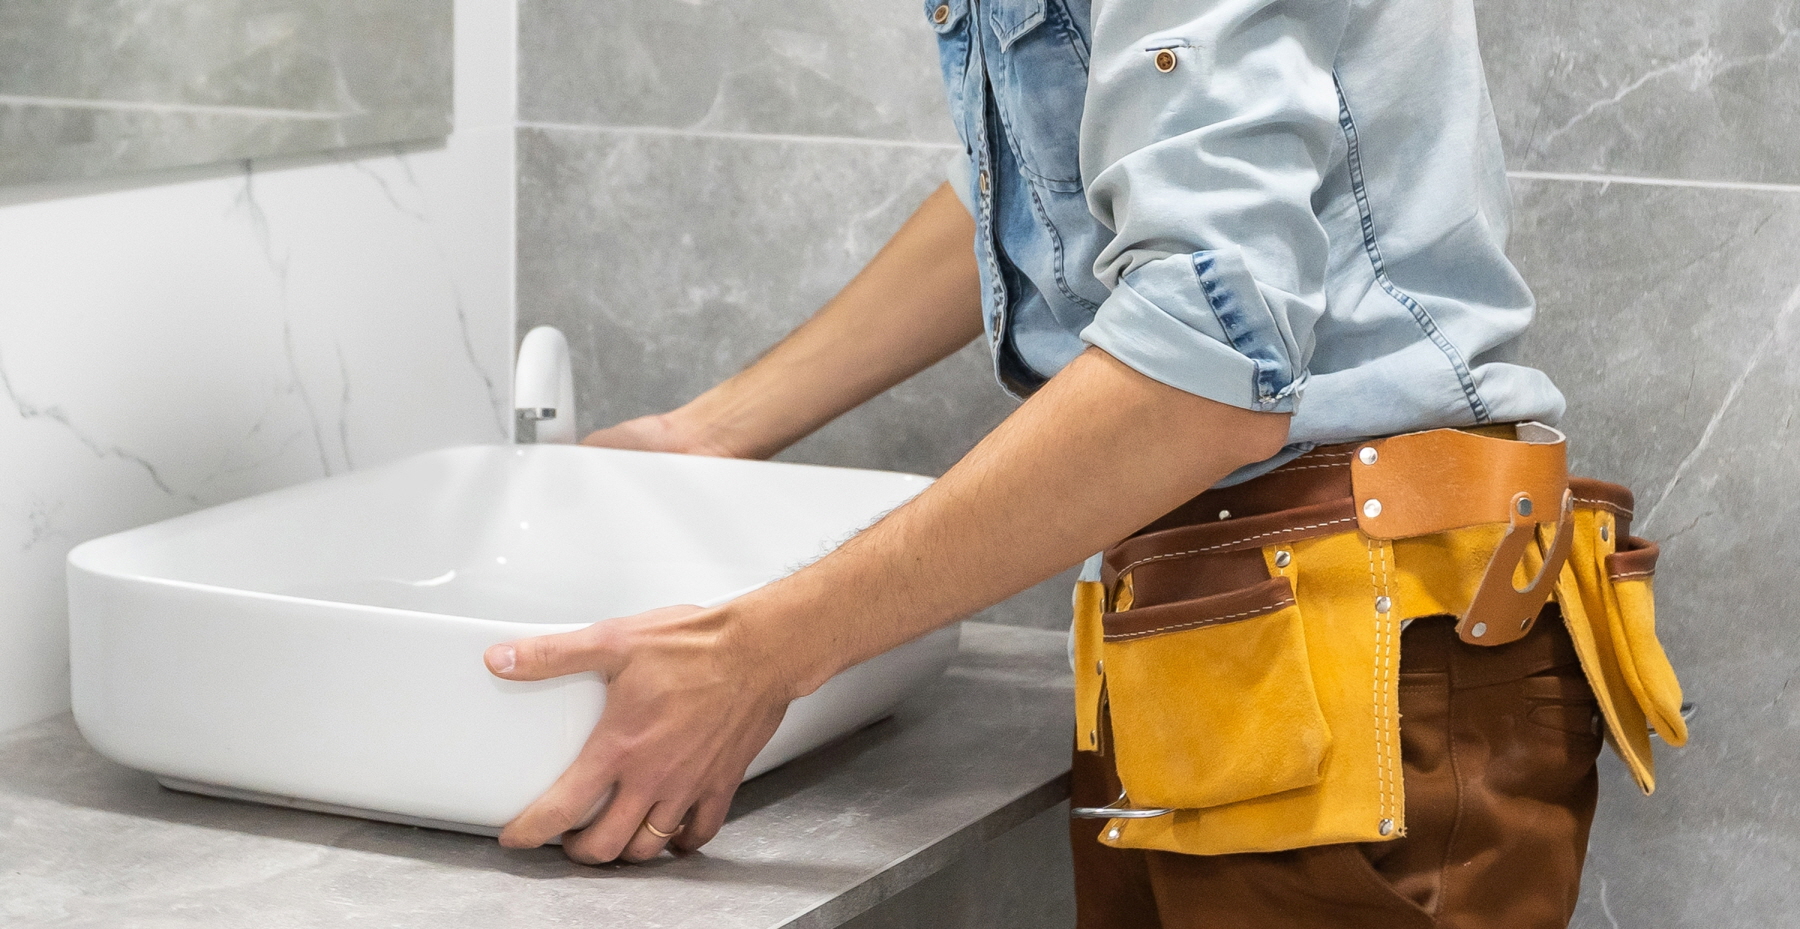
5. Set and Fasten the New Bathroom Vanity
Before initiating the installation process, ensure you have all the required tools at hand, such as a drill, screws, and a level. These are essential for achieving a secure and precise installation of your new vanity.
Start by positioning the new vanity against the wall. To guarantee that it is precisely aligned, use a level to check its straightness. Following that, at the locations you’ve marked for the studs, drill pilot holes into the wall. Conclude by fastening the vanity to the wall with screws, ensuring it is securely attached and remains level.
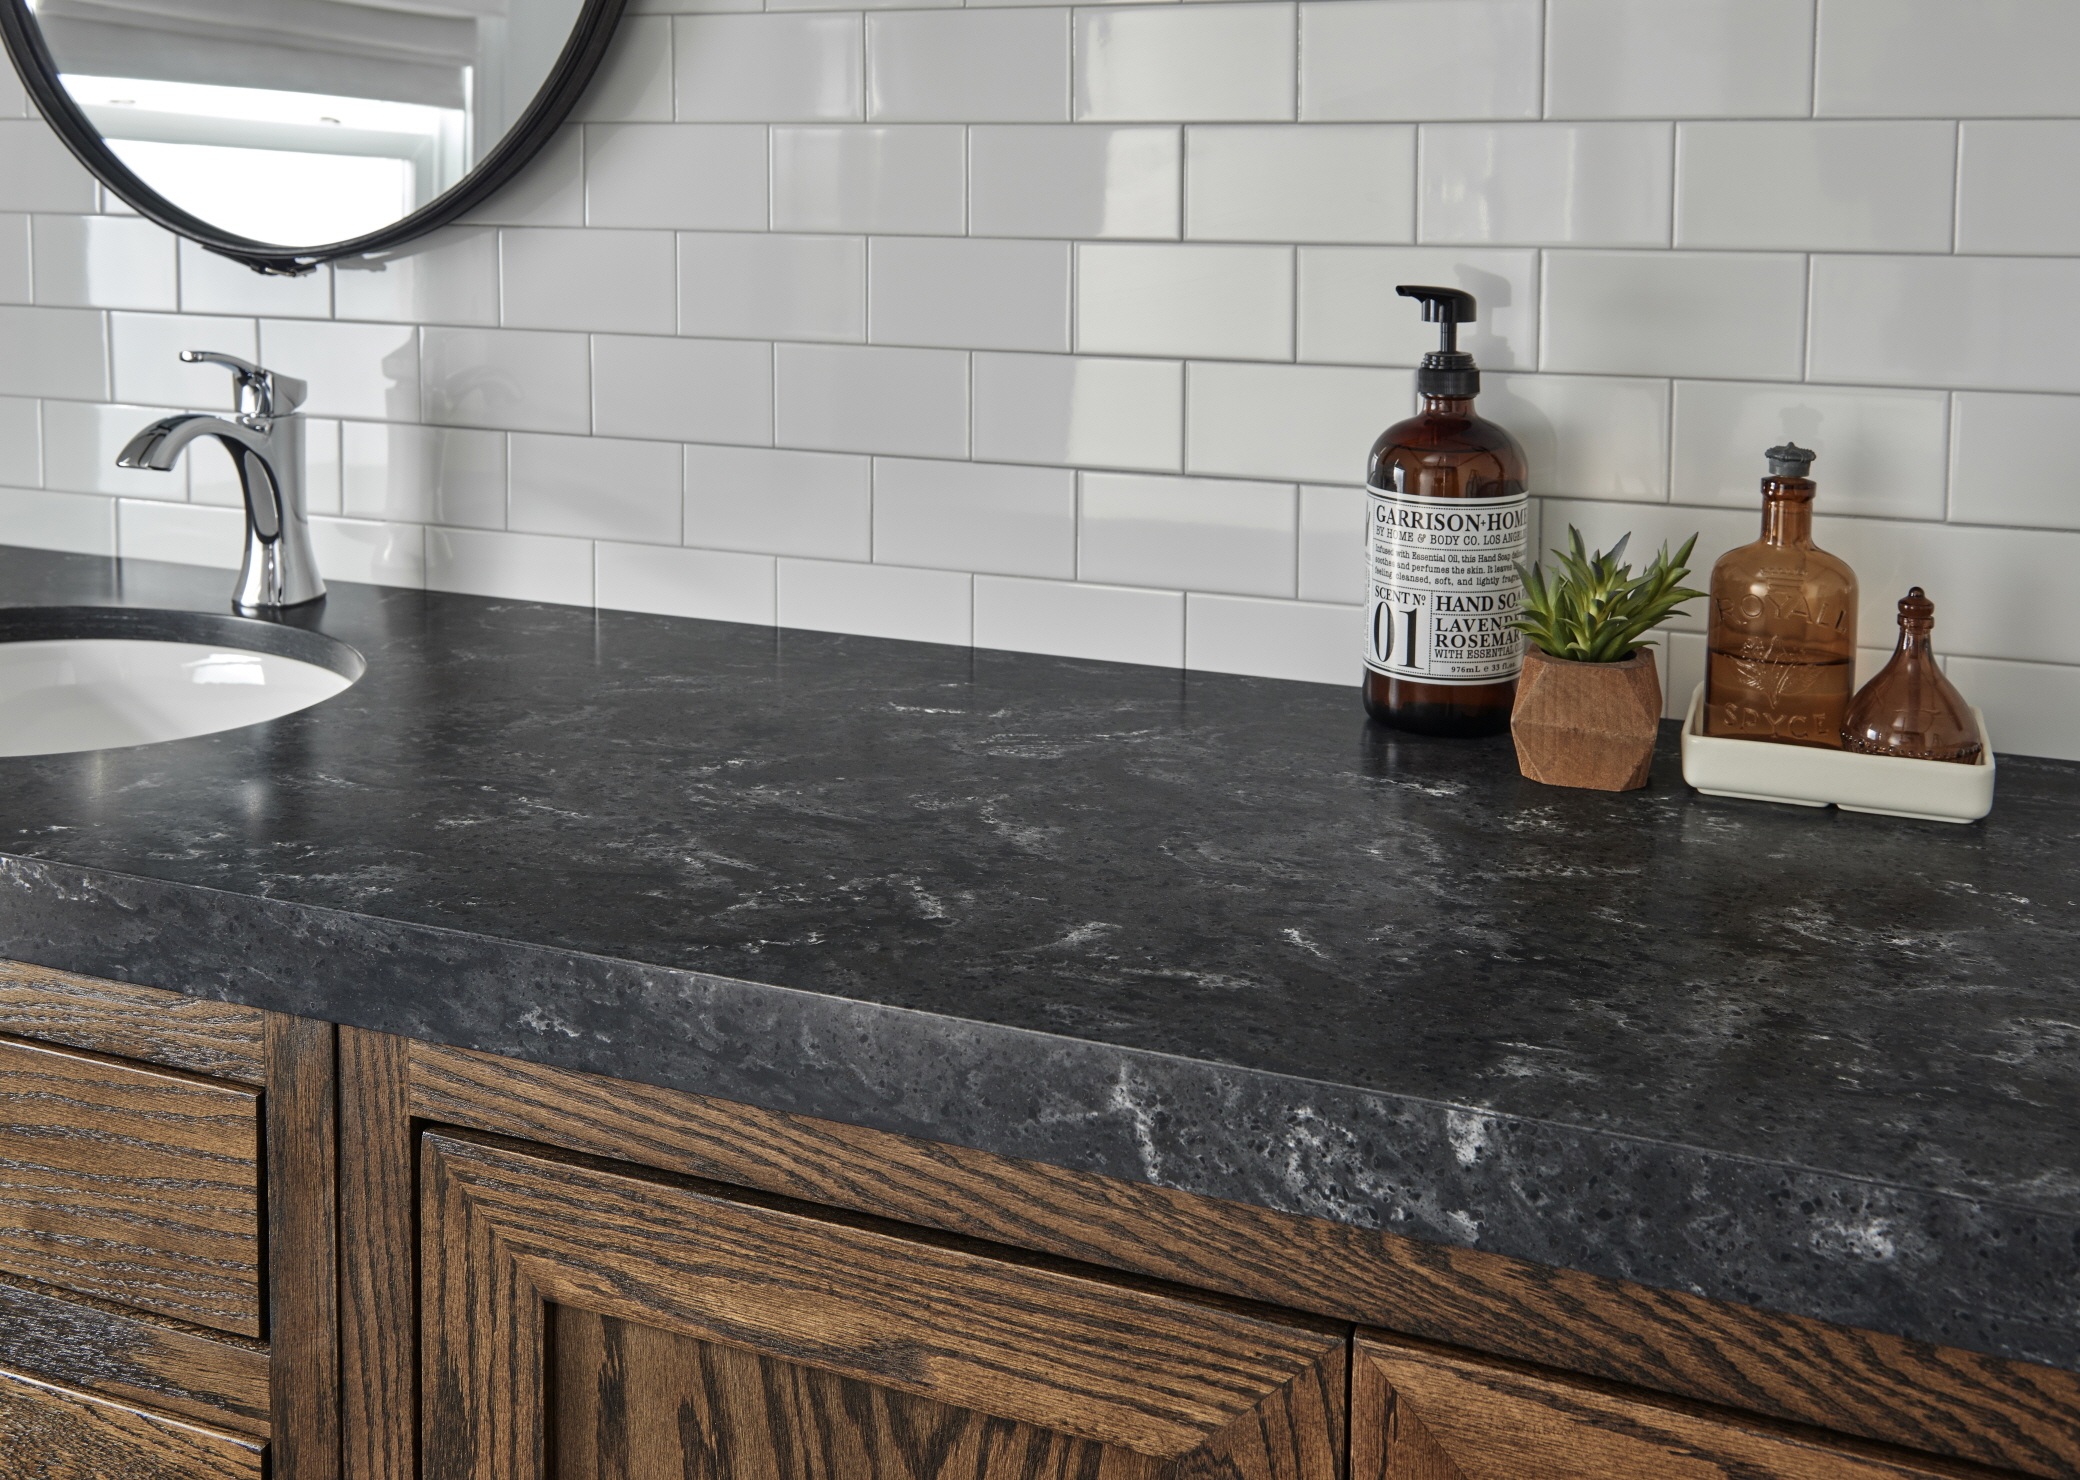
6. Install the Vanity Top and Backsplash
Before you start the installation, make sure you have all the materials you need on hand, including the vanity top, backsplash, adhesive, caulk, and a caulking gun. Preparing these materials beforehand will help facilitate a smooth and effective installation process.
Begin by applying a bead of adhesive along the top edges of the vanity cabinet. Then, with care, position the vanity top on the cabinet, making sure it aligns correctly, and press gently to affix it securely. Following this, attach the backsplash by applying adhesive to its back and then pressing it against the wall. Lastly, seal any gaps between the vanity top, backsplash, and wall with caulk for a sleek and polished appearance.
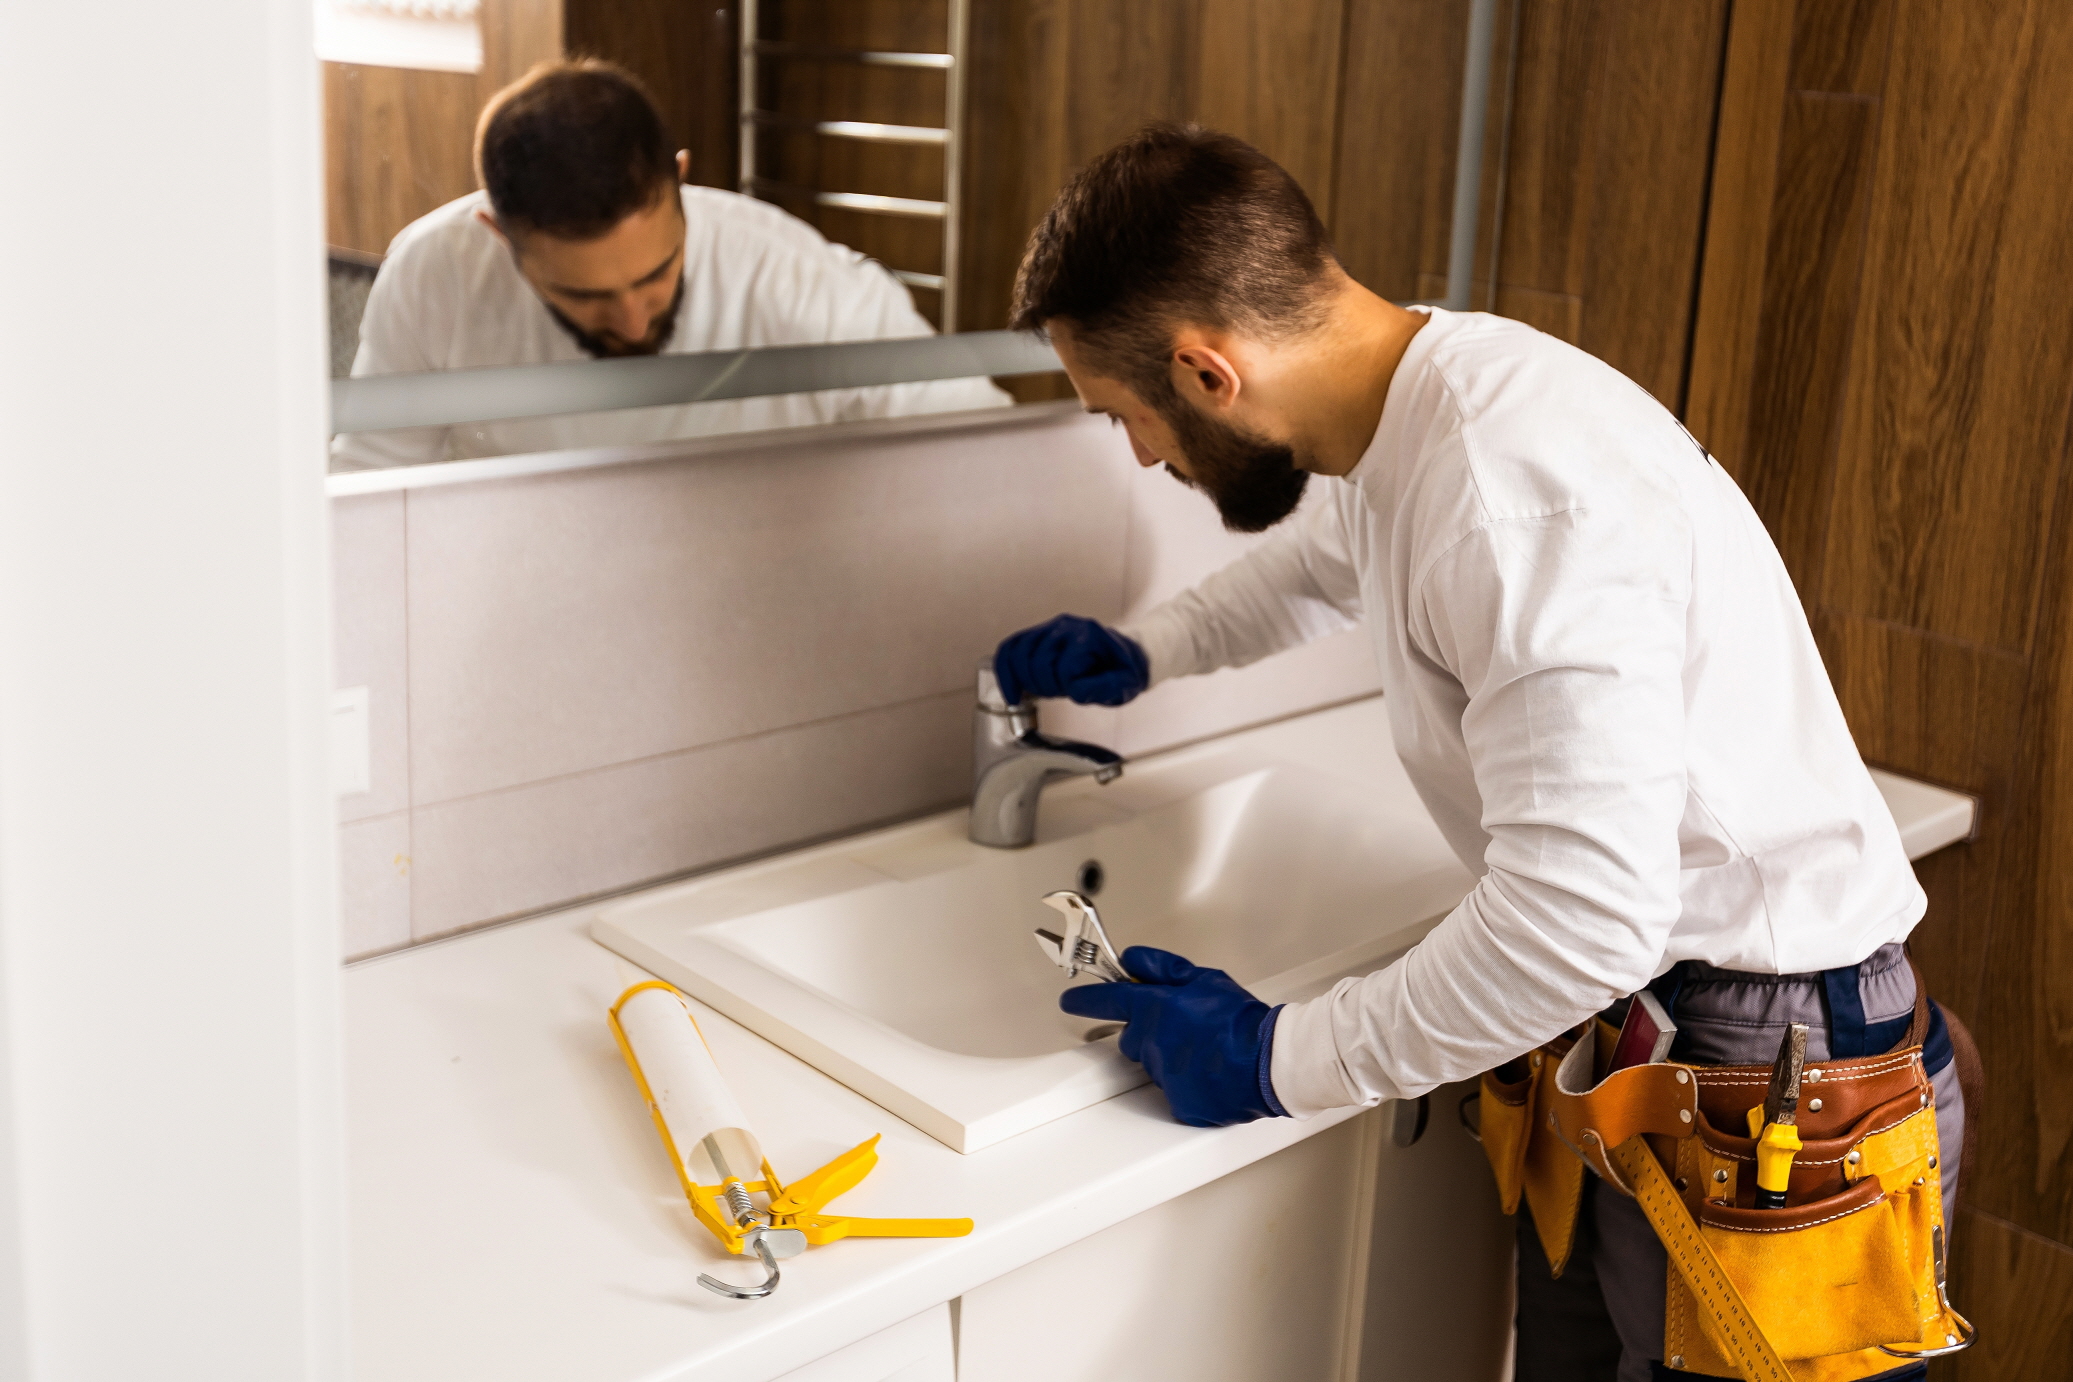
7. Install the New Faucet and Connect the Plumbing
To prepare for the final step, ensure you have the required tools at hand, such as a wrench, plumber’s tape, and a bucket.
Begin by installing the new faucet onto the vanity top, adhering to the manufacturer’s instructions. Afterwards, use a wrench to reconnect the water supply lines to the faucet, and wrap plumber’s tape around the threads to guarantee a secure seal. Next, proceed to reattach the P-trap and the drain pipe to the sink. To finish, turn on the water supply to check for any leaks, and if necessary, tighten the connections to resolve them.
Choose Your New Bathroom Vanity and Sink through LX Hausys
Undertaking the task of replacing your bathroom vanity and sink is a rewarding DIY project that not only revamps the aesthetic of your bathroom but also boosts its functionality. By following the outlined steps in this guide and opting for high-quality products from LX Hausys, you can transform your bathroom into a space that caters to your practical needs while mirroring your unique style.

The impact of selecting the right bathroom vanity and sink extends beyond mere aesthetics; it plays a pivotal role in the overall functionality and ambiance of your space. With LX Hausys, you have access to a diverse selection of premium vanity tops and sinks that cater to a wide array of styles and personal tastes. These choices can dramatically influence not only your storage solutions but also the general atmosphere of your bathroom.
Choosing LX Hausys for your bathroom renovation comes with numerous advantages. Our extensive range includes vanity tops and sinks in assorted styles, colors, and materials, enabling you to find the perfect complement to your bathroom’s decor. Crafted from materials that stand the test of time, our products promise durability, maintaining their beauty and functionality over the years. We’ve designed our vanity tops and sinks with ease of cleaning and maintenance in mind, suiting the fast pace of contemporary life. Furthermore, the LX Hausys team is dedicated to providing personalized advice and support, ensuring you select the best products for your renovation.
Regardless of whether you’re drawn to a minimalist, contemporary design or a more classic aesthetic, LX Hausys has the expertise and selection to bring your vision to life. Explore our website to discover the wide array of bathroom vanity tops and sinks we offer.
Get in touch with LX Hausys today and take the first step towards a beautifully renovated bathroom!