
Home improvement projects have skyrocketed in the last few years. In 2022 alone, homeowners spent more than $472 billion.
More people recognize the importance of home renovations. Especially projects like new flooring: they improve quality of life while increasing the value of your property.
But DIY projects, like removing vinyl flooring, can be quite difficult. Fortunately, with the right tools and know-how, it is possible.
This article lays out a step-by-step process for removing vinyl tile flooring. Keep reading to find out how to tackle your DIY floor renovation.
Essential Tools for Removing Vinyl Flooring
It is important to have the right tools before starting the task of removing vinyl tile floors. Here are the main ones to have at hand:
- Crowbar or chisel
- Utility knife
- Putty knife or floor scraper
- Heat gun or hair dryer
- Floor adhesive remover
Also, be sure to have protective eyewear, work gloves, and a respirator or mask. Also, sturdy shoes and knee pads could make the work more comfortable.
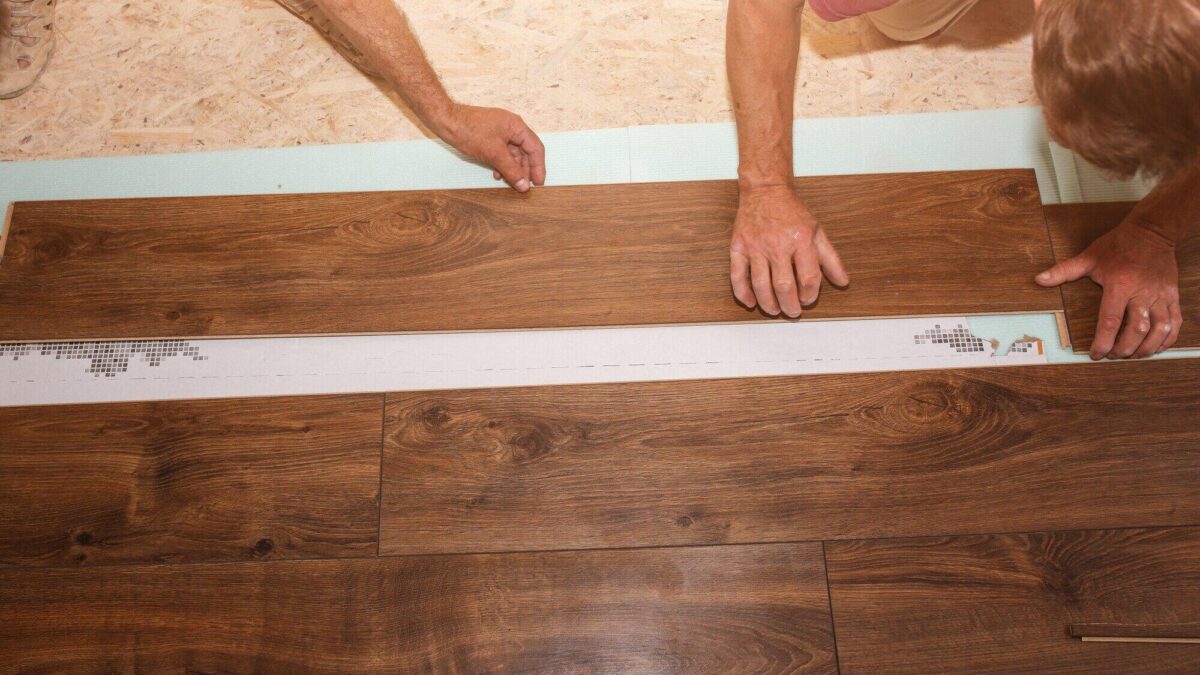
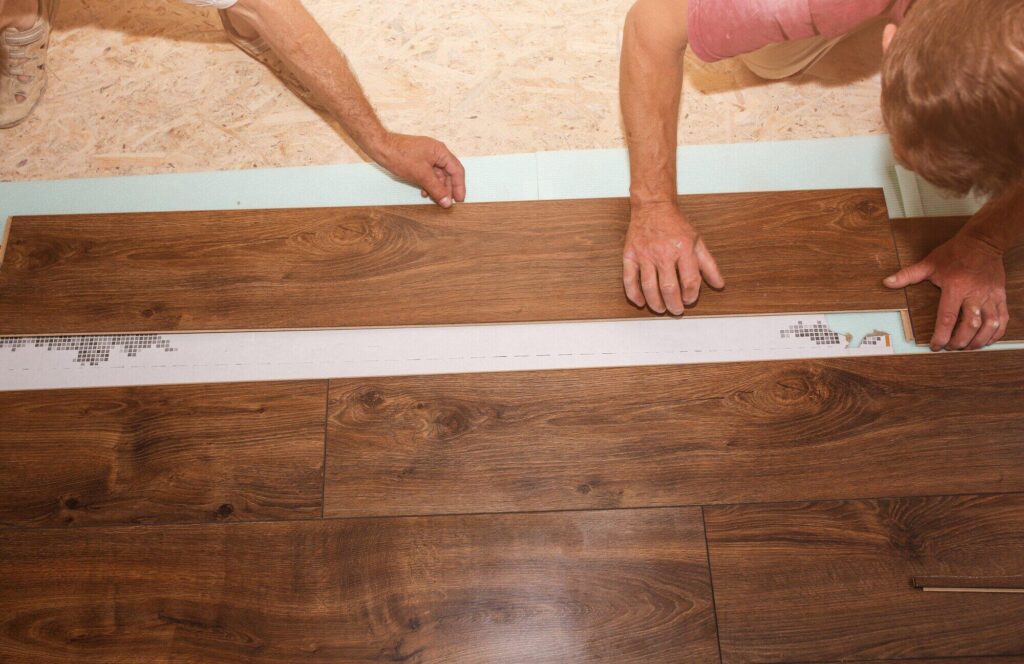
Removing Vinyl Tile Flooring
The first step in removing vinyl tile flooring is to use a utility knife to cut the surface into manageable strips or sections. After doing so, you should be able to discern how the flooring was secured.
There are two main methods of attaching vinyl tile or plank flooring. One is the click-lock, where the tiles are secure to one another. The other is glued-down tile flooring, where tiles are secured to the underflooring and each other using an adhesive.
With click-lock flooring, it is a matter of removing one tile or sheet, and the rest should come up pretty easily using a crowbar (or similar prying tool). Glued flooring will likely be more difficult.
You can use a heat gun or hair dryer to help a viscous adhesive become more fluid. If necessary, apply a floor adhesive remover to further dissolve the glue.
Once the adhesive softens, use the putty knife or floor scraper to pry up the flooring. Aim for the edges of the tiles to loosen them first.
Proper Disposal of Vinyl Tile
Like other building materials, it is important to properly dispose of vinyl tiling. Due to environmental reasons, you cannot send them to a landfill.
First, if it is possible to reuse any of the tiling, that is preferable. Next, check with local regulations to find out what standards they have for disposing of building materials and hazardous waste, such as solvents or the remnants of adhesives.
Most locations have designated facilities for doing so. It is a matter of identifying these centers and transporting the waste there.
Learn More About DIY Flooring Removal
Now that you understand the steps for removing vinyl tile flooring, you can get started. An experienced contractor can further advise you on the steps to take to successfully complete your project.
Since 1947, LX Hausys has been sourcing interior materials to enhance the value of living spaces in Korea. For the past 70 years, our goal has been to create human-friendly, aesthetically pleasing living spaces through the use of energy-efficient and eco-conscious materials. Contact us today to learn more.